30 September 2022

Spellbinders | Oh What Fun! 3 Projects for Beginners

Hello there, I was over on the Spellbinders Blog yesterday sharing three projects using the new Spellbinders Oh What Fun! Collection. 

This collection is made for quick and easy crafting with two packs of printed die cuts. Although I wouldn't usually craft with printed die cuts, these projects were fun and quick to pull together, great for Christmas and the holidays when time is tight! They are also great for beginner crafters too. 

PLEASE NOTE: This post contains affiliate links. Please see below for my full disclosure.

My three projects feature the Spellbinders Gnomie Christmas Dance Printed Die Cuts

My first project (the card, bottom right) uses the cute polar bear from the pack, as well as the trees and sentiment. I created a simple snowbank using the Color Block Scenic Scape Etched Dies. I then added some simple ink blending behind. 

My second project (the gift bag, left) uses the cute gnome. His legs are separate so that they can move to the side and look like he is dancing! The sentiment and tree stump are from the set too. The gift/present is from the Christmas Delivery Printed Die Cuts. I again added a snowbank and ink blending. The gift bag itself is made using the Gift Bag Etched Dies, embossed with the Dazzling Dots Embossing Folder

The third project (the tag, top right) uses the car and one of the sentiments from the Gnomie Christmas Dance Printed Die Cuts. They were simply adhered to an embossed tag (Ski Lodge Embossing Folder) with foam tape. I also added Sparkle Dust Glitter to the bow holding the tree to the car (as well as the trees and polar bear on the card). 

SUPPLIES:


Here are the links to what I have used on the projects. Affiliate links are used on some products. This means that if you make a purchase after clicking on my link, I receive a small commission with no extra cost to you. I truly appreciate your support when using these links. Please click on the logo below the product to shop at your favourite store. All products were personally purchased except those from Clearly Besotted, Hero Arts or those marked with an asterisk (*) which were kindly sent to me to use. You can read my full disclosure here.


For more details and a full supply list on how I made the projects, please head over to the Spellbinders Blog HERE. Thank you so much for stopping by today, I hope you have a wonderful rest of the day! 

Hero Arts | October 2022 My Monthly Hero Countdown to Creativity

Hello there and welcome as we countdown to the release of the Hero Arts October 2022 My Monthly Hero Kit and add-ons. This month's kit is called North Pole Scene Building and can be used in so many different ways. You can create scenes, you can use images individually, you can use the cling background stamp on its own or with the images - so versitile!

PLEASE NOTE: This post contains affiliate links. Please see below for my full disclosure.


I started off my card by creating the background. I took a panel of white cardstock and using Hero Arts Ink Blending Brushes, blended Hero Arts Core Inks on top. I used (top to bottom) Indigo, Amethyst and Ultra Pink. I then splattered on Hero Arts White Glimmer Metallic Ink on top and set aside to dry. 


On another panel of white cardstock, I stamped one of the images from the Hero Arts October 2022 My Monthly Hero Kit stamp set on top using Hero Arts Intens-ified Black Ink. I then coloured the snow using BG11, BG10 and BG000 Copic Markers. 


I took the coordinating die and partially cut the top, leaving the bottom attached to the panel. Once the background panel was dry, it was adhered to a US A2 sized white card base with thin foam tape. The snowy scene panel was then adhered on top with more thin foam tape. 


I took the sentiment from the set and stamped it on to white cardstock using Hero Arts Intens-ified Black Ink. It was die cut out using the coordinating die and I also cut another two from plain white cardstock so that I could stack them up for dimension. It was then adhered to the card with Hero Arts Precision Glue. To finish off, I added a few Bubble embellishments. 

SUPPLIES:


Here are the links to what I have used on the project. Affiliate links are used on some products. This means that if you make a purchase after clicking on my link, I receive a small commission with no extra cost to you. I truly appreciate your support when using these links. Please click on the logo below the product to shop at your favourite store. All products were personally purchased except those from Clearly Besotted, Hero Arts or those marked with an asterisk (*) which were kindly sent to me to use. You can read my full disclosure here.


For more inspiration using the Hero Arts October 2022 My Monthly Hero Kit, please head over to the Hero Arts Blog. Make sure to leave a comment over there too, for a chance to win a kit! Thanks so much for stopping by today, I really appreciate it. Have a great day! 

Clearly Besotted Teasers | Nordic Plushies

Hello there and welcome to day four of the Clearly Besotted October 2022 Teasers. Release day is tomorrow so only one more sleep to go! Today I am using the new Nordic Plushies Stamp Set. This set is so cute! It features a background image and then lots of critters as well as sentiments. The critters are all wearing scarves or sweaters - so cute! I have made my card into a Christmas card, but this set is great for general winter cards. 

PLEASE NOTE: This post contains affiliate links. Please see below for my full disclosure.


I started off by stamping the landscape image from the Clearly Besotted Nordic Plushies Stamp Set on to a panel of white cardstock. I then die cut it out using a Hero Arts Nesting Heart Infinity Die. I stamped the image again on to masking paper and then fussy cut it out. 


The mask was added on top of the image and then using blending brushes, I blended Tim Holtz Distress Inks for the sky. I used Mermaid Lagoon and Wilted Violet. I then took the Clearly Freshly Cut Stencil and placed it at the bottom of the image. I blended on Tim Holtz Tumbled Glass Distress Ink above it and then moved the stencil down with more ink blending to create snowbanks. 


The mask was removed and the image coloured with Copic Markers. I did add extra lines on to the trees to create snow with a Copic Multiliner Pen. I stamped the reindeer from the set on to more white cardstock and coloured it with Copics also. It was then fussy cut out with scissors. 


I adhered the heart piece to a US A2 sized white card base with thin foam tape. The reindeer was then adhered on top. I took the sentiment from the Clearly Besotted Pop Up Psst Stamp Set and stamped it on to black cardstock with Versamark Ink. I applied white embossing powder and heat set. It was cut into a strip and adhered to the card with more thin foam tape. 

SUPPLIES:


Here are the links to what I have used on the project. Affiliate links are used on some products. This means that if you make a purchase after clicking on my link, I receive a small commission with no extra cost to you. I truly appreciate your support when using these links. Please click on the logo below the product to shop at your favourite store. All products were personally purchased except those from Clearly Besotted, Hero Arts or those marked with an asterisk (*) which were kindly sent to me to use. You can read my full disclosure here.


COPIC MARKERS: Reindeer - E59, E57, E55/V17, V15, V12, V000. Chalets/houses - E57, E55, E53, E51, Y00. Trees - G29, YG17, YG23, YG01. Snow - B00, B000, B0000. 

I thought the background image looked a little like chalets in a snowy landscape but it would also work well as a non-snowy scene with grass or road. For more inspiration using the new release, please head over to the Clearly Besotted Blog and my amazing teamie Keren. We also have the fabulous Adelle, Francine and Alberto guesting with us this month, so I hope you will check out what they have been up to as well. Thanks so much for stopping by, see you tomorrow! Have a wonderful day! 

29 September 2022

Altenew | Sticky Essentials Blog Hop + Giveaway

Hello there, I am delighted to be joining Altenew today to celebrate all things adhesive as part of their Sticky Essentials Blog Hop. Adhesives are a strange one, aren't they? Some adhesives work for some people and don't for others, based on personal preferences. 

For today's post, instead of showing you cards made using adhesives, I wanted to talk about my favourite Altenew adhesives and how I use them. 

PLEASE NOTE: This post contains affiliate links. Please see below for my full disclosure.


DOUBLE-SIDED ADHESIVE SHEETS

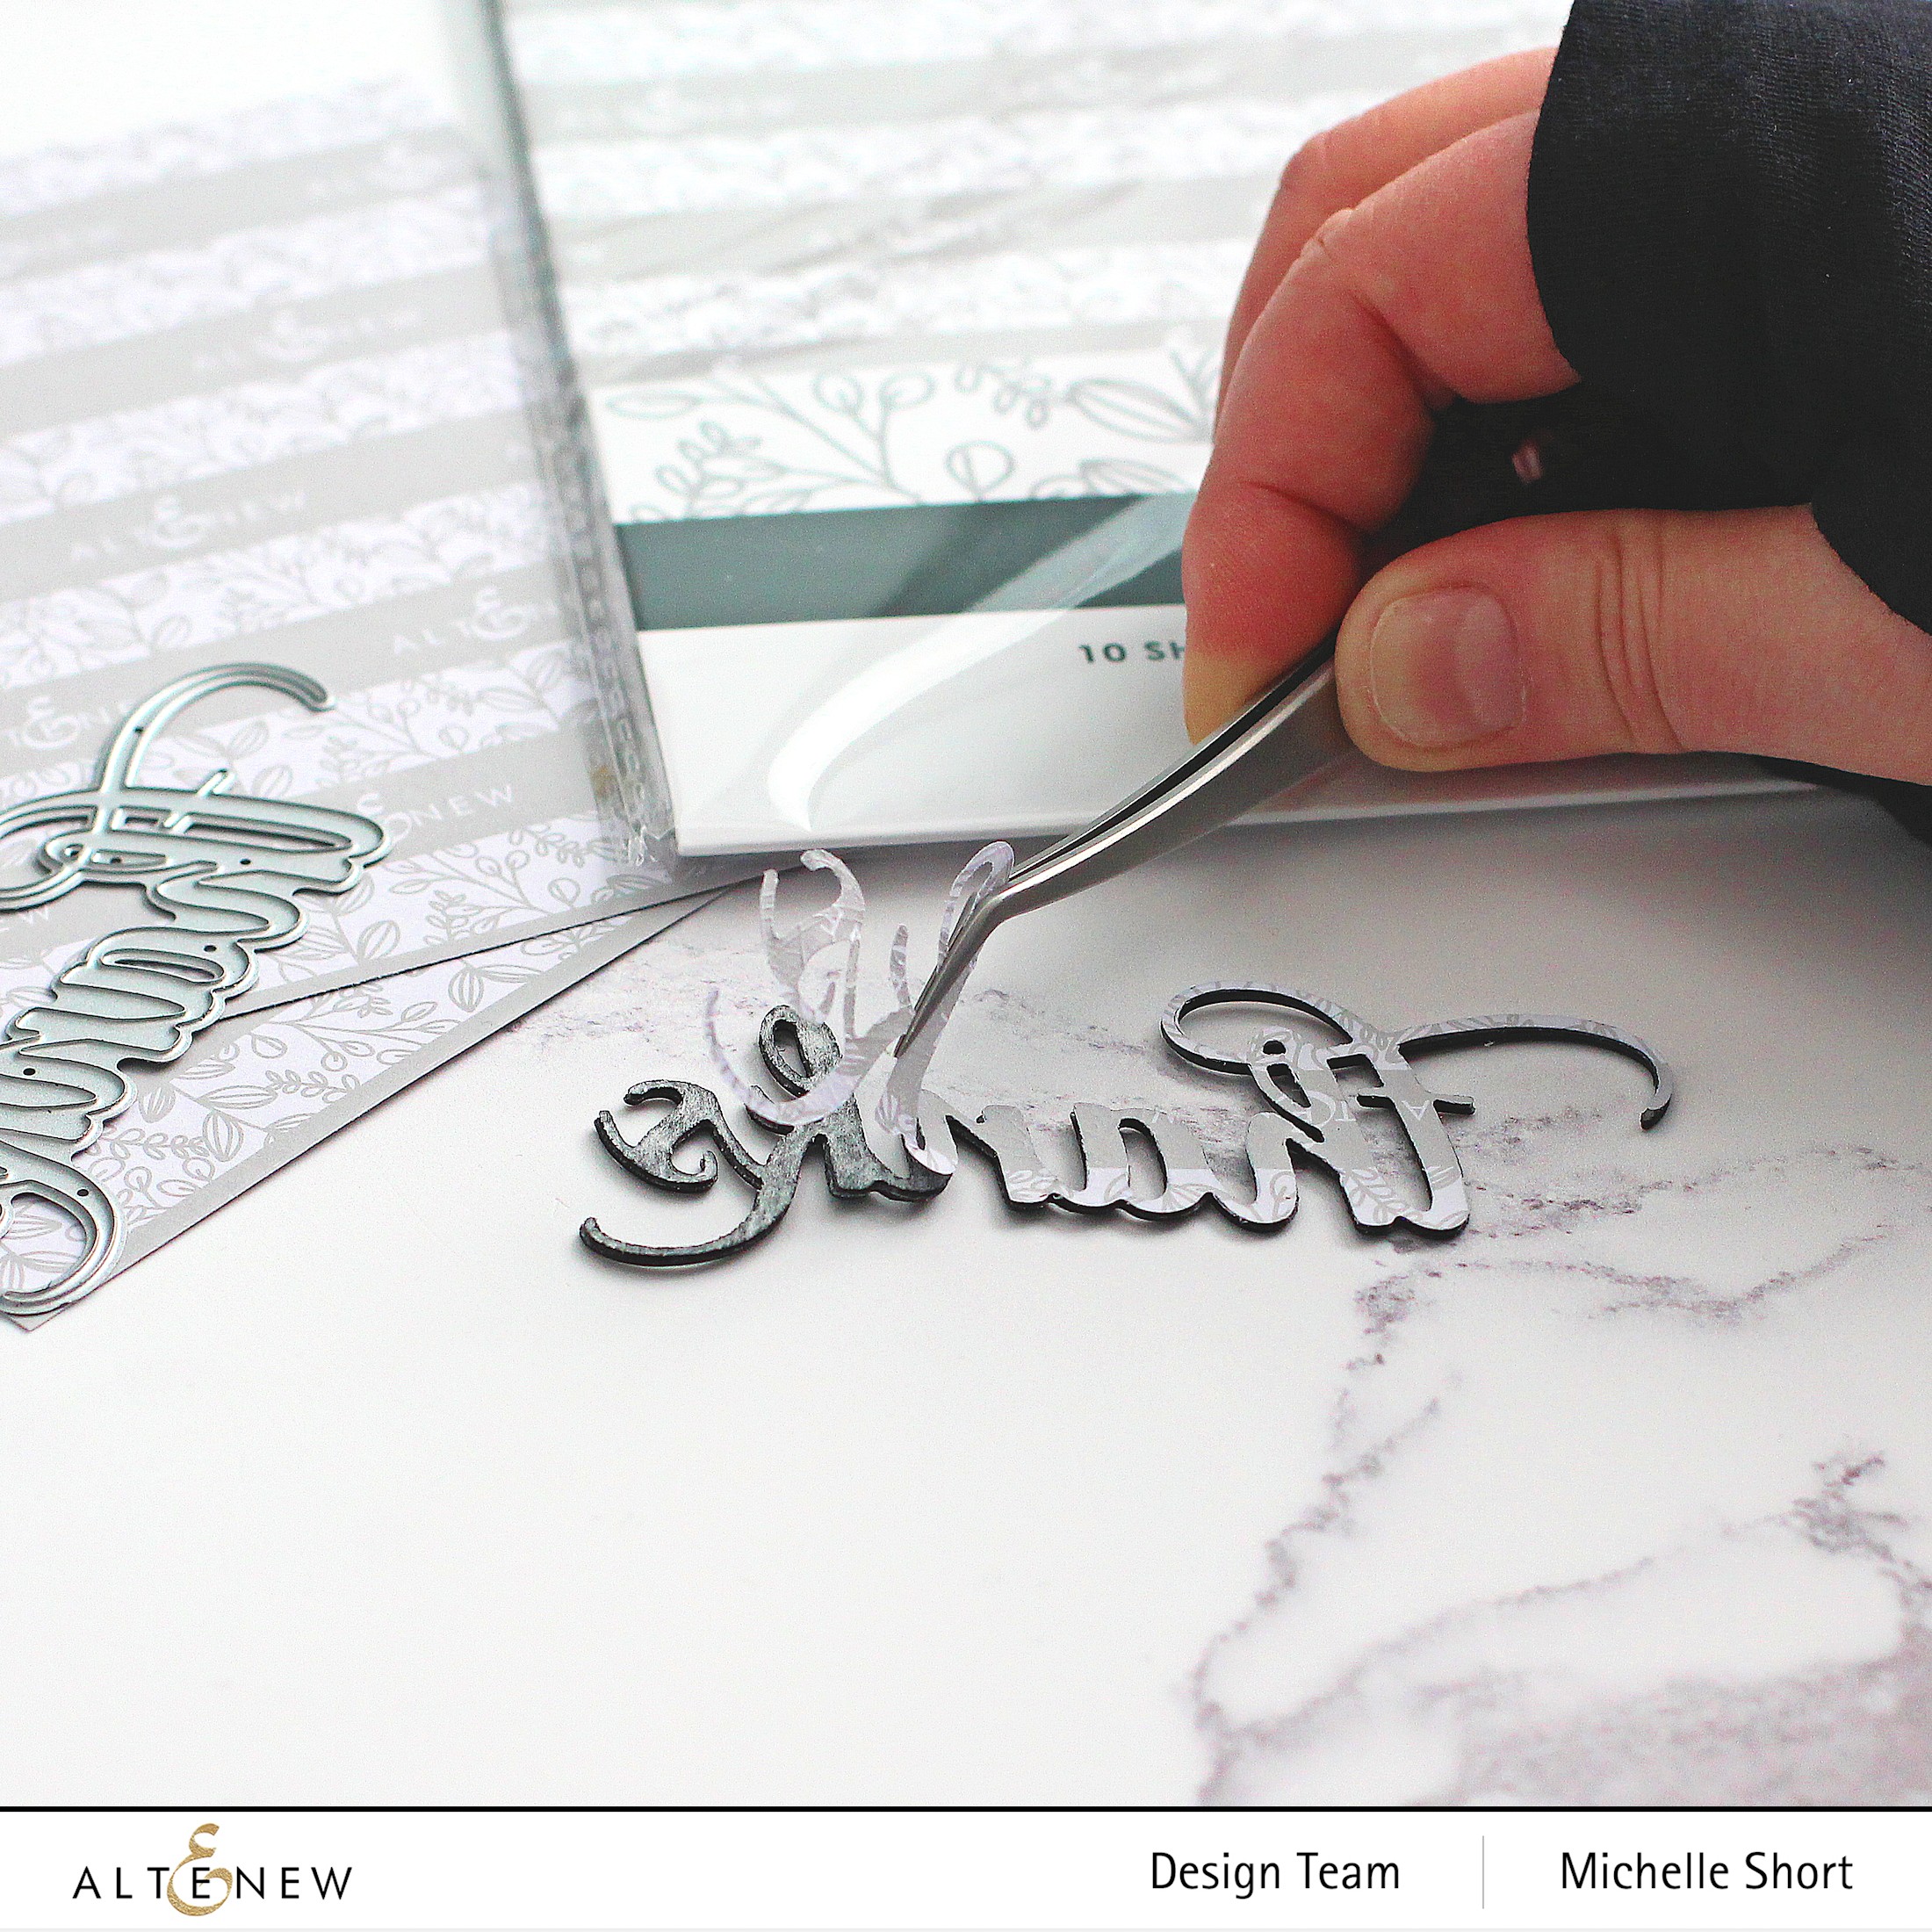
So, my favourite Altenew adhesive of all time are the Double-Sided Adhesive Sheets. These come as a pack of ten 8.25" x 11.75" sheets. They are ultra-thin and acid free. They are a permanent adhesive and hold very well. The backing paper also peels away easily. 


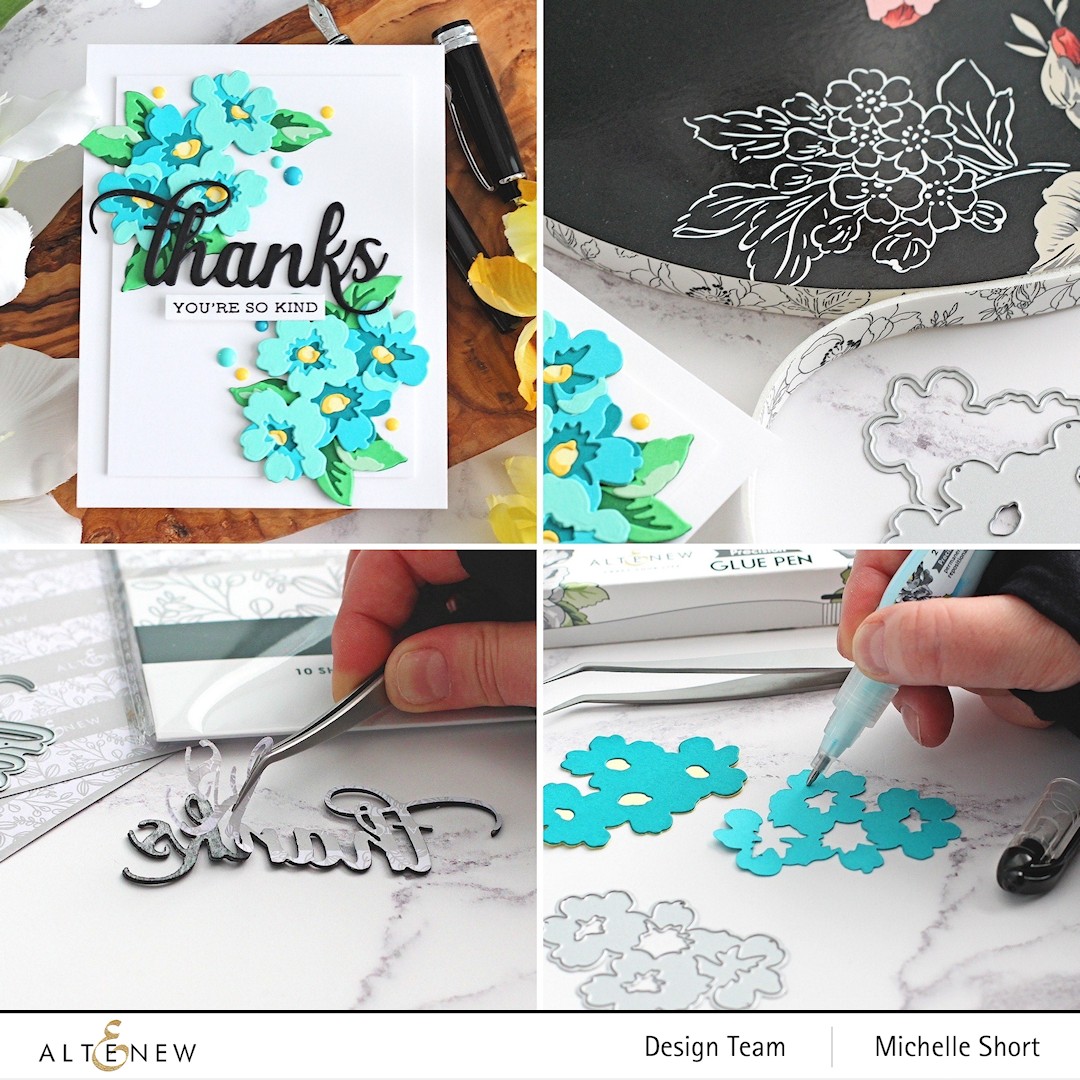
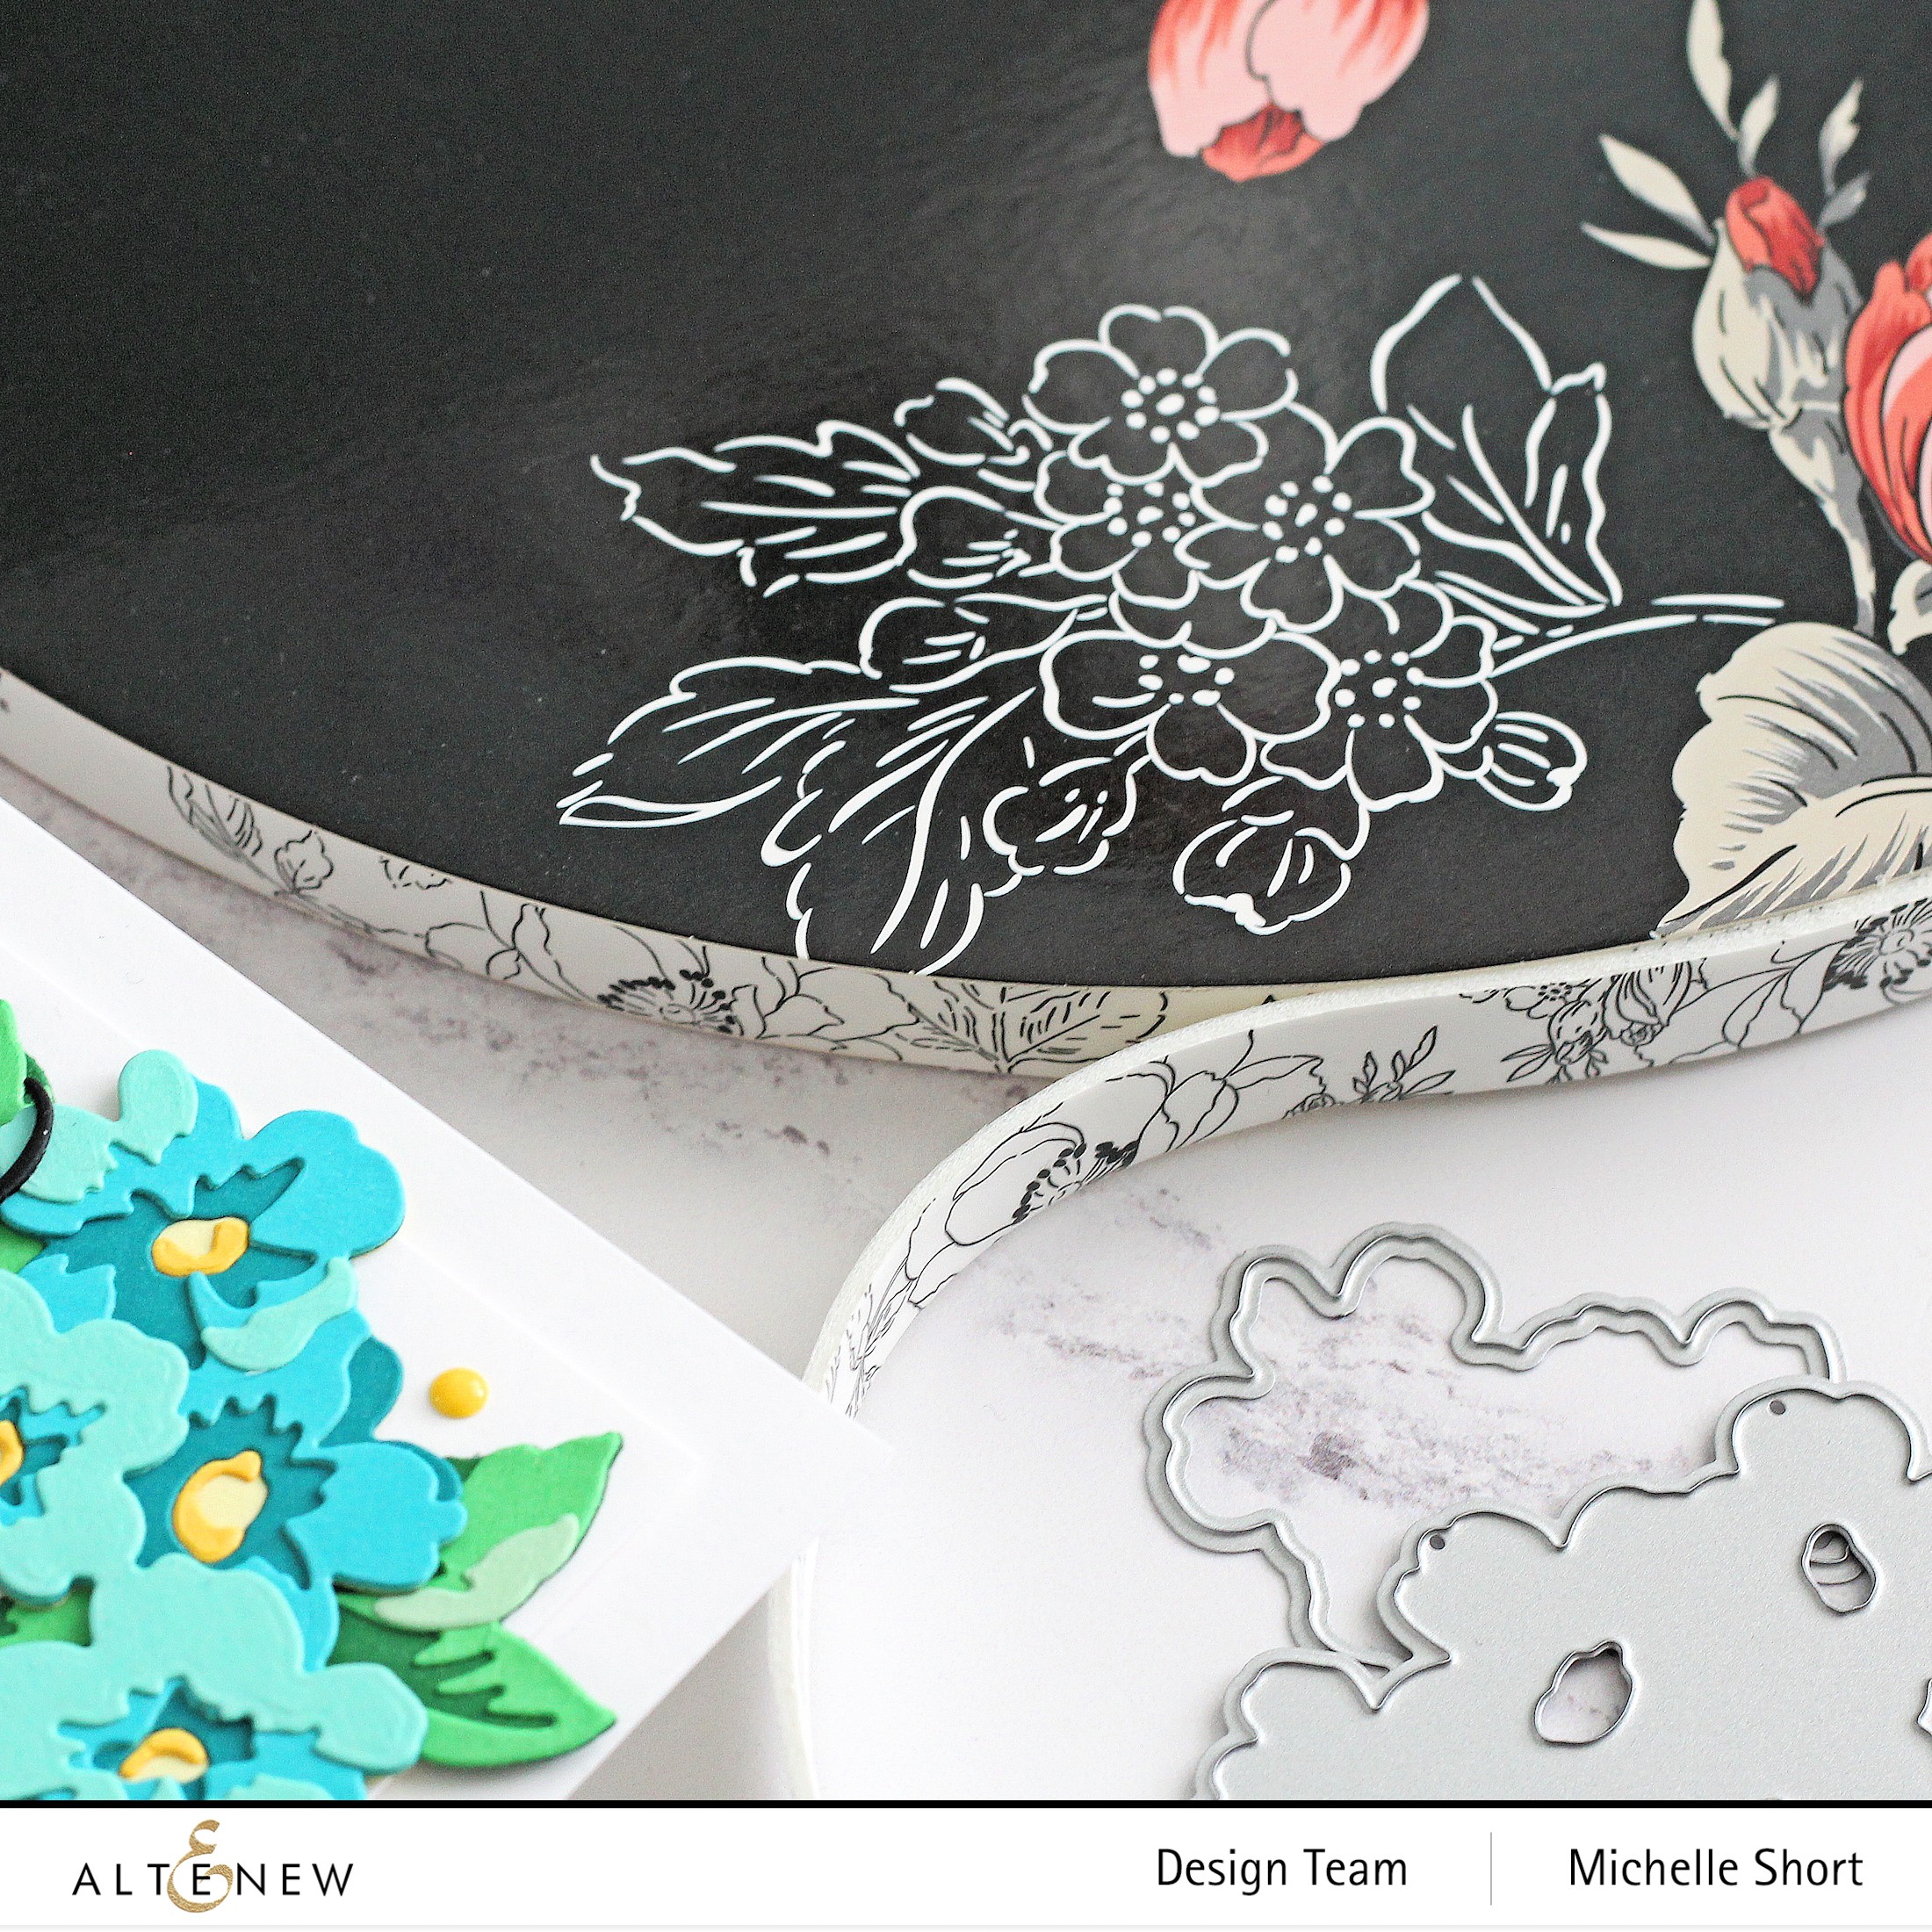
How I use these is mainly for die cutting. I add the adhesive sheet on to the back of a piece of cardstock. I then run that through my die cutting machine with the die that I want to cut and I have essentially made myself a die cut sticker. This is really helpful for smaller, intricate images and sentiments. 

I really like using this adhesive if I want to stack up sentiments to create dimension. I like that the adhesive is very strong but they also give you a little wiggle room, so that if it doesn't go on straight first time, you have a couple of seconds to lift it back up and reposition. 

INSTANT DIMENSION FOAM TAPE


Instant Dimension Foam Tape is double-sided permanent foam adhesive with a white core. It is 0.5" (12.7 mm) wide and 0.6" (1.5mm) thick. There is 8.3ft (33m) on a roll. 


I really like using this foam tape to add dimension to my projects. Although a little difficult to tear with the backing paper on, it is very easy to cut with scissors. The backing paper removes easily and the foam itself is spongy and holds up to a lot of weight. It is a nice thickness too. 

Oh, and isn't it just beautiful? I know that the packaging shouldn't matter compared to the quality of the product but in this case, the packing is beautiful, and the quality is there too! 

2 IN 1 PRECISION GLUE PEN

2 in 1 Precision Glue Pen is a 10ml glue pen with a fine tip for accurate application of liquid glue and is perfect for detailed die cuts. The glue is permanent when bonded straight away but if you leave the glue to dry, it gives a repositionable bond. 


I have to be honest here, when I first used this glue, I found it difficult to use. I struggled to get the glue out of the tip but as time has gone on, the bottle has got more malleable and easier to press to get the glue out. I love that for small die cuts, the glue does not ooze out when adhering together, but it is still strong. I also like that it is repositionable so that you have options!


Here is a card made using all three of these products. I used the 2 in 1 Precision Glue Pen to adhere the layers of the Mini Flower Cluster Layering Die Set together. Instant Dimension Foam Tape was then used to adhere them to the card, as well as the sentiment. I also used Double-Sided Adhesive Sheets to adhere layers of the Fancy Thanks Die together for added dimension. 

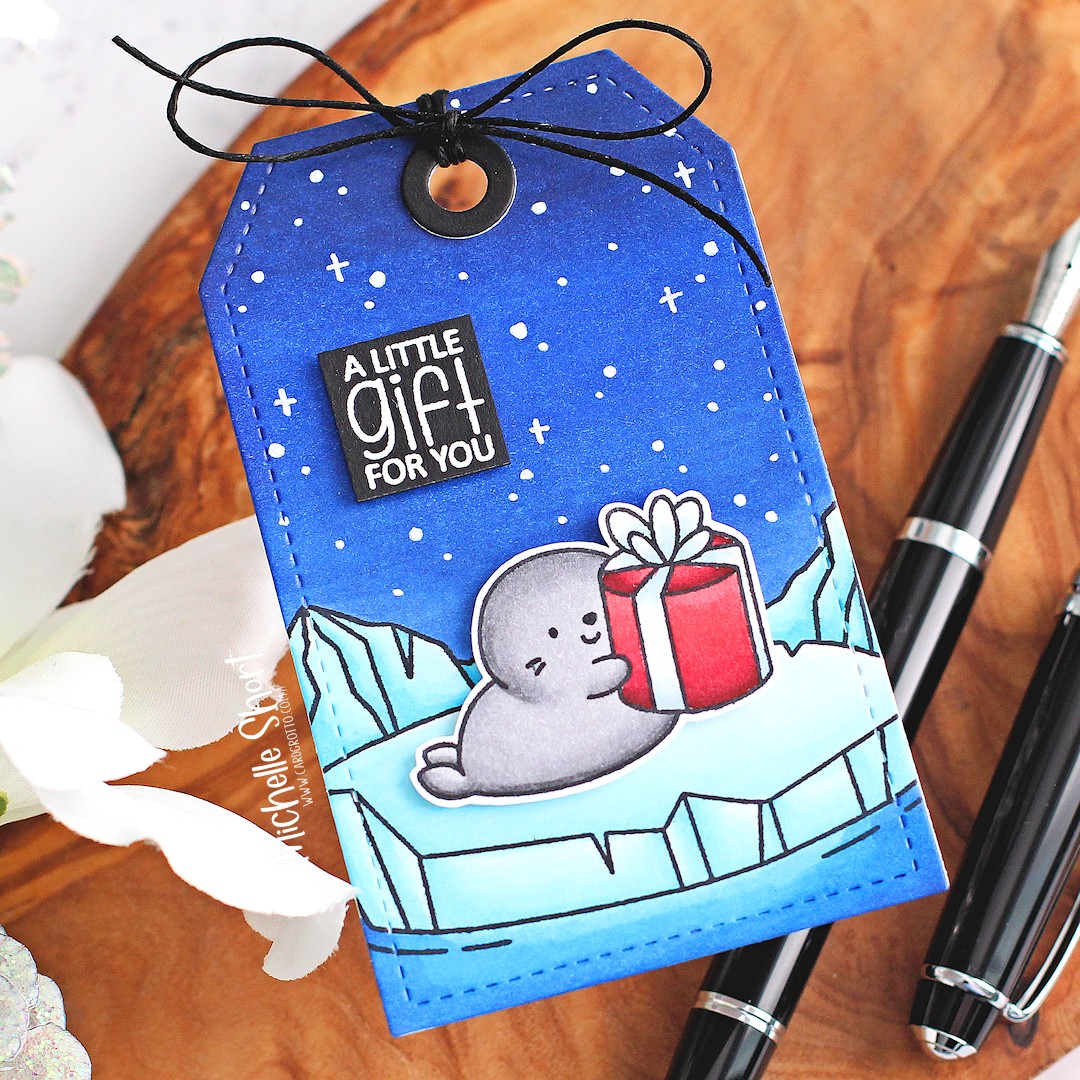
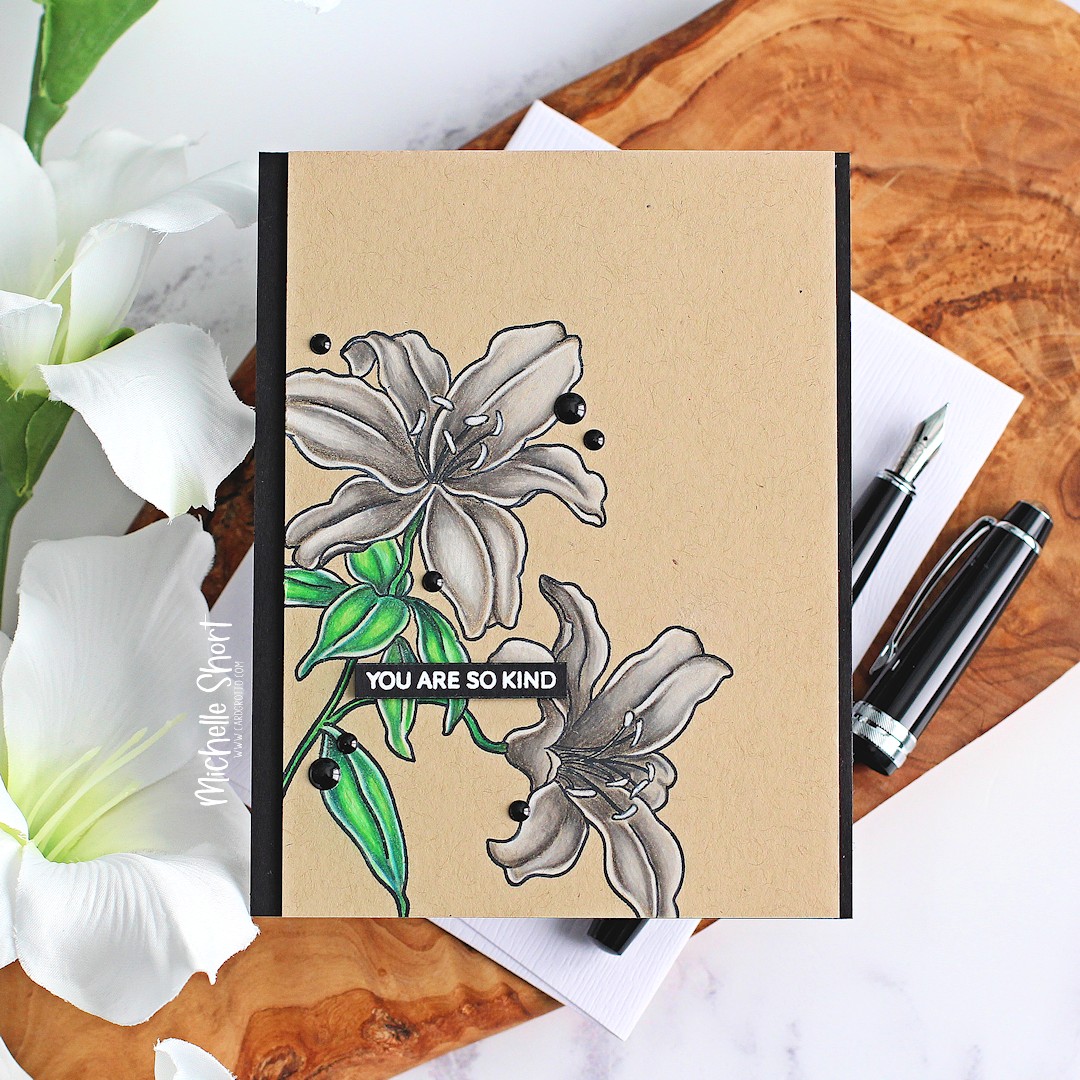
For more details on how I made this card, you can see the blog post HERE

GLUE TAPE & 3 REFILLS SET


This Glue Tape & 3 Refills Set includes one refillable applicator and three refills with clear, strong and permanent adhesive. I know that tape runner adhesive is not everyone's favourite but I really like it. The applicator is easy to hold in my hand and the adhesive itself is very strong. It is applied in small dots, and I find that if I get somewhere I do not want it, I can easily remove it with either my finger or an adhesive eraser. 

I use it a lot for adhering layers flat. The only thing that I have not liked about this adhesive in the past is that there were no refills for it. Altenew have changed that and it now comes as a set with refills. 

SATIN MASKING TAPE

Although I often do not think of masking tape as an adhesive, it really is! The Satin Masking Tape is ultra-smooth, low tack and repositionable. It is 1" (25mm) wide and 50 metres long. It is easy to cut or tear and works with lots of different surfaces. 


I use this a lot for holding down stencils when I am ink blending. The ink wipes off the tape easily, so it can be used multiple times. It is also pretty robust, so although it tears easily to cut bits off the roll, it does not tear when lifting it up, so again can be used multiple times. I have also never found that it tears my cardstock either. I also happen to like that it is purple in colour! 
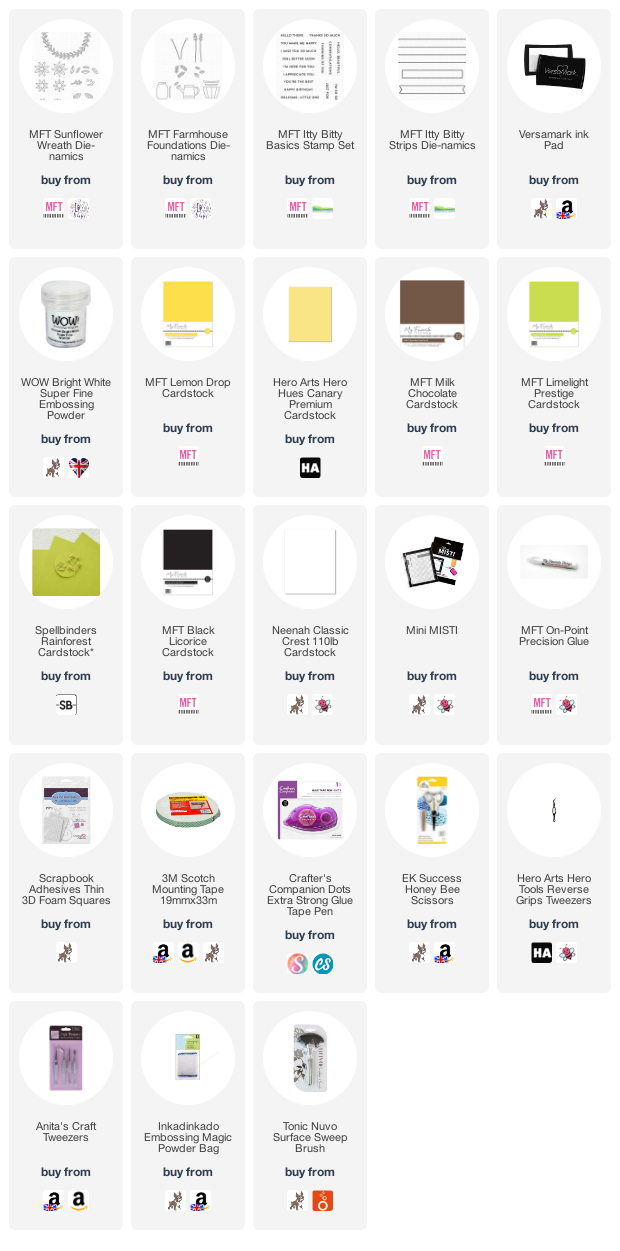
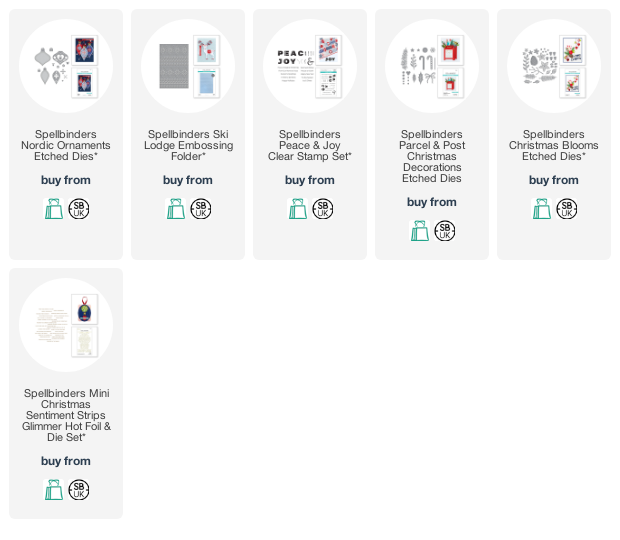
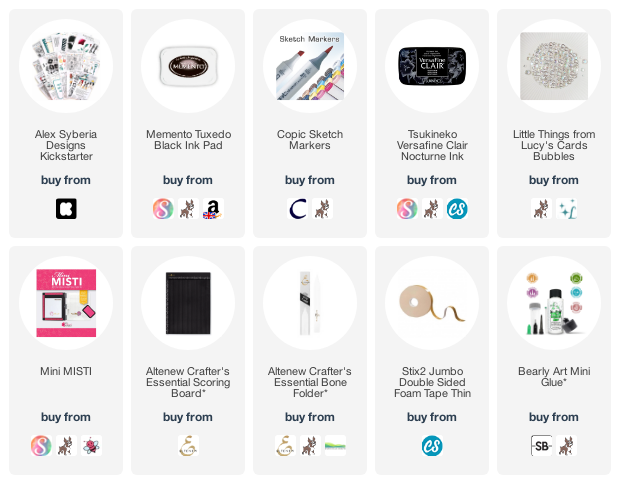
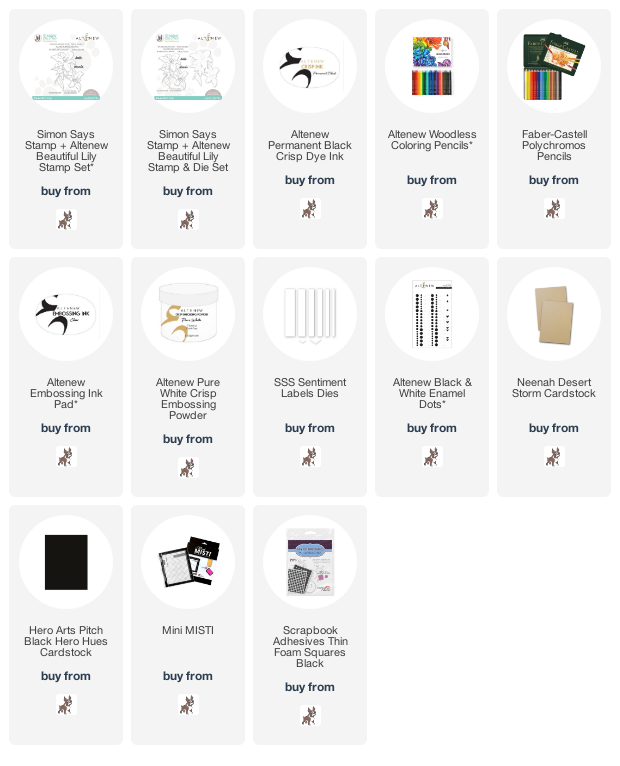
SUPPLIES:


Here are the links to what I talked about in the blog post. Affiliate links are used on some products. This means that if you make a purchase after clicking on my link, I receive a small commission with no extra cost to you. I truly appreciate your support when using these links. Please click on the logo below the product to shop at your favourite store. All products were personally purchased except those from Clearly Besotted, Hero Arts or those marked with an asterisk (*) which were kindly sent to me to use. You can read my full disclosure here.


BLOG HOP:


As mentioned, this post is part of a fun, inspirational blog hop with prizes. For the hop, you should have arrived here from the amazing Maryam Perez. Next on the hop is the wonderful Berina Rajakumar. If you get lost along the way, or want to start the hop from the beginning, please head over to the Altenew Blog

GIVEAWAY:

$300 in total prizes! To celebrate this special blog hop, Altenew is giving away a $50 gift certificate to 2 lucky winners and a $25 gift certificate to 8 winners! Please leave a comment on the Altenew Card Blog and/or each designer’s blog post on the blog hop list below by 5th October 2022 for a chance to win. Altenew will draw 10 random winners from the comments left on each stop of this blog hop and announce the winners on the Altenew Winners Page on 6th October 2022.


Thank you so much for stopping by today. I really do appreciate it. I hope you will check out the Altenew Adhesive Collection. Have a great day!

Clearly Besotted Teasers | Festive Sun Fun

Hello there and welcome to day three of the Clearly Besotted October Teasers. Release day is Saturday, 1st October 2022, so not long to wait! Today's card uses the new Festive Sun Fun set. This is such a fun set with a beach scene and lots of different characters that can be added to the beach. Perfect for who Christmas and the holidays are celebrated in the summer months! 

PLEASE NOTE: This post contains affiliate links. Please see below for my full disclosure.


I started off by stamping the beach image from the Clearly Besotted Festive Sun Fun Stamp Set on to a panel of white cardstock using Memento Tuxedo Black Ink. I then fussy cut around the top of the image with scissors. I coloured it using Copic Markers (the colours that I used are listed below the supplies list for reference). 


I stamped the bear holding the ice cream cone from the set on to more white cardstock. He was coloured using Copic Markers and fussy cut out. On another panel of cardstock, I blended Tim Distress Inks for the sky. I used (top to bottom) Festive Berries, Abandoned Coral, Dried Marigold and Mustard Seed. I then stamped the sentiment from the Clearly Besotted Chitter Chatter Stamp Set on top.


The panel was adhered flat to a US A2 sized white card base and then the beach scene added on top with thin foam tape. It was followed by the bear. To finish off, I added Crystal Glaze to the star, lights and berry. 

SUPPLIES:


Here are the links to what I have used on the project. Affiliate links are used on some products. This means that if you make a purchase after clicking on my link, I receive a small commission with no extra cost to you. I truly appreciate your support when using these links. Please click on the logo below the product to shop at your favourite store. All products were personally purchased except those from Clearly Besotted, Hero Arts or those marked with an asterisk (*) which were kindly sent to me to use. You can read my full disclosure here.


COPIC MARKERS: Sand - E44, E43, E42, E41. Ocean/sea - B18, B16, B12. Tree - E59, E57, E55, E53/G29, YG17, YG23, YG01. Coconuts - E53, E51, E50. Star and lights - Y08, Y06, Y04. Presents - R89, R39, R37, R35, R32. Beach ball - Y17, Y15, Y13, YR18, YR15, YR12. Bear - E59, E57, E55. Ice cream - E27, E25, E23/E51, E50/E53, E51, E50. Holly - G29, YG17, YG23, YG01/R89, R39, R35. Shells - YR15, YR12/Y17, Y15, Y11/YR31, YR30. 

You could definitely mix and match with this set - use the characters on their own, use the beach on its own or combine together or with other images! For more inspiration using the new release, please head over to the Clearly Besotted Blog, Keren, Adelle, Alberto and Francine. Thanks so much for stopping by today. I really do appreciate it. I will be back later with another post but in the meantime, I hope you have a lovely day! 

28 September 2022

Clearly Besotted Teasers | Polar Pals

Hello there and welcome to day two of the Clearly Besotted October 2022 Teasers. Release day is Saturday 1st October 2022. Today I am using the super cute Polar Pals set. This set is perfect for winter, Christmas and the holidays but can also be used all year round too for birthdays. 

PLEASE NOTE: This post contains affiliate links. Please see below for my full disclosure.


For my tags today, I started off by die cutting four tags from the Clearly Besotted Tag Along Die Collection using white cardstock. I cut two for the front of the tags and two for the back (to hide the bleed through of the colouring). 


I then took the iceberg image in the Clearly Besotted Polar Pals Stamp Set and stamped in on to both tags using Memento Tuxedo Black Ink. I coloured the tags using Copic Markers. I started off by colouring the water, followed by the icebergs and then the sky, all in shades of blue.


I took the seal and polar bear images from the set and stamped them on to more white cardstock using Memento Tuxedo Black Ink. They were coloured using Copic Markers (the colours that I used are listed below the supplies area) and then fussy cut out with scissors. 


I adhered the clean white tags to the back and then added the hole reinforcer pieces on top. The images were then added on top with thin foam tape. I took the sentiments from the set and stamped them on to black cardstock using Versamark Ink. I applied white embossing powderheat set and cut into strips.


They were then also added to the tags with thin foam tape. I added white gel pen dots and sparkles to the sky (the dots could be stars or snow!) and then added twine through the top of the tags and tied in a bow. 

SUPPLIES:


Here are the links to what I have used on the projects. Affiliate links are used on some products. This means that if you make a purchase after clicking on my link, I receive a small commission with no extra cost to you. I truly appreciate your support when using these links. Please click on the logo below the product to shop at your favourite store. All products were personally purchased except those from Clearly Besotted, Hero Arts or those marked with an asterisk (*) which were kindly sent to me to use. You can read my full disclosure here.


COPIC MARKERS: Ocean/sea - B18, B16, B12. Icebergs - B04, B02, B01, B00, B000, B0000. Sky - B39, B29, B28, B26. Bear - E53, E51, E50. Present - V09, V17, V15, V12, V000. Seal - N5, N3, N2, N1. Present - R89, R39, R37, R35, B41. 

These images would perfectly on cards, but I love creating tags, so decided to do tags today. For more inspiration using the new release, please head over to the Clearly Besotted Blog and my fabulous teamie Keren. Please also check out our wonderful guests Adelle, Alberto and Francine. Thanks so much for stopping by today, see you tomorrow for day three! Take care! 

27 September 2022

Clearly Besotted Teasers | Poppy Plushies

Hello there and welcome to the start of the Clearly Besotted October 2022 Teasers. Release day is 1st October 2022 and from now until then, we will be sharing teasers using the new sets. Today I am using the beautiful new Blooming Poppy Plushies set. 

PLEASE NOTE: This post contains affiliate links. Please see below for my full disclosure.


I love this set so much and couldn't decide if I wanted the poppies a traditional red or blue. So, I decided to make a card with red poppies and a little tag with blue poppies! 


I started off the card by stamping the poppies image from the Clearly Besotted Blooming Poppy Plushies Stamp Set on to a panel of white cardstock using Memento Tuxedo Black Ink


I then stamped the bear holding the poppies on to a separate piece of cardstock and coloured them both using Copic Markers (the colours that I used are listed below the supplies list for reference). I fussy cut the bear with poppies out using scissors.


The panel was adhered to an US A2 sized white card base with thin foam tape. The bear was then adhered on top in the same way. 

I took a sentiment from the set and stamped it on to black cardstock with Versamark Ink. I applied white embossing powder and heat set. It was cut into a strip and added to the card with more thin foam tape. 


For the tag, I stamped the duck and poppies image from the Clearly Besotted Blooming Poppy Plushies Stamp Set on to white cardstock with Memento Tuxedo Black Ink. I coloured it with Copic Markers and then fussy cut it out with scissors. 


It was adhered to a Reverse Confetti Dashed Line Tag using thin foam tape. The sentiment from the Clearly Besotted Blooming Orchid Plushies Stamp Set was heat embossed in white on to black cardstock. It was cut into a strip and added to the tag. 

To finish off, I added a few Little Things from Lucy's Cards Bubbles, twine bow and a mini clothespin. 

SUPPLIES:


Here are the links to what I have used on the projects. Affiliate links are used on some products. This means that if you make a purchase after clicking on my link, I receive a small commission with no extra cost to you. I truly appreciate your support when using these links. Please click on the logo below the product to shop at your favourite store. All products were personally purchased except those from Clearly Besotted, Hero Arts or those marked with an asterisk (*) which were kindly sent to me to use. You can read my full disclosure here.


COPIC MARKERS: Red poppies - R89, R39, R37, E35, R32/YR27, YR23. Blue poppies - B39, B18, B16, B12/YR27, YR23. Stems and leaves - G29, YG17, YG23, YG01. Bear - E59, E57, E55, E53. Duck - YR27, Y17, Y15, Y13/YR18, YR15, YR12. 

Aren't those poppies beautiful? There is a similar set releasing this month too with orchids. They are both gorgeous! For more inspiration using the new release, please head over to the Clearly Besotted Blog and my fabulous teamie Keren. We also have the wonderful Adelle, Francine and Alberto joining us this month. Thanks so much for stopping by, I hope you have a wonderful day! 

25 September 2022

VIDEO | Sunflower Wreath

Hello there, I was over on the My Favorite Things YouTube Channel on Friday, sharing a card using the beautiful Sunflower Wreath Die-namics that were released as part of the Sending Sunflowers Card Kit. You can buy the components separately though, too! :)

PLEASE NOTE: This post contains affiliate links. Please see below for my full disclosure.


I started off by die cutting the MFT Sunflower Wreath Die-namics from cardstock. I used two yellows for the flower petals, MFT Milk Chocolate Cardstock for the flower centres and two shades of green for the leaves. I also die cut some of the leaf fronds from the MFT Farmhouse Foundations Die-namics set. 


The sunflowers were adhered together first, using MFT On-Point Precision Glue. I then adhered the actual wreath piece to a US A2 sized white card base. The sunflowers were adhered on top with thin foam squares. I then arranged all of the leaves and foliage around the sunflowers, adhering with the liquid glue.


The sentiment from the MFT Itty Bitty Basics Stamp Set was stamped on to MFT Black Licorice Cardstock using Versamark Ink. I applied white embossing powder and heat set. It was cut into a strip using the MFT Itty Bitty Strips Die-namics and adhered to the card with foam tape. To finish off, I added a few gold gems. 

VIDEO:

Here is the video showing how I made the card:


If you are viewing this blog post via email subscription, you can watch the video HERE on YouTube. 

SUPPLIES:


Here are the links to what I have used on the project. Affiliate links are used on some products. This means that if you make a purchase after clicking on my link, I receive a small commission with no extra cost to you. I truly appreciate your support when using these links. Please click on the logo below the product to shop at your favourite store. All products were personally purchased except those from Clearly Besotted, Hero Arts or those marked with an asterisk (*) which were kindly sent to me to use. You can read my full disclosure here.


As I mention in the video, the card ended up more spring/summer like than I had hoped. I was going for a more autumnal look. I still think it is pretty though! Thank you so much for stopping by today, I really do appreciate it. I will be back a little later with another post but in the meantime, I hope you have a lovely day! 

24 September 2022

Spellbinders | Nordic Ornaments 3 Ways

Hello there, I was over on the Spellbinders Blog yesterday sharing three projects using the new Winter Tales Collection by Zsoka Marko, which was released on the 14th September. My projects today focus on the Nordic Ornaments Etched Dies. 

The collection is Nordic/Scandinavian inspired and although great for Christmas/holidays and winter, I think some of the products can be used all year round too! 

PLEASE NOTE: This post contains affiliate links. Please see below for my full disclosure.


My first project uses the larger of the Nordic Ornaments as an actual ornament or tag. I love the shape of this ornament and thought that it would work well as a tag. I went with with a purple theme, with small pops of green and red. I did not add a sentiment as I think it would work well for a few occasions. 

My second project uses the longer of the two Nordic Ornaments for a mini slimline card. I also used the fabulous Ski Lodge Embossing Folder, which is also part of the Winer Tales Collection for the background. This has become a big favourite of mine! I went with traditional Nordic colours of red, blue and white for this one. The sentiment is from the Peace & Joy Stamp Set

For my last project, I wanted to show that you can embellish the ornaments however you wish! They make the perfect shape/backdrop for lots of different products and designs. Here I used foliage and flowers from the Parcel & Post Christmas Decorations and Christmas Blooms sets. 

SUPPLIES:


Here are the links to what I have used on the project. Affiliate links are used on some products. This means that if you make a purchase after clicking on my link, I receive a small commission with no extra cost to you. I truly appreciate your support when using these links. Please click on the logo below the product to shop at your favourite store. All products were personally purchased except those from Clearly Besotted, Hero Arts or those marked with an asterisk (*) which were kindly sent to me to use. You can read my full disclosure here.


For more details and a full supply list on how I made the projects, please visit the Spellbinders Blog Post HERE. It is such a wonderful collection and I hope to share more projects using it soon! Thanks so much for stopping by today, I really do appreciate it. I hope you have a great day! 

23 September 2022

Alex Syberia Designs | Hello Lovely

Hello there, I am delighted to be joining Alex Syberia Designs for the launch of their very first physical products through their Kickstarter Campaign. Today we are continuing the celebrations over on Instagram, but I wanted to share my post here too for any further information. 

PLEASE NOTE: This post contains affiliate links. Please see below for my full disclosure.

Today I am using the wonderful Hello Lovely Stamp Set, along with the coordinating dies. 

I started off by stamping the image from the Alex Syberia Hello Lovely Stamp Set on to white cardstock using Memento Tuxedo Black Ink. I then coloured it using Copic Markers (the colours that I used are listed below the supplies area for reference). 

It was die cut using the Alex Syberia Hello Lovely Dies. It was adhered to a US A2 sized white card base with horizontal scoring lines on, using thin foam tape. 

I stamped the sentiment from the set on to more white cardstock with Versafaine Clair Nocturne Ink and then die cut it out using the coordinating dies. I then die cut the die another two times, so that I could layer them up one on top of another for added dimension. It was adhered to the card with liquid glue. To finish off, I added a Little Things from Lucy's Cards Bubbles

SUPPLIES:


Here are the links to what I have used on the project. Affiliate links are used on some products. This means that if you make a purchase after clicking on my link, I receive a small commission with no extra cost to you. I truly appreciate your support when using these links. Please click on the logo below the product to shop at your favourite store. All products were personally purchased except those from Clearly Besotted, Hero Arts or those marked with an asterisk (*) which were kindly sent to me to use. You can read my full disclosure here.


COPIC MARKERS: Flowers - V09, V17, V15, V12, V01, V00/Y17, Y15, Y13. Stems and leaves - G29, YG17, YG23, YG01. 

INSTAGRAM HOP:

All of the fun is happening over on Instagram today, with inspiration and giveaways. Please head over to my Instagram page HERE and Alex Syberia Designs HERE

KICKSTARTER CAMPAIGN:

We are celebrating the launch of Alex Syberia Designs' very first collection of physical products through their Kickstarter Campaign! With clear stamps, dies and stencils, there's something for everyone to love!

To have a look at all of the designs in detail (including videos!), the exclusive offers they have for you, and see how you can support them, make sure you check their Kickstarter Campaign Page.

Their Kickstarter Campaign, full of incredible discounts for you, will run from the 15th September to the 16th October 2022.  

This great milestone called for some big celebrations! Throughout the duration of the Kickstarter Campaign, Alex Syberia Designs will be hosting 4 hops:

  • 15 September 2022 - Hop 1: Blog hop 
  • 23 September 2022 - Hop 2: Instagram hop (that's today!)
  • 5 October 2022 - Hop 3: Blog hop
  • 13 October 2022 - Hop 4: Instagram hop
Thank you so much for stopping by today, I really do appreciate it. I hope you will check out the hop over on Instagram. Wishing you a great day! 

17 September 2022

STAMPtember | Altenew Beautiful Lily

Hello there, today I have a card to share with you using the Simon Says Stamp + Altenew STAMPtember collaboration set called Beautiful Lily, which was released on the 7th September. Unfortunately, due to postal delays, it only arrived yesterday but great news! It is currently still in stock. Once it sells out, it is gone forever, so if you like it, grab it while you can! 

PLEASE NOTE: This post contains affiliate links. Please see below for my full disclosure.


I started off by stamping the main image from the Simon Says Stamp + Altenew Beautiful Lily Stamp Set on to kraft cardstock using Altenew Permanent Black Ink. I then coloured it with a combination of Altenew Woodless Coloring Pencils and Polychromos Pencils


The panel was adhered to a US A2 sized black card base with thin (black) foam tape. I then took the sentiment from the set and stamped it on to more black cardstock using Altenew Embossing Ink. I applied Altenew Pure White Crisp Embossing Powder and heat set. 


It was cut into a strip and adhered to the card with more thin foam tape. To finish off, I added a few Altenew Essential Black & White Enamel Dots (just the black ones!). 

SUPPLIES:


Here are the links to what I have used on the project. Affiliate links are used on some products. This means that if you make a purchase after clicking on my link, I receive a small commission with no extra cost to you. I truly appreciate your support when using these links. Please click on the logo below the product to shop at your favourite store. All products were personally purchased except those from Clearly Besotted, Hero Arts or those marked with an asterisk (*) which were kindly sent to me to use. You can read my full disclosure here.


I am a little rusty with colouring pencils, since I haven't used them for quite a while. I always like how they look on kraft cardstock though! Thank you so much for stopping by today, I really do appreciate it. I hope you have a lovely weekend! Take care!
End of code