22 October 2024

Spellbinders | Woodland Tales

Hello there, I am delighted to be over on the Spellbinders Blog sharing three projects using the Woodland Tales Collection. This collection is autumn themed and has lots of different products in it - dies, wax seals, press plates, stamps, papers and embellishments. 

PLEASE NOTE: This post contains affiliate links. Please see below for my full disclosure.


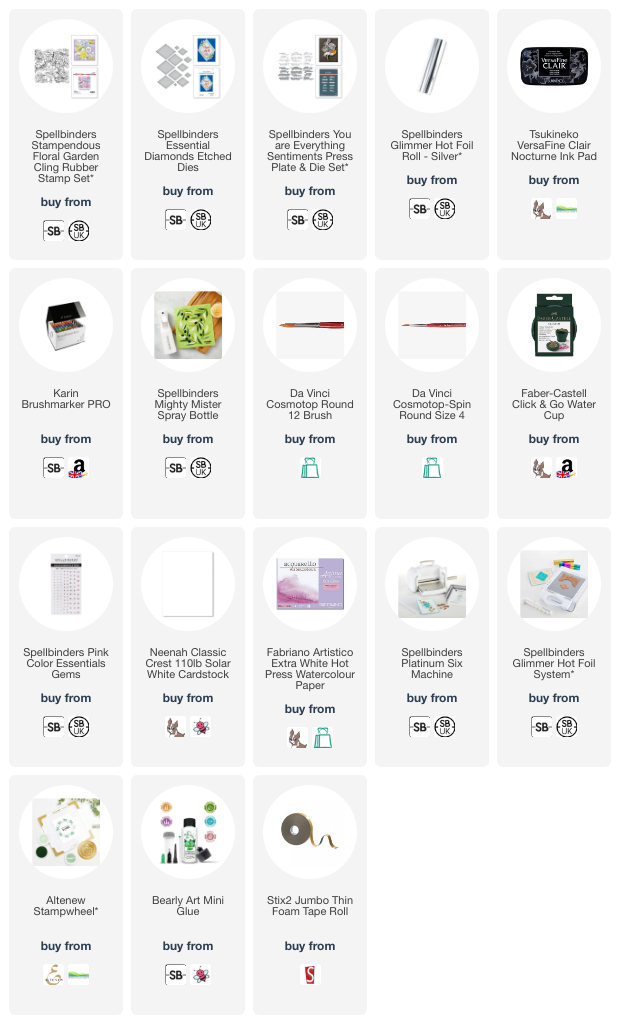
The card above uses one of my favourite products in the collection - Finley the Fox! I paired him with the Woodland Tales Fern and also the previously released Autumn of Wonder mushrooms. The sentiment is from the Woodland Tales Impressions Plate & Die Set, hot foiled with Satin Gold Foil. I embellished with the Woodland Tales Gold-Flecked Gems

SUPPLIES:


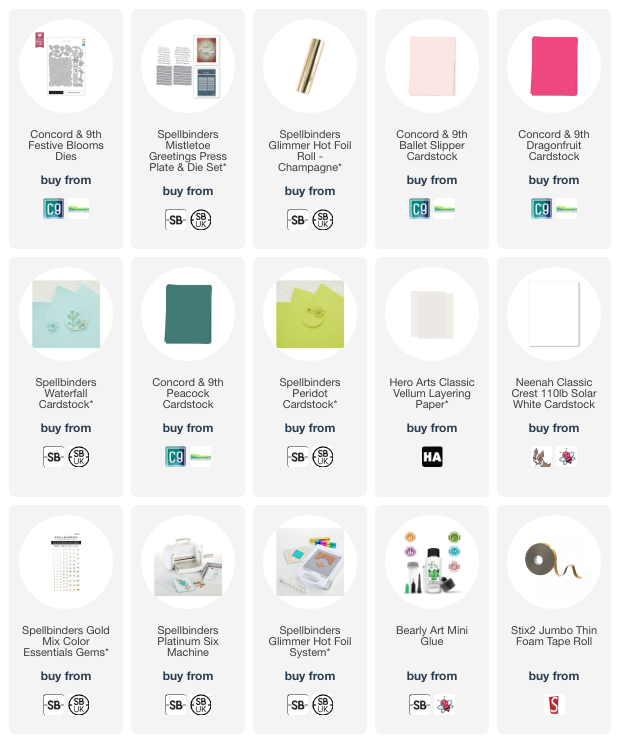
Here are the links to what I have used on the project. Affiliate links are used on some products. This means that if you make a purchase after clicking on my link, I receive a small commission with no extra cost to you. I truly appreciate your support when using these links. Please click on the logo below the product to shop at your favourite store. All products were personally purchased except those from Clearly Besotted, Hero Arts or those marked with an asterisk (*) which were kindly sent to me to use. You can read my full disclosure here.


For more details on how I made the card, as well as seeing the other card and box I made, please head over to the Spellbinders blog HERE. Thank you so much for stopping by, I hope you have a wonderful day! 

21 October 2024

VIDEO | Hot Foiling Tips

Hello there, today I have a card to share using hot foiling. I know hot foiling isn't for everyone but I do have some tips to share if you are struggling to get a good impression (I share them in the video). The card itself uses a non-traditional holiday colour scheme ... I always love purple! 

PLEASE NOTE: This post contains affiliate links. Please see below for my full disclosure.


I started off by taking a panel of Hero Arts Amethyst Cardstock and placed a piece of Spellbinders Silver Glimmer Hot Foil on top of that, shiny side up. I then placed the wreath from the Hero Arts Wreath & Finch Letterpress + Foil Plate on top, facing down. I held everything in place with Best Ever Craft Tape. I placed it on my Spellbinders Glimmer Hot Foil System to heat up (plate side down) and once ready, ran it through my Platinum Six

I did get a little over-foiling, so I removed that with a craft knife. I then foiled the finch in the same way. I die cut the wreath panel using the largest die in the Hero Arts Nesting Rectangle Infinity Dies set and then added ink blending around the edges with Hero Arts Core Inks and Blending Brushes. 

I used Amethyst to start with, followed by Grape Juice and then Pitch Black. It was adhered to a US A2 sized card base made from more Amethyst Cardstock. I fussy cut the finch out with scissors and adhered a bow made from black twine behind him. They were adhered to the card using foam tape. 

I stamped the sentiment from the Hero Arts Cozy Study Stamp & Die Bundle onto Hero Arts Pitch Black Cardstock using Hero Arts Clear Embossing & Watermark Ink. I applied Hero Arts White Embossing Powder and heat set. It was cut out using the coordinating die and adhered to the card with thin foam tape. To finish, I embellished with Hero Arts Black Enamel Dots

VIDEO:

Here is the video showing how I made the card:

If you are viewing this post via email subscription, you can watch the video HERE on YouTube. 

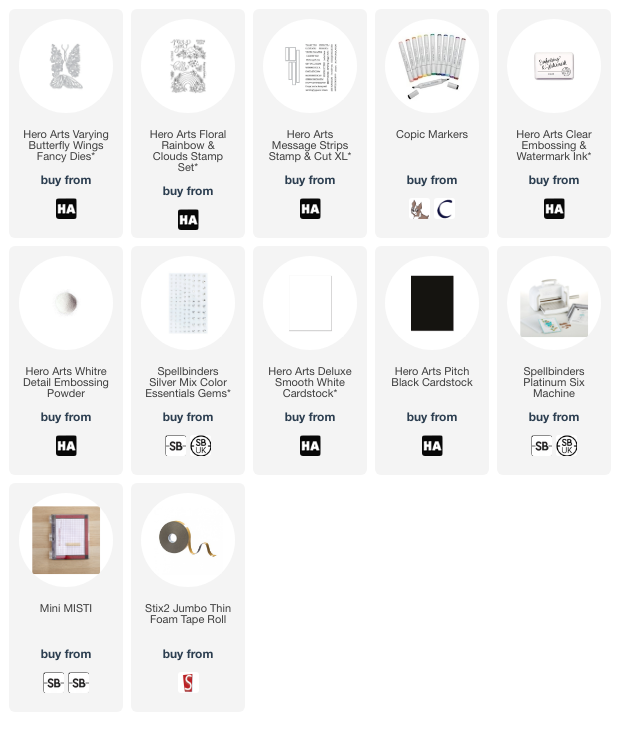
SUPPLIES:


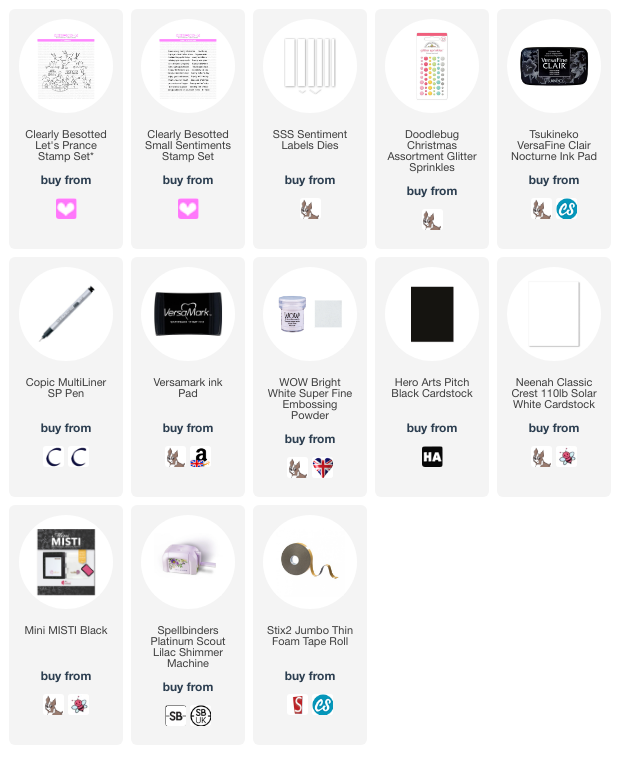
Here are the links to what I have used on the project and in the video. Affiliate links are used on some products. This means that if you make a purchase after clicking on my link, I receive a small commission with no extra cost to you. I truly appreciate your support when using these links. Please click on the logo below the product to shop at your favourite store. All products were personally purchased except those from Clearly Besotted, Hero Arts or those marked with an asterisk (*) which were kindly sent to me to use. You can read my full disclosure here.


Definitely more of a Halloween colour scheme but hopefully still pretty! Thank you so much for stopping by today, I really do appreciate it. I hope you have a great day and a wonderful week ahead! 

12 October 2024

Spellbinders | Cozy Toes Slippers

Hello there, I hope you are well. Today I have a card to share using the Spellbinders Large Die of the Month Club Kit for October 2024 called Cozy Toes Slippers. This is such a fun set as you can make different slippers - reindeer, penguin, Santa and a bunny! 

PLEASE NOTE: This post contains affiliate links. Please see below for my full disclosure.


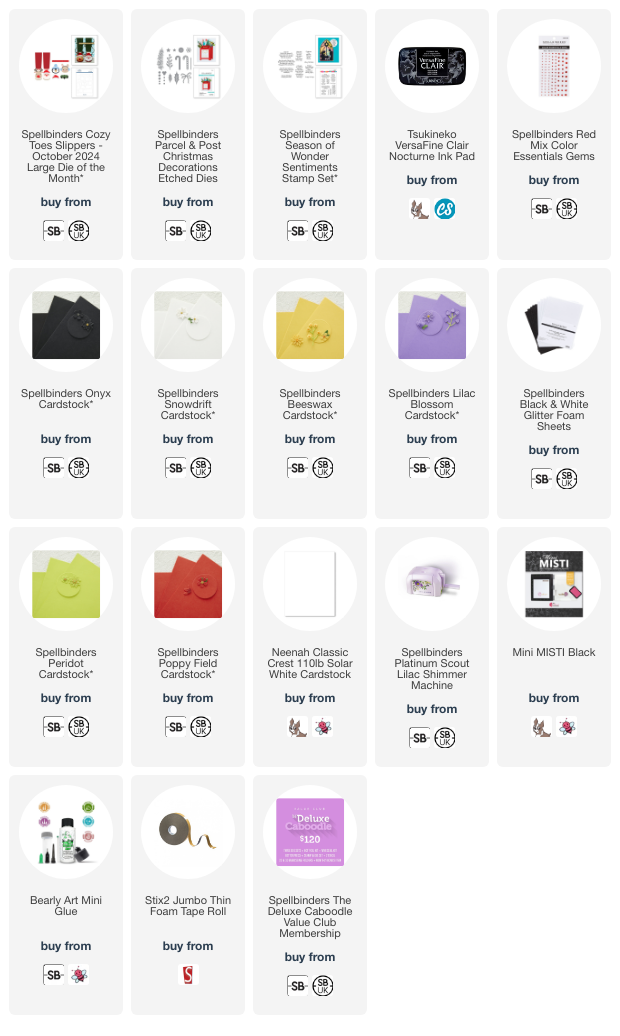
I started off my card by making the slippers from the Spellbinders October 2024 Large Die of the Month Club Kit. I cut the base later from Spellbinders Snowdrift Cardstock and the sole part from Spellbinders Onyx Cardstock. They were then adhered together using Bearly Art Glue. The reindeer faces were cut from Spellbinders Dune Cardstock and the inside ear pieces from Spellbinders Pink Sand Cardstock


The antlers were cut from Spellbinders Latte Cardstock and the noses from Simon Says Stamp Crimson Glitter Cardstock (the highlight piece cut from Snowdrift Cardstock). The pieces were adhered together using Bearly Art Glue and then adhered to the base of the slippers with thin foam squares. The ankles were then cut from Spellbinders Bearly Peach Cardstock


For the top part of the slippers (or socks), you want to pop the ankle behind it first and adhere them in place, then add the back part of the sock/slipper behind, so to sandwich the ankles inside the slippers/socks. I then cut the legs/pyjamas from a sheet of paper from the Sunny Studio Holiday Cheer Paper Pack. They were adhered to white cardstock pieces (for added stability) before adhering to the tops of the ankles. 


The legs and slippers were then adhered onto a US A2 sized white card base with Bearly Art Glue. The sentiment, from the Spellbinders Mistletoe Greetings Press Plate & Die Set, was hot foiled onto white cardstock using Spellbinders Champagne Foil and the Glimmer Hot Foil System. It was cut out using the coordinating die and adhered to the card. 

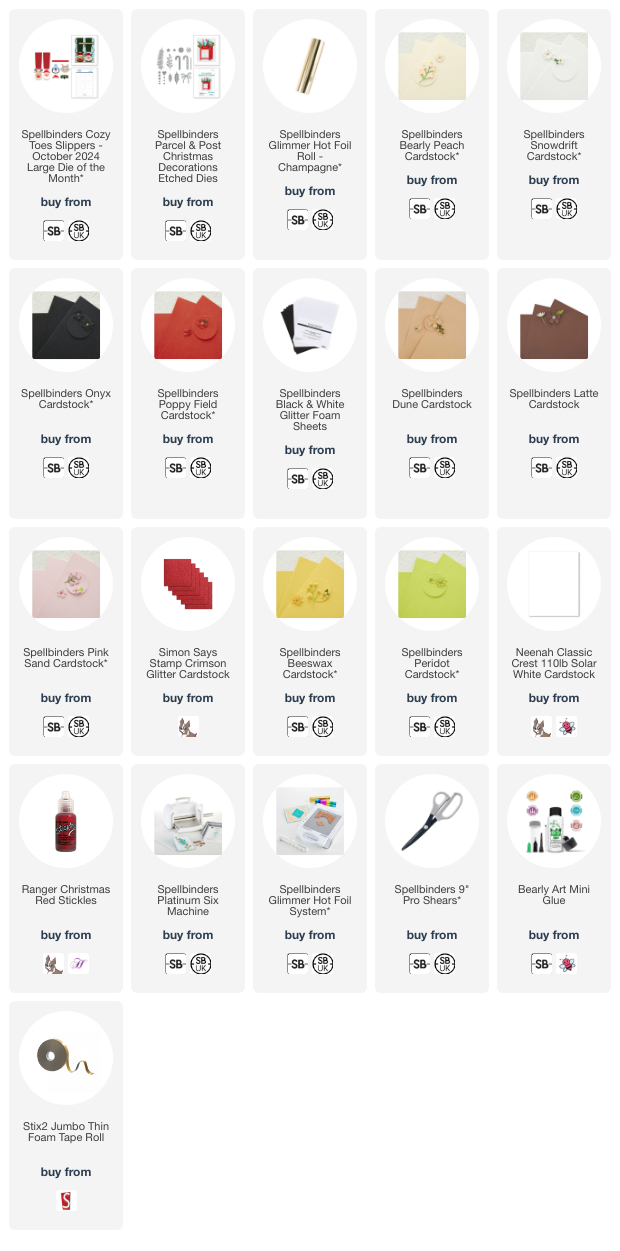
SUPPLIES:


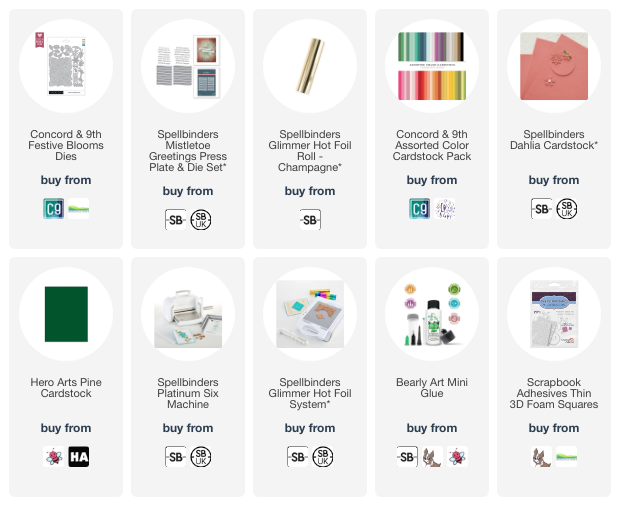
Here are the links to what I have used on the project. Affiliate links are used on some products. This means that if you make a purchase after clicking on my link, I receive a small commission with no extra cost to you. I truly appreciate your support when using these links. Please click on the logo below the product to shop at your favourite store. All products were personally purchased except those from Clearly Besotted, Hero Arts or those marked with an asterisk (*) which were kindly sent to me to use. You can read my full disclosure here.


You can use the reindeer, penguin, Santa and bunny on their own without making them into slippers too. I am hoping to try and do that soon as I think they are so cute! Thank you so much for stopping by today, I really do appreciate it. I hope you have a wonderful weekend! 

11 October 2024

Spellbinders | Mantel Decorations

Hello there, today I have two cards to share with you using the Spellbinders Timeless Trees Collection by Simon Hurley, which is out now. I decorate the mantelpieces in my house for Christmas every year with white houses, green trees and white reindeer, so I was immediately drawn to the mantel sets in the collection. 

PLEASE NOTE: This post contains affiliate links. Please see below for my full disclosure.


My first card uses just the Spellbinders Mantel Village Etched Dies. I cut the mantelpiece/mantel (or could be a normal shelf) from Spellbinders Dune Cardstock. I then added ink blending on top with Altenew Coffee Break Fresh Dye Inks and a blending brush. 


I really love how this brings out the woodgrain texture from the die! I then cut the tree stands from the same Dune Cardstock and used the residual ink from the brush on those. I die cut the trees from Spellbinders Rainforest Cardstock and added ink blending on top with Altenew Green Valley Fresh Dye Inks.


I then cut the houses from white cardstock and cut pieces of Tonic Pearled Gold Vellum (has a lovely pearlescence to it in real-life) and adhered them behind to look there are lights inside glowing. I adhered the mantelpiece onto a US A2 sized white card base with thin foam tape and then added the trees and houses with Bearly Art Glue


The sentiment, from Spellbinders Glitter Wishes Glimmer Hot Foil Plate & Die Set, was hot foiled onto white cardstock using Spellbinders Champagne Foil and the Spellbinders Glimmer Hot Foil System. It was cut into a strip using the coordinating die and adhered to the card with thin foam tape. 


My second card uses the Spellbinders Mantel Village Etched Dies, as well as the Spellbinders Mantel Decorations Etched Dies. I cut the mantelpiece/mantel and trees the same as the first card and added ink blending on top. I then cut the garland pieces from Spellbinders Fern Cardstock and added ink blending to those too. 


The holly was cut from Spellbinders Rainforest Cardstock and the berries from Spellbinders Poppy Field Cardstock. The deer were cut from white cardstock. I adhered the mantelpiece/mantel to a US A2 sized white card base with thin foam tape, followed by the garland, holly, berries, trees and reindeer - all using Bearly Art Glue. 


The sentiment from the Spellbinders Glitter Wishes Glimmer Hot Foil Plate & Die Set was foiled the same as the first card, cut into a strip and adhered below the mantle with thin foam tape. To finish, I added Christmas Red Stickles to the berries. 

SUPPLIES:


Here are the links to what I have used on the projects. Affiliate links are used on some products. This means that if you make a purchase after clicking on my link, I receive a small commission with no extra cost to you. I truly appreciate your support when using these links. Please click on the logo below the product to shop at your favourite store. All products were personally purchased except those from Clearly Besotted, Hero Arts or those marked with an asterisk (*) which were kindly sent to me to use. You can read my full disclosure here.


The reindeer would look great in traditional reindeer colours but my reindeer ornaments/decorations are white in colour (although I do have some black ones too), so that is what I went with today! 

I have to apologise for the not so great photos. We are getting into bad lighting season here in the UK and its a struggle to take decent photos when you rely on natural sunlight that doesn't seem to want to make an appearance at the moment! 

Thank you so much for stopping by today, I really do appreciate it. I hope you have a wonderful day! 

10 October 2024

Simon Says Stamp | Sketched Leaves

Hello there, today I have two cards to share using the Simon Says Stamp Sketched Leaves Stamp Set from the new Sweet Wishes release, which is out now. My cards today are inspired by the amazing work of Hannelie Bester. They are not inspired by a particular card or anything, I just love her work and have been inspired overall by her. 

PLEASE NOTE: This post contains affiliate links. Please see below for my full disclosure.


I started off my cards by stamping the the dots onto panels of white cardstock. I used the Simon Says Stamp Lots of Dots Stamp Set (one that I actually usually use to make swatches!) and stamped three on each card using Concord & 9th Inks. 

I used Oceanside, Peacock and Midnight on the teal card & Carnation, Wildberry and Grape Soda on the pink/purple one. 

I then stamped the leaves from the Simon Says Stamp Sketched Leaves Stamp Set on top using Versafine Clair Nocturne Ink. The panels were adhered to US A2 sized white card bases. 

I took two sentiments from the Simon Says Stamp Sketched Leaves Stamp Set and stamped them onto black cardstock using Versamark Ink

I applied white embossing powder and heat set. They were fussy cut out with scissors and adhered to the cards with thin foam squares. To finish, I embellished with Hero Arts Clear Enamel Dots

SUPPLIES:


Here are the links to what I have used on the projects. Affiliate links are used on some products. This means that if you make a purchase after clicking on my link, I receive a small commission with no extra cost to you. I truly appreciate your support when using these links. Please click on the logo below the product to shop at your favourite store. All products were personally purchased except those from Clearly Besotted, Hero Arts or those marked with an asterisk (*) which were kindly sent to me to use. You can read my full disclosure here.


I did initially think to just stamp the leaves and then add the sentiments (like they are on the cards) but I thought they may be a bit too plain. It was then that I thought of something that Hannelie often does and that is adds pops of colour in places on images and leaves the rest without colour, so tried it with the dots and I really like how it turned out! Thank you so much for stopping by today, I really appreciate it. I hope you have a wonderful day! 

9 October 2024

Spellbinders | Season of Wonder

Hello there, I am hope you are well. Today I have another Christmas card to share. My hope is that by November, I will have made them all (that is the hope anyway, I am not sure if it will happen!). I am using a few different products from Spellbinders including a new sentiment set from the Season of Wonder collection. 

PLEASE NOTE: This post contains affiliate links. Please see below for my full disclosure.


I started off my card by taking a panel of white cardstock and stamping the sentiment from the Spellbinders Season of Wonder Sentiments Stamp Set on top with Spellbinders Clear Embossing & Watermark Ink. I then applied Hero Arts Gold Embossing Powder and heat set. 


I die cut the candy canes from the Spellbinders Candy Canes & Holly Etched Dies set from white and Spellbinders Poppy Field Cardstock and adhered the pieces together using Bearly Art Glue. They were then adhered to the panel and the excess cut off the bottom. I die cut the foliage from the Spellbinders Christmas Bird & Poinsettia Etched Dies set from white cardstock, Spellbinders Vellum and Spellbinders Treasured Gold Cardstock


I die cut the poinsettia twice from Spellbinders Pink Sand Cardstock. They were adhered together off-set and then placed on top of the candy canes temporarily while I adhered the foliage behind. The poinsettia was then adhered on top. To finish, I embellished with Spellbinders Gold Mix Color Essentials Gems

SUPPLIES:


Here are the links to what I have used on the project. Affiliate links are used on some products. This means that if you make a purchase after clicking on my link, I receive a small commission with no extra cost to you. I truly appreciate your support when using these links. Please click on the logo below the product to shop at your favourite store. All products were personally purchased except those from Clearly Besotted, Hero Arts or those marked with an asterisk (*) which were kindly sent to me to use. You can read my full disclosure here.


Thank you so much for stopping by today, I really do appreciate it. I hope you have a wonderful day! 
7 October 2024

Hero Arts | Hero Studio October 2024 Release Blog Hop + Giveaway

Hello there and welcome as we celebrate the Hero Studio October 2024 release which is out now! This month is all about Christmas and the holidays. I will share more about the kits a little later (as well as a discount code for previous kits), but for now, I have some inspiration to share with you!

PLEASE NOTE: This post contains affiliate links. Please see below for my full disclosure.


My first two cards use the Hero Studio October 2024 Card Kit of the Month. This kit is full of lovely images but for today, I wanted to do something different and focus on one of the coordinating dies. 


This die cuts out a Christmas tree stamped image but the cool thing is, there are two dies. The die I am using cuts the tree image out but leaves a negative space. The other die cuts out the whole image as one piece. You can layer them together for dimension, but as you can see, I decided to use the die on its own without the stamped image. 


I placed the die onto two panels of Hero Arts Deluxe Smooth White Cardstock and ran them through my die cutting machine. I then took US A2 sized white card bases and masked off the edges. Using Blending Brushes, I blended Hero Arts Core Inks on top. For the pink card I used (bottom to top) Ultra Pink, Raspberry Jam and Grape Juice inks. 


For the blue card I used (bottom to top) Cornflower, Nautical and Grape Juice inks. I then splattered Hero Arts White Acrylic Spray on top, removed the masking tape and set aside to dry. Once dry, the die cut panels were adhered on top with foam tape. I stamped the sentiments from the stamp set onto Hero Arts Pitch Black Cardstock using Hero Arts Clear Embossing & Watermark Ink.


I applied Hero Arts White Detail Embossing Powder and heat set. They were die cut out using the coordinating dies. I also cut the dies another two times from the same Pitch Black Cardstock and adhered them one on top of each other before adhering to the cards. To finish, I added a tiny silver gem to the stars. 


My last card uses the Hero Studio October 2024 Fancy Dies of the Month called Branches & Lights. I didn't use the lights but they can be added to the pine branches or used on their own. I started off my card by die cutting the branches die, as well as the pinecone die, from Hero Arts Deluxe Smooth White Cardstock. Please note: the branch die is very intricate and did require a shim in my Platinum Six. 


I added ink blending to the panel with Hero Arts Kiwi, Fresh Lawn, Pine, Bermuda and Nautical Core Inks. I then added a little Egyptian Blue Reactive Glitz Ink for a little shine. I used Hero Arts Sand, Cup O' Joe and Espresso Core Inks for the pinecones. I then liberally splattered on Hero Arts White Acrylic Spray and set them aside to dry. 


The pine branch panel was adhered to a US A2 sized white card base with Hero Arts Precision Glue. I left a few of the branches without glue so that they lifted up in places and were not all completely flat. I then adhered the pine cones on top. I stamped and heat embossed a sentiment from the Hero Arts Poinsettia Pattern Stamp Set, cut it into strips and adhered them to the card with foam tape. To finish, I added a few Hero Arts Clear Enamel Dots


Introducing the reimagined Hero Arts monthly subscription program, now with six original options each month. Subscribe by the 1st of the month to guarantee you get the product. Free (US) shipping on all Hero Studio subscriptions. You can add extra product to your order by Thursday of launch week and they will ship with no extra shipping charges.

Hero Studio products are also available for purchase without a subscription at full price, while supplies last. Once they sell out, they are gone for good!

CARD KIT OF THE MONTH


Kit includes:
• Clear Stamp Set, 6" x 8" • 16 Coordinating Dies • Hole Punch Die • Tree Window Die • Holiday Treats Words Cling Stamp, 6" x 6" • Washi Sticker Pack, 22 pieces • Embossing & Watermark Ink Cube • 5 Sheets Each of Kraft, White & Red Cardstock, 5.5" x 8.5" • Gold Embossing Powder, 0.5 oz • White Embossing Powder, 0.5 oz • Peppermint Clay Embellishments

The Card Kit of the Month costs $46.00 with the subscription program or $49.99 without a subscription. 

Next up are the Monthly Minis:

CLEAR SET + DIES OF THE MONTH


This month's Clear Set & Dies of the Month is called Holiday Messages and costs $27.50 with subscription or $29.99 without a subscription.

CLING OF THE MONTH


This month's Cling Stamp of the Month is called Gingerbread Town and costs $15.00 with subscription or $15.99 without a subscription. 

FANCY DIES OF THE MONTH


This month's Fancy Dies of the Month is called Pine Branches & Lights and costs $25.00 with subscription or $26.99 without a subscription. 

LAYERING STENCIL OF THE MONTH


This month's Layering Stencil of the Month is called Flourshy Christmas Tree and costs $15.00 with a subscription or $15.99 without a subscription. 

THE WHOLE STUDIO


Want it all? The Whole Studio includes ALL 5 of the monthly subscriptions in one glorious and discounted buy. Includes: Cling of the Month, Clear + Dies of the Month, Layering Stencil of the Month, Fancy Dies of the Month, and the Card Kit of the Month. Its costs $120.00 with a subscription or $138.95 without a subscription.

For more information on subscribing to the kits, please see here.

HERO STUDIO DISCOUNT:

If you have been putting off getting any Hero Studio products, now is the time to treat yourself! Hero Arts are running a 20% off promotion on previous (June - September) Hero Studio kits (including Extraordinary Extras) from 7th - 10th October 2024. Use the code CATCHUP20

BLOG HOP:

This post is part of a fun, inspirational blog hop with prizes. For the hop, you should have arrived here from the wonderful Natasha. Nest on the hop is the fabulous Lydia. If you get lost along the way or want to start the hop from the beginning, please head over to the Hero Arts Blog

GIVEAWAY:

Hero Arts are giving away a $50 gift card, drawn from the comments left across all the stops in the hop. Enter by Sunday 18th October 2024 at 11.59pm PT. The winner will be announced on the Hero Arts Blog the following week.

SUPPLIES:


Here are the links to what I have used on the projects. Affiliate links are used on some products. This means that if you make a purchase after clicking on my link, I receive a small commission with no extra cost to you. I truly appreciate your support when using these links. Please click on the logo below the product to shop at your favourite store. All products were personally purchased except those from Clearly Besotted, Hero Arts or those marked with an asterisk (*) which were kindly sent to me to use. You can read my full disclosure here.


Thank you so much for stopping by today, I really do appreciate it. I hope you have a great time on the rest of the hop and a lovely rest of the day too! Take care! 

4 October 2024

Altenew | October 2024 Release Blog Hop + Giveaway

Hello there, I am delighted to be joining Altenew today to celebrate the October 2024 release. The release is full of stamps, dies, press plates, stencils, embossing folders, embellishments, inks, tools and more and I am using a few of them on my projects today. 

PLEASE NOTE: This post contains affiliate links. Please see below for my full disclosure.


CRAFT YOUR LIFE PROJECT KIT: BLOSSOMS OF ENCOURAGEMENT

My first two cards use Altenew Craft Your Life Project Kit: Blossoms of Encouragement. The kit includes a stamp set, coordinating dies, coordinating stencils and a coordinating embossing folder. 


I started off my first card by stamping the large floral image in the set onto white cardstock using Altenew Obsidian Pigment Ink. I then placed the stencils on top, one by one, to colour the image using ink blending with blending with Mini Blending Brushes


I used Altenew Lapis Lazuli, Green Meadows and Aqua Island Fresh Dye Inks. The image was then die cut out using the coordinating die. It was adhered to a US A2 sized white card base with Altenew Instant Dimension Foam Tape. The sentiment from the set was stamped with Altenew Obsidian Pigment Ink, die cut out and adhered on top. 


My second card using the kit was made with the 3D Embossing Folder. I first added ink blending to a panel of white cardstock with Altenew Lapis Lazuli Fresh Dye Inks and an Altenew Large Blending Brush. I placed the panel inside the embossing folder and ran it through my die cutting machine. 


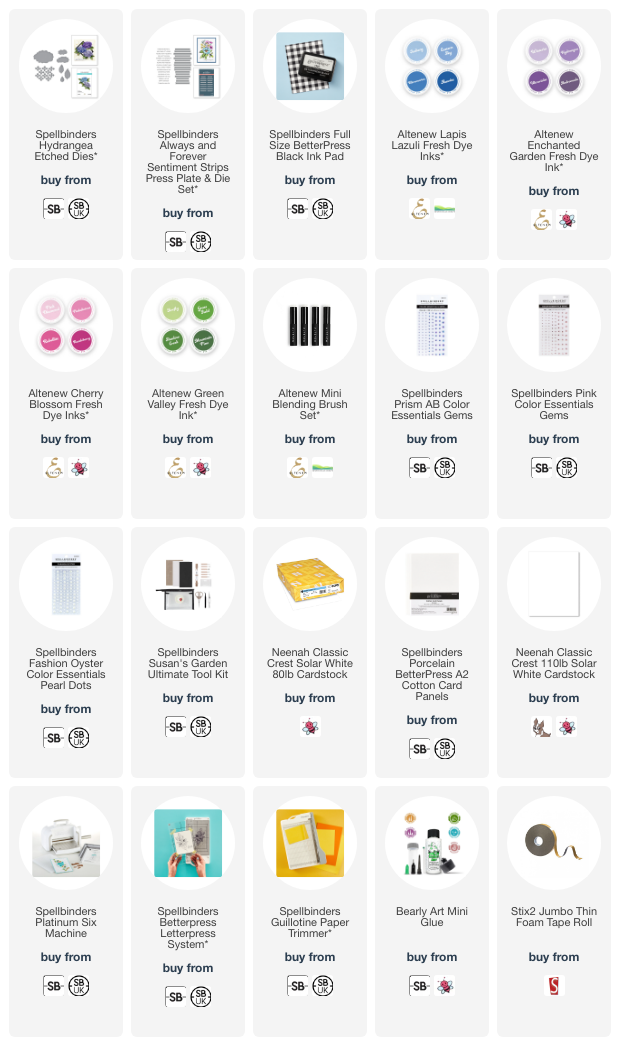
I then added Altenew Cloud White Pigment Ink to the raised areas using a flat topped blending tool. The panel was adhered to a US A2 sized white card base with foam tape. I then took the Altenew One-Go: Sentiment Strips Press Plate and pressed it onto a BetterPress Cotton Card Panel using Altenew Jet Black Fresh Dye Ink and the Spellbinders BetterPress Letterpress System. 


It was die cut out using the Altenew One-Go: Sentiment Strips Die and the 'happy birthday' one cut down a little further at the sides before adhering to the card with foam tape. To finish, I embellished with Altenew Crystal Clear Gem Sparkles

LEAFY SPENDOR + ONE-GO: SENTIMENT STRIPS


My next card uses the new Altenew Leafy Splendor 3D Embossing Folder. There is a coordinating stencil that works with the folder, but I just used the folder today. I simply placed a panel of white cardstock inside the folder and ran it through my die cutting machine. 


It was adhered to a US A2 sized white card base with Altenew Glue Tape. I then pressed the Altenew One-Go: Sentiment Strips Press Plate onto Classic Crest 110lb Solar White Cardstock three times using Altenew Cherry Blossom Fresh Dye Inks (Pinkalicious, Rubellite & Razzleberry). They were then cut out and adhered to the card using Altenew Instant Dimension Foam Tape

BLOOMS OF FRIENDSHIP


My next card uses the Altenew Blooms of Friendship Stamp Set + Blooms of Friendship Die Set. I started off my card by stamping one of the wreath's from the set, as well as the floral image, onto white cardstock using Altenew Permanent Black Ink


The images were then coloured using Altenew Artist Alcohol Markers before die cutting out using the coordinating dies. I cut another of the wreath die from white cardstock and adhered behind the stamped one for added dimension. It was then adhered to a US A2 sized white card base with liquid glue. The flowers were adhered on top with foam tape (just in the places were it does not overlap the wreath). 


I took the sentiment that was pressed when making the second card (using Altenew One-Go: Sentiment Strips with Jet Black Ink), cut the sides down and adhered it to the card with thin foam tape. To finish, I embellished with Altenew Crystal Clear Gem Sparkles

CRAFTY NECESSITIES CARDSTOCK


Releasing this month are 21 new colours of Altenew Crafty Necessities Cardstock. If you are not familiar with it, the cardstock colours match the existing colour family colours that match the inks, embellishments etc. The 8.5" x 11" cardstock is released in packs of 10 and are between 80lb - 90lb in weight depending on colour. 

CRAFT-A-FLOWER: LILAC


My last card today uses the new Altenew Craft-A-Flower: Lilac Layering Die Set. I cut the flowers from Altenew Crafty Necessities Cardstock in Soft Lilac, Lavender Fields, Deep Iris and Andromeda. I then added a little ink blending on top with Altenew Shades of Purple Crisp Dye Inks


The branch and leaves were cut from Altenew Crafty Necessities Frayed Leaf Cardstock. I added ink blending with Altenew Green Fields Fresh Dye Inks. The flowers were assembled and adhered to the branch using liquid glue and thin foam tape.


The branch was then adhered to a US A2 sized white card base, popping the leaves behind. I stamped a sentiment from the Altenew Blooms of Friendship Stamp Set onto white cardstock using Obsidian Pigment Ink. It was die cut out and adhered to the card. To finish, I embellished with Altenew Crystal Clear Gem Sparkles

BLOG HOP:

This post is part of a fun, inspirational blog hop with prizes. Please click on the other participants below to visit their blogs. 

You are invited to the Inlinkz link party!

Click here to enter

GIVEAWAY:

$300 in total prizes! To celebrate this release, Altenew is giving away a $100 gift certificate to 1 lucky winner and a $50 gift certificate to 4 winners! Please leave a comment on the Altenew Card Blog and/or each designer’s blog post on the blog hop list below by October 10th 2024 for a chance to win. Altenew will draw 5 random winners from the comments left on each stop of this blog hop and announce the winners on the Altenew Winners Page on October 12th, 2024. The winner of the $100 gift certificate will be chosen from comments left on the Altenew blog. 


SUPPLIES:


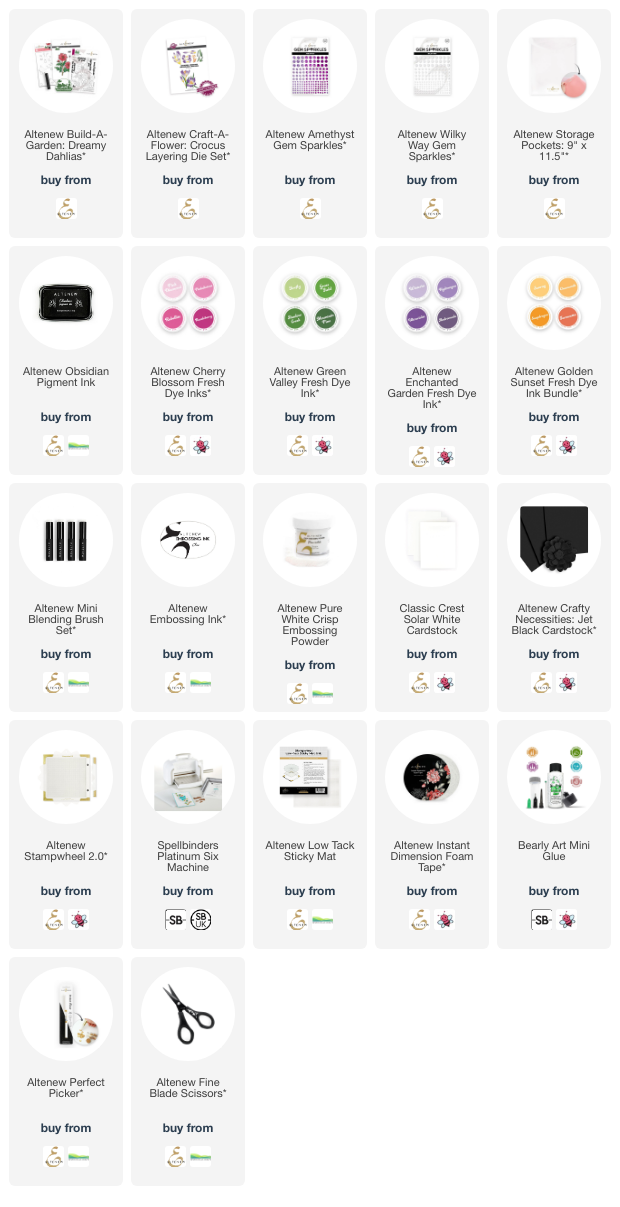
Here are the links to what I have used on the projects. Affiliate links are used on some products. This means that if you make a purchase after clicking on my link, I receive a small commission with no extra cost to you. I truly appreciate your support when using these links. Please click on the logo below the product to shop at your favourite store. All products were personally purchased except those from Clearly Besotted, Hero Arts or those marked with an asterisk (*) which were kindly sent to me to use. You can read my full disclosure here.


Thank you so much for stopping by today, I really do appreciate it. I hope I have given you some inspiration today and I hope you have a wonderful rest of the day! 
End of code