30 June 2020

Hero Arts + Ink Blot Shop Partner Release Blog Hop + Giveaway

*This is my second post of the day, please see below for my Clearly Besotted Teaser*
 
Hello there and welcome as we continue to celebrate Hero Arts 45th Anniversary collaborating with fabulous companies. Today, Hero Arts is partnering with Ink Blot Shop to bring you the wonderful Please Deliver stamp set. The set is designed by Ink Blot Shop but works with lots of Hero Arts sets too. It has been designed to use with envelopes, but as you can see by my card, it works perfectly for cards and other projects too!
 
If you are following along in the hop, you should have arrived from the amazing Libby, but if you get lost along the way, I have the full list of participants below.
 

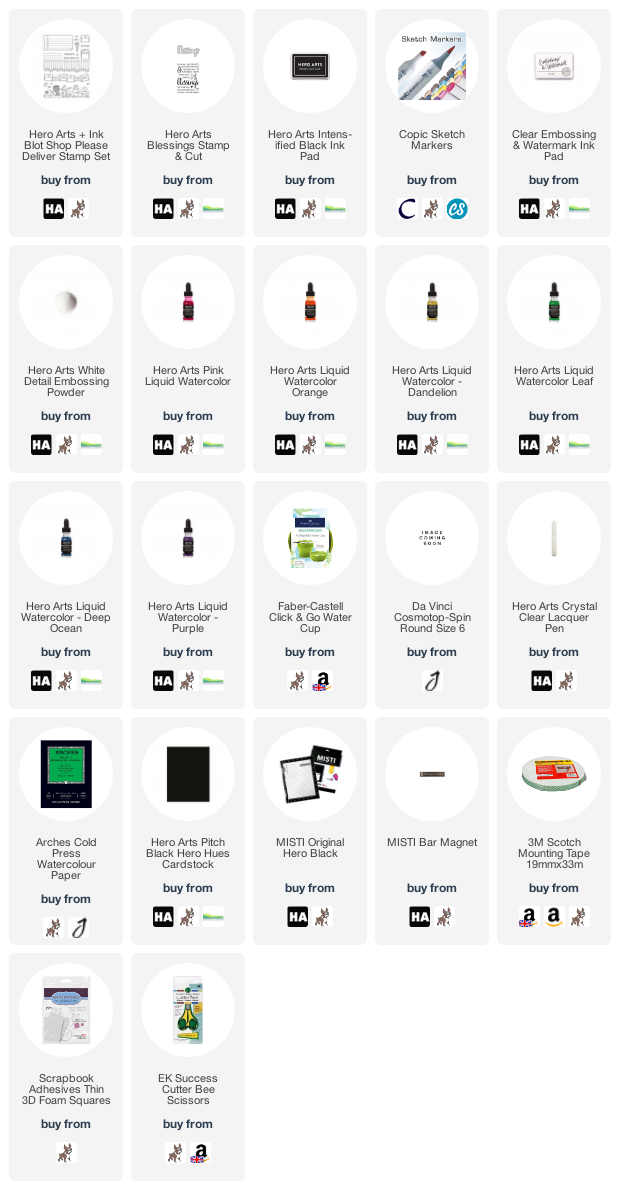
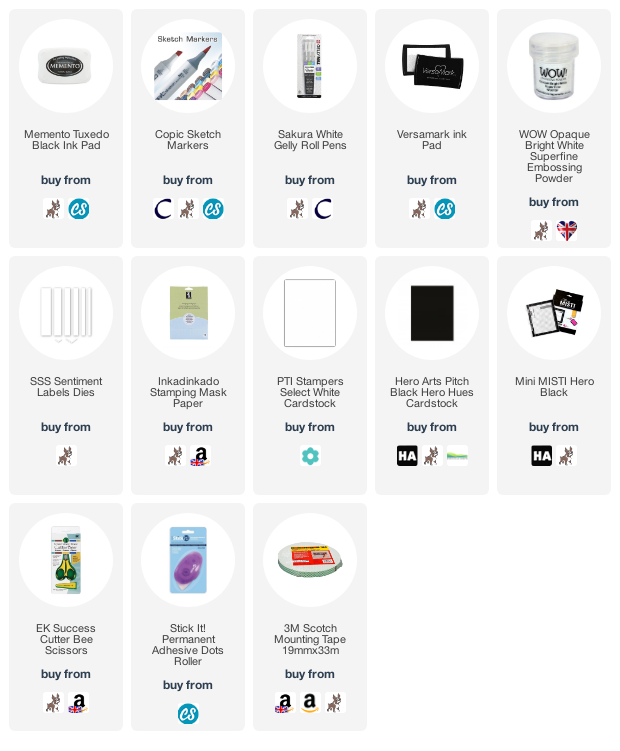
I started off my card by stamping the set of envelope stamps from the Hero Arts + Ink Blot Shop Please Deliver Stamp Set on to white cardstock with Hero Arts Intens-ified Black Ink. I then coloured the envelopes with Copic Markers (the colours that I used are listed below the supplies) and then fussy cut out with scissors.
 
 
I took a panel of watercolour paper (3.25" x 8.25") and using a paintbrush and water, messily added on Hero Arts Liquid Watercolours in the same order that I coloured the envelopes. I used Pink, Orange, Dandelion, Leaf, Deep Ocean and Purple. It was set aside to dry before adhering to a 3.5" x 8.5" slimline card base, made from Hero Arts Pitch Black Cardstock, with foam tape. I took the envelope image and added it on top using thin foam tape.
 
 
I then took the sentiments from the Hero Arts Blessings Stamp & Cut set and stamped them on to more Pitch Black cardstock with Hero Arts Clear Embossing & Watermark Ink. I applied Hero Arts Detail White Embossing Powder and heat set. They were cut in to strips and added to the card with more foam tape. To finish off, I added Hero Arts Crystal Clear Lacquer Pen to the hearts on the envelopes.


Here is a look at the set in full, as you can see there are lots of images that would perfectly for cards and envelopes especially, but also for tags too. Plus lots of smaller images as well.
 
SUPPLIES:

Here are the links to what I have used on the card. Affiliate links are used on some products. This means that if you make a purchase after clicking on my link, I receive a small commission with no extra cost to you. I truly appreciate your support when using these links. Please click on the logo below the product to shop at your favourite store. All products were personally purchased except those from Clearly Besotted, Hero Arts or those marked with an asterisk (*) which were kindly sent to me to use. You can read my full disclosure here.
 
 
COPIC MARKERS: Pink - RV66, RV55, RV52. Orange - YR18, YR16, YR15, YR12. Yellow - Y17, Y15, Y13, Y11. Green - YG17, YG23, YG01. Blue - B04, B01, B00, B000. Purple - V28, V25, V15, V12.
 
BLOG HOP:
 
Here is the full list of participants taking part in the hop today:
 
Michelle Short - you are here!
 
 
GIVEAWAY:

There are two $50 shopping sprees up for grabs today. One to the Hero Arts store and another over at the Ink Blot Shop store. Winners will be drawn from the comments left across the stops in the hop. The more you comment, the more chances there are to win! Enter by Sunday 5th July at 11.59pm PDT and the winner will be announced on the Hero Arts blog the following week. Good luck!
 
I am the last stop in the hop but please head over to the Hero Arts Blog to start at the beginning. Thanks so much for visiting me today, I really do appreciate it. I hope you have a wonderful rest of the day!

Clearly Besotted Teasers | Hippo Christmas

Hello there and welcome to day four of the Clearly Besotted July 2020 Teasers. Only one more sleep till the new stamps hit the shops tomorrow! For my project today, I am using two new sets - All Four Seasons Hippos and Scene It Around II. These teeny tiny hippos are just the cutest ever!
 

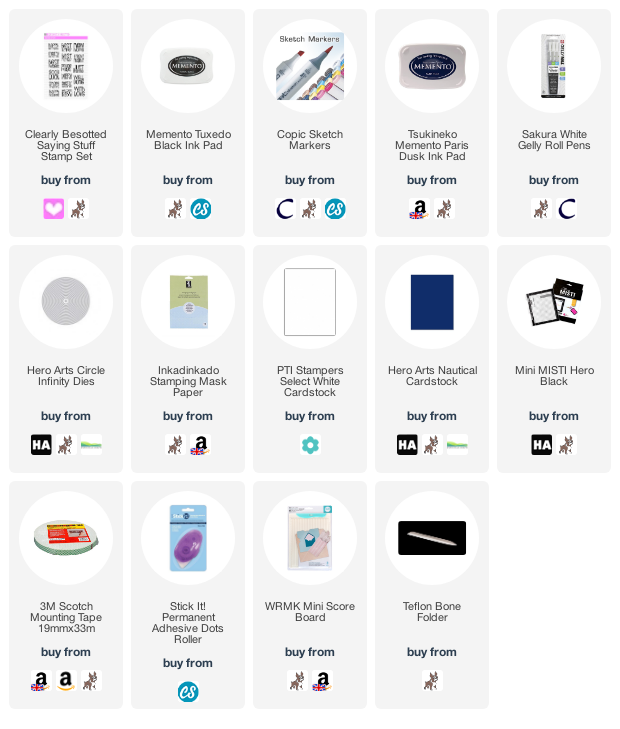
I started off by taking the hippo with the Christmas hat on from the Clearly Besotted All Four Seasons Hippos Stamp Set on to white cardstock with Memento Tuxedo Black Ink. I then made a mask for him and stamped the winter image from the Clearly Besotted Scene It Around II Stamp Set on top. I removed the mask and then coloured the image using Copic Markers (the colours that I used are listed below the supplies area).
 
 
The image was then cut out using a Hero Arts Nesting Circles Infinity Die. Using a size bigger, I then used the die set to cut two pieces of Hero Arts Nautical Cardstock for the card base. I scored one piece towards the top to make a hinge and then cut a small sliver off the bottom so that the card would stand up nicely. This piece was adhered to the other circle to make the card base. The image panel was adhered to the front with foam tape.
 
 
I then cut a further circle from white cardstock and cut the top and bottom off so that it fitted inside the card. I took the sentiment from the Clearly Besotted Saying Stuff Stamp Set and stamped it using Memento Paris Dusk Ink. The piece was then adhered inside the card with tape runner. To finish off, I added white gel pen dots to the image for snow.


SUPPLIES:

Here are the links to what I have used on the card. Affiliate links are used on some products. This means that if you make a purchase after clicking on my link, I receive a small commission with no extra cost to you. I truly appreciate your support when using these links. Please click on the logo below the product to shop at your favourite store. All products were personally purchased except those from Clearly Besotted, Hero Arts or those marked with an asterisk (*) which were kindly sent to me to use. You can read my full disclosure here.
 

COPIC MARKERS: Trees- G29, G46, G43, E59, E57, E55. Sky - B39, B29, B26, B24. Moon - Y00, Y000. Buildings - C7, C5, C3, C1. Snow/ground - BG01, BG000. Hippo - W7, W5, W3, W1. Hat - R89, R37, R24, C3, C1.

I may go back in and add some glitter to the hippo's hat! These Scene It Around sets are wonderful! They can be used on their own or with cute critters to create wonderful scenes. For more inspiration using the new sets, please head over to the Clearly Besotted Blog, as well as Keren and Lisa.
 
There is one set that I didn't use during my teasers but I will be sharing that in my release video tomorrow, as well as a sneak peek of a card that I will share at a later date. Thanks so much for stopping by today, see you later for the Hero Arts Blog Hop. Have a lovely day!

29 June 2020

Hero Arts Summer 2020 Release Blog Hop + Giveaway

*This is my second post of the day, please see below for my Clearly Besotted teaser*

Hello there and welcome as we celebrate the summer 2020 release from Hero Arts. It is a smaller release this year but no less exciting! For my cards today, I am using the new Vineyard HeroScape, as well as the new Grapevine Window Fancy Die. If you are following along in the hop, you should have arrived here from Lydia, but if you get lost along the way, I have the full list of participants below.
 

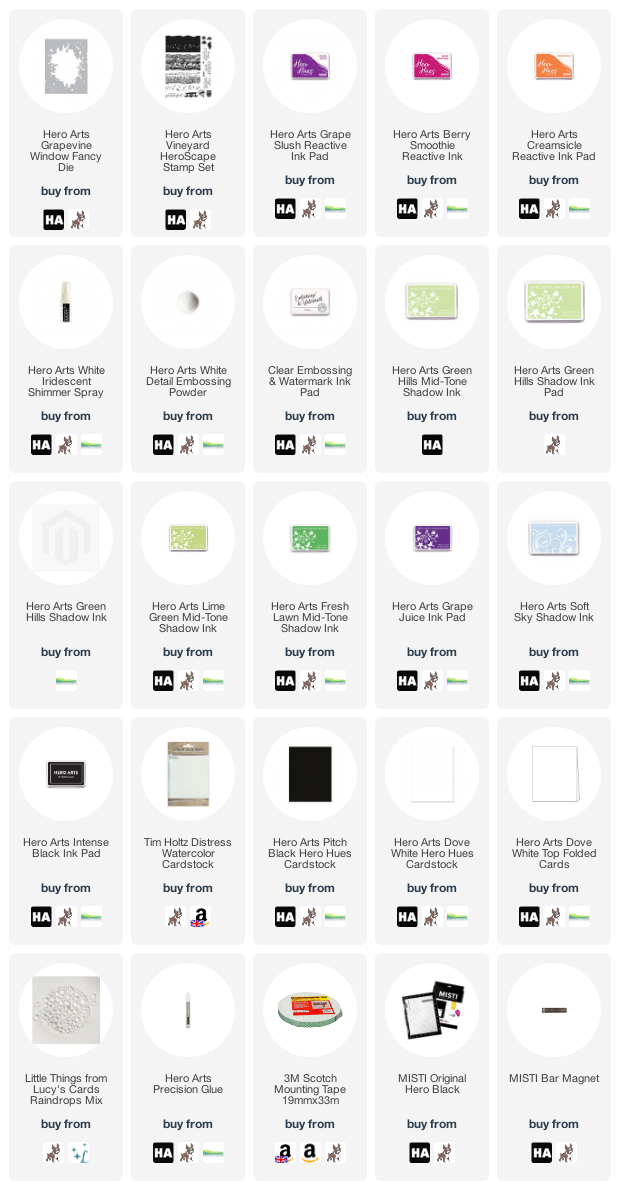
My first card uses the new Hero Arts Grapevine Window Fancy Die. I really love these dies from Hero Arts, you can create scenes inside the frames, or like I have, create a fun background. I started off by taking a panel of watercolour paper and blending Hero Arts Reactive Inks on to it. I used Grape Slush, Berry Smoothie and Creamsicle.
 
 
I then took out my trusty Hero Arts White Iridescent Shimmer Spray and sprayed the piece using it. Instead of a mist, it accidently splattered over the panel but actually, I really like how it came out! Once the panel was dry, It was adhered flat to a top folding A2 card base with tape runner. I took the Hero Arts Grapevine Window Fancy Die and cut this three times from Hero Arts Pitch Black Cardstock.
 
 
They were then adhered on to the card, one on top of another (for dimension), using Hero Arts Precision Glue. I took the sentiment from the Hero Arts Vineyard HeroScape Stamp Set and stamped it on to more black cardstock with Hero Arts Clear Embossing & Watermark Ink. I applied white embossing powder and heat set. It was cut in to a strip and added to the card with foam tape. To finish off, I added a few Raindrops around the sentiment.
 

My next card uses the Hero Arts Vineyard HeroScape Stamp Set which is a stamp layering set that creates a vineyard scene/landscape. I took a panel of white cardstock and first stamped the most solid layer at the bottom. I used Hero Arts Green Hills Mid-Tone Shadow Ink for this. I then stamped the next layer using Hero Arts Lime Green Mid-Tone Shadow Ink. Usually with these sets, you would then stamp the next most solid layer but I found I got better results when I then stamped the fourth layer next, which is the grapes. For this I used Hero Arts Grape Slush Mid-Tone Shadow Ink.
 
 
I stamped this layer off a few times on to scrap paper so that the colour wasn't as intense. For the final layer, I stamped what is usually layer three, using Hero Arts Fresh Lawn Mid-Tone Shadow Ink. I then stamped the little house, tree and sentiment using Hero Arts Intense Black Ink. The clouds were stamped using Hero Arts Soft Sky Shadow Ink. The panel was then simply adhered to a top folding A2 card base with foam tape.
 
SUPPLIES:

Here are the links to what I have used on the card. Affiliate links are used on some products. This means that if you make a purchase after clicking on my link, I receive a small commission with no extra cost to you. I truly appreciate your support when using these links. Please click on the logo below the product to shop at your favourite store. All products were personally purchased except those from Clearly Besotted, Hero Arts or those marked with an asterisk (*) which were kindly sent to me to use. You can read my full disclosure here.
 
GIVEAWAY:

Hero arts Are giving away a $50 gift certificate to one lucky blog hop reader. All you need to do is leave comments on every stop on the hop and a winner will be drawn randomly. Enter by July 5th at 11.59pm PDT and the winner will be announced on the Hero Arts blog the following week.
 
I am the final stop in the hop but you can start at the beginning on the Hero Arts Blog here. Thanks so much for stopping by today. Happy stamping!

Clearly Besotted Teasers | Flamingo Love

Hello there and welcome to day three of the Clearly Besotted July 2020 Teasers. Not long to wait till the release now, the new sets will be available in the shop on Wednesday 1st July 2020. For my project today, I am using the super cute Summer Corners set. This set features two fabulous floral corner images with adorable flamingos nestled inside. For my tag today, I thought I would use the individual image, rather than one of the corners.
 

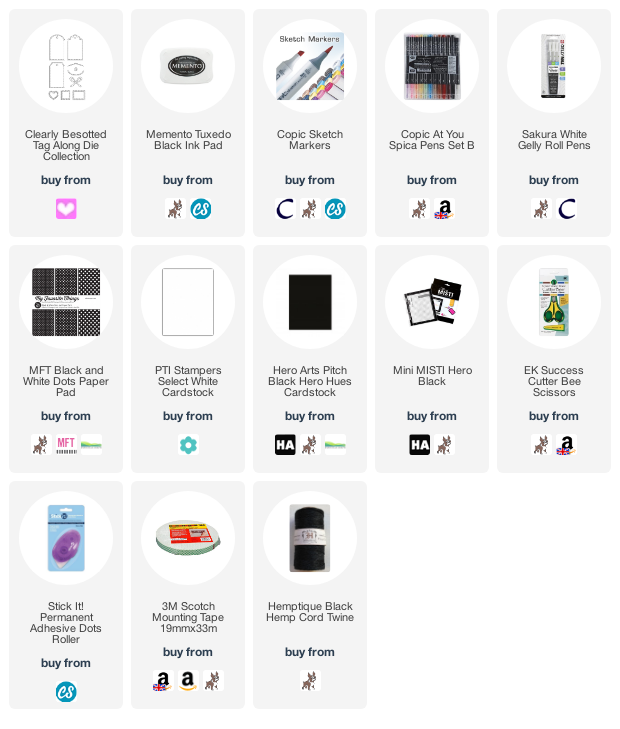
I started off by die cutting the rounded tag from the Clearly Besotted Tag Along Die Collection from white cardstock. I then cut another from the MFT Black & White Dots Paper Pad. This piece was cut down and adhered to the bottom of the white tag with tape runner. I then cut a small tin strip of black cardstock to add on top.
 
 
I took the flamingo with the hibiscus image from the Clearly Besotted Summer Corners Stamp Set and stamped it on to white cardstock with Memento Tuxedo Black Ink. I coloured it using Copic Markers (the colours that I used are listed below the supplies area) and then fussy cut it out using scissors.
 
 
I stamped the sentiment from the set on to the tag using more black ink and then added the flamingo image on top with foam tape. To finish off, I added Spica glitter pen to the stamen (Peach) and white gel pen to the flamingo's eyes, followed by twine through the top of the tag.


SUPPLIES:

Here are the links to what I have used on the card. Affiliate links are used on some products. This means that if you make a purchase after clicking on my link, I receive a small commission with no extra cost to you. I truly appreciate your support when using these links. Please click on the logo below the product to shop at your favourite store. All products were personally purchased except those from Clearly Besotted, Hero Arts or those marked with an asterisk (*) which were kindly sent to me to use. You can read my full disclosure here.


COPIC MARKERS: Flamingo - R24, R22, R21, R20. Leaf and stem - YG17, YG23, YG01. Flower - RV66, RV55, RV52, Y13, Y11.

I thought this would be cute to add the tag to a little present or gift you might be sending someone. For more inspiration using the new sets, please head over to the Clearly Besotted Blog, as well as Keren and Lisa. Thanks so much for stopping by to see me today, I will be back later with a Hero Arts hop. Have a wonderful day!

28 June 2020

Clearly Besotted Teasers | Thanks A Melon

Hello there and welcome to day two of the Clearly Besotted July 2020 Teasers.  For my card today, I am using the super cute Thanks A Melon set. This is such a cute set with turtles eating melon and riding on a fun splash/wave!
 

I started off my card by stamping the background scene from the Clearly Besotted Thanks A Melon Stamp Set (it is one stamp) on to a panel of white cardstock with Memento Tuxedo Black Ink. I then coloured it using Copic Markers (the colours that I used are listed below the supplies area), fading the sides off to white using dots. The panel was then adhered to an A2 white card base with tape runner.
 
 
I then stamped the turtle eating the melon (there are a few in the set) on to white cardstock with black ink. I made a mask for him and stamped the rubber ring/float on top so that when I removed the mask, it looked like he was sitting on it. I thought it reminded me of a lazy river type scene and that he is floating around it, enjoying eating watermelon as he goes around!
 
 
He was then fussy cut out with scissors and added to the card with foam tape. I took the sentiment from the set and stamped it on to black cardstock with Versamark Ink. I applied white embossing powder and heat set. It was then cut in to a strips and added to the card with more foam tape. To finish off, I added white gel pen highlights to the images.


SUPPLIES:

Here are the links to what I have used on the card. Affiliate links are used on some products. This means that if you make a purchase after clicking on my link, I receive a small commission with no extra cost to you. I truly appreciate your support when using these links. Please click on the logo below the product to shop at your favourite store. All products were personally purchased except those from Clearly Besotted, Hero Arts or those marked with an asterisk (*) which were kindly sent to me to use. You can read my full disclosure here.
 

COPIC MARKERS: Trees - E57, E55, E53, G29, YG17, YG23, YG01. Sand - E44, E43, E42, E41. Sky - B00, B000, B0000. Water - BG49, BG15, BG13, BG11, BG10. Turtle - G29, YG17, TG23, YG01, YG00. Runner ring/float - V17, V15, V12. Watermelon - G46, G43, G20, R24, R22, R21.

For more inspiration using the new sets, please head over to the Clearly Besotted Blog, as well as Keren and Lisa. Thanks so much for visiting today, I really do appreciate it. Have a wonderful and a fabulous rest f the weekend!

27 June 2020

Clearly Besotted Teasers | Treehouse Treasures

Hello there and welcome to day one of the Clearly Besotted July 2020 Teasers. Release day is Wednesday 1st July 2020 and from now until then, we are sharing teasers with you using the new sets. For my card today, I am using the super cute Treehouse Treasures set. This set consists of a tree and treehouse image, along with adorable critters to add to your scene, plus fun sentiments too.


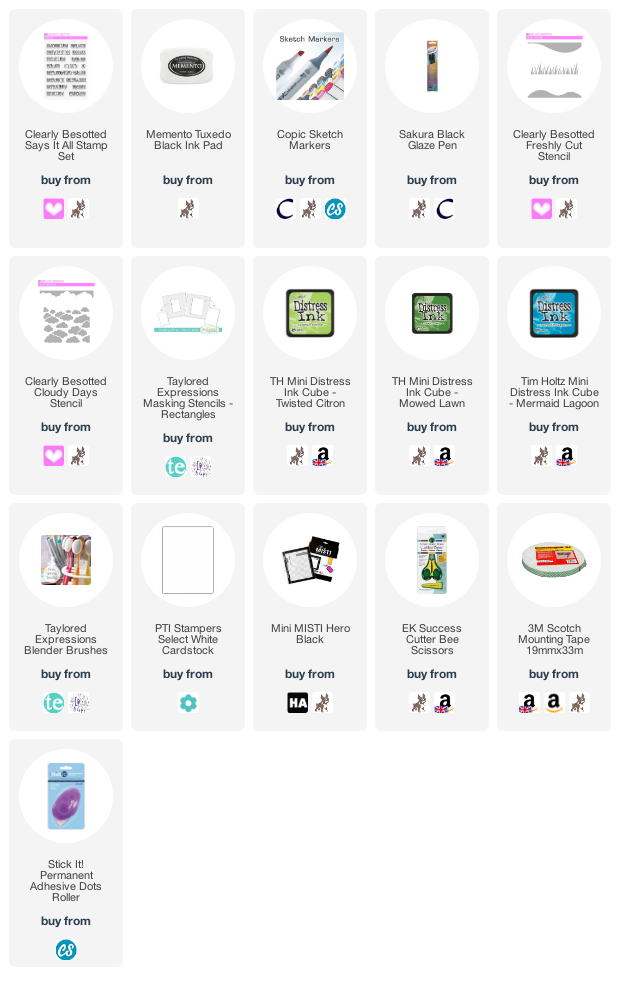
I started off my card by creating the background. I took an A2 white card base and placed the Taylored Expressions Rectangle Masking Stencil on top, securing in place with memo tape. I then took the Clearly Besotted Cloudy Day Stencil and placed this over the top. Using a blending brush, I blended on Tim Holtz Mermaid Lagoon Distress Ink. I moved the stencil down as I went to create the cloud background.
 
 
Before getting to the bottom, I placed on the Clearly Besotted Freshly Cut Stencil to mask off the grass portion. I then flipped the stencil the other way and used this to mask off the sky, whilst ink blending in the grass. I used Tim Holtz Twisted Citron and Mowed Lawn Distress Inks. I removed all the masks/stencils and then took the sentiment from the Clearly Besotted Says It All Stamp Set and stamped it in the left hand corner with black ink.
 
 
I took the tree/treehouse image from the new Clearly Besotted Treehouse Treasures Stamp Set and stamped it on to white cardstock with Memento Tuxedo Black Ink. I also stamped the three birds, cat and dog from the set. They were coloured using Copic Markers (the colours that I used are listed below the supplies area) and fussy cut out with scissors. The tree and dog were added to the card with foam tape and the cat and birds with tape runner. To finish off, I added Black Glaze pen to the dog and cat's eyes.


SUPPLIES:

Here are the links to what I have used on the card. Affiliate links are used on some products. This means that if you make a purchase after clicking on my link, I receive a small commission with no extra cost to you. I truly appreciate your support when using these links. Please click on the logo below the product to shop at your favourite store. All products were personally purchased except those from Clearly Besotted, Hero Arts or those marked with an asterisk (*) which were kindly sent to me to use. You can read my full disclosure here.
 
 
COPIC MARKERS: Tree bark and treehouse - E59, E57, E55, E53. Tree tops - G29, YG17, YG23, YG03, YG01. Birds - B26, B16, B04, Y11. Dog - E37, E35, E33, E31. Cat - W8, W6, W5, W3, W1.

For more inspiration using the new sets, please head over to the Clearly Besotted Blog, as well as Keren and Lisa. Thanks so much for stopping by to see me today, I really do appreciate it. I hope you have a wonderful day!
26 June 2020

Simon Says Stamp | Send Happiness

Hello there, the new Send Happiness collection from Simon Says Stamp releases today and I have a card to share with you using the new Lil' Critters: Boston Terrier Die, who looks exactly like Simon!
 

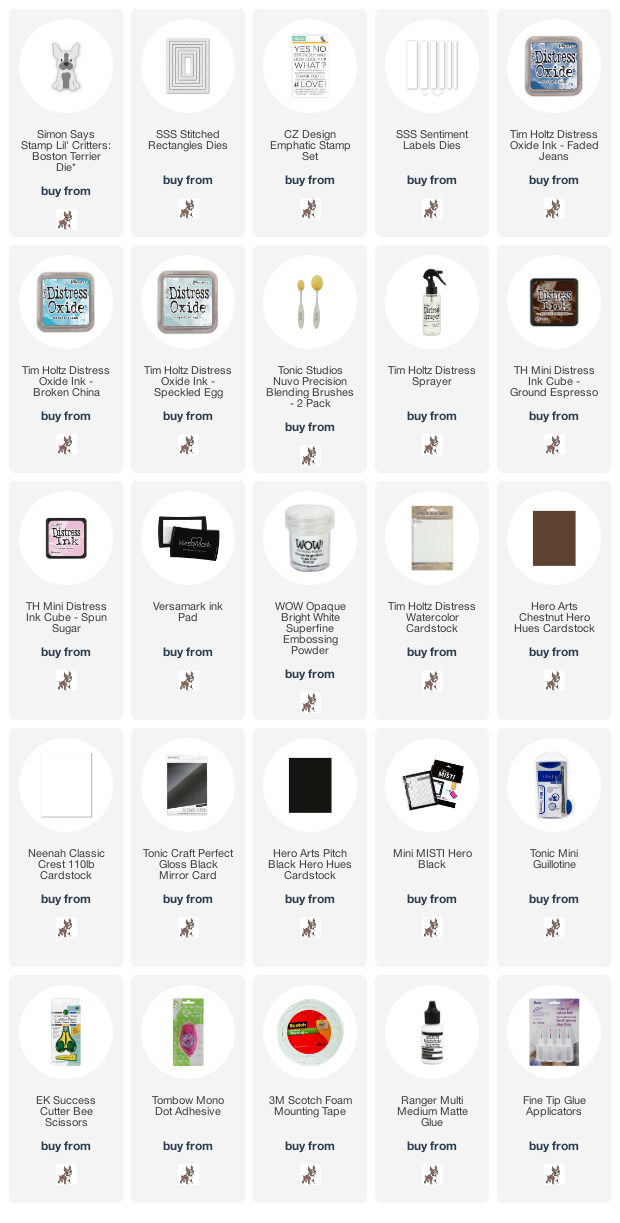
I started off by creating the background so that it had time to dry. I first die cut a panel of Tim Holtz Watercolor Paper using the second largest in the Simon Says Stamp Stitched Rectangles Dies set. Using blending brushes, I then blended on Distress Oxides in Faded Jeans, Broken China and Speckled Egg (love the new colour by the way!). I then splattered on some water and set it aside to dry.
 
 
I took the Simon Says Stamp Lil' Critters: Boston Terrier Die and die cut it three times - once from white cardstock, once from Hero Arts Chestnut Cardstock and once from Tonic Gloss Black Cardstock (for the eyes and nose). I blended on a little Tim Holtz Ground Espresso Distress Ink to the outsides of the brown layer and a little Tim Holtz Spun Sugar Distress Ink to the white pieces. To assemble the dog, I adhered the pieces on to white printer paper using liquid glue and then cut out with scissors, trying to cut away some of the paper from the back so that it will not show at the front.
 
 
I then took the sentiment from the Simon Says Stamp & CZ Design Emphatic Stamp Set and stamped it on to Hero Arts Pitch Black Cardstock with Versamark Ink. I applied white embossing powder and heat set. It was then cut in to a strip using the Simon Says Stamp Sentiment Labels Dies. I adhered the background piece flat to a white A2 card base with tape runner and then added the sentiment strip on top with foam tape. The dog was then added on top with more foam tape.
 
SUPPLIES:

Here are the links to what I have used on the card. Affiliate links are used on some products. This means that if you make a purchase after clicking on my link, I receive a small commission with no extra cost to you. I truly appreciate your support when using these links. Please click on the logo below the product to shop at your favourite store. All products were personally purchased except those from Clearly Besotted, Hero Arts or those marked with an asterisk (*) which were kindly sent to me to use. You can read my full disclosure here.
 
 
I hope you will check out the rest of the release. Thanks so much for stopping by today, I really do appreciate it. I hope you have a wonderful day!

19 June 2020

Spellbinders | Glimmer Backgrounds

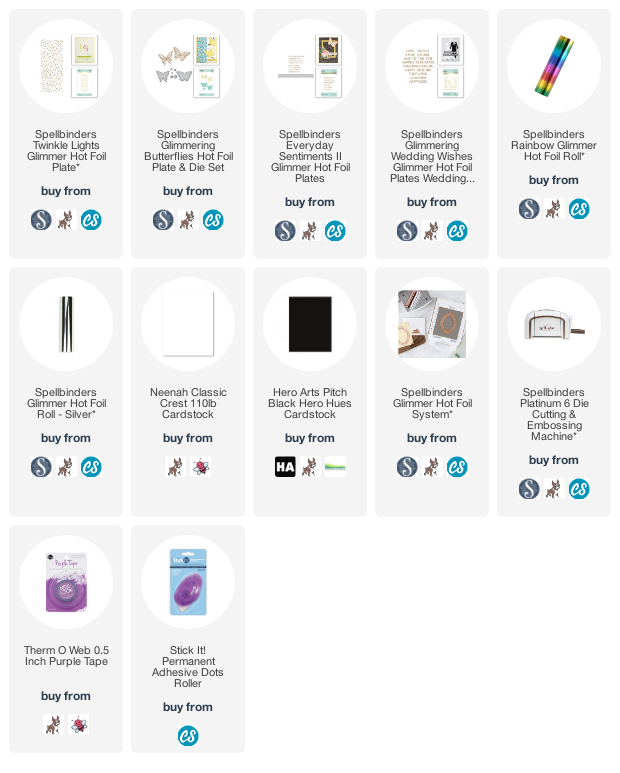
Hello there, today I have two cards to share with you using the Spellbinders Glimmer Backgrounds Collection. I am using the Twinkle Lights Glimmer Hot Foil Plate from the collection, along with rainbow and silver foils.


For my cards, I started off by creating the background dots. I took A2 panels of white cardstock and placed the foils on top. I used Spellbinders Rainbow Glimmer Hot Foil Roll and Spellbinders Silver Glimmer Hot Foil Roll, one for each card panel.
 

The Spellbinders Twinkle Lights Glimmer Hot Foil Plate was then added on top and secured with purple tape. The panels were then foiled using the Spellbinders Glimmer Hot Foil System and run through the Platinum 6 Machine.
 

The plate was removed and the panels adhered to A2 white card bases with tape runner. I then took the butterfly from the Spellbinders Glimmering Butterflies Glimmer Hot Foil Plates and foiled it on more white cardstock using the same foils. They were cut out using the coordinating dies. I did then cut a few more of the die to use as dimension when adhering it to the card.
 

The butterflies were added to the cards using tape runner and then I foiled the congratulations sentiment from the Spellbinders Glimmer Wedding Wishes Glimmer Hot Foil Plates set on to black cardstock with silver foil. The hello friend sentiment is from the Spellbinders Everyday Sentiments II Glimmer Hot Foil Plates set. They were cut in to strips and added to the centres of the butterflies with tape runner.

SUPPLIES:

Here are the links to what I have used on the card. Affiliate links are used on some products. This means that if you make a purchase after clicking on my link, I receive a small commission with no extra cost to you. I truly appreciate your support when using these links. Please click on the logo below the product to shop at your favourite store. All products were personally purchased except those from Clearly Besotted, Hero Arts or those marked with an asterisk (*) which were kindly sent to me to use. You can read my full disclosure here.
 
 
There is quite a lot foiling on the cards but hopefully it is not too in your face, if you know what I mean! Thank you so much for visiting me today, I really do appreciate it. I hope you have a lovely day and weekend!

18 June 2020

Spellbinders | Wedding Season

Hello there, today I have a card to share with you using the Spellbinders Wedding Season collection by Nichol Spohr. I am using the fabulous wedding dress and tux dies, as well as the Glimmer Wedding Wishes hot foil sentiments.
 

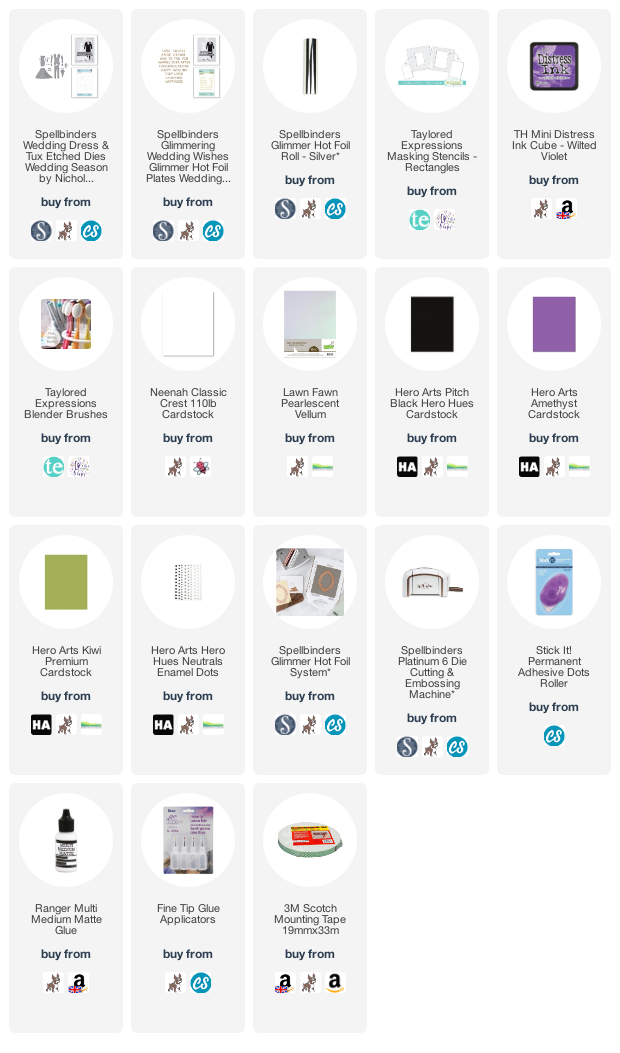
I started off my card by die cutting the Spellbinders Wedding Dress & Tux Etched Dies from various shades of cardstock. I cut the main parts of the dress from white cardstock and then cut the bottom part from pearlescent vellum. The pieces were adhered together with liquid glue. I adhered the top of the vellum but let the bottom be loose to give the effect of layers on the dress. For the tux, I used white and black cardstock. I then cut the bow tie from purple, as well as the flowers and the leaves from green.
 
 
I took a white A2 card base and placed the largest of the Taylored Expressions Rectangle Masking Stencils on top, securing with memo tape. Using a blending brush, I blended on Tim Holtz Wilted Violet Distress Ink, concentrating most of the colour towards the bottom and fading up to white at the top. The mask was then removed.
 
 
The dress and tux were then adhered on top with tape runner. I took the sentiment from the Spellbinders Glimmer Wedding Wishes Glimmer Hot Foil Dies set and foiled it using Spellbinders Silver Foil Roll on to purple cardstock. It was cut out and added to the card with foam tape. To finish off, I added black enamel dots to the centres of the flowers.
 
SUPPLIES:

Here are the links to what I have used on the card. Affiliate links are used on some products. This means that if you make a purchase after clicking on my link, I receive a small commission with no extra cost to you. I truly appreciate your support when using these links. Please click on the logo below the product to shop at your favourite store. All products were personally purchased except those from Clearly Besotted, Hero Arts or those marked with an asterisk (*) which were kindly sent to me to use. You can read my full disclosure here.
 
 
I hope you will check out the rest of the Wedding Season dies, it is a wonderful collection! Thank you so much for stopping by today, I really do appreciate it. I hope you have a wonderful day!

17 June 2020

Birthday Balloons

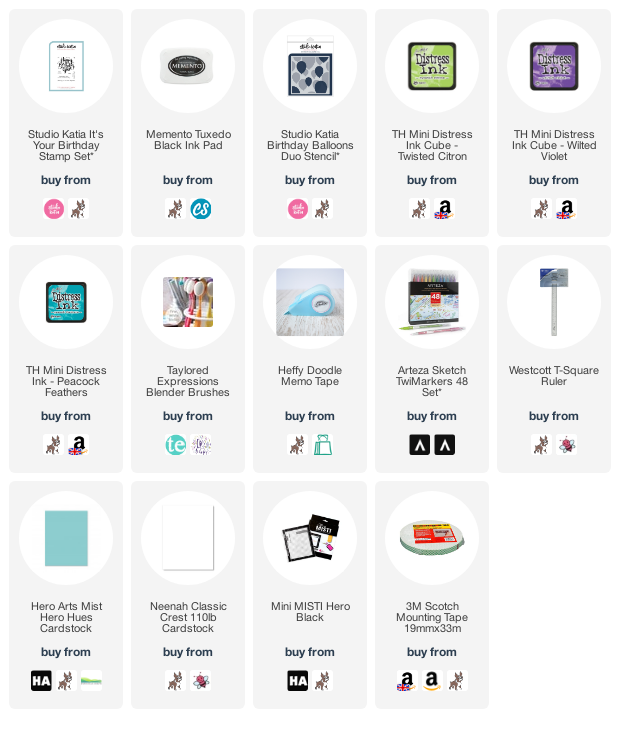
Hello there, I needed to make quite a few male birthday cards a little while ago and so I grabbed my Studio Katia Birthday Balloons Duo Stencils and some Distress Ink and did some ink blending!
 

I started off by taking a panel of white cardstock and placing the Studio Katia Birthday Balloons Duo Stencil Set on top and secured with memo tape. The stencils are made to layer on top of each other but actually, I just masked balloons off that I didn't want and sort of made my own pattern!
 
 
I applied the Distress Ink with blending brushes, trying to make a slight highlight in the balloon, to help them look dimensional. I used Twisted Citron, Wilted Violet and Peacock Feathers Distress Inks. A combination that I saw Stephanie Klauck used and fell in love with it! I removed the stencils and then drew balloon strings in using an Arteza TwiMarker.
 
 
The sentiment from the Studio Katia It's Your Birthday Stamp Set was then stamped on top using black ink. The panel was simply adhered to a Hero Arts Mist A2 card base with foam tape. I made a few of the same design but changed up the balloon placement and sentiments. I think this one was my favourite though!
 
SUPPLIES:
 
Here are the links to what I have used on the card. Affiliate links are used on some products. This means that if you make a purchase after clicking on my link, I receive a small commission with no extra cost to you. I truly appreciate your support when using these links. Please click on the logo below the product to shop at your favourite store. All products were personally purchased except those from Clearly Besotted, Hero Arts or those marked with an asterisk (*) which were kindly sent to me to use. You can read my full disclosure here.
 
 
I think balloons are great for male cards in particular as they can be used for any age. Thanks so much for stopping by to see me today, I really do appreciate it. I hope you are having a great week so far and staying safe. Take care!

15 June 2020

VIDEO | Mirror Stamping with the Waffle Flower Media Mat

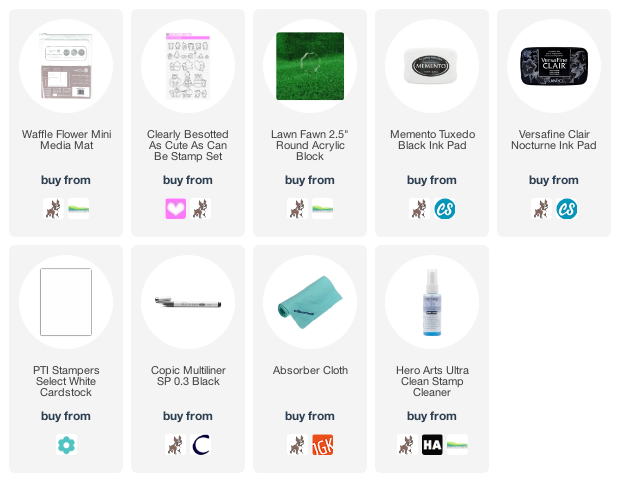
Hello there, after mentioning in my last haul video that you can do mirror stamping with the Waffle Flower Media Mat, I had some questions asking how to do it. So I have made a quick how-to video showing how to do it.
 
 
I mainly do the technique with Memento Tuxedo Black Ink, since that is what I use the most when stamping images that I will colour (with Copic Markers) but you can use other inks for the technique. It is a very simple process, you stamp your stamp on to the mat using an acrylic block (I like the circle ones as I find them easy to hold) and then place your cardstock on top. Press down with your finger or a brayer, making sure not to shift the paper, and then lift up. Simple as that!
 
 
You won't get a perfect impression but I never have with other methods either. I simply go over the image with a Copic Multiliner, or if using a suitable ink, you could add embossing powder and heat set. For my example, I am using an image from the Clearly Besotted As Cute As Can Be Stamp Set. Here is the video showing how to do it:


If you are viewing this post via email subscription, you can watch the video HERE on YouTube.
 
SUPPLIES:

Here are the links to what I have used in the video. Affiliate links are used on some products. This means that if you make a purchase after clicking on my link, I receive a small commission with no extra cost to you. I truly appreciate your support when using these links. Please click on the logo below the product to shop at your favourite store. All products were personally purchased except those from Clearly Besotted, Hero Arts or those marked with an asterisk (*) which were kindly sent to me to use. You can read my full disclosure here.
 
 
I hope that has helped anyone wondering how to do mirror stamping with the Waffle Flower Media Mat. You can do this with any silicone mat, I believe, but since I have the Waffle Flower one, it made sense to use that one :) Thanks so much for stopping by today, I really do appreciate it. I hope you have a great week!

13 June 2020

VIDEO | Card Making Haul - April, May & June 2020

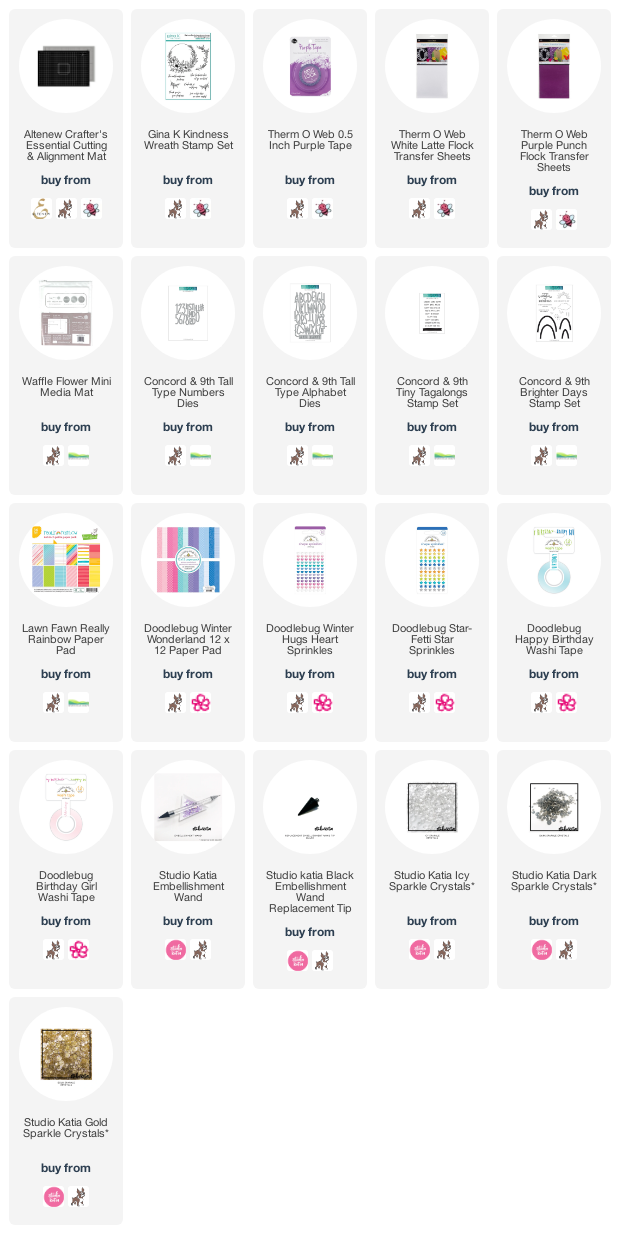
Hello there, today I have a haul to share with you. This month's haul is actually April and May's purchases combined, plus the start of June's as well.
 
 
There is a bit of everything in this haul - stamps, dies, embellishments, tools and paper. I know that haul videos are not for everyone but if you like seeing what other people have purchased, I hope you will enjoy this one! Here is a look at what I bought:


If you are viewing this post via email subscription, you can watch the video HERE on YouTube.
 
SUPPLIES:
 
Here are the links to what I have used on the card. Affiliate links are used on some products. This means that if you make a purchase after clicking on my link, I receive a small commission with no extra cost to you. I truly appreciate your support when using these links. Please click on the logo below the product to shop at your favourite store. All products were personally purchased except those from Clearly Besotted, Hero Arts or those marked with an asterisk (*) which were kindly sent to me to use. You can read my full disclosure here.
 
 
Thank you so much for stopping by today, I really do appreciate it. I hope that you are well and staying safe. Wishing you a wonderful weekend! Take care!

12 June 2020

VIDEO | Nuvo Glitter Marker Techniques

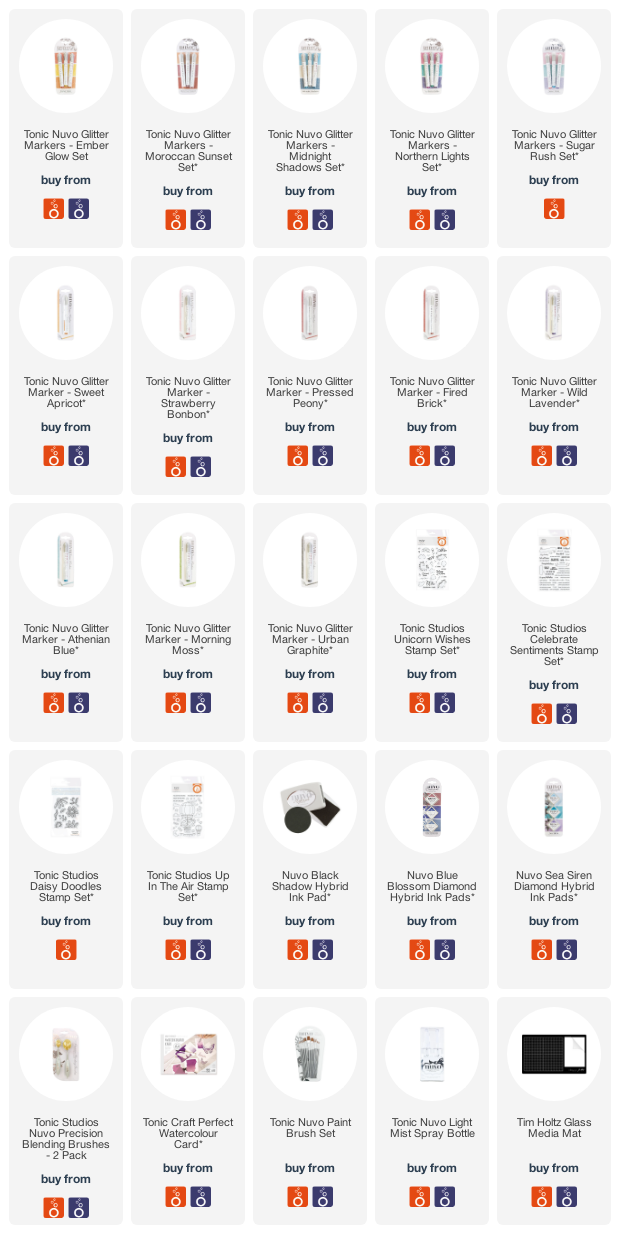
Hello there, I am over on the Tonic Studios Craft Room Blog today, sharing three techniques using Nuvo Glitter Markers. If you haven't seen these markers, they are a fun way to add simmer and shine to lots of projects!
 
 
I am sharing lots of information about the Nuvo Glitter Markers over on the Tonic Blog but I wanted to share the techniques with you over here too. Here is the video showing the techniques and a bit about the markers:


If you are viewing this blog post via email subscription, you can watch the video HERE on YouTube.
 
ADDING DETAILS WITH NUVO GLITTER MARKERS
 
 
My first technique is a really simple one - adding details with the Glitter Markers on to stamped and coloured images. I think this is a great way to add some simple and subtle shimmer to cards and projects. For my project, I simply added dot detail but you could add lines, patterns - sky's the limit!
 

For my card, I started off by stamping the unicorn and balloons from the Tonic Studios Unicorn Wishes Stamp Set using black ink. I then coloured the images using alcohol markers and fussy cut them out. I masked off the edges of an A2 card base and using blending brushes, blended on Polar Ice and Siren Blue Hybrid Inks.
 
 
Taking multiple colours of Nuvo Glitter Markers, I added small dots on to the balloons, focussing the dots to the bottom right hand corners. I used complimenting colours to what I coloured the balloons with. I then stamped the balloon strings with more Polar Ice Hybrid Ink and adhered the unicorn and balloons on to the card with foam tape. To finish off, I heat embossed a sentiment from the Tonic Studios Celebrate Sentiments Stamp Set.
 
WATERCOLOURING WITH NUVO GLITTER MARKERS
 
 
Because Nuvo Glitter Markers are water based, you can mix them with water for some fun techniques. I thought I would do some simple watercoluring with them for this project. As I show in the video, you can mix colours completely to create brand new colours, or you can blend them together. Please note: the more water you add, the less shimmery they become but they do still retain the shimmer for this technique.
 

I started off by stamping the daisy image from the Tonic Stuios Daisy Doodles Stamp Set on to Craft Perfect Watercolour Card using a waterproof black ink. I then scribbled the Nuvo Glitter Markers on to my glass media mat (but you can use anything slick) and picked them up with a paint brush and water to colour the image.
 
 
The piece was simply cut down using a tag die and twine added through the top. Again, I heat embossed the sentiment from the Tonic Studios Celebrate Sentiments Stamp Set on to black cardstock with white embossing powder. It was cut in to a strip and added to the tag with foam tape.
 
INK SMOOSHING WITH NUVO GLITTER MARKERS
 
 
As mentioned, the Nuvo Glitter Markers are water based so you can do ink smooshing with them too! I do show two different ways to create ink smooshing in the video, the second being my preferred way, using a piece of acetate or packaging.
 

For the background of this card, I used three shades of blue Nuvo Glitter Markers and added them in layers to a piece of acetate. The acetate was sprayed using a Nuvo Light Mist Spray Bottle and then the acetate smooshed on to a piece of watercolour card. I did this in layers, drying them in-between with a heat tool.
 
 
Once the piece was dry, it was adhered flat to an A2 white card base. I took the hot air balloon and clouds images from the Tonic Studios Up In The Air Stamp Set and stamped them on to white cardstock with black ink. They were coloured using alcohol markers, fussy cut out and added to the card with foam tape. I decided to leave a sentiment off of this card for the time being and will add one when I know the occasion of who I am sending it to, or simply write the message inside.
 

SUPPLIES:

Here are the links to what I have used on the card. Affiliate links are used on some products. This means that if you make a purchase after clicking on my link, I receive a small commission with no extra cost to you. I truly appreciate your support when using these links. Please click on the logo below the product to shop at your favourite store. All products were personally purchased except those from Clearly Besotted, Hero Arts or those marked with an asterisk (*) which were kindly sent to me to use. You can read my full disclosure here.
 
 
Thanks so much for visiting me today, I hope that you will check out the Tonic Studios Blog for more inspiration. Have a wonderful day!
End of code