Hello there, I am delighted to be joining Artistry by Altenew today to celebrate the release of new watercolor tubes and paper. In case you did not know, Artistry by Altenew is the sister company to Altenew. They sell Altenew colouring mediums and tools.
PLEASE
NOTE: This post contains affiliate links. Please see below for my full
disclosure.
Whilst these products are marketed towards fine art artists, I am predominantly a card maker (although I do dabble in fine art from time to time), so I made a card today.
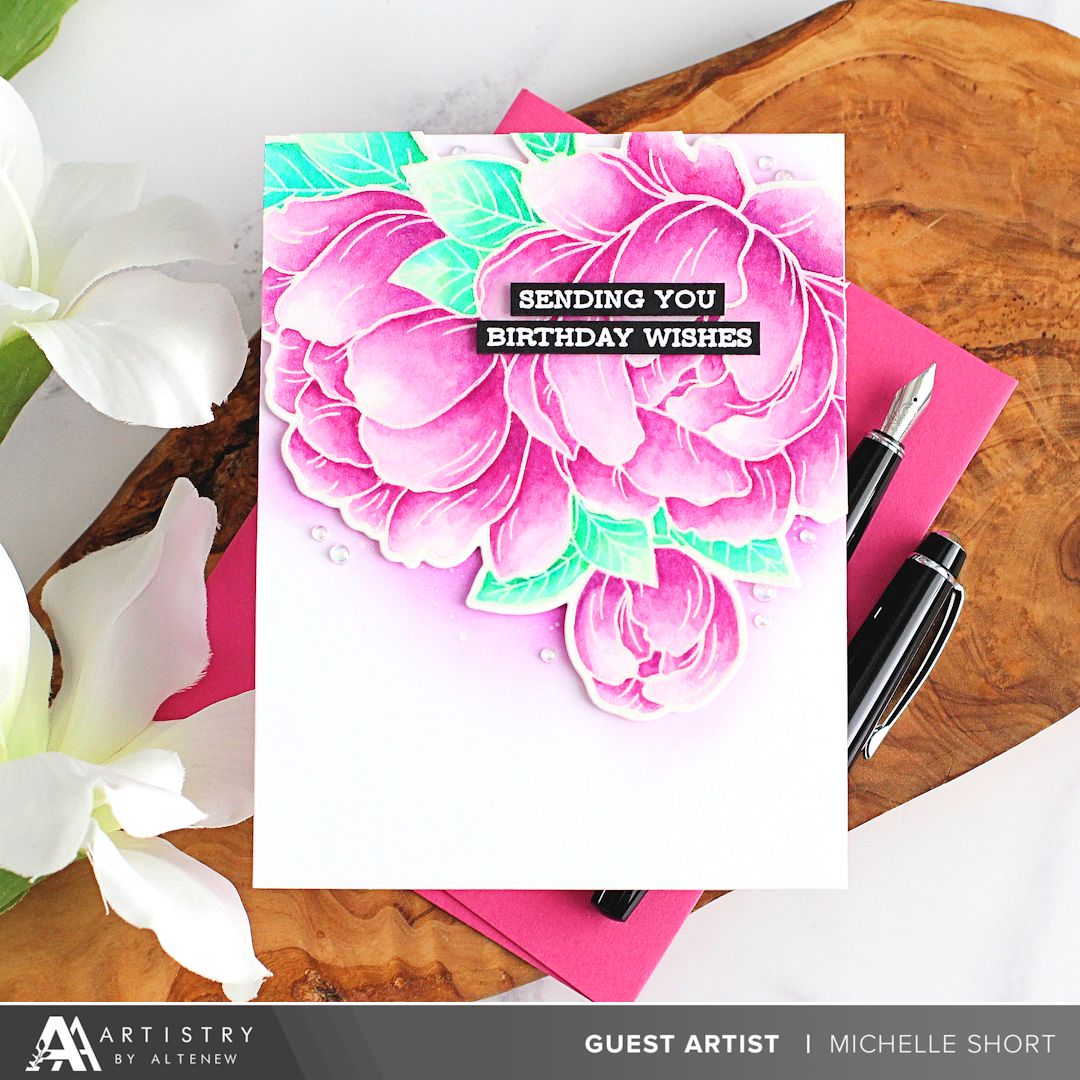
I started off by stamping the Altenew Gracious Peonies Stamp Set onto hot pressed watercolour paper (I did not have the new Altenew paper at the time of making my card, so I used my own) using Altenew Embossing Ink. I applied Hero Arts Satin Pearl Embossing Powder and heat set.
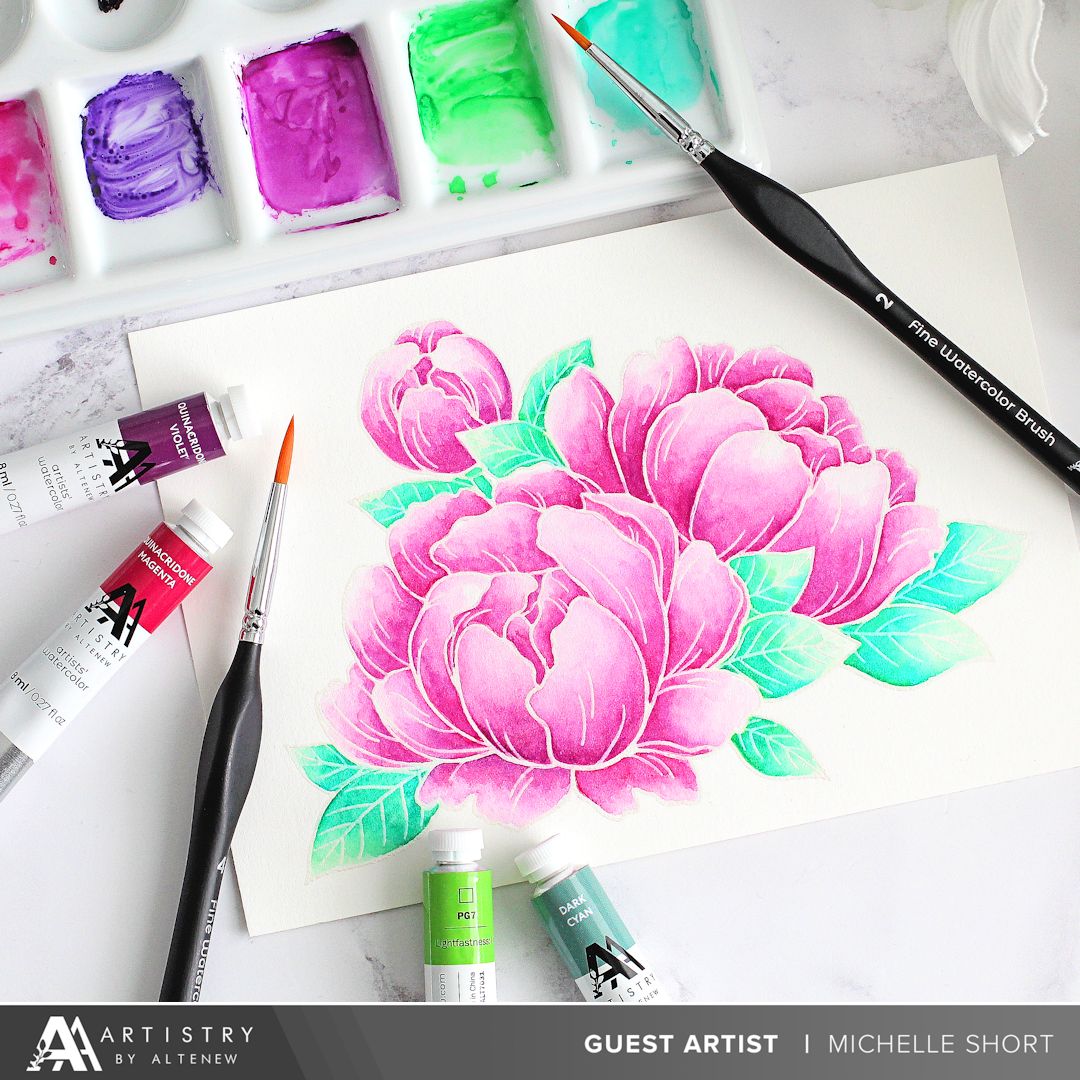
I then took the new Artistry by Altenew Watercolor Tubes and added some of the paint onto a ceramic palette. Using a number 6 Artistry by Altenew Fine Watercolor Brush and water, I coloured the image. I used Artistry by Altenew Watercolor Tubes in Quinacridone Magenta and Quinacridone Violet for the flower petals and Phthalo Green and Dark Cyan for the leaves.
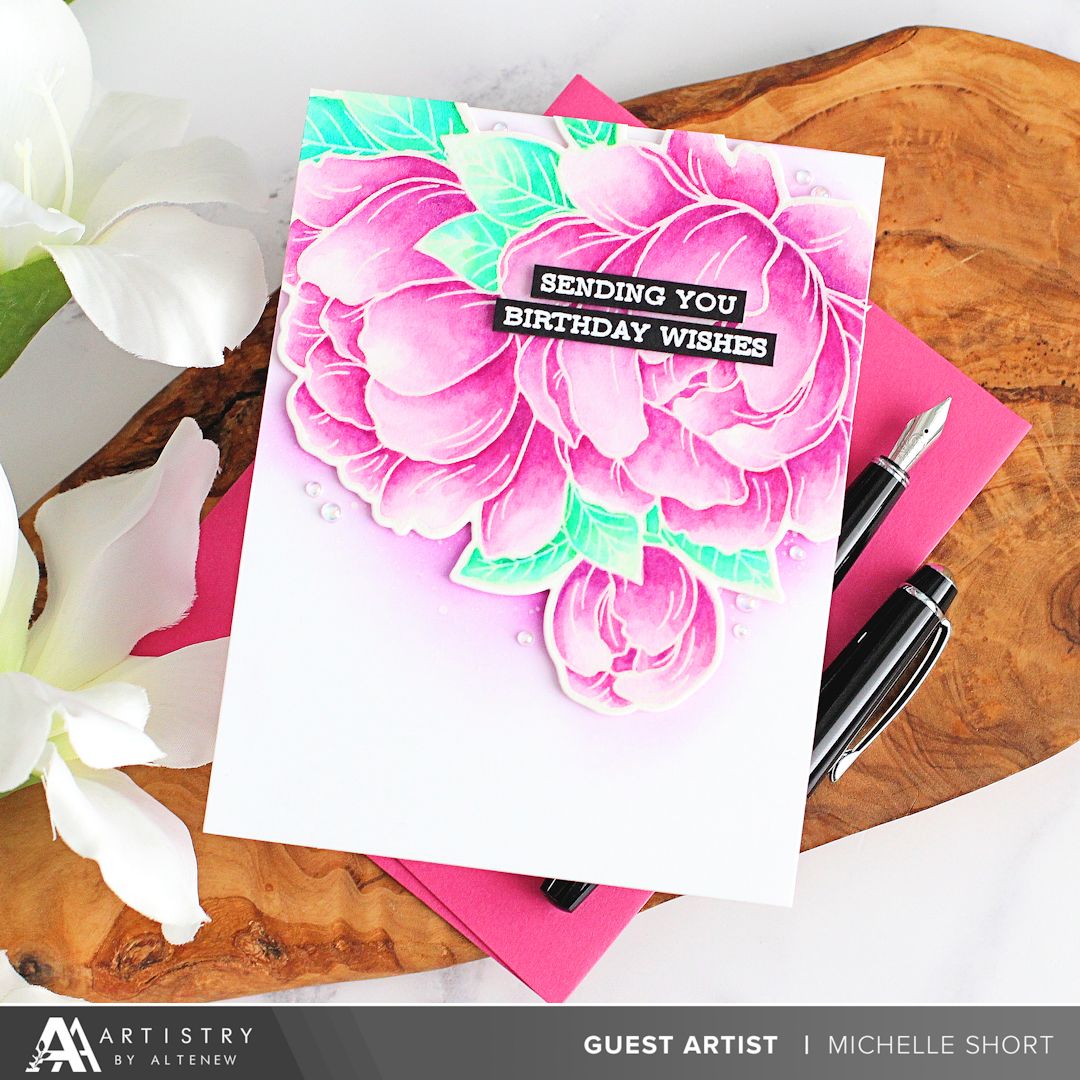
The image was die cut out using the Altenew Gracious Peonies Die Set. I took a US A2 sized white card base and added ink blending on top with Altenew Rose Petal Crisp Dye Inks and an Altenew Small Ink Blending Tool. I then splattered Artistry by Altenew Titanium White on top. Once dry, the image was adhered on top with Altenew Instant Diemnsion Foam Tape and the excess cut off the sides.
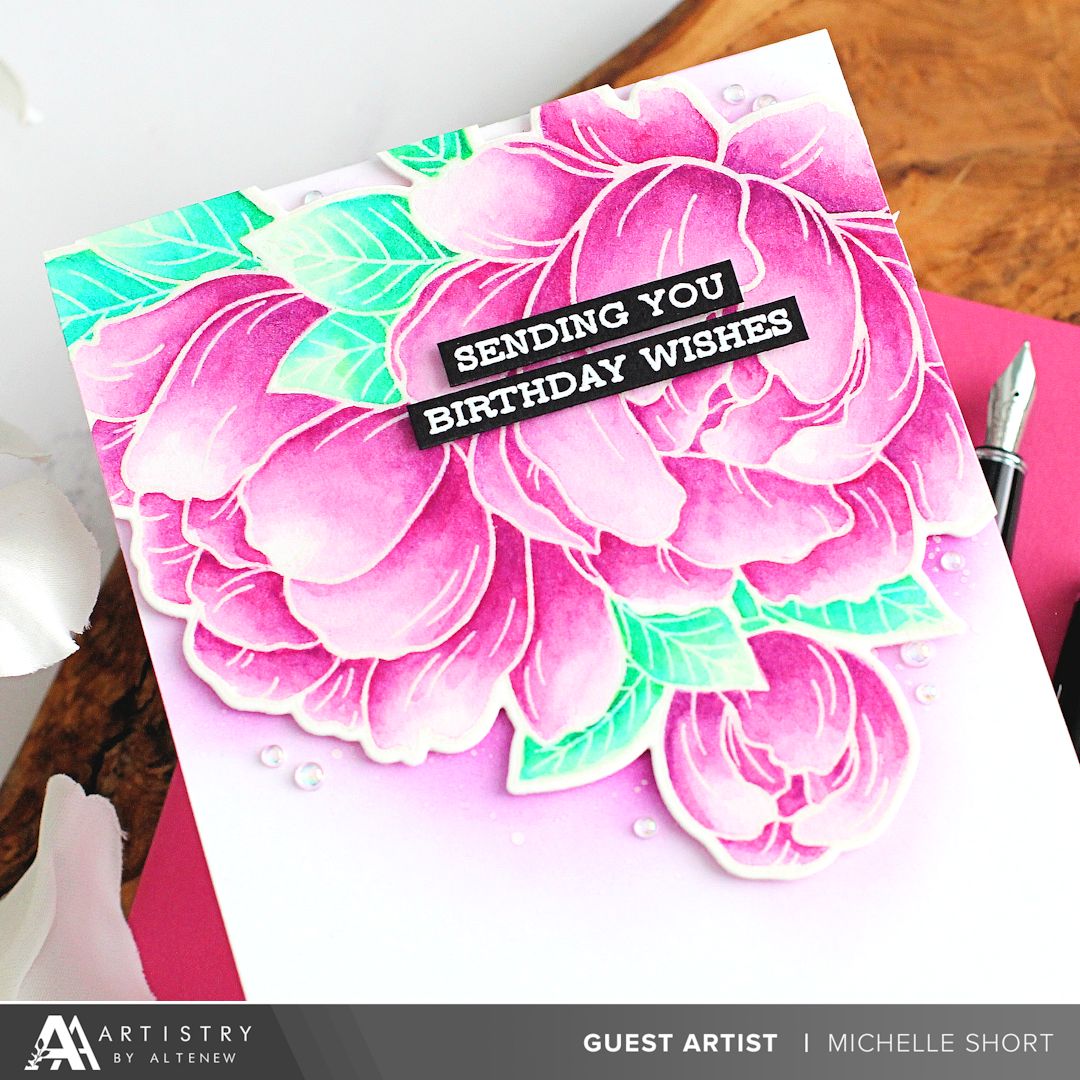
I stamped a sentiment from the Altenew Sentiment Strips Stamp Set onto black cardstock using Altenew Embossing Ink. I applied Altenew Pure White Crisp Embossing Powder and heat set. It was cut into strips and adhered to the card using more foam tape. To finish off, I added a few Bubbles embellishments.
ARTISTRY BY ALTENEW WATERCOLOR TUBES
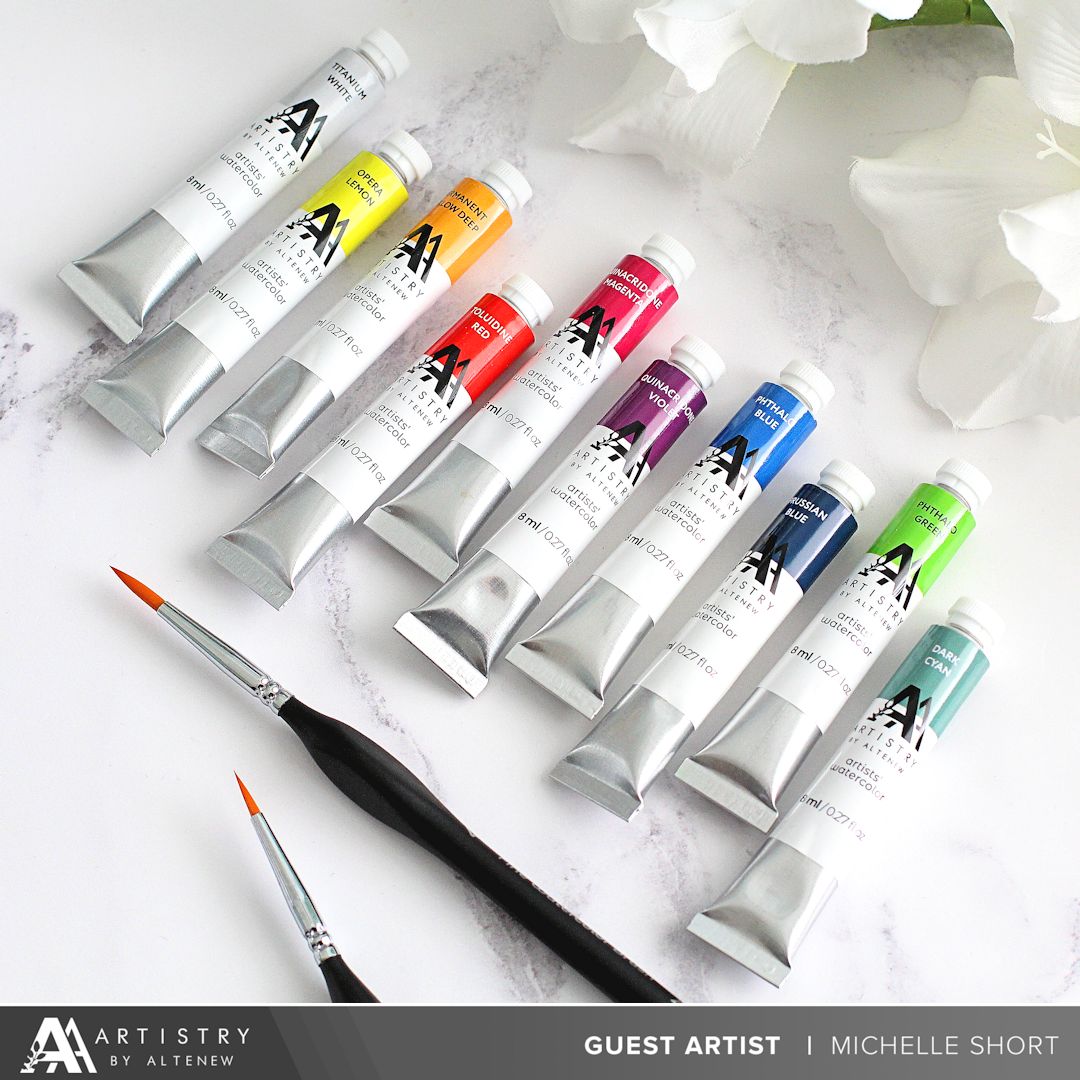
Artistry by Altenew have released 10 colours of watercolour tubes. These colours are labelled with the true pigment names (and numbers) and apart from a couple of colours, have excellent lightfast ratings. You can purchase them in various bundles, including the Palette Perfection Bundle (which is all the colours) or separately.
I have swatched the colours below on Artistry by Altenew Hot Pressed Watercolor Paper.

Whilst I am unable to give a proper review on these paints (since I haven't had them long enough to really test them out) I did want to share my first thoughts on them. These are marketed towards fine art artists, however personally, I think they are more suited to crafters. They have excellent transparency (apart from Titanium White which is opaque) which is perfect if you are colouring stamped images.
The colour selection is a little lacking in my opinion (and pretty vibrant/bright) but they are planning on releasing more colours in the future and they do mix well together, so you can create new colours fairly easily.
The new products are currently exclusive to the Artistry by Altenew site at the moment, but I believe that will release on the Altenew site at some point.
BLOG HOP:
.jpg)
This post is part of an inspirational blog hop. Please click the links below to visit the other participants in the hop.
GIVEAWAY:
$300 in total prizes! To celebrate this release, Artistry by Altenew is giving away ONE $100 gift certificate to 1 lucky winner
and a $40 gift certificate to FIVE winners! Please leave a comment on the Altenew Blog and/or each designer’s blog post on the blog hop list below by 3rd October 2023 for a chance to win. Artistry by Altenew will draw 6 random winners
from the comments left on each stop of this blog hop and announce the winners
on the Altenew Winners Page on 5th October 2023.*The winner of the $100 gift certificate will be chosen from
comments left on the Altenew blog.
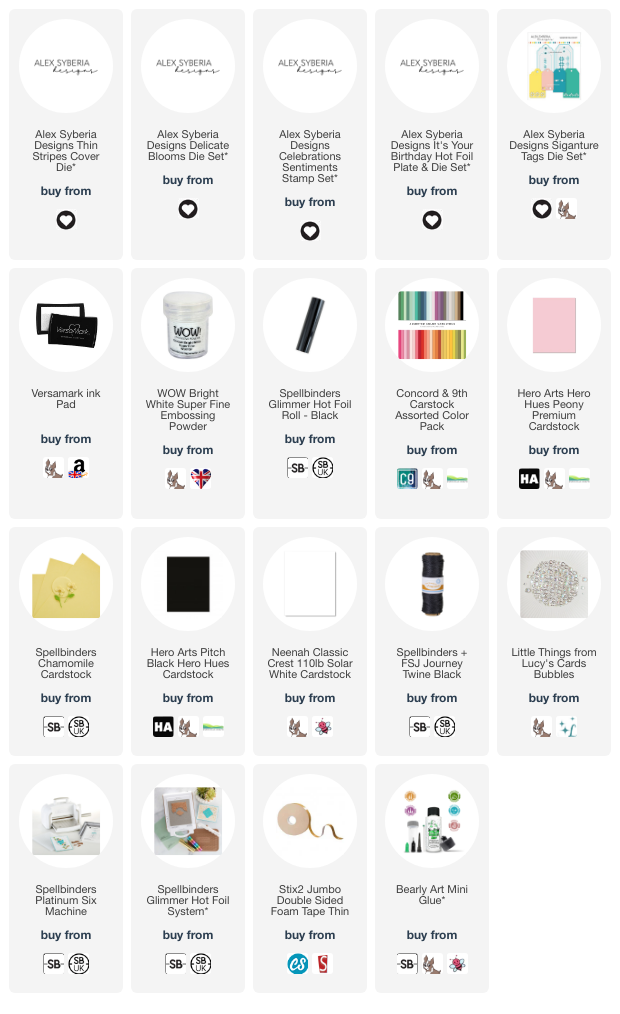
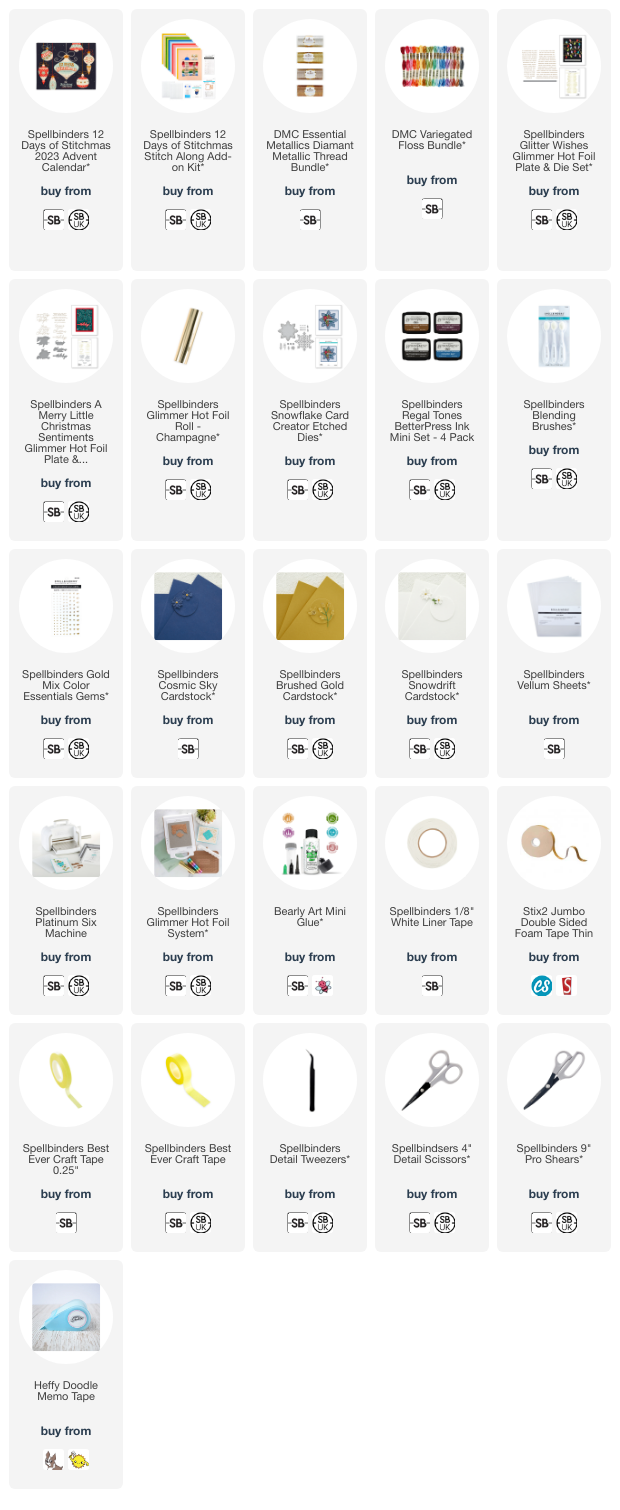
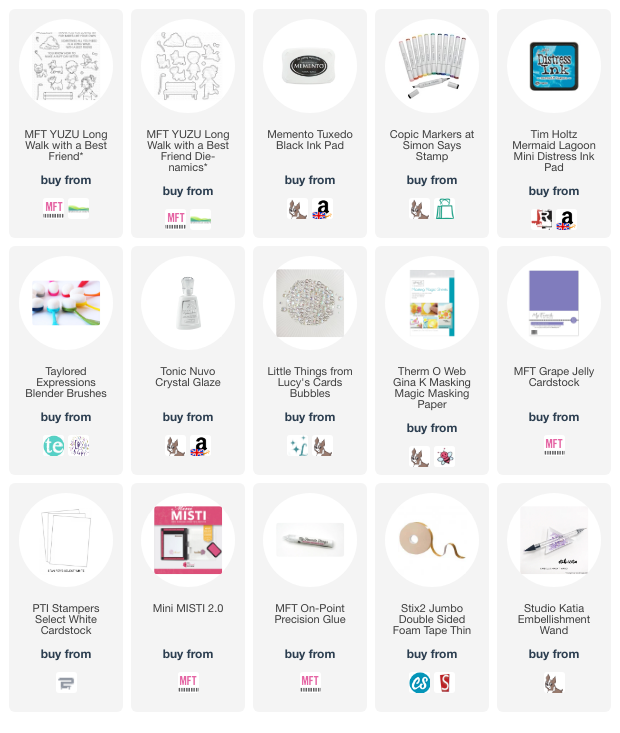
SUPPLIES:
Here are the links to
what I have used on the project. Affiliate
links are used on some products. This means that if you make a purchase after
clicking on my link, I receive a small commission with no extra cost to you. I
truly appreciate your support when using these links. Please click on the logo below
the product to shop at your favourite store. All products were personally
purchased except those from Clearly Besotted, Hero Arts or those marked with an
asterisk (*) which were kindly sent to me to use. You can read my full
disclosure here.
Thank you so much for stopping by today, I really do appreciate it. I hope you have a lovely time on the rest of the hop and a great rest of the day too! Take care!


.jpg)


.jpg)