22 June 2021

Birthday Ninjas

Hello there, today I have a card to share with you that I made for my nephew for his birthday last week. I used the Tiny Ninjas set from Mama Elephant, along with my favourite die from them plus some Clearly Besotted stencils. 


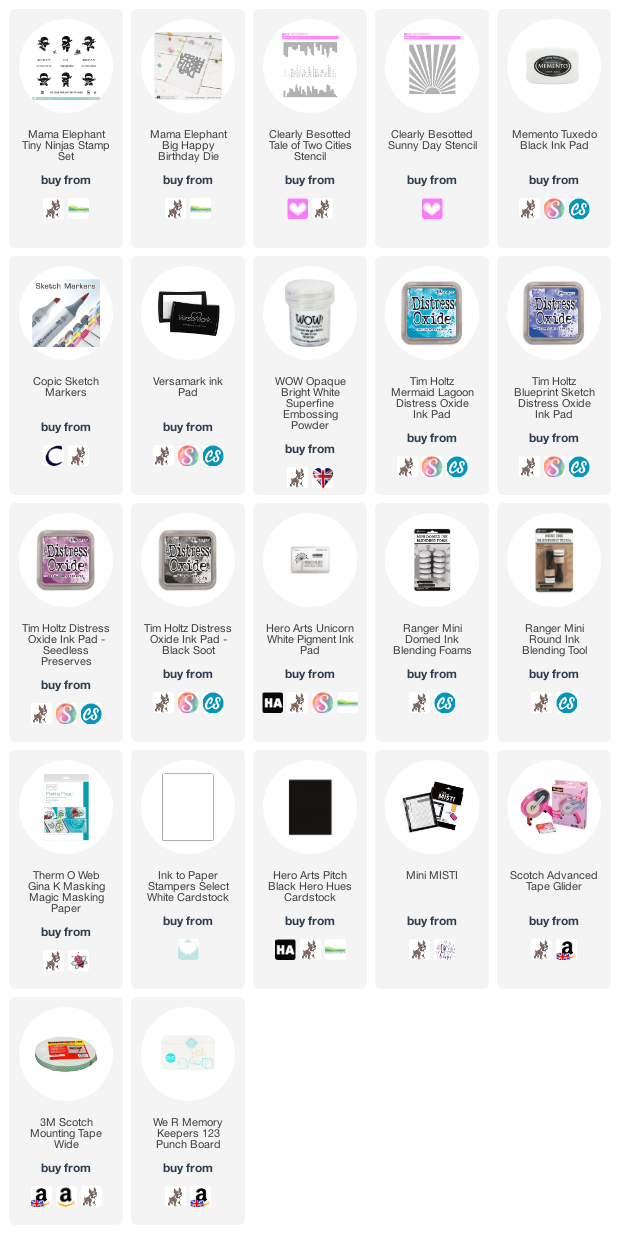
I started off by creating the background. I took a 4.25" x 5.5" panel of white cardstock and blended Tim Holtz Distress Oxide Inks on top. I used Mermaid Lagoon, Blueprint Sketch, Seedless Preserves and Black Soot. I then took the Clearly Besotted Tale of Two Cities Stencil and placed it towards the bottom of the panel. I then pounced, rather than blended, Black Soot Distress Ink on top.


I left the panel to dry for the a little while and while I was doing that, I made a mask for the buildings. I simply drew around the inside of the stencil on to mask paper and cut it out. It was placed over the panel and then I placed the Clearly Besotted Sunny Day Stencil on top. With this one, I blended Hero Arts Unicorn White Pigment Ink inside for some light rays.  Once the whole panel was dry, I die cut it using the Mama Elephant Big Happy Birthday Die and popped the wording out. I added the panel to a white 4.75" x 6" card base with tape runner. I then die cut three more of the birthday die cuts from white cardstock and stacked them up for an inlay look


To complete the eclipse look, I adhered the ink blended ones on top. I then took three ninjas from the Mama Elephant Tiny Ninjas Stamp Set and stamped them on to white cardstock with Memento Tuxedo Black Ink. They were coloured with Copic Markers and fussy cut out. I added them to the card with foam tape. To finish off, I stamped the sentiment from the set on to black cardstock with Versamark Ink. I applied white embossing powder and heat set. It was cut in to a strip and added to the card with tape runner. 

SUPPLIES:


Here are the links to what I have used on the project. Affiliate links are used on some products. This means that if you make a purchase after clicking on my link, I receive a small commission with no extra cost to you. I truly appreciate your support when using these links. Please click on the logo below the product to shop at your favourite store. All products were personally purchased except those from Clearly Besotted, Hero Arts or those marked with an asterisk (*) which were kindly sent to me to use. You can read my full disclosure here.


Since the card was an odd shape, I did make my own envelope using the WRMK 123 Punch Board. Thank you so much for stopping by to see me today. I really do appreciate it. I hope you are having a great week so far! Take care!

17 June 2021

Altenew | Summer Adventure Stand-alone Dies Collection Release Blog Hop & Giveaway

Hello there, I am delighted to be joining Altenew today to celebrate the release of the Summer Adventure Stand-alone Dies Collection. A lot of these sets work really well with the Adventures Ahead Collection and have an adventure feel to them. I didn't go down that route with my project today though, instead I picked some products that I could mix and match with lots of different products that I already have. We are celebrating the release with a fun blog hop, more information on that below. 


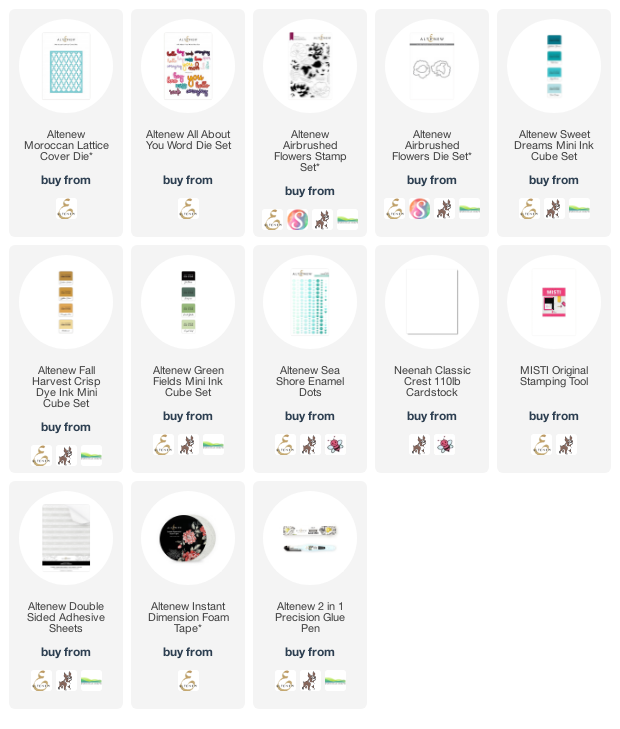
For my card today, I started off by die cutting the new Altenew Moroccan Lattice Cover Die from white cardstock. Before die cutting, I added Altenew Double Sided Adhesive Sheet on the back of the cardstock. I then adhered it to an A2 white card base. I took the flowers from the Altenew Airbrushed Flowers Stamp Set (one of my favourites!) and stamped them on to white cardstock with black ink. 


The layers were stamped with Altenew Sweet Dreams and Fall Harvest Crisp Dye Inks. The leaves were stamped with Green Fields. They were all cut out with the Altenew Airbrushed Flowers Dies and then the leaves were adhered flat to the card, followed by the flowers with Altenew Instant Dimension Foam Tape


I the took the new Altenew All About You Word Die Set and cut the hello word from black cardstock (again with the adhesive sheet on the back) and the bubble from Vellum. It was adhered to the card with very small dabs of Altenew 2 in 1 Precision Glue. To finish off, I added a few Altenew Sea Shore Enamel Dots.

SUPPLIES:


Here are the links to what I have used on the project. Affiliate links are used on some products. This means that if you make a purchase after clicking on my link, I receive a small commission with no extra cost to you. I truly appreciate your support when using these links. Please click on the logo below the product to shop at your favourite store. All products were personally purchased except those from Clearly Besotted, Hero Arts or those marked with an asterisk (*) which were kindly sent to me to use. You can read my full disclosure here.


BLOG HOP:


As mentioned, this post is part of a fun, inspiration filled blog hop. For the hop, you should have arrived here from Karen Brown. Next on the hop is Agnieszka Malyszek. If you get lost along the way or want to start from the beginning, please head over to the Altenew Card Blog

FREEBIES:

Here are two ways to get a FREEBIE to kickstart your creativity! Free gift will be added to cart automatically. 


·  Get a FREE brand new Summer Adventure Release Inspiration Guide (worth $5.99) with every order of high-value Summer Adventure release bundles. *Exclusions apply.

·  Get a FREE brand new Summer Adventure Release Mini Inspiration Guide with every order from 17th June 2021 through 19th June 2021.


GIVEAWAY:

$300 in total prizes! To celebrate this release, Altenew is giving away a $50 gift certificate to 2 lucky winners and a $25 gift certificate to 8 winners! Please leave a comment on the Altenew Card Blog and/or each designer’s blog post on the blog hop list below by 23rd June 2021 for a chance to win. Altenew will draw 10 random winners from the comments left on each stop of this blog hop and announce the winners on the Altenew Winners Page on 25th June 2021.


Thank you so much for popping by today, I really do appreciate it. I hope that you will check out the rest of the release. Have a wonderful day! 

14 June 2021

VIDEO | MFT Birthday Balloon Tags

Hello there, I am over on the My Favorite Things YouTube Channel today sharing two tags created using the same products but with different looks. I thought it would be fun to experiment with applying Distress Spray Stains in different ways - spraying and ink smooshing. 

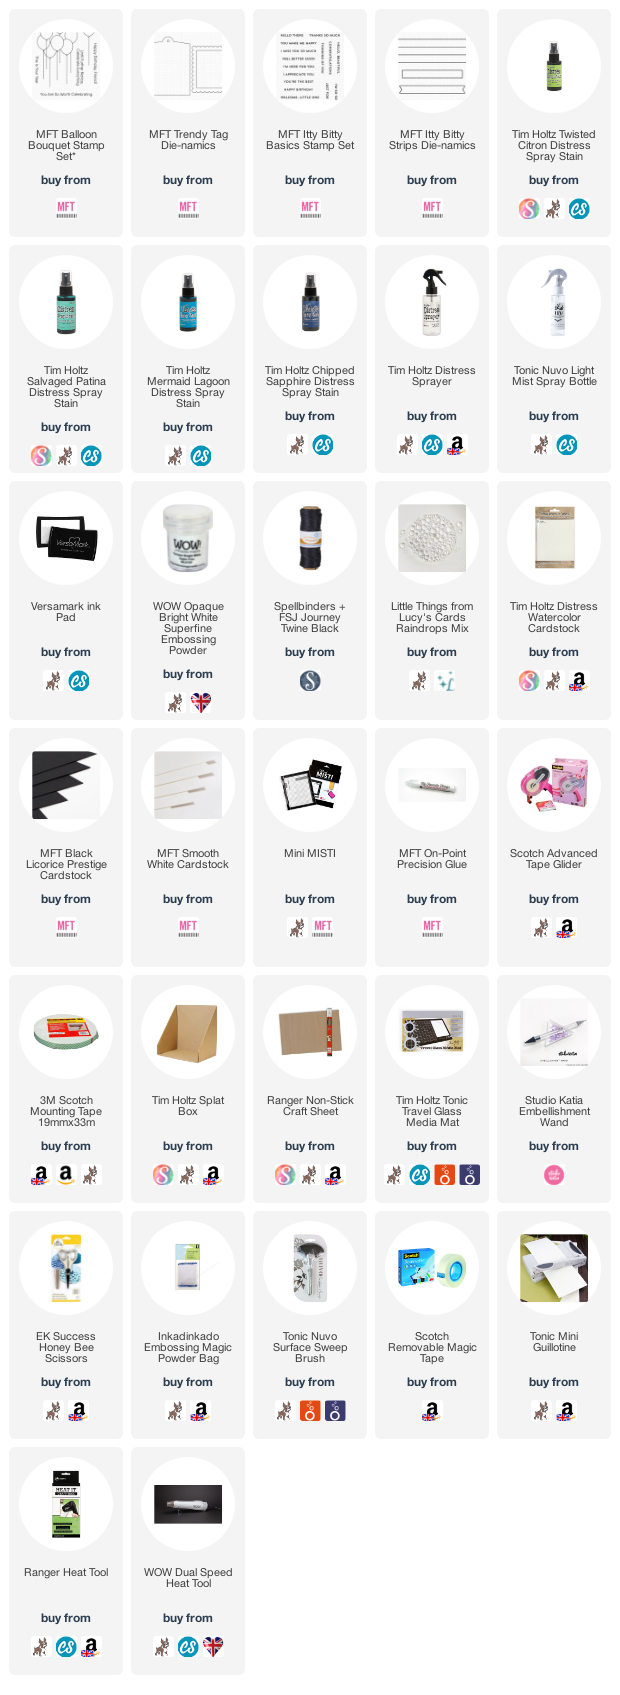
I started off my tags by die cutting the MFT Trendy Tag Die-namics four times. Twice from Distress Watercolor Cardstock (for the front) and twice from MFT Smooth White Cardstock (for the back). I took the balloon image from the MFT Balloon Bouquet Stamp Set and stamped it on to the tags using Versamark Ink. I applied detail white embossing powder and heat set. 

For the first tag, I sprayed the Tim Holtz Distress Spray Stains directly from the bottles. I used Twisted Citron, Salvaged Patina, Mermaid Lagoon and Chipped Sapphire. I added some water and then let it sit to dry. Once dry (I did speed it up a little with a heat tool), I splattered on some water, let it sit for about 30 seconds and then picked it up with a paper towel. This created some more interest to the tag. 

For the second tag, I used the same sprays but this time, I sprayed them on to a craft sheet and then pounced or smooshed the tag into the ink. This creates a completely different look. I did this with all of the colours and again added some water droplets at the end. I then left both tags to dry completely. 

I took the sentiment from the MFT Itty Bitty Basics Stamp Set and stamped it on to MFT Black Licorice Cardstock using Versamark Ink. I applied detail white embossing powder and heat set. I then cut the sentiments in to strips using the MFT Itty Bitty Strips Die-namics

I adhered the the white cardstock tags to the back of the inked ones using tape runner and MFT On-Point Precision Glue. The sentiments were added on top with foam tape. I tied twine through the top of the tags and then embellished with Lucy's Raindrops. 

VIDEO:

Here is the video showing how I made the tags:

If you are viewing this blog post via email subscription, you can watch the video HERE on YouTube. 

SUPPLIES:


Here are the links to what I have used on the project. Affiliate links are used on some products. This means that if you make a purchase after clicking on my link, I receive a small commission with no extra cost to you. I truly appreciate your support when using these links. Please click on the logo below the product to shop at your favourite store. All products were personally purchased except those from Clearly Besotted, Hero Arts or those marked with an asterisk (*) which were kindly sent to me to use. You can read my full disclosure here.


I love creating tags! I do often keep them as tags but I do also end up adding them to cards too. I love that I can do both and get more use from them! Thank you so much for stopping by today, I really do appreciate it. I hope you have a wonderful day! 

10 June 2021

Spellbinders | Sending You Sunshine

Hello there, today I have another project to share with you using the Spellbinders Small Die of the Month Club Kit, as well as the Clear Stamp of the Month Club kit (for the sentiment). The June 2021 Small Die of the Month Club Kit is so fun! The dies create a landscape which can be interpreted different ways - a desert, a sea/ocean (you can see how I did that HERE) and landscapes of all different colours/looks. For my card today, I wanted to create more of a field/green landscape look with a river in the middle.


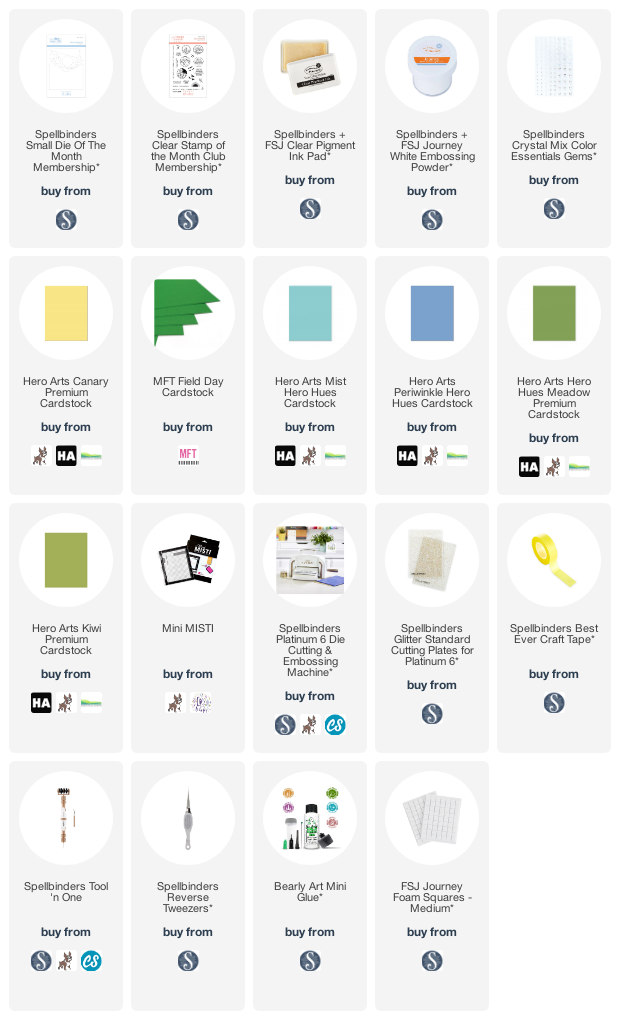
For my card, I started off by die cutting the landscape from the Spellbinders June 2021 Small Die of the Month Club Kit. I used three shades of green and two of blue cardstock. I did cut two of the layers twice so that I could pop them up, just for a little more interest. I started off by adhering the pieces from the bottom up with Bearly Art Glue on to an A2 white card base. The two grass pieces and then the lake/river, followed by the trees piece (which can also be used as mountains).


I then die cut the circle piece and sunray piece (multiple times) from yellow cardstock. These were adhered to a separate piece of white cardstock. The bottom of this was die cut using the top of the landscape die so that I could inlay all the pieces together. I then adhered this piece to the card base with tape runner. I also popped up the extra pieces of the landscape with thin foam tape. 


I took the sentiment from the Spellbinders June 2021 Clear Stamp of the Month Club Kit and stamped it on to black cardstock with FSJ Clear Pigment Ink. I applied FSJ White Embossing Powder and heat set. It was cut in to a strip and added to the card with foam squares. To finish off, I added a few Spellbinders Crystal Mix Color Essentials Gems

SUPPLIES:


Here are the links to what I have used on the project. Affiliate links are used on some products. This means that if you make a purchase after clicking on my link, I receive a small commission with no extra cost to you. I truly appreciate your support when using these links. Please click on the logo below the product to shop at your favourite store. All products were personally purchased except those from Clearly Besotted, Hero Arts or those marked with an asterisk (*) which were kindly sent to me to use. You can read my full disclosure here.


For more details on the Spellbinders Club Kits, please see here. Thanks so much for stopping by to see me today. I hope you have a great rest of the week! 

9 June 2021

Simon Says Stamp | Spring Bouquets

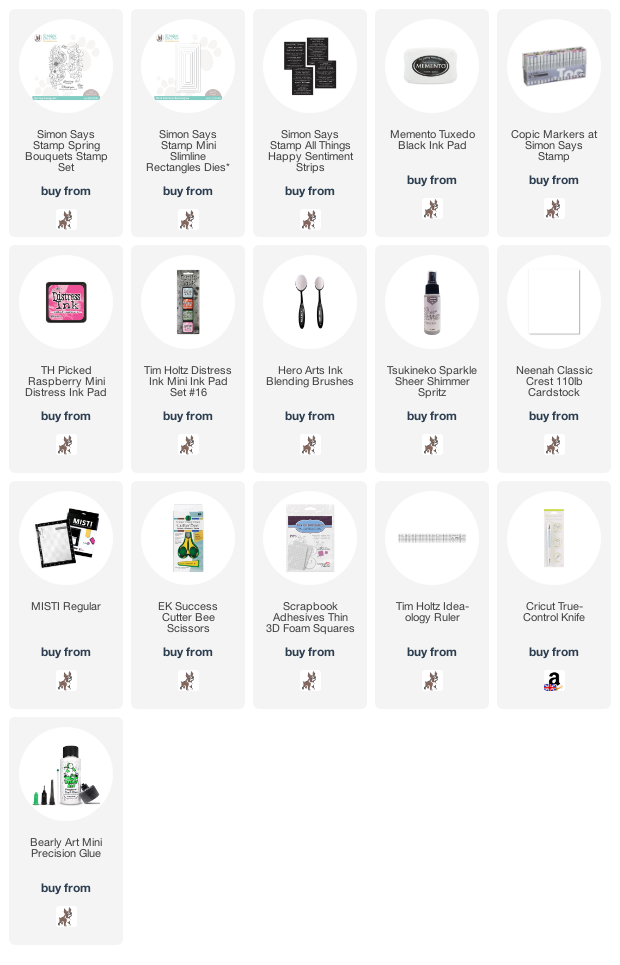
Hello there, today I have a card to share with you using the Simon Says Stamp Spring Bouquets Stamp Set. This is a really stunning set with two large bouquets on it. I think the set is probably made to work with slimline cards but I decided to pop it on a mini slimline card. The image does hang off the edges, so I will have to make a customised envelope but I really like the look of elements hanging off the card. 


I started off by stamping the image from the Simon Says Stamp Spring Bouquets Stamp Set on to white cardstock with Memento Tuxedo Black Ink. I then coloured the image with Copic Markers (the colours that I used are listed below the supplies area). I then fussy cut it out with scissors (it was half way through before I wished that I had purchased the die set!). 


I took a panel of white cardstock and cut it using the largest die in the Simon Says Stamp Mini Slimline Rectangles Dies. Using blending brushes, I blended on Tim Holtz Picked Raspberry and Kitsch Flamingo Distress Inks. I spritzed on Sparkle Sheer Shimmer Spritz and let it sit to dry. 


Once dry, I adhered the panel down to a slimline card base using thin foam tape. I then adhered the bouquet on top with more thin foam tape. I took the sentiment from the Simon Says Stamp All Things Happy Sentiment Strips. These are premade strips that can be cut apart. This was also added to the card with thin foam tape. To finish off, I added a few sequins (sadly now discontinued). 

SUPPLIES:


Here are the links to what I have used on the project. Affiliate links are used on some products. This means that if you make a purchase after clicking on my link, I receive a small commission with no extra cost to you. I truly appreciate your support when using these links. Please click on the logo below the product to shop at your favourite store. All products were personally purchased except those from Clearly Besotted, Hero Arts or those marked with an asterisk (*) which were kindly sent to me to use. You can read my full disclosure here.


COPIC MARKERS: Leaves/stems - G29, YG17, YG25, YG03, YG01. Purple flowers - V09, V17, V15, V12, V01. Pink flower - RV69, RV66, RV19, RV55, RV52, YR27, Y21. Turquoise flower - BG49, BG15, BG13, BG11, BG10, YR27, Y21. 

I am looking forward to colouring up the other image in the set too. Thank you so much for stopping by today, I really do appreciate it. Have a wonderful day and take care! 

7 June 2021

Hero Arts | June 2021 My Monthly Hero Release Blog Hop + Giveaway

Hello there and welcome as we celebrate the release of the Hero Arts June 2021 My Monthly Hero Kit and add-ons. The kit this month has a birthday theme to it so prefect for sending birthday cards/tags/projects to friends and family. We are celebrating with a fun blog hop filled with inspiration and prizes. For the hop, you should have arrived here from the fabulous Maria, but I will have the full list of participants below.


If you didn't catch it yesterday, I shared this card using the main kit along with some stenciling for the background. Isn't that puppy just so cute trying to grab the cake whilst being flown away on a big bunch of balloons! You can read the detail about the card HERE.


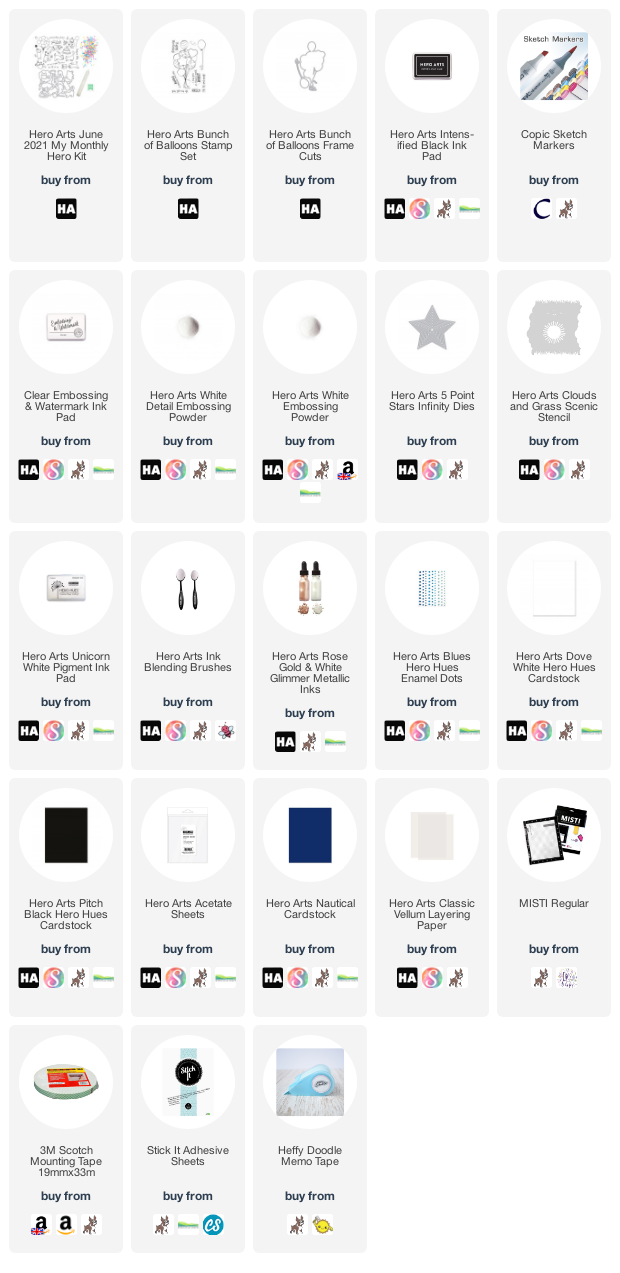
Today, I have a cat project to share with you, just to even things up a bit! There are both cats and dogs in the kit, so if you are team dog or team cat, the kit has you covered! I thought it would be fun to create a shaker mini card/tag today. I started off by stamping the cat laying down with the party hat on from the Hero Arts June 2021 My Monthly Hero Kit stamp set on to white cardstock with Hero Arts Intens-ified Black Ink


The cat was coloured with Copic Markers and then die cut out with the coordinating dies in the kit. I took the sentiment from the set and stamped it on to Hero Hues Pitch Black Cardstock with Hero Arts Clear Embossing & Watermark Ink. I applied Hero Arts White Details Embossing Powder and heat set. It was cut in to a strip and set aside while I worked on the actual shaker. I took two dies from the Hero Arts 5 Point Stars Infinity Dies set and die cut one inside to the other from two panels of white cardstock for the frame of the shaker.


I then die cut the larger of the stars twice from Hero Arts Acetate Sheets. The frames were adhered on top of the acetate pieces with double sided tape and then I added foam tape to one of them. I added the Round Clay Sprinkles that come in the kit inside and then added the other acetate frame on top to close the shaker. The cat and sentiment were added on top with thin foam tape (I die cut the shapes of the image and sentiment from plain cardstock to add to the back of the acetate so that you do not see the foam tape through the shaker window). 


My next card uses the Hero Arts Bunch of Balloons Stamp Set, which is an add-on product this month. I started off by stamping the balloon bunch from the set on to Hero Arts Classic Vellum Layering Paper with Hero Arts Clear Embossing & Watermark Ink. I applied Hero Arts White Embossing Powder and heat set. Before die cutting with the Hero Arts Bunch of Balloons Frame Cuts, I added Stick It Adhesive Sheet on the back. 


I also stamped the sentiment from the set on to Pitch Black Cardstock and heat embossed. It was cut in to a rectangle and then set aside while I worked on the background. I took an A2 panel of Hero Hues Nautical Cardstock and masked off the edges with memo tape. I then took the Hero Arts Clouds & Grass Scenic Stencil and placed it over the panel. 


Using a Hero Arts Ink Blending Brush, I blended on Hero Arts Unicorn White Pigment Ink, moving the stencil down as I went to cover the panel with clouds. I then splattered on white ink from the Hero Arts Rose Gold & White Glimmer Metallic Inks set and set it aside to dry. Once dry, the panel was adhered to an A2 card base with tape runner, the balloon image added on top and the sentiment adhered with foam tape. To finish off I added a few Hero Hues Blues Enamel Dots

SUPPLIES:


Here are the links to what I have used on the project. Affiliate links are used on some products. This means that if you make a purchase after clicking on my link, I receive a small commission with no extra cost to you. I truly appreciate your support when using these links. Please click on the logo below the product to shop at your favourite store. All products were personally purchased except those from Clearly Besotted, Hero Arts or those marked with an asterisk (*) which were kindly sent to me to use. You can read my full disclosure here.


THE KIT:


6 x 8" Clear Stamp Set
17 Coordinating Frame Cuts
Light Mint Dye Ink Cube
Round Clay Sprinkles
Sparkle Lacquer Pen


The kit is valued at $72 but you can get it for $34.99 (approximately £28 depending on exchange rate). The kits are limited edition and often sell out quickly. You can subscribe here so that you never miss a kit. International subscribers also get a discount off shipping. Kits begin shipping on 11th June 2021. 

ADD-ONS:

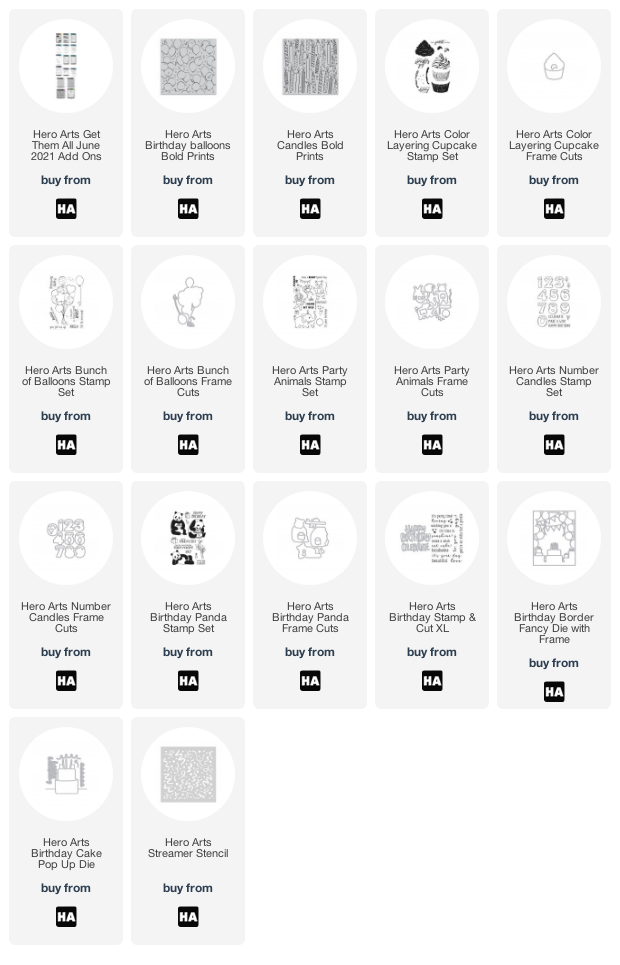
There are lots of wonderful add-on products this month. These follow the same theme as the main kit but are not limited edition. You can purchase them at the same time as the My Monthly Hero Kit from Hero Arts or from your favourite Hero Arts retailer. Here is a look at them:


BLOG HOP:

Here are all of the participants in the hop today:


Special Guests:

GIVEAWAY:

Hero Arts are giving away one $50 gift certificate to the Hero Arts store to one lucky blog hop winner. To be in with a chance of winning, please leave comments on all of the stops on the hop. The more you comment, the more chances you have to win. Enter by 13th June 2021 at 11.59pm PT and the winner will be announced the following week on the Hero Arts blog. Good luck!

Next on the hop is the wonderful Mindy. Thanks so much for stopping by today. I hope you have a wonderful time on the rest of the hop! Take care!

Altenew | Craft-A-Flower Peruvian Lily Layering Die Set Release Blog Hop + Giveaway

Hello there, I am delighted to be joining Altenew today to celebrate the release of the Craft-A-Flower Peruvian Lily Layering Die Set. I know that I say this every month but I think this might be my favourite ever Craft-A-Flower set! It is stunning! The set can be purchased on it's own or as part of a bundle with Gradient Cardstock. We are celebrating with a fun blog hop, more details on that below.


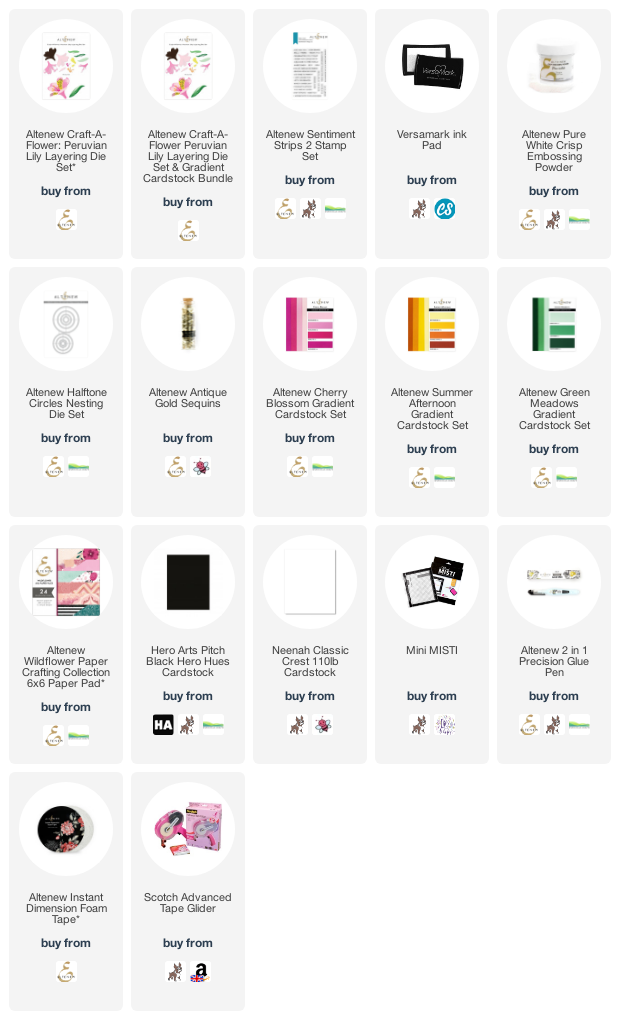
For my card, I started off by die cutting the layers of the Altenew Craft-A-Flower Peruvian Lily Layering Die Set from Altenew Cherry Blossom Gradient Cardstock and Altenew Summer Afternoon Gradient Cardstock. I die cut the bottom layer from black cardstock. The pieces were layered up using Altenew 2 in 1 Precision Glue Pen. The stamens were die cut from gold glitter cardstock and the leaves from Altenew Green Meadows Gradient Cardstock


Next, I took a panel of white cardstock and cut it using a circle die. I then die cut a sheet of paper from the Altenew Wildflower Paper Crafting Collection 6x6" Paper Pad. This was cut in just under half and adhered on top of the white circle piece. I added a thin strip of black cardstock between the two. This piece was then adhered to an A2 white card base with tape runner. 


The leaves and lily were adhered on top with more tape runner. I took the sentiment from the Altenew Sentiment Strips Stamp Set and stamped it on to black cardstock with Versamark Ink. I applied Altenew Pure White Crisp Embossing Powder and heat set. It was cut in to a strip and added to the card with Altenew Instant Dimension Foam Tape. To finish off, I added a few Altenew Antique Gold Sequins

SUPPLIES:


Here are the links to what I have used on the project. Affiliate links are used on some products. This means that if you make a purchase after clicking on my link, I receive a small commission with no extra cost to you. I truly appreciate your support when using these links. Please click on the logo below the product to shop at your favourite store. All products were personally purchased except those from Clearly Besotted, Hero Arts or those marked with an asterisk (*) which were kindly sent to me to use. You can read my full disclosure here.


BLOG HOP:


As mentioned this post is part of a fun, inspiration filled blog hop (with prizes too!). For the hop you should have arrived here from the wonderful Laurie Willison. Next on the hop is the fantastic Emily Midgett. If you get lost along the way, or want to start the hop form the beginning, please head to the Altenew Card Blog

GIVEAWAY:

$200 in total prizes! To celebrate this release, Altenew is giving away a $50 gift certificate to 2 lucky winners and a $20 gift certificate to 5 winners! Please leave a comment on the Altenew Card Blog and/or each designer’s blog post on the blog hop list below by 13th June 2021 for a chance to win. Altenew will draw 7 random winners from the comments left on each stop of this blog hop and announce the winners on the Altenew Winners Page on 15th June 2021.


Thank you so much for stopping by to see me today. I really do appreciate it. I will be back later with another blog post but until then, I hope you have a great day! 

6 June 2021

Hero Arts | June 2021 My Monthly Hero Countdown

Hello there and welcome as we countdown to the release of the Hero Arts June 2021 My Monthly Hero Kit. Release day is tomorrow, Monday 7th June and all weekend long the Hero Arts Creative Team have been sharing inspiration using the kit and there is more today. Be sure to head over to the Hero Arts Blog to see what my teamies have been up to. 


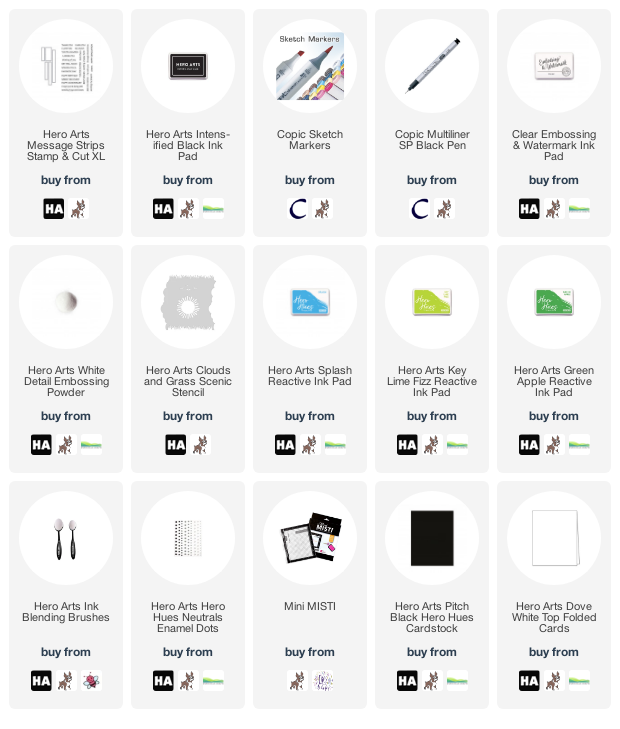
I started off my card by taking a panel of white cardstock and masking off the edges with tape. I then placed the Hero Arts Clouds and Grass Scenic Stencil on top and using Hero Arts Ink Blending Brushes, blended Hero Arts Splash Reactive Ink on for the clouds. I moved the stencil down and then when I got close to the bottom I stopped to add in the grass. On the stencil there are two sides with grass. I used one to block off the top and add ink blending below using Hero Arts Key Lime Fizz and Green Apple Reactive Inks.


I then used the other side, which is a mirror image, to mask off the grass and then add a bit more blue ink blending above so that the two met. I took a separate piece of cardstock and stamped the balloons, cake and dog from the Hero Arts June 2021 My Monthly Hero Kit stamp set using Hero Arts Intens-ified Black Ink. They were coloured using Copic Markers and die cut with the coordinating frame cuts in the kit.


I wanted the dog to have the strings from the balloons wrapped around his tummy, so I drew in balloon strings with a Copic Multiliner. I then adhered the panel to a top folding A2 card base with tape runner. Followed by the balloons, cake and dog with foam tape. The sentiment, from the Hero Arts Message Strips Stamp & Cut XL set was stamped on to Hero Arts Pitch Black Cardstock with Hero Arts Clear Embossing & Watermark Ink. I applied Detail White Embossing Powder and heat set. It was cut in to two strips and added tot he card with foam tape. To finish off, I added a few Hero Hues Enamel Dots

SUPPLIES:


Here are the links to what I have used on the project. Affiliate links are used on some products. This means that if you make a purchase after clicking on my link, I receive a small commission with no extra cost to you. I truly appreciate your support when using these links. Please click on the logo below the product to shop at your favourite store. All products were personally purchased except those from Clearly Besotted, Hero Arts or those marked with an asterisk (*) which were kindly sent to me to use. You can read my full disclosure here.


There are some great, punny sentiments in the stamp set but I wanted a simple, fairly small one for my card today. I'll be using one from the set tomorrow for the release blog hop! Do check out the Hero Arts Blog and leave a comment over there for a chance to win a kit! Thank you so much for stopping by today. I really do appreciate it. See you tomorrow for the hop!

5 June 2021

VIDEO | Clearly Besotted June 2021 Release Preview

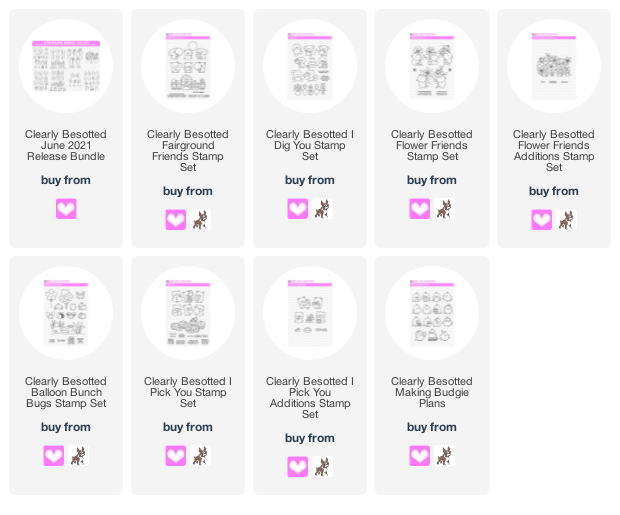
Hello there, I am back today to take a look at the Clearly Besotted June 2021 Release. I really hope that you have enjoyed looking at all of the teasers the last few days. There are eight new sets releasing today. I think all the sets are really fun and perfect for lots of different occasions - so hopefully, something for everyone! 


The sets can be purchased separately, or as a bundle. The bundle and sets can be purchased from the Clearly Besotted Shop (UK based) and the sets separately from Simon Says Stamp (US based), Card Nouveau (based in Belgium), ArtCreatiu (based in Spain) and Cloud9 Crafts (based in the Netherlands). The sets release at 8pm BST tonight. Here is a look at all of the sets, plus a recap of the samples that I made:


If you are viewing this blog post via email subscription, you can watch the video HERE on YouTube.

SUPPLIES:


Here are the links to what I have used on the project. Affiliate links are used on some products. This means that if you make a purchase after clicking on my link, I receive a small commission with no extra cost to you. I truly appreciate your support when using these links. Please click on the logo below the product to shop at your favourite store. All products were personally purchased except those from Clearly Besotted, Hero Arts or those marked with an asterisk (*) which were kindly sent to me to use. You can read my full disclosure here.


I would love to hear your thoughts on the release. For more details, please head over to the Clearly Besotted Blog. Thank you so much for stopping by today, I really appreciate it. I hope you have a great day!

Clearly Besotted Teasers | You're Berry Sweet

Hello there and welcome to day five of the Clearly Besotted June 2021 Teasers and release day! the sets release at 8pm BST tonight but before then, I have one last teaser to share with you. For my card today, I am using two new sets - I Pick You and I Pick You Additions. Which as you can guess, work perfectly together! They are sets with critters picking fruit - so cute!

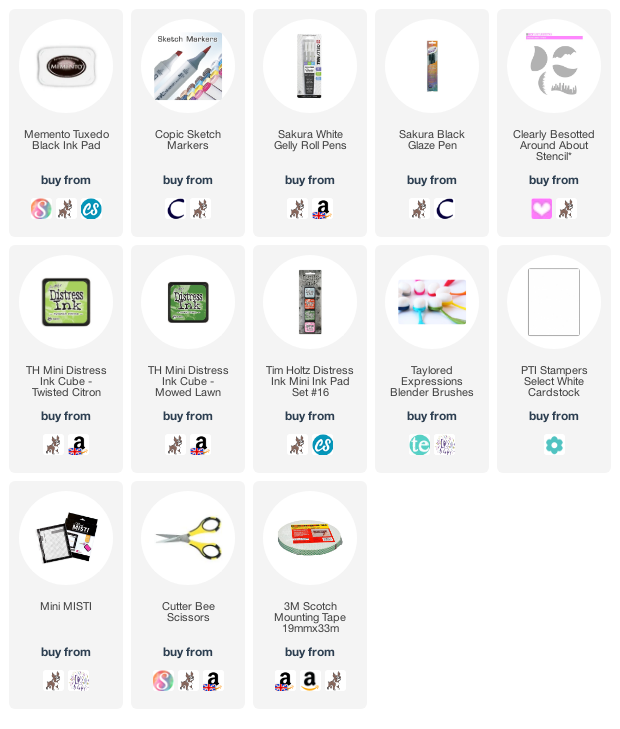
I started off my card by taking an A2 white card base and placing the Clearly Besotted Around About Stencil on top, securing in place with memo tape. Using blending brushes, I blended on Tim Holtz Distress Inks in Twisted Citron, Mowed Lawn and Rustic Wilderness. I then removed the stencil. 

On a separate piece of cardstock, I stamped the bear with the strawberry image from the Clearly Besotted I Pick You Stamp Set and the strawberries from the Clearly Besotted I Pick You Additions Stamp Set with Memento Tuxedo Black Ink. They were coloured with Copic Markers (the colours that I used are listed below the supplies area) and fussy cut out with scissors. 

I took the sentiment from the Clearly Besotted I Pick You Stamp Set and stamped it on to the card base, above the grass, with more black Ink. The bear and strawberries were adhered on top with foam tape. To finish off, I added white gel pen highlights to the images, as well as black glaze pen to the bear's eyes. 

SUPPLIES:


Here are the links to what I have used on the project. Affiliate links are used on some products. This means that if you make a purchase after clicking on my link, I receive a small commission with no extra cost to you. I truly appreciate your support when using these links. Please click on the logo below the product to shop at your favourite store. All products were personally purchased except those from Clearly Besotted, Hero Arts or those marked with an asterisk (*) which were kindly sent to me to use. You can read my full disclosure here.


COPIC MARKERS: Bear - E59, E57, E55, E51, E50, R22, R12, R00. Strawberries - R89, R39, E37, R35, R14, G29, YG17, YG25, YG01. 

I kept my card very simple but I can imagine a scene with lots of critters and their different fruits! For more inspiration using the new sets, please head over to the Clearly Besotted BlogKeren and Lisa and our guests AlbertoFrancineKeeway and Kitty. I will be back in a coupe of hours with my release video. See you then! 

4 June 2021

Altenew | Adventures Ahead Stamps/Dies/Stencils/More Collection Release Blog Hop + Giveaway

Hello there, I am delighted to be joining Altenew today to celebrate the release of the new Adventures Ahead Collection. As the name suggests, a lot of the sets are adventure based but you know me, I love Altenew florals, so I am using the new Sisters of the Heart set for my projects today. This can be purchased individually as a stamp set, a die set and stencil set or in bundles. We are celebrating the release with a fun blog hop, more information on that below. 


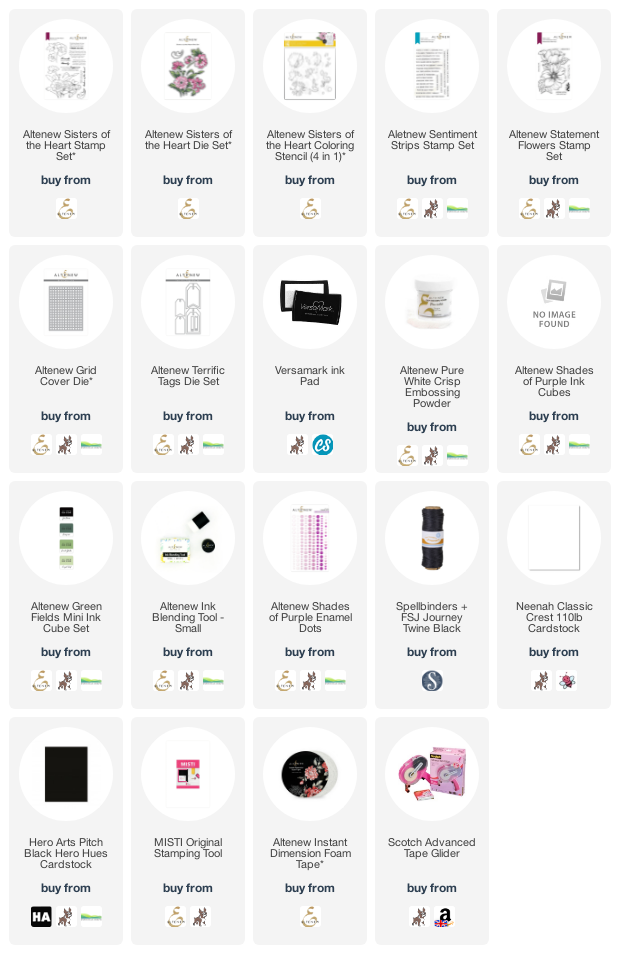
For my card, I started off by taking a panel of white cardstock and stamping the main large image from the Altenew Sisters of the Heart Stamp Set on to it using black ink. I then took the Altenew Sisters of the Heart Coloring Stencil (4 in 1) and used this to colour the image. I love these stencils as you can quickly add colour with ink blending. 


I used Altenew Shades of Purple Crisp Dye Inks for the petals (three shades) and then Altenew Green Fields Crisp Dye Inks for the stems and leaves (two shades), applying the ink using Altenew Small Ink Blending Tools. There are four stencils to cover the different parts of the image and layers, plus the separate smaller image (that I used on the tag). 


The panel was simply adhered flat to an A2 white card base with tape runner. I then took the sentiment from the Altenew Sentiment Strips Stamp Set and stamped it on to black cardstock with Versamark Ink. I applied Altenew Pure White Crisp Embossing Powder and heat set. It was cut in to a strip and added to the card with Altenew Instant Dimension Foam Tape. To finish off, I added a few sequins (sadly now discontinued, sorry). 


If you know me at all, you know that I couldn't resist creating a coordinating tag! I started off by following the same steps above with the stamping and ink blending but this time with the smaller image from the set. I then took the Altenew Sisters of the Heart Die Set and die cut the image out. I also die cut a tag from the Altenew Terrific Tags Die Set and ran it through my die cutting machine again to emboss the Altenew Grid Cover Die on to it. 


This was adhered flat to another tag (simply cut from white so that the back was flat) with tape runner and then the image added on top with Altenew Instant Dimension Foam Tape. The sentiment from the Altenew Statement Flowers Stamp Set was stamped on to black cardstock with Versamark Ink. I applied Altenew Pure White Crisp Embossing Powder and heat set. It was cut in to a strip and added to the tag with more foam tape. To finish off, I added a few Altenew Shades of Purple Enamel Dots and then twine through the top of the tag. 

SUPPLIES:


Here are the links to what I have used on the project. Affiliate links are used on some products. This means that if you make a purchase after clicking on my link, I receive a small commission with no extra cost to you. I truly appreciate your support when using these links. Please click on the logo below the product to shop at your favourite store. All products were personally purchased except those from Clearly Besotted, Hero Arts or those marked with an asterisk (*) which were kindly sent to me to use. You can read my full disclosure here.


BLOG HOP:


As mentioned, this post is part of a fun, inspiration filled blog hop. For the hop, you should have arrived here from Sandhya Iyer. Next on the hop is Nathalie DeSousa. If you get lost along the hop or want to start from the beginning, please head over to the Altenew Card Blog

SPECIAL OFFERS:

Here are THREE ways to get a FREEBIE to kickstart your creativity! Free gift will be added to cart automatically. 


·  Get a FREE brand new Adventures Ahead Release Inspiration Guide (worth $5.99) with every order of high-value Exotic Garden release bundles. *Exclusions apply.

·  Get a FREE brand new Creative Jump Start Class with every order from the new Adventures Ahead release collection from 4th June 2021 through 10th June 2021. 

·  Get a FREE brand new Adventures Ahead Release Mini Inspiration Guide with every order from 4th June 2021 through 6th June 2021.


GIVEAWAY:

$300 in total prizes! To celebrate this release, Altenew is giving away a $50 gift certificate to 2 lucky winners and a $25 gift certificate to 8 winners! Please leave a comment on the Altenew Card Blog and/or each designer’s blog post on the blog hop list below by 9th June 2021 for a chance to win. Altenew will draw 10 random winners from the comments left on each stop of this blog hop and announce the winners on the Altenew Winners Page on 11th June 2021.


Thank you so much for stopping by to see me today. I really do appreciate it. I hope you have a great rest of the day and a great time on the rest of the hop too. Take care!

End of code