Showing posts with label My Favorite Things. Show all posts

17 March 2025

Football Boots

Hello there, today I have a card to share that I made for my nephew for his birthday last year. I don't tend to share the cards that I make for my family because quite often I don't write down what products I used or I simply cannot link to the products that I used because I used my Cricut. I know many of you have electronic die cutting machines though, so I am going to try and share them here more in the future. 

PLEASE NOTE: This post contains affiliate links. Please see below for my full disclosure.


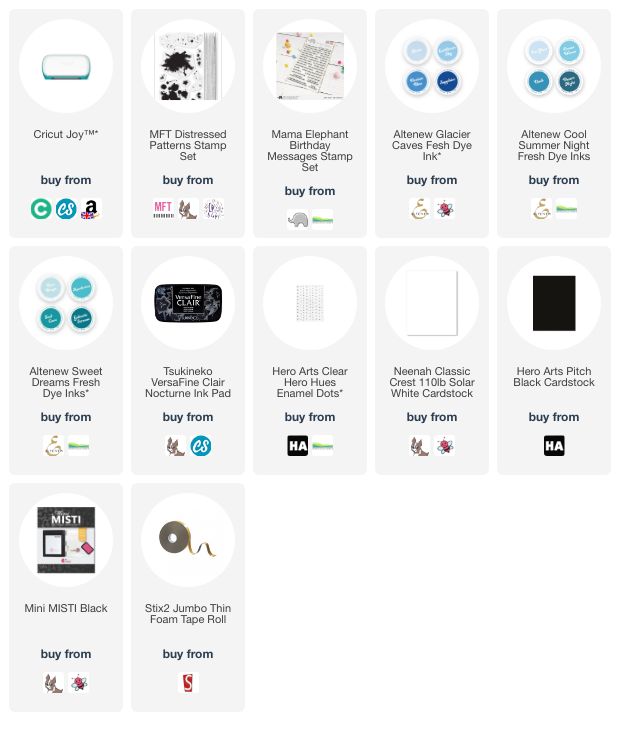
I started off by cutting the Soccer Cleats by Victor Losev from Cricut Design Space on my Cricut Joy. I cut them from Hero Arts Pitch Black Cardstock and then once cut, I added small pieces of white cardstock behind, for the stripes. I took the MFT Distressed Patterns Stamp Set and using the boots as a guide, stamped the patterns onto the front of a US A2 sized card base using blue inks. 


I will be honest with you, I cannot remember all of the colours of inks that I used but I believe I used Sapphire, Persian Blue & Caribbean Sky from the Altenew Glacier Caves Fresh Dye Ink Collection, Dusk from the Altenew Cool Summer Night Collection, and Aqualicious from the Altenew Sweet Dreams Fresh Dye Ink Collection


The football boots where then adhered on top using thin foam tape. I stamped a sentiment from the Mama Elephant Birthday Messages Stamp Set onto white cardstock using Versafine Clair Nocturn Ink. It was cut into a strip and adhered to the card using more thin foam tape. To finish, I embellished with Hero Arts Clear Enamel Dots

SUPPLIES:


Here are the links to what I have used on the project. Affiliate links are used on some products. This means that if you make a purchase after clicking on my link, I receive a small commission with no extra cost to you. I truly appreciate your support when using these links. Please click on the logo below the product to shop at your favourite store. All products were personally purchased except those marked with an asterisk (*) which were kindly sent to me to use. You can read my full disclosure here.

If you don't have an electronic die cutting machine, I hope that I can still inspire you with this card. This design could easily be replicated with a different focal point. Thank you so much for stopping by today, I really do appreciate it. I hope you have a wonderful day! 

13 May 2024

VIDEO | You Bring Sunshine

Hello there, I am delighted to be over on the My Favorite Things YouTube channel today, sharing a card using the super cute You Bring Sunshine set. I thought it would be fun to create a mini scene on my card going across three hexagons. 

PLEASE NOTE: This post contains affiliate links. Please see below for my full disclosure.


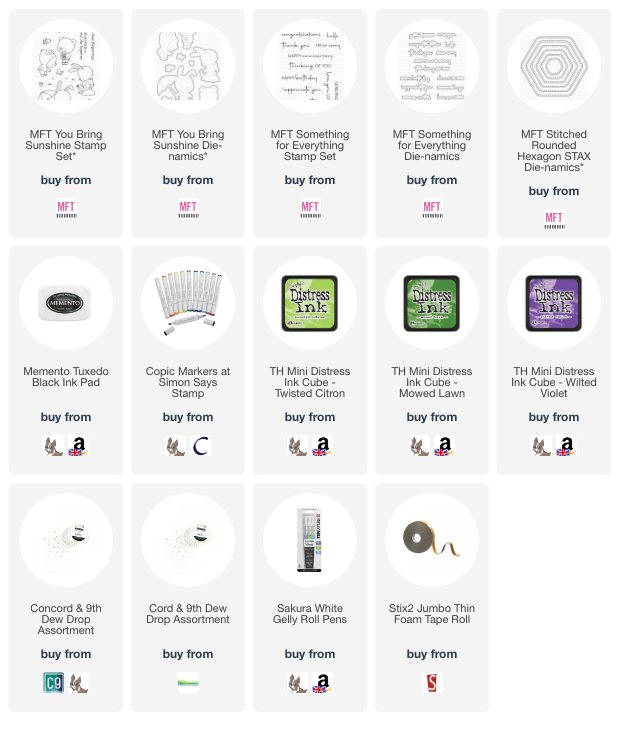
I started off my card by stamping the bear in the hoodie, as well as the chick/bird from the MFT You Bring Sunshine Stamp Set onto white cardstock using black ink. I coloured them using Copic Markers (the colours that I used are listed below the supplies list) and then die cut out using the coordinating MFT You Bring Sunshine Die-namics

I also stamped the hello sentiment from the MFT Something for Everything Stamp Set onto white cardstock and die cut out with the coordinating MFT Something for Everything Die-namics. While die cutting, I also die cut three of the smaller MFT Stitched Rounded Hexagon STAX Die-namics from white cardstock. 

I added ink blending to them with Distress Inks - Twisted Citron and Mowed Lawn for the grass, and Wilted Violet for the sky. I just needed Wilted Violet for the small top one, since that would just be the sky. On the middle sized one, I stamped some blades of grass from the MFT You Bring Sunshine set using Mowed Lawn Distress Ink

I adhered the hexagons onto a US A2 sized white card base using thin foam tape. I then adhered the bear and chick/bird using foam tape also. For the sentiment, I die cut the coordinating die another two times from white cardstock and adhered them one on top of another for the dimension. It was then adhered to the hexagon. I added a few highlights to the bear with white gel pen and to finish off, I added a few Dew Drops. 

VIDEO:

Here is the video showing how I made the card:

If you are viewing this blog post via email subscription, you can watch the video HERE on YouTube. 

SUPPLIES:


Here are the links to what I have used on the project. Affiliate links are used on some products. This means that if you make a purchase after clicking on my link, I receive a small commission with no extra cost to you. I truly appreciate your support when using these links. Please click on the logo below the product to shop at your favourite store. All products were personally purchased except those from Clearly Besotted, Hero Arts or those marked with an asterisk (*) which were kindly sent to me to use. You can read my full disclosure here.


COPIC MARKERS: Bear - E59, E57, E55 / E49 / RV55, RV52. Hoodie - V17, V15, V01. Jeans - B99, B97, B95, B93. Chick/bird - YR27, Y17, Y15, Y13 / YR16. 

Very sadly, MFT have had to make some changes and therefore, my time working with MFT as a Featured Designer making videos for their YouTube channel has come to an end. For those of you who watched them, thank you so much for your support. It has always been really very much appreciated. Wishing you all wonderful week ahead! 

1 May 2024

VIDEO | Bear Hugs

Hello there, I am delighted to be over on the My Favorite Things YouTube channel today, sharing a card using the adorable new Bear Hugs set. 

PLEASE NOTE: This post contains affiliate links. Please see below for my full disclosure.


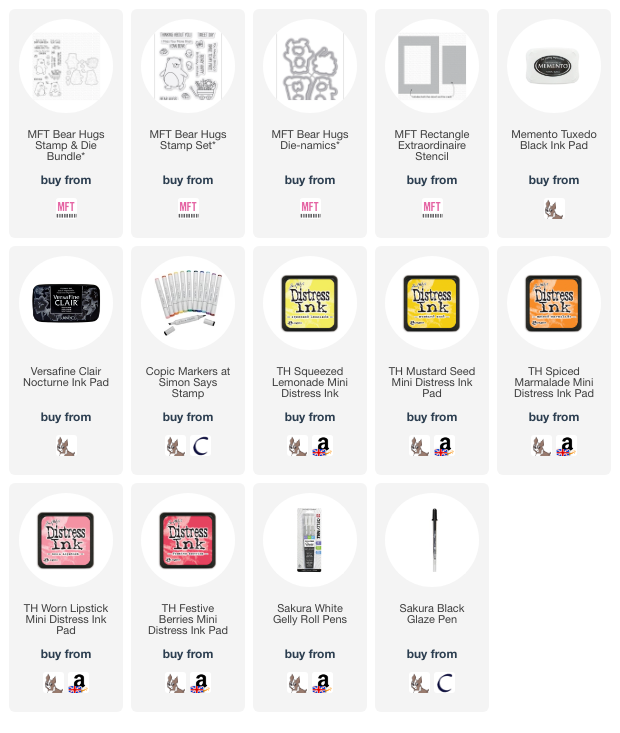
I started off my card by stamping the bear, cart with flowers and butterfly from the MFT Bear Hugs Stamp Set onto white cardstock using black ink. I then coloured the them using Copic Markers (the colours that I used are listed below the supplies section for reference). They were then die cut out using the MFT Bear Hugs Die-namics


I took a 4 1/4" x 5 1/2" panel of white cardstock and placed the MFT Rectangle Extraordinaire Stencil on top, holding down with Post-It Tape. I added ink blending inside the mask to create a simplified sunset background. I used Distress Inks in Squeezed Lemonade, Mustard Seed, Spiced Marmalade, Worn Lipstick and Festive Berries, adding the darker colour at the top and fading to the white of the cardstock at the bottom. 


I removed the mask and stamped a sentiment at the top from the MFT Bear Hugs set with Versafine Clair Nocturne Ink. Once the ink was dry, I adhered the panel onto a US A2 sized white card base with tape runner adhesive. The bear, cart and butterfly were adhered at the bottom using thin foam tape. To finish off, I added white gel pen highlights and dots, as well as black glaze pen to the bear's eyes and nose. 

VIDEO:

Here is the video showing how I made the card:


If you are viewing this blog post via email subscription, you can watch the video HERE on YouTube. 

SUPPLIES:


Here are the links to what I have used on the project. Affiliate links are used on some products. This means that if you make a purchase after clicking on my link, I receive a small commission with no extra cost to you. I truly appreciate your support when using these links. Please click on the logo below the product to shop at your favourite store. All products were personally purchased except those from Clearly Besotted, Hero Arts or those marked with an asterisk (*) which were kindly sent to me to use. You can read my full disclosure here.


COPIC MARKERS: Bear - E59, E39, E37, E34, E33, E31, E30. Cart - E49, E59, E57, E55. Leaves - G29, YG17, YG23, YG01. Sunflower - YR27, Y17, Y15, Y13/E79, E77, E74. Pink flower - RV66, RV55, RV52/Y17, Y15, Y13. Butterfly - RV66, RV55, RV52, E59. 

This is such a cute set! Whilst I kept my card pretty simple (as always!), you could definitely go all out and create a big scene with these images. Thank you so much for stopping by today, I really do appreciate it. I hope you have a wonderful day! 

26 April 2024

VIDEO | Sending Tons of Love

Hello there, I am delighted to be over on the My Favorite Things YouTube channel, sharing a card using the adorable YUZU Ear For You set. These elephants and mice are so cute! I thought I would make a one layer card today using masking. 

PLEASE NOTE: This post contains affiliate links. Please see below for my full disclosure.


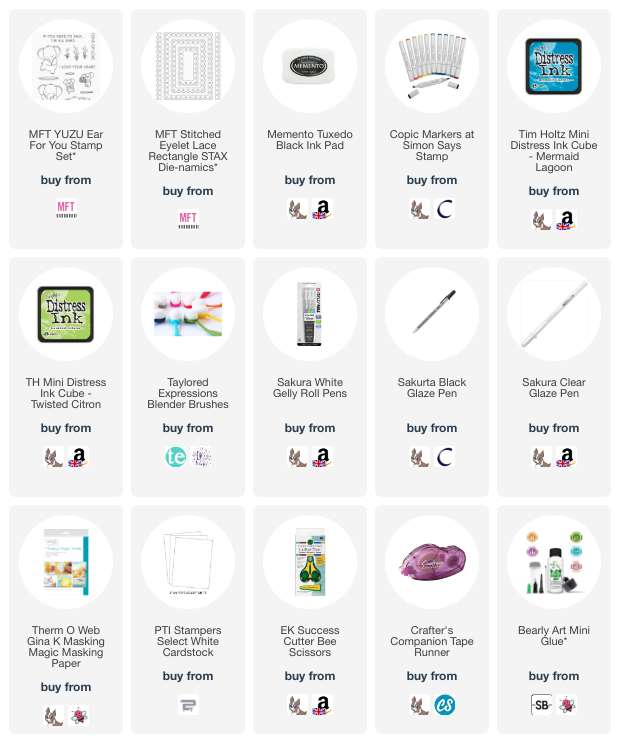
I started off my card by stamping the images (elephant, mouse and tree log) from the MFT YUZU Ear For You Stamp Set onto masking paper. I then fussy cut them out using scissors. I placed them onto a scrap piece of paper so that I could figure out where I wanted to stamp them on the panel. This masking map/template is a great way to make sure you get the placement of the images exactly where you want them. 


I die cut a panel of white cardstock using the largest of the MFT Stitched Eyelet Lace Rectangle STAX Die-namics. Using the masking map/template as a guide, I stamped the images on top using black ink, adding the masks for the images where needed. I also stamped the sentiment from the set onto the panel too. I added ink blending around the images with Distress Inks and blending brushes. 


I used Twisted Citron for the grass/ground and Mermaid Lagoon for the sky. I then removed the masks and coloured the images using Copic Markers (the colours that I used are listed below the supplies area). I adhered another of the die cut panels to the back of the stamped one (for stability) and then adhered a mini (3.5" x 4.75") card base to the back. To finish off, I added white gel pen dots to the elephant's cheeks, black glaze pen to his eyes and clear glaze pen to the nose of the mouse. 

VIDEO:

Here is the video showing how I made the card:


If you are viewing this blog post via email subscription, you can watch the video HERE on YouTube. 

SUPPLIES:


Here are the links to what I have used on the project. Affiliate links are used on some products. This means that if you make a purchase after clicking on my link, I receive a small commission with no extra cost to you. I truly appreciate your support when using these links. Please click on the logo below the product to shop at your favourite store. All products were personally purchased except those from Clearly Besotted, Hero Arts or those marked with an asterisk (*) which were kindly sent to me to use. You can read my full disclosure here.


COPIC MARKERS: Tree log - E49, E59, E57, E55. Elephant - C8, C6, C5, C4, C3, C1, C0, RV55, RV52. Mouse - E27, E25, E23, E21, RV66, RV55, RV52. Grass - G29, YG17, YG23, YG01. Sky - B02, B01. 

Whilst it is a little more work, I do like that the images are all one, rather than them being die cut and then adhered. However, I still think that would look good too! Thank you so much for stopping by today, I hope you have a wonderful day! 

18 March 2024

VIDEO | You Make Moo So Happy

Hello there, I apologise for my lack of blog posts recently. I have been creating behind the scenes, but nothing that I can show you just yet, sorry! However, I am delighted to be over on the My Favorite Things YouTube Channel today, sharing a card using the super cute You Make Moo So Happy Set. I love these highland cows! 

PLEASE NOTE: This post contains affiliate links. Please see below for my full disclosure.


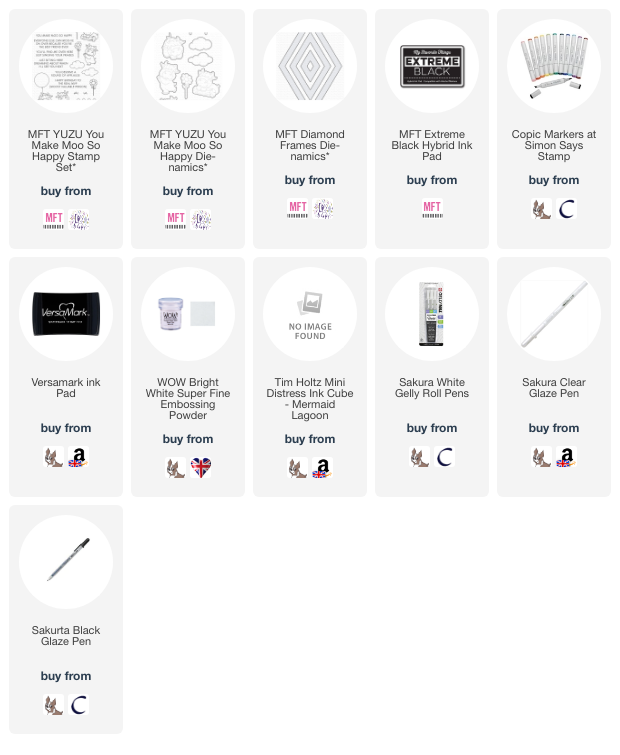
I started off my card by stamping one of the cows and one of the flowers from the MFT You Make Moo So Happy Stamp Set onto white cardstock using MFT Extreme Black Ink. I then coloured them with Copic Markers (the colours that I used are listed below the supplies area for reference). I die cut them out using the coordinating MFT You Make Moo So Happy Die-namics


Whilst die cutting, I also die cut the fence from the set (I didn't want the stamped image, just the die cut), twice from white cardstock, as well as the larger MFT Diamond Frames Die-namics. I cut that three times from white cardstock. On one of the inside pieces for the frame, I added a little ink blending with Tim Holtz Mermaid Lagoon Distress Ink, just to suggest a little bit of sky behind the cow. 


I adhered the diamond frames one on top of another and then adhered them to a US A2 sized white card base. I added the inside piece for the subtle background. I stamped a sentiment from the MFT You Make Moo So Happy Stamp Set onto black cardstock using Versamark Ink. I applied white embossing powder and heat set. It was cut into a strip and then adhered to the card with foam tape. 


I adhered the two fences one on top of another and then popped the bottom of it behind the sentiment strip. Using a craft knife, I cut around the cow's front arm/leg so that I could pop the stem of the flower behind. This makes it look like the cow is holding the flower, rather than it just hovering in front of her. She was then adhered to the card using foam tape. To finish off, I added white gel pen highlights, followed by black glaze pen on the cow's eyes and clear glaze pen on her nostrils. 

VIDEO:

Here is the video showing how I made the card:


If you are viewing this blog post via email subscription, you can watch the video HERE on YouTube. 

SUPPLIES:


Here are the links to what I have used on the project. Affiliate links are used on some products. This means that if you make a purchase after clicking on my link, I receive a small commission with no extra cost to you. I truly appreciate your support when using these links. Please click on the logo below the product to shop at your favourite store. All products were personally purchased except those from Clearly Besotted, Hero Arts or those marked with an asterisk (*) which were kindly sent to me to use. You can read my full disclosure here.


COPIC MARKERS: Cow - E49, E59, E39, E99, E97, Polychromos 283/E57, E55, E53, E51/E04, E11, E01, E000. Flower: YR27, Y17, Y15, Y13/G29, YG17, YG23, YG01. 

In the video, I say "him" when referring to the cow in the video. Obviously cows are female but I guess he could be a bull! Either way, they are super cute! Thank you so much for stopping by today, I really do appreciate it. I hope you have a wonderful day! 

2 March 2024

VIDEO | MFT Headed for the Stars

Hello there, I'm delighted to be over on the My Favorite Things YouTube Channel sharing a card using the Headed for the Stars set from the February 2024 release, which was out this week. 

PLEASE NOTE: This post contains affiliate links. Please see below for my full disclosure.


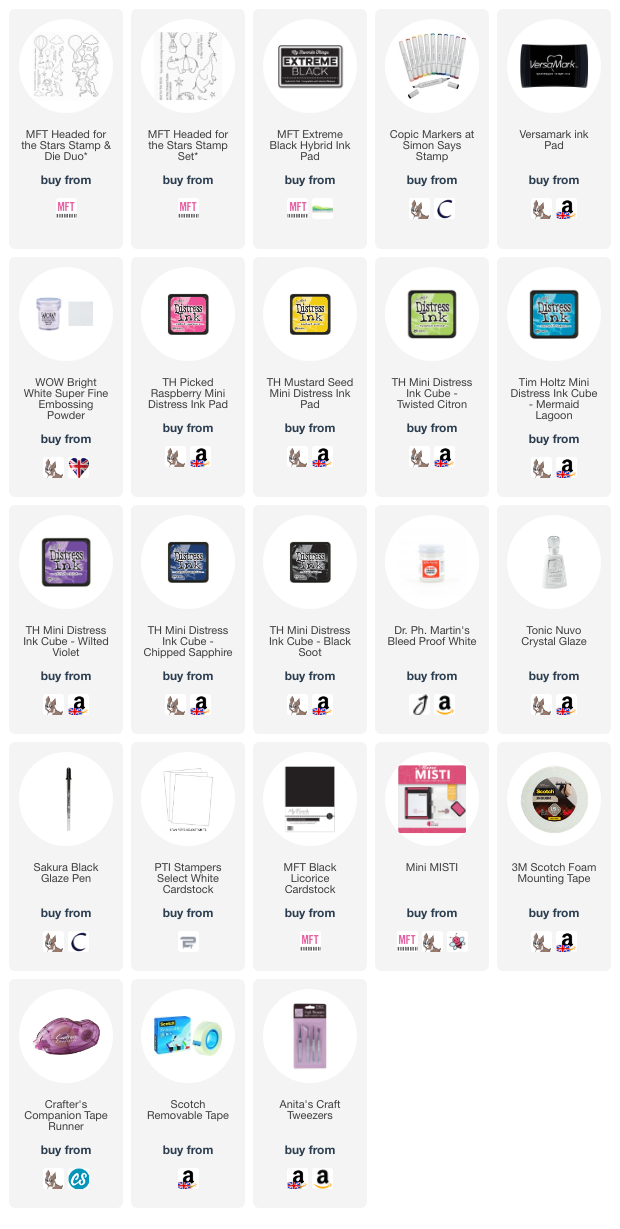
I started off my card by stamping the rhino from the MFT Headed for the Stars Stamp & Die Duo onto white cardstock using MFT Extreme Black Ink. I then coloured it using Copic Markers (the colours that I used are listed below the supplies area) and die cut it out using the coordinating dies. 


I also die cut two of the clouds (the larger one twice) from the die set from white cardstock. I then set them aside while I worked on the background. I took a panel of white cardstock and first added ink blending on top using Picked Raspberry, Mustard Seed, Twisted Citron, Mermaid Lagoon and Wilted Violet Distress Inks. 


I blended Chipped Sapphire around the colours, followed by Black Soot. I then went back over with the colours before blending the black soot out towards the bottom. I placed the panel in my Splat Box and splattered on Dr Ph. Martin's Bleed Proof White Paint for the stars. Once dry, it was adhered to a US A2 sized white card base with tape runner adhesive. 


I adhered the clouds on top using tape runner adhesive and cut off the excess from the sides using scissors. The rhino and balloon image was adhered using foam tape. I stamped the sentiment from the MFT Headed for the Stars set onto MFT Black Licorice Cardstock using Versamark Ink. I applied White Embossing Powder and heat set. It was cut into a strip and adhered to the card with foam tape. To finish off, I added black glaze pen to the rhino's eye and Crystal Glaze to the balloon. 

VIDEO:


If you are viewing this blog post via email subscription, you can watch the video HERE on YouTube. 

SUPPLIES:


Here are the links to what I have used on the project. Affiliate links are used on some products. This means that if you make a purchase after clicking on my link, I receive a small commission with no extra cost to you. I truly appreciate your support when using these links. Please click on the logo below the product to shop at your favourite store. All products were personally purchased except those from Clearly Besotted, Hero Arts or those marked with an asterisk (*) which were kindly sent to me to use. You can read my full disclosure here.


COPIC MARKERS; Rhino - T8, T6, T5, T4, T3, T2, T1/W5, W3, W1, W0/RV55, RV52. Balloon - YR27, Y17, Y15, Y13, Y00. 

This is such a cute set! I love all the characters but thought the rhino and balloon would work well with the galaxy background (although I am pretty certain this would be unlikely to see in real-life!). Thank you so much for stopping by today, I really appreciate it. I hope you have a wonderful weekend!

19 January 2024

VIDEO | MFT Paper Planes

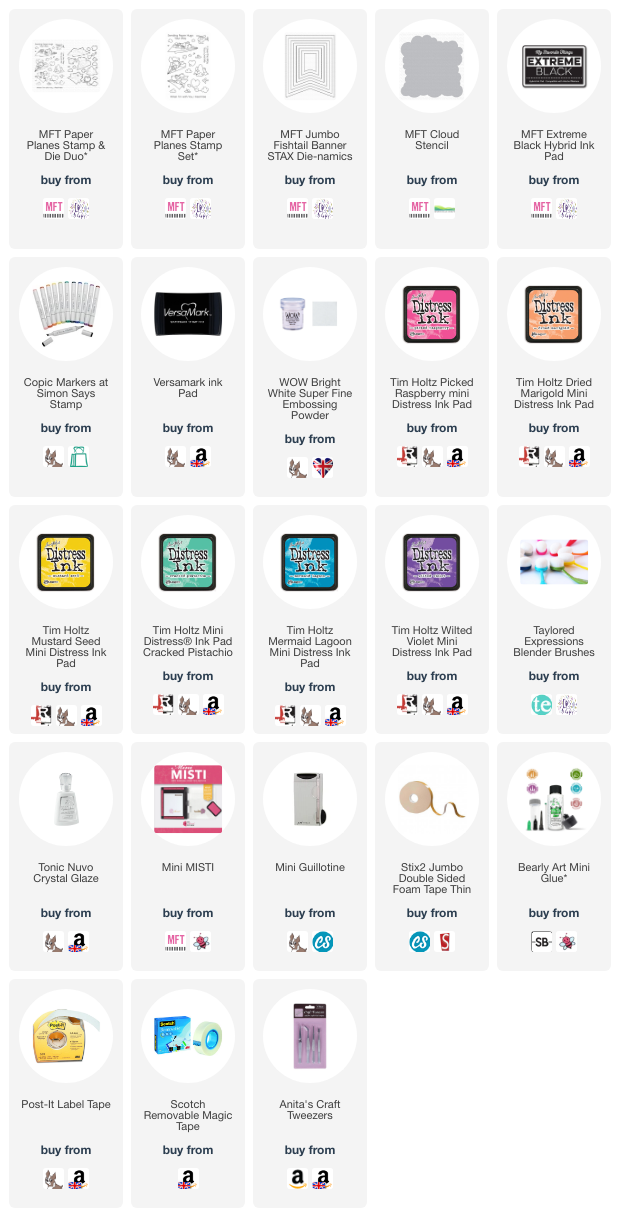
Hello there, I am delighted to be over on the My Favorite Things YouTube channel today, sharing a card using the Paper Planes set from the January release. This is such a cute set that is perfect for lots of different occasions. For my card today, I created a hugs card with a rainbow colour scheme.  

PLEASE NOTE: This post contains affiliate links. Please see below for my full disclosure.


I started off by creating the background. I partially die cut one of the MFT Jumbo Fishtail Banner STAX Die-namics from white cardstock. I just cut the bottom banner piece only, so that I can could make the shape longer in height. I then cut the sides using a guillotine. I placed the MFT Cloud Stencil on top and then using blending brushes, I blended Distress Inks on top to create the colourful clouds. 


After using Picked Raspberry for the top layer, I removed the stencil, rotated it and placed it back below the first cloud layer. This layer was blended with Dried Marigold. I continued this with all the layers (roating the stencil as I went) using the following colours - Mustard Seed, Cracked Pistachio, Mermaid Lagoon and Wilted Violet. I finished off with Picked Raspberry at the bottom. 


I then stamped the images from the MFT Paper Planes Stamp Set onto white cardstock using black ink. They were coloured using Copic Markers (the colours that I used are listed below the supplies area) and then die cut out using the coordinating Paper Planes Die-namics. The sentiment from the set was stamped onto MFT Black Licorice Cardstock using Versamark Ink


I applied white embossing powder and heat set. It was then cut into a strip. I adhered the clouds to the banner piece using liquid glue and adhered the birds and dog/plane with thin foam tape. I added thin foam tape to the back of the banner and then adhered it to a US A2 sized white card base. To finish off, I added Nuvo Crystal Glaze to the googles. 

VIDEO:

Here is the video showing how I made the card:


If you are viewing this blog post via email subscription, you can watch the video HERE on YouTube. 

SUPPLIES:


Here are the links to what I have used on the project. Affiliate links are used on some products. This means that if you make a purchase after clicking on my link, I receive a small commission with no extra cost to you. I truly appreciate your support when using these links. Please click on the logo below the product to shop at your favourite store. All products were personally purchased except those from Clearly Besotted, Hero Arts or those marked with an asterisk (*) which were kindly sent to me to use. You can read my full disclosure here.


COPIC MARKERS: Dog - E49, E59, E57, E55. Googles & scarf - B18, B06, B04, B02. Plane - C7, C5, C3, C0, C00. Pink cloud - RV55, RV52, 0. Pink bird - RV66, RV55, RV52/Y13. Orange clouds - YR65, YR61, YR0000, 0. Green/mint cloud - G02, G00, G000, 0. Blue cloud - B01, B000, B0000, 0. Blue bird - B04, B02, B01, B000/Y13. Violet clouds - V15, V12, V01, 0. 

I really like how the stamped clouds and birds colour coordinate with the clouds in the background. I thought it was just a fun touch to the card! Thank you so much for stopping by today, I really do appreciate it. I hope you have a wonderful day and a great weekend too! Take care! 

11 January 2024

VIDEO | MFT Darling Dragons

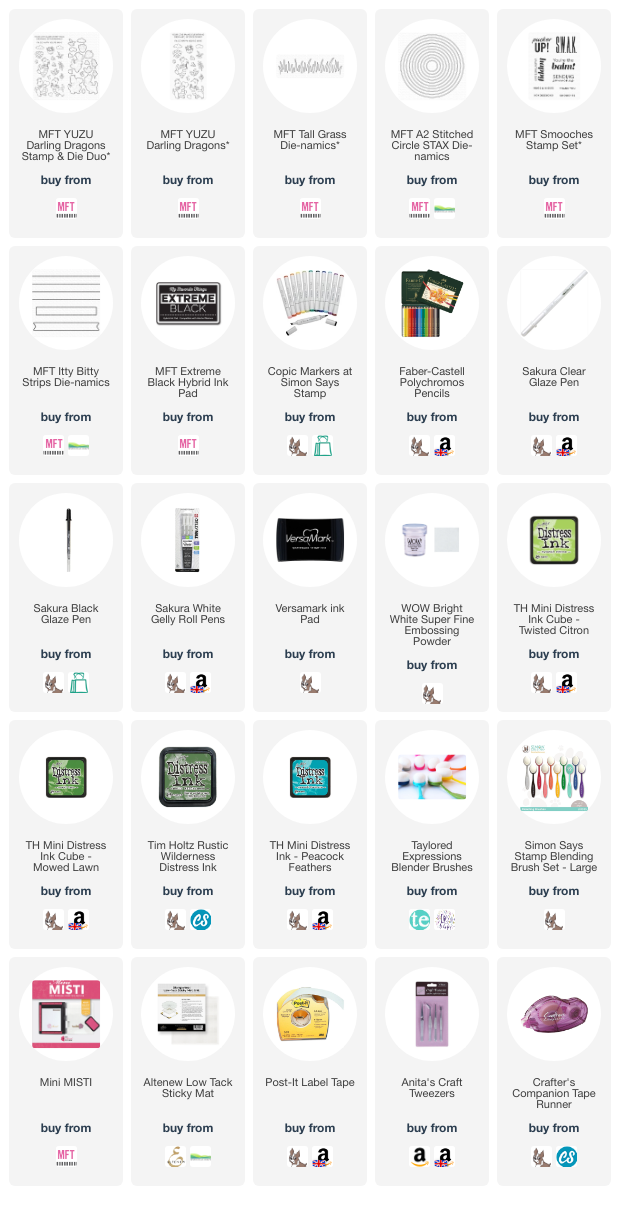
Hello there, I am delighted to be over on the My Favorite Things YouTube Channel again, sharing a circle card using the new Darling Dragons set that was released on Tuesday.

PLEASE NOTE: This post contains affiliate links. Please see below for my full disclosure.


I started off by stamping the dragon and clouds from the MFT YUZU Darling Dragons Stamp Set onto white cardstock using black ink. I then coloured them using Copic Markers and Polychromos Pencils (the colours that I used are listed below the supplies area). They were die cut out using the MFT YUZU Darling Dragons Die-namics


I then die cut three circles using the MFT A2 Stitched Circle STAX Die-namics from white cardstock. On one, I die cut it further using the MFT Tall Grass Die-namics. I added ink blending to it using Twisted Citron, Mowed Lawn and Rustic Wilderness Distress Inks. I then added Peacock Feathers Distress Ink to the centre of one of the other circles. 


I adhered the grass to the bottom of it and then set it aside to work on the other circle. I cut a little off the bottom (to help the card stand up better) and then added a score line towards the top to create a hinge. I added adhesive to this and then adhered it to the front piece to create a card base. The clouds and dragon were adhered to the front of the card with thin foam tape. 


I took the 'thank you' sentiment from the MFT Smooches Stamp Set and stamped it onto black cardstock using Versamark Ink. I applied white embossing powder and heat set. It was cut into a strip using the MFT Itty Bitty Strips Die-namics. It was adhered to the card with more thin foam tape. To finish off, I added clear glaze pen to the centre of the flower, as well as the nostrils. I then added black glaze pen to the eyes, followed by white gel pen highlights to the dragon. 

VIDEO:

Here is the video showing how I made the card:


If you are viewing this blog post via email subscription, you can watch the video HERE on YouTube. 

SUPPLIES:


Here are the links to what I have used on the project. Affiliate links are used on some products. This means that if you make a purchase after clicking on my link, I receive a small commission with no extra cost to you. I truly appreciate your support when using these links. Please click on the logo below the product to shop at your favourite store. All products were personally purchased except those from Clearly Besotted, Hero Arts or those marked with an asterisk (*) which were kindly sent to me to use. You can read my full disclosure here.


COPIC MARKERS: Dragon - V09, V17, V15, V12/BG13, BG11, BG10 + Polychromos 153, 156. Flower - Y17, Y13/RV66, RV55, RV52/YG23. Clouds - BG13, BG10, 0. 

The Darling Dragons set is so cute! I love that although they are Valentine's themed, you can use them for other occasions too. Thank you so much for stopping by, have a great rest of the day! 

22 December 2023

VIDEO | Micest Friend

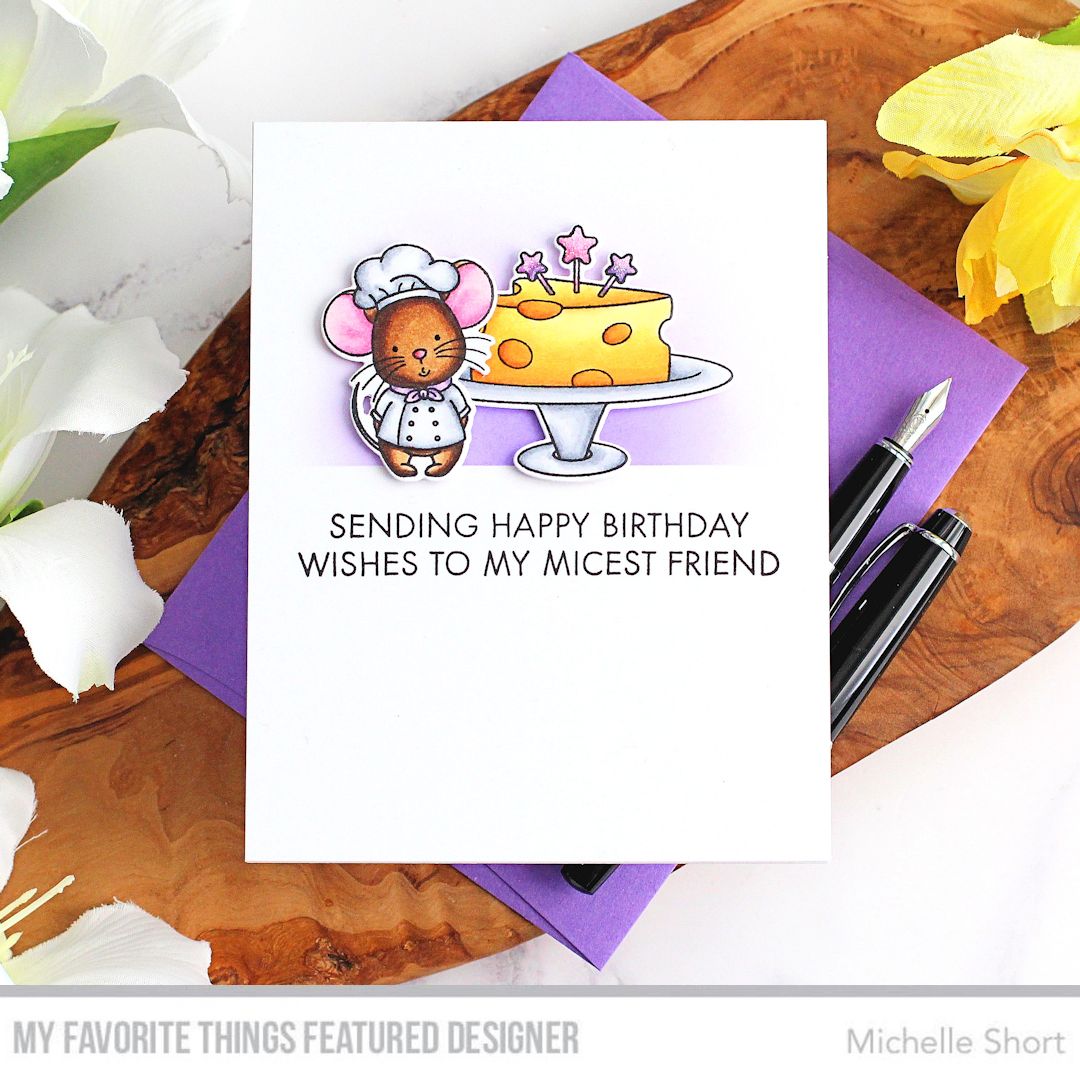
Hello there, I am delighted to be over on the My Favorite Things YouTube Channel today, sharing a card using the Micest Friend set from the December 2023 release. 

PLEASE NOTE: This post contains affiliate links. Please see below for my full disclosure.

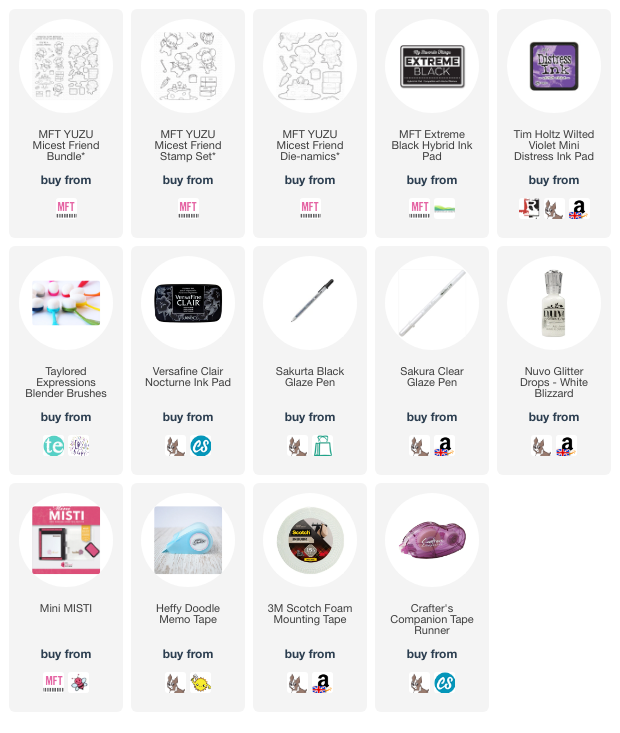
I started off my card by stamping the mouse and cake/cheese from the MFT YUZU Micest Friend Stamp Set onto white cardstock using black ink. I coloured them using Copic Markers (the colours that I used are listed below the supplies list) and then die cut them out using the MFT YUZU Micest Friend Die-namics

I took a panel of white cardstock and using the images as a guide for placement, stamped the sentiment from the set on top using Versafine Clair Nocturne Ink. I then added memo tape above the sentiment to mask off the 'ground'. 

I added ink blending above using Tim Holtz Wilted Violet Distress Ink. I removed the tape and adhered the panel to a US A2 sized white card base with tape runner adhesive. I then adhered the images with foam tape. To finish off, I added black glaze pen to the mouse's eyes and clear glaze pen to his nose. I also added Nuvo Glitter Drops in White Blizzard to the stars on the cake. 

VIDEO:

Here is the video showing how I made the card:

If you are viewing this blog post via email subscription, you can watch the video HERE on YouTube. 

SUPPLIES:


Here are the links to what I have used on the project. Affiliate links are used on some products. This means that if you make a purchase after clicking on my link, I receive a small commission with no extra cost to you. I truly appreciate your support when using these links. Please click on the logo below the product to shop at your favourite store. All products were personally purchased except those from Clearly Besotted, Hero Arts or those marked with an asterisk (*) which were kindly sent to me to use. You can read my full disclosure here.


COPIC MARKERS: Mouse - E49, E59, E57, E55/RV55, RV52, RV00. Chef's hat and jacket - C5, C3, C0. Neck tie - V17, V15, V12. Cake/cheese - YR27, Y17, Y15, Y13, Y11. Platter - C5, C3, C2, C1, C0. Stars - RV55, RV52/V17, V15, V12. 

This set is so cute! There are lots of mice in it, so you can create big scenes if you wanted to but I kept mine simple today. Thank you so much for stopping by, I really do appreciate it. I hope you have a wonderful day! 

4 December 2023

VIDEO | Snow Happy Tag

Hello there, I am over on the My Favorite Things YouTube channel today, sharing a tag using some products from the November 2023 release. I love the shape of the Fanciful Frame STAX Die-namics and thought they would perfectly for a tag! 

PLEASE NOTE: This post contains affiliate links. Please see below for my full disclosure.


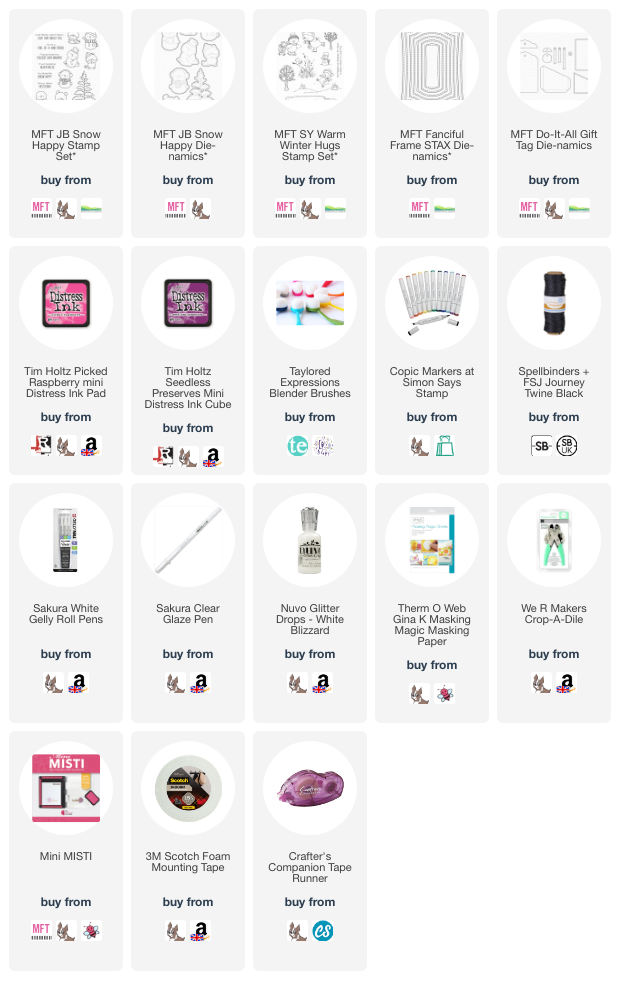
I started off by die cutting one of the MFT Fanciful Frames STAX Die-namics twice from white cardstock. On one piece, I stamped the snow bank image from the MFT Warm Winter Hugs on top using black ink. I made a mask from masking paper and placed it onto the panel. 


Using blending brushes, I blended Picked Raspberry Distress Ink on top, focussing the darker colour towards the bottom of the sky. I then blended Seedless Preserves Distress Ink on top, to darken it slightly. I removed the mask then coloured the snow and trees using Copic Markers. I adhered the other panel to the back using tape runner adhesive. 


I cut a hole at the top of the panel using a Crop-A-Dile to make the shape into a tag. I cut the hole reinforcer piece from the MFT Do-It-All Gift Tag Die-namics, twice, from MFT Black Licorice Cardstock and then adhered them (on the front and the back) around the hole. I threaded twine through the tag and tied in a bow at the front. 


I stamped one of the snowmen from the MFT Snow Happy Stamp Set onto white cardstock and coloured him using Copic Markers (the colours that I used are listed below the supplies area). He was die cut out using the MFT Snow Happy Die-namics and adhered to the tag using foam tape. I added white gel pen stars and snow to the sky, clear glaze pen to his nose and buttons and then added White Blizzard Glitter Nuvo Drops to the hat. 

VIDEO:

Here is the video showing how I made the tag:


If you are viewing this post via email subscription, you can watch the video HERE on YouTube. 

SUPPLIES:


Here are the links to what I have used on the project. Affiliate links are used on some products. This means that if you make a purchase after clicking on my link, I receive a small commission with no extra cost to you. I truly appreciate your support when using these links. Please click on the logo below the product to shop at your favourite store. All products were personally purchased except those from Clearly Besotted, Hero Arts or those marked with an asterisk (*) which were kindly sent to me to use. You can read my full disclosure here.


COPIC MARKERS: Snowman - BG13, BG11, BG10, 0/RV69, RV66, RV55, RV52/C3, C1, C0/C8, C10/YR18, YR16, YR12. Trees - G28, YG17, YG23, YG01. Snow - BG13, BG11, BG10, 0. 

I didn't add a sentiment in case I want to add it to a card (and I might want the sentiment in a different place). If I don't and I send it as a standalone tag, I will stamp a sentiment or write a personal message on the back. 

Thank you so much for stopping by today, I really do appreciate it. Wishing you a wonderful day! 
18 November 2023

VIDEO | A Waddle and a Wave

Hello there, I am delighted to be over on the My Favorite Things YouTube Channel today, sharing a card using a couple of products from the November 2023 release. 

PLEASE NOTE: This post contains affiliate links. Please see below for my full disclosure.


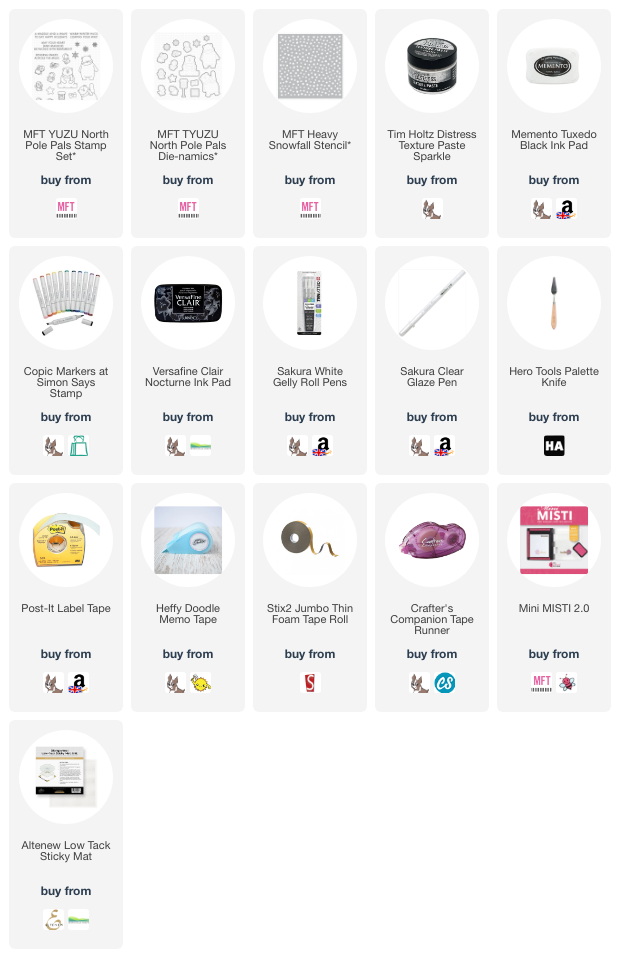
For my card, I actually started out by creating the background, so that it had time to dry while I was colouring my images. I took a 4 1/4" x 5 1/2" panel of white cardstock and stamped the sentiment from the MFT North Pole Pals Stamp Set towards the bottom, using Versafine Clair Nocturne Ink. 


I then placed the MFT Heavy Snowfall Stencil on top (holding it in place with a sticky mat) and using a palette knife, applied Tim Holtz Sparkle Texture Paste over the top. I removed the stencil, washed my stencil, palette knife and sticky mat and set the panel aside to dry. 


I stamped the polar bear and penguins from the MFT North Pole Pals Stamp Set onto white cardstock using Memento Tuxedo Black Ink and coloured them using Copic Markers (the colours that I used are listed below the supplies list). They were then die cut out using the MFT North Pole Pals Die-namics


Once dry, the stencilled panel was adhered to a US A2 sized white card base with tape runner adhesive. The polar bear and penguins were adhered on top with thin foam tape. To finish off, I added white gel pen highlights to their scarves and glaze pen to the nose and beaks. 

VIDEO:

Here is the video showing how I made the card:


If you are viewing this post via email subscription, you can watch the video HERE on YouTube. 

SUPPLIES:


Here are the links to what I have used on the project. Affiliate links are used on some products. This means that if you make a purchase after clicking on my link, I receive a small commission with no extra cost to you. I truly appreciate your support when using these links. Please click on the logo below the product to shop at your favourite store. All products were personally purchased except those from Clearly Besotted, Hero Arts or those marked with an asterisk (*) which were kindly sent to me to use. You can read my full disclosure here.


COPIC MARKERS: Penguins - BV29, BV25, BV23/C3, C0, 0/Y11, Y000/YR15, Y15. Bear - BV25, BV23, BV20, 0. Scarves - V09, V17, V15, V12. 

Those tiny penguins are just too cute for words! I love them! Thank you so much for stopping by today, as always, I really do appreciate it. I hope you have a wonderful rest of the weekend! 
End of code