23 January 2025

Spellbinders | January 2025 Clubs Blog Hop + Giveaway

Hello there, I am delighted to be joining Spellbinders today to celebrate the January 2025 Clubs with a fun, inspirational blog hop. Each designer along the hop is sharing a different club. I am sharing a look at the Small Die of the Month Club Kit which is called Soaring Dragonfly. I already made one card using the set, which you can see here

PLEASE NOTE: This post contains affiliate links. Please see below for my full disclosure.


I started off my card by die cutting the dragonfly body (2 layers plus head piece) from the Spellbinders January 2025 Small Die of the Month Club Kit from Spellbinders Teal Topaz Cardstock. I cut the eyes from Spellbinders Onyx Cardstock. The top layer of the wings were cut from Spellbinders Waterfall Cardstock. The bottom of layer of the wings were cut from Spellbinders Vellum

I added ink blending to the cardstock layers with Altenew Sweet Dreams Fresh Dye Inks and then adhered the dragonfly together using Bearly Art Glue. I die cut two Spellbinders Essential Stylish Ovals Etched Dies from Spellbinders Onyx Cardstock. I scored the top of one to create a hinge and adhered it to the top of the other one to create a shaped card base. 

The dragonfly was adhered to the card using thin foam tape, just behind the body. I die cut the flowers in the set from Spellbinders Snowdrift Cardstock and the stems from Spellbinders Peridot Cardstock. I cut the leaves off the stems and adhered them behind the flowers, which were then adhered to the dragonfly with thin foam tape. 

I hot foiled the sentiment from the Spellbinders Mini Everyday Sentiments Glimmer Hot Foil Plate & Die Set using Spellbinders Silver Foil on Spellbinders Onyx Cardstock. It was cut into a strip and adhered to the card using more thin foam tape. To finish, I embellished with Spellbinders Silver Mix Color Essentials Gems

BLOG HOP:

As mentioned, this post is part of a fun, inspirational hop. Please click the links below to visit the other participants in the hop:

GIVEAWAY:

To celebrate this release, Spellbinders are giving away a $25 gift certificate to three lucky blog readers - selected from the comments on our blog. Giveaway closes Sunday, 26th January 2025 at 11.59pm MST. The winners will be announced on the Spellbinders blog the following Wednesday. The winners will be responsible for shipping costs, duties and taxes. 

SUPPLIES:


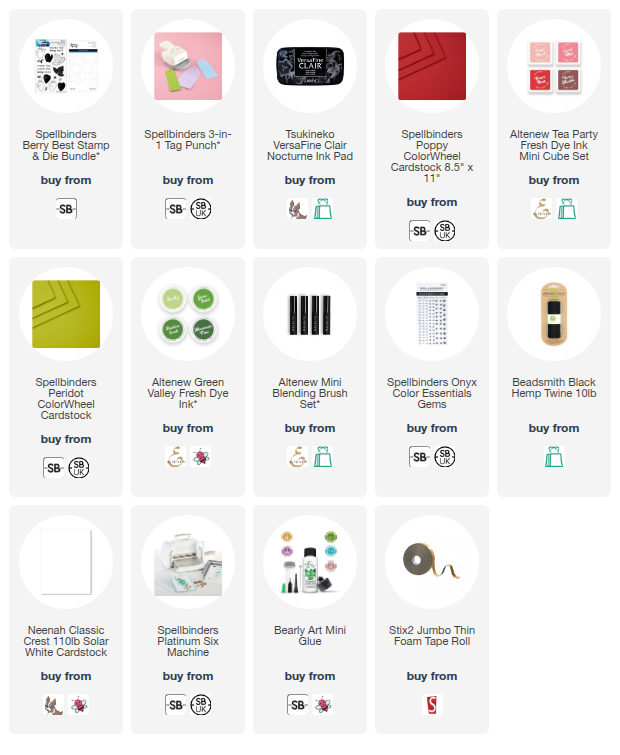
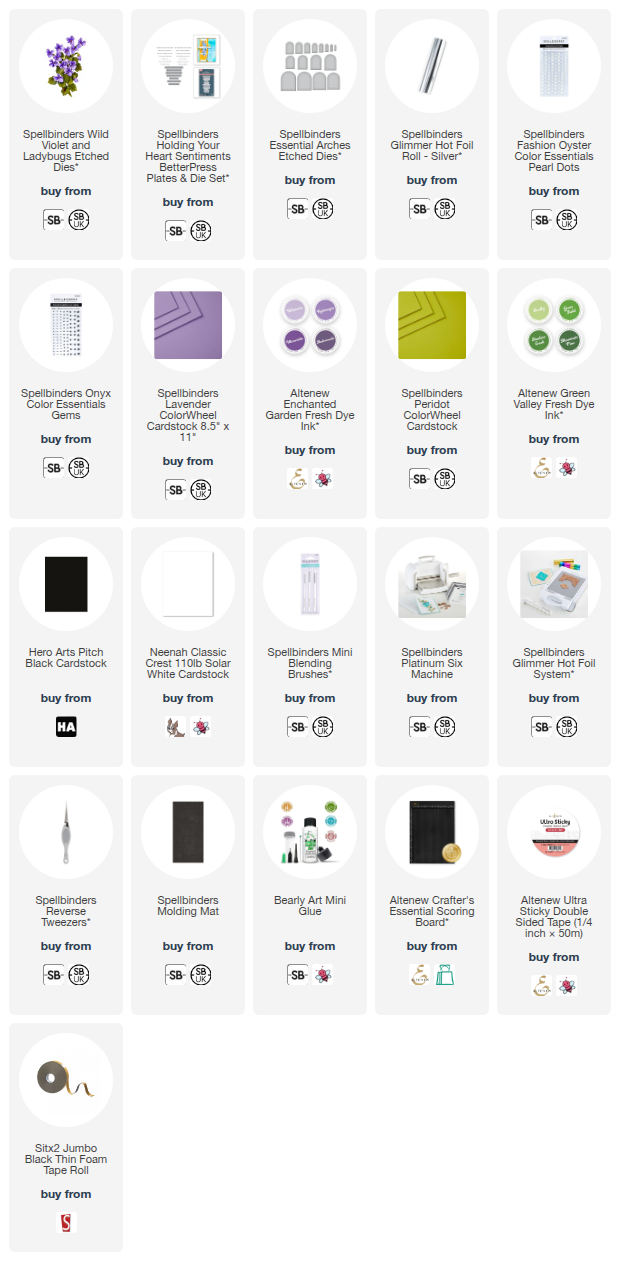
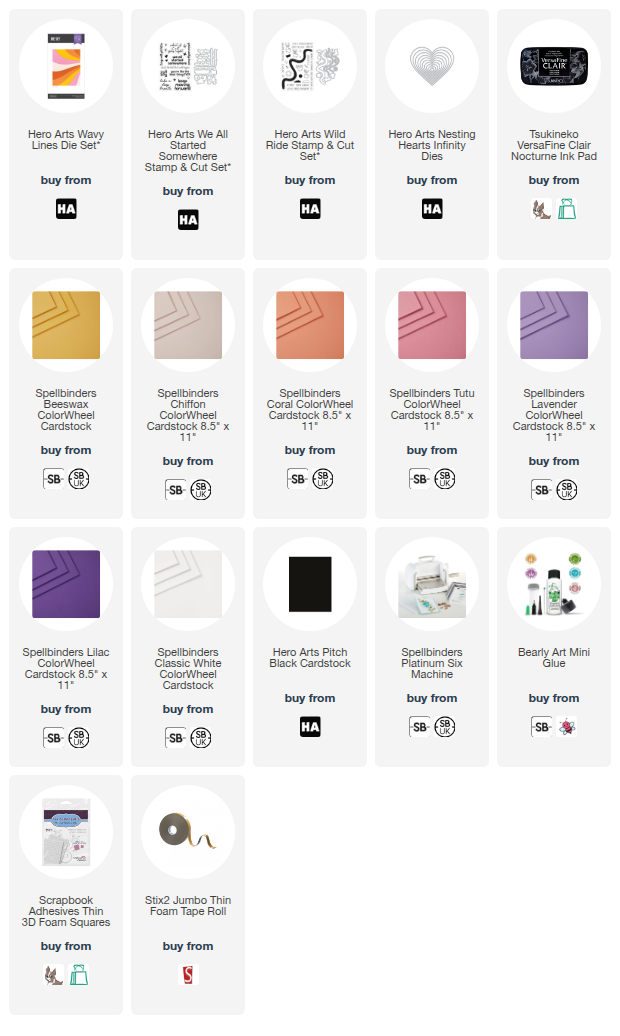
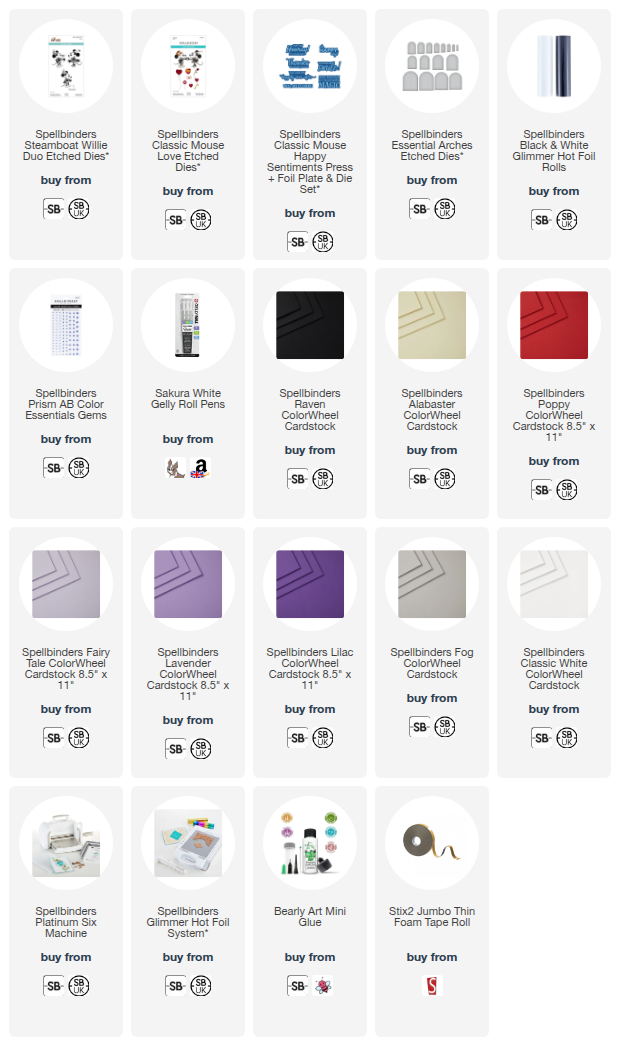
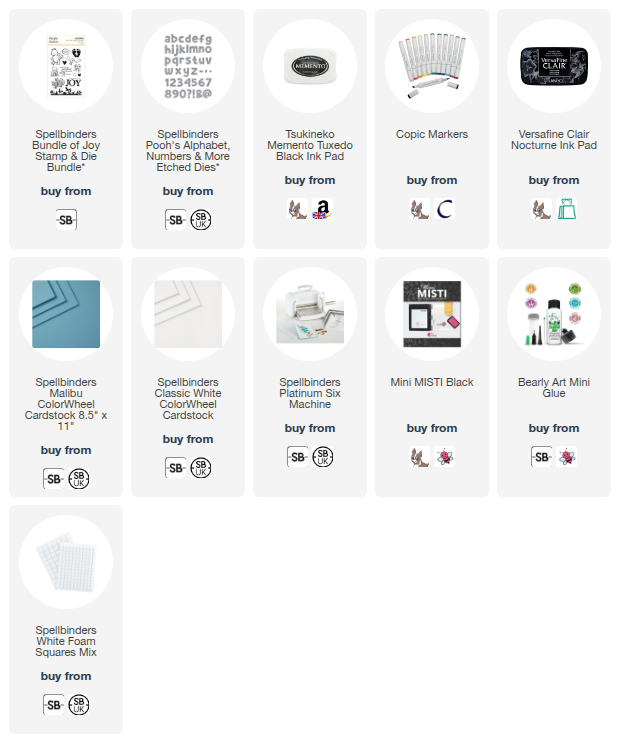
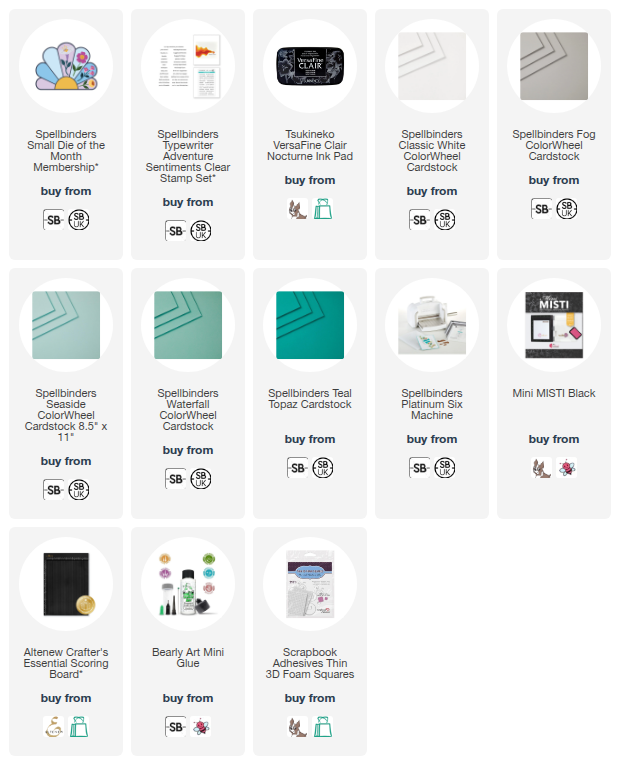
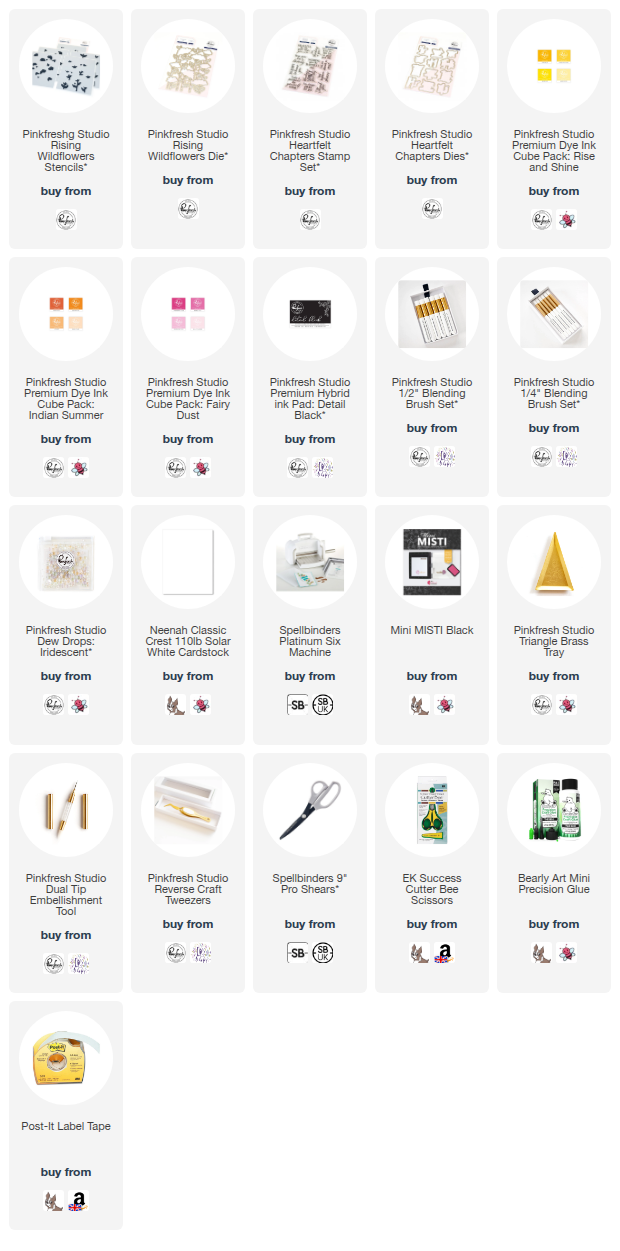
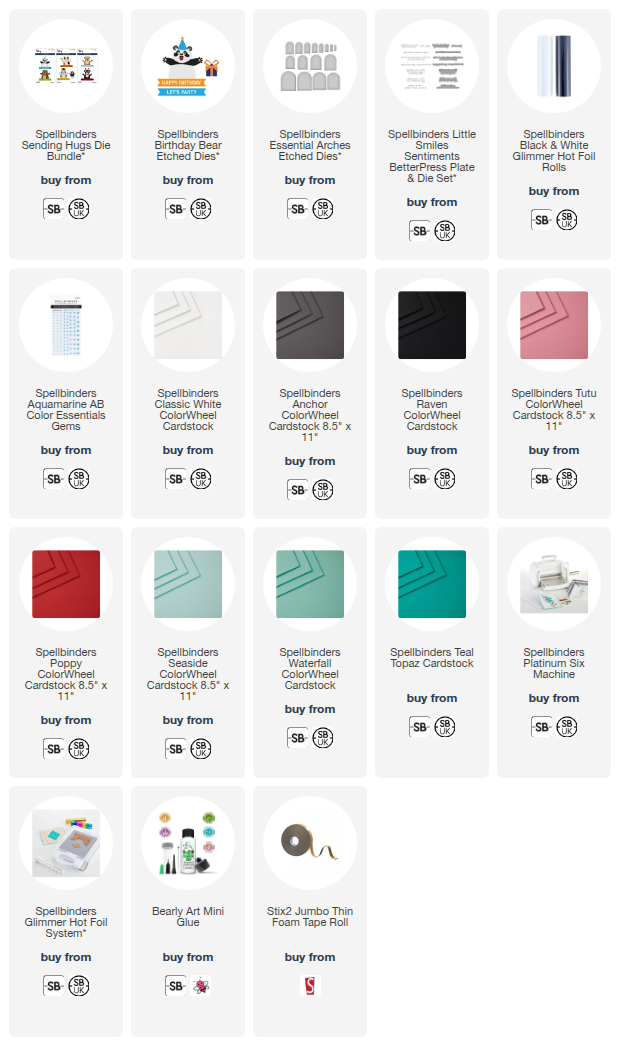
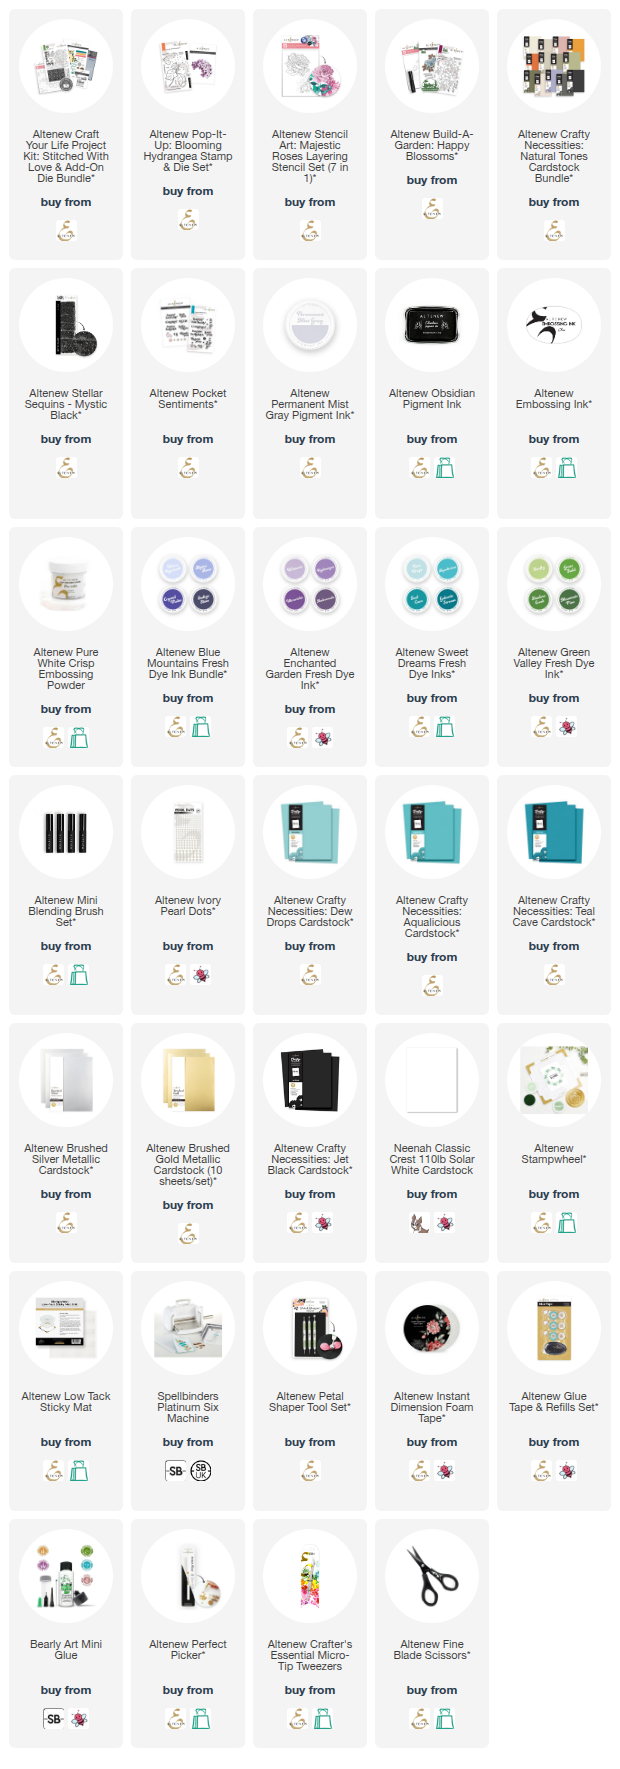
Here are the links to what I have used on the project. Affiliate links are used on some products. This means that if you make a purchase after clicking on my link, I receive a small commission with no extra cost to you. I truly appreciate your support when using these links. Please click on the logo below the product to shop at your favourite store. All products were personally purchased except those from Clearly Besotted and those marked with an asterisk (*) which were kindly sent to me to use. You can read my full disclosure here.


Thank you so much for stopping by today, I really do appreciate it. I hope you have a wonderful time on the rest of the hop and a great rest of the day too! 

18 January 2025

Spellbinders | Felt Owl

Hello there, I am a little late with this one but I am finally sharing my last plushie from the Spellbinders Felt Stitch & Create Collection by Nichol Spohr. These have been so fun to make! In case you missed the others that I made, you can see the pumpkin here, the reindeer here, and the fox here

PLEASE NOTE: This post contains affiliate links. Please see below for my full disclosure.


Today I am using the Spellbinders Felt Snowy Owl Etched Dies. The owl that Nichol made uses greys, but I thought it would look nice using all white, apart from the stitching detail in grey on her wing and head. The other wing is facing inwards, so you don't see the stitching detail on that one. 


I cut the body pieces from Snow (white) felt from the Spellbinders Merino Wool Felt Holiday Collection. The eyes are cut from Coal (black) from the same collection. The beak and feet are cut from Sunflower (dark yellow) from the Trend Collection, and the cheeks from Blossom (pink) from the Neutrals Collection. I stitched the pieces using DMC Floss (white, black and grey) following Nichol's YouTube Tutorial


I decided not to stitch the cheeks or beak and simply hot glued them in place instead. I added polyester filling to her head and body but not to her wings. I did mess up a little, I should have added her head lower on the left side, as from the back, you can still see the top of her wing, but I still think she looks cute! I die cut the flowers from Pansy Felt (Cool Collection) and the leaves from Aloe (Neutrals Collection), I added the stitching first and then adhered them to her head using hot glue. 

SUPPLIES:


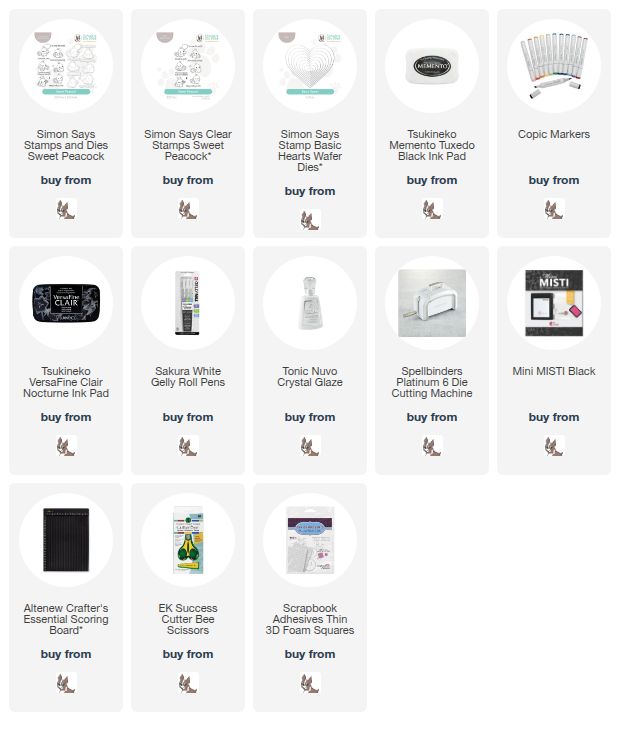
Here are the links to what I have used on the project. Affiliate links are used on some products. This means that if you make a purchase after clicking on my link, I receive a small commission with no extra cost to you. I truly appreciate your support when using these links. Please click on the logo below the product to shop at your favourite store. All products were personally purchased except those from Clearly Besotted and those marked with an asterisk (*) which were kindly sent to me to use. You can read my full disclosure here.


Whilst I didn't get the definition of the different layers all being cut from white felt, I really love how she turned out! Thank you so much for stopping by today, I really do appreciate it. I hope you have a great weekend! 

17 January 2025

Spellbinders | Vivid Expressions

Hello there, I hope you are well. Today I have two cards to share using the new Vivid Expressions collection from Spellbinders for January. 

This pretty collection consists of flowers, butterflies, borders and sentiments and I am using a few on my cards today. 

PLEASE NOTE: This post contains affiliate links. Please see below for my full disclosure.


For my first card, I am using the Spellbinders Vivid Blooms Etched Dies. I die cut the flowers and foliage from Spellbinders Cardstock - I used Purple Mist & Lilac Blossom for the purple flowers, Pink Sand & Fruit Punch for the pink flowers and Beeswax & Chamomile for the flower centres. For the leaves and foliage, I used Peridot & Rainforest. 

I assembled and adhered the flowers using Bearly Art Glue and then adhered the foliage first, onto a black US A2 sized card base with Bearly Art Glue too. I then adhered the flowers with thin black foam tape. 

I took the sentiment from the Spellbinders Ideal Moments Press Plate & Die Set and hot foiled it onto Spellbinders Onyx Cardstock using Spellbinders Silver Foil and the Glimmer Hot Foil System. It was cut into a strip and adhered to the card with more thin foam tape. To finish, I embellished with Spellbinders Spectrum AB Color Essentials Gems

For my second card, I wanted to use the butterflies from the new Spellbinders Blooming Butterflies 3D Emboss & Cut Folder. You can use this folder in different ways, the idea is that you place the dies inside (they have ridges to keep the dies in place) and then place a piece of cardstock in the folder and run it through your die cutting machine to cut and emboss in one go. 

For me, I often cut the images that I want to emboss, in this case, the butterflies first and then place them inside the folder and run through my die cutting machine to emboss. I then added ink blending to them using Altenew Enchanted Garden Fresh Dye Inks. For the sentiments, I took the 'thank' and 'you' from Spellbinders Sweeping Script Sentiments Press Plates and hot foiled them onto a panel of white cardstock using Spellbinders Silver Foil

The panel was adhered to a black US A2 sized card base. I then hot foiled the sentiment from Spellbinders Always & Forever Sentiment Strips Press Plate & Die Set, cut it into a strip and adhered it to the card with thin foam tape. The butterflies were adhered with Bearly Art Glue, just behind the bodies, which I embellished with Spellbinders Silver Mix Color Essentials Gems

SUPPLIES:


Here are the links to what I have used on the project. Affiliate links are used on some products. This means that if you make a purchase after clicking on my link, I receive a small commission with no extra cost to you. I truly appreciate your support when using these links. Please click on the logo below the product to shop at your favourite store. All products were personally purchased except those from Clearly Besotted and those marked with an asterisk (*) which were kindly sent to me to use. You can read my full disclosure here.


I really love those Sweeping Sentiments! There is also a 'for' and 'hello' in the set and I am looking forward to using those as well! Thank you so much for stopping by today. I really do appreciate it. I hope you have a wonderful day! 

14 January 2025

Spellbinders | Soaring Dragonfly

Hello there, I hope you are well. If you have been reading my blog for a while, you will know that I have been using the Spellbinders Large Die of the Month Club Kits the last couple of years. This year, I have decided to go back to the Small Die of the Month and this month is so beautiful! It is called "Soaring Dragonfly". There are a few different options in the kit for wings, I decided to go with the striped ones today. 

PLEASE NOTE: This post contains affiliate links. Please see below for my full disclosure.


I started off my card by die cutting the base layer of the wings from the Spellbinders January 2025 Small Die of the Month Club Kit from white cardstock. I then cut the striped wing pieces multiple times from Spellbinders Cardstock. I used Chamomile (sadly now discontinued, sorry), Beeswax, Purple Mist, Lilac Blossom and Royal Amethyst

I then cut the body from Royal Amethyst for the both the base layer and the top layer. I cut the top of the base layer again from Onyx and the top layer of the head from Royal Amethyst. I adhered the stripes on top of the base layers of the wings using Bearly Art Glue

I then cut the head off of the body piece cut from Onyx and adhered it on to the Royal Amethyst one (so that the eyes would be black), followed by the top layer of the body and the head piece. I die cut Spellbinders On Cloud Nine Etched Dies from white cardstock and adhered them onto a 4" x 5.5" white card base with Bearly Art Glue, cutting the excess off the sides using scissors. 

The dragonfly was then adhered on top using thin foam tape. I die cut the sentiment in the kit three times from Spellbinders Onyx Cardstock and layered them up one on top of another, before adhering on to the card. To finish, I embellished with Spellbinders Silver Mix Color Essentials Gems

SPELLBINDERS CLUB KITS

To buy the kit - if you are a current subscriber to the Small Die of the Month Club Kit (or any kit), you do not need to do anything. You will be charged as normal on the 5th of the month and your kit will be shipped to you. If you are a new subscriber, you can purchase the kit from the 6th - 27th January 2025. Members can cancel their membership at any time. If you are not keen on subscribing to the kit but still want it, you can purchase it individually (without a subscription) on the 10th of the following month but the price will be higher. 


SUPPLIES:


Here are the links to what I have used on the project. Affiliate links are used on some products. This means that if you make a purchase after clicking on my link, I receive a small commission with no extra cost to you. I truly appreciate your support when using these links. Please click on the logo below the product to shop at your favourite store. All products were personally purchased except those from Clearly Besotted and those marked with an asterisk (*) which were kindly sent to me to use. You can read my full disclosure here.


Thank you so much for stopping by today, I really do appreciate it. I hope you have a wonderful day! 

10 January 2025

VIDEO | Bibi's Intense Liquid Colors

Hello there, I hope you are well. Back at the end of summer 20204, my good friend Bibi Cameron contacted me saying she was developing a new line of watercolours in collaboration with Contact Crafts and would I like to receive them to create some samples for her for the release. I of course said yes but with a clause of that if I didn't like them, I would send them back! Well, I didn't need to worry about the clause as they are fab! They released last week along with some sentiment stamp sets, which I am also using today. 

PLEASE NOTE: This post contains affiliate links. Please see below for my full disclosure.


Bibi's Intense Liquid Colors are high quality, translucent water-based paints and as the name suggests, are very intense and vibrant! They are designed to work beautifully with water. There are three sets - Retro Brights, Bohemian Regals and Tuscany Earth, each with 8 colours in the set. As you will see from my samples, you can use them in lots of different ways. 

There is also another set called Sparkle Base. These are also translucent, water-based paints designed to add shimmer to projects. They can be applied over any project to add sparkle or can be mixed with the other paints to create shimmery watercolours. There are four colours in the set - Gold, Silver, Copper and Bronze. 

Artwork by Bibi Cameron

You can find more details about the paints, as well as seeing more ways to use them (and samples), in the Flipbook HERE

RETRO BRIGHTS

My first project uses Intense Liquid Colors Retro Brights. I started off by stamping the floral image from the Altenew Peony & Lilac Swag Stamp Set onto Fabriano Artistico Extra White Hot Press Watercolour Paper using Versamark Ink. I applied white embossing powder and heat set. I then coloured the image using the paints. 

I used all 8 colours in the Retro Brights set - Yellow, Orange, Red & Purple for the peonies, Violet & Indigo for the lilacs, and Green, Yellow and Blue for the leaves. I wouldn't usually use this many colours on one image but I really love how it turned out! I die cut the image out using the coordinating die and adhered it to a panel of the same watercolour paper (so that the papers would match in shade) using foam tape. I then adhered that to a white US A2 sized card base using tape runner adhesive. 

I took the 'thank you' sentiment from the Happy Mail Clear Stamp Set and heat embossed it onto black cardstock. It was cut into a strip and adhered to the card with foam tape. To finish, I embellished with Spellbinders Silver Mix Color Essentials Gems

BOHEMIAN REGALS

My next project uses Intense Liquid Colors Bohemian Regals. I really love the muted tones in this set! I started off my card by masking off the edges of a panel of Fabriano Artistico Extra White Hot Press Watercolour Paper using masking tape. I then stamped one of the leaves from Altenew Build-A-Flower Wild Rose Stamp Set on top using Versamark Ink

I applied Altenew Antique Gold Embossing Powder and heat set. I then repeated the process to stamp another two sets of leaves. I spritzed the panel with water and dropped in the Bohemian Regals paints (top right to bottom left): Carnation, Purple Rain, Navy, Verdigris & Bluegrass. I let it sit to dry (but you can use a heat tool like I show in the video below) and then went back in with the same colours but with more intensity this time and focussed the colour around the negative space. 

Once the panel was dry, I removed the tape and adhered it to a US A2 sized white card base with tape runner adhesive. I stamped a sentiment from the Happy Mail Clear Stamp Set and heat embossed also. It was cut into a strip and adhered to the card with foam tape. To finish, I embellished with Spellbinders Gold Mix Color Essentials Gems

My next project ended up being a bonus one. I used the same Intense Liquid Colors Bohemian Regals but this time, just Carnation, Pumpkin and Saffron. I thought it would be fun to see if I could use the ink smooshing technique with these paints and I am happy to report that you can! I applied a small amount of the paint to a piece of acetate, spritzed it with water and pounced or 'smooshed' it onto a tag cut from Fabriano Artistico Extra White Hot Press Watercolour Paper.

I overlapped the colours a little and I think it looks really cool! I thought it looked a little like a sunset, so I thought the palm tree from the Hero Arts Color Layering Palm Tree (currently in the retirement sale) would work well with it. It was stamped using Versafine Clair Nocturne Ink multiple times. The sentiment is from the Good Stuff Inside Stamp Set which was heat embossed onto black cardstock, cut into a strip and adhered to the tag with foam tape. To finish, I added black twine through the top of the tag and tied in a bow. 

TUSCANY EARTH + SPARKLE BASE

My last project for today uses Intense Colors Tuscany Earth. As the name suggests, these are more earth tones and I thought they would work perfectly for a sunflower. I ended up using all 8 colours from the set - Sunbeam, Burnt Orange & Scarlet Red for the petals, Sunbeam, Umber & Lamp Black for the centre, and Olive Green, Emerald & Ocean Blue for the leaves. 

I die cut the Honey Bee Stamps Lovely Layers: Sunflowers Dies from Fabriano Artistico Extra White Hot Press Watercolour Paper. I applied a little of the paint onto a non-stick craft sheet and picked it up using a Tim Holtz Distress Tiny Blending Tool and applied it to the pieces. The paints blend really well not only on to the paper but also with each other. 

I splattered on a little Gold Sparkle Base to the centre pieces and set them all aside to dry (which did not take long). Once dry, the sunflower was assembled and adhered using thin foam tape and Bearly Art Glue. I cut a tag from white cardstock using the Spellbinders 3-in-1 Tag Punch and adhered the sunflower and leaves on top. The sentiment from the Happy Mail Stamp Set was stamped and heat embossed onto black cardstock. It was cut onto a strip and adhered to the tag using foam tape. To finish, I added black twine through the top of the tag and tied in a bow. 

VIDEO:

Here is the video showing the techniques that I used with Bibi's Intense Liquid Colors:

If you are viewing this post via email subscription, you can watch the video on YouTube HERE

SUPPLIES:


Here are the links to what I have used on the projects. Affiliate links are used on some products. This means that if you make a purchase after clicking on my link, I receive a small commission with no extra cost to you. I truly appreciate your support when using these links. Please click on the logo below the product to shop at your favourite store. All products were personally purchased except those from Clearly Besotted, Hero Arts or those marked with an asterisk (*) which were kindly sent to me to use. You can read my full disclosure here.


I love that you can do so much with these paints - watercolour, blend with daubers and blending brushes, use with stencils, ink smoosh ... plus lots more! Thank you so much for stopping by today, I really do appreciate it. I hope you have a wonderful day!  

9 January 2025

Altenew | January 2025 Release Blog Hop + Giveaway

Hello there, I am delighted to be joining Altenew today to celebrate the January release with a fun blog hop. The main part of the release this month is sweet/candy themed, however, I fell in love with some of the subscription products this month, so focused on those.

PLEASE NOTE: This post contains affiliate links. Please see below for my full disclosure.

CREATIVE CUTS: HOUSEPLANTS

There is a fabulous new subscription launching this month - Creative Cuts. I love die cutting so absolutely could not resist this month's set! I started off by die cutting the elements from the Altenew Creative Cuts: Houseplants Layering Die Set from Altenew Crafty Necessities Cardstock. I used Morning Frost and Jet Black for the pot, Morning Frost for the hanging piece, Frayed Leaf and Bamboo for the leaves, Dew Drops for the flower petals, and Vanilla Cream for the flower centres. 

I placed the die cuts on my Sticky Mat and added ink blending on top with inks and brushes. I used Altenew Jet Black Fresh Dye Ink for the pot, Altenew Green Valley Fresh Dye Inks for the Bamboo Cardstock, Altenew Green Fields Fresh Dye Inks for the Frayed Leaf Cardstock, Altenew Dew Drops Fresh Dye Inks for the flower petals and Altenew Golden Sunset Fresh Dye Inks for the flower centres. 

I assembled the pot first and adhered it to to a white US A2 sized white card base, followed by the hanging piece. I then adhered the leaves on top, followed by the flowers. I stamped a sentiment from Altenew Build-A-Garden: Flowering Quince onto Altenew Crafty Necessities Jet Black Cardstock using Altenew Embossing Ink. I applied Altenew Pure White Crisp Embossing Powder and heat set. It was cut into a strip and adhered to the card with foam tape. To finish, I embellished with new Altenew Ivory Pearl Dots (love these!). 

BUILD-A-GARDEN: FLOWERING QUINCE

My second card uses the new Altenew Build-A-Garden: Flowering Quince & Add-on Die Bundle. I started off by stamping the larger floral image from the set onto white cardstock using Altenew Obsidian Pigment Ink and the Stampwheel 2.0. Once the ink was dry, I placed the coordinating stencils on top of the image, one by one, to colour it in using ink blending. 

I used Altenew Blushberry Bliss Fresh Dye Inks for the flower petals, Altenew Golden Sunset Fresh Dye Inks for the flower centres, Altenew Green Meadows Fresh Dye Inks for the leaves and Altenew Coffee Break Fresh Dye Inks for the stems. 

It was die cut out using the coordinating die and adhered onto a US A2 sized white card base with Altenew Instant Dimension Foam Tape. The excess was cut off the dies using scissors. I stamped a sentiment from the set and die cut it out using the coordinating die. I also cut another two layers of the die and adhered them behind the stamped one for added dimension. To finish, I embellished with new Altenew Blush Pearl Dots

CRAFT-A-FLOWER: CARNATION

My last card for today uses the new Altenew Craft-A-Flower: Carnation Layering Die Set. I die cut the flowers and leaves from white cardstock and placed them on my Sticky Mat to add ink bending to them using inks and Altenew Mini Blending Brushes

I used Altenew Sunkissed Delights Fresh Dye Inks for the petals, adding in a little Frosty Pink from the Altenew Red Cosmos Fresh Dye Ink Collection for some added pink tone. I used Altenew Green Valley Fresh Dye Inks for the leaves. I left them aside to dry for a little while and then adhered the layers of the flowers together using liquid glue.

I adhered the leaves to a US A2 sized white card base first with liquid glue, followed by the flowers with Altenew Instant Dimension Foam Tape. The sentiment, from Altenew Build-A-Garden: Flowering Quince & Add-on Die Bundle, was stamped using Altenew Obsidian Pigment Ink, die cut out and adhered to the card with more foam tape. To finish, I embellished with new Altenew Creamrose Pearl Dots

BLOG HOP:

As mentioned, this post is part of a fun, inspirational blog hop. Please click the links below for the other participants in the hop. 

You are invited to the Inlinkz link party!

Click here to enter

GIVEAWAY:

$300 in total prizes! To celebrate this release, Altenew is giving away a $100 gift certificate to 1 lucky winner and a $50 gift certificate to 4 winners! Please leave a comment on the Altenew Card Blog and/or each designer’s blog post on the blog hop list below by January 15th 2025 for a chance to win. Altenew will draw 5 random winners from the comments left on each stop of this blog hop and announce the winners on the Altenew Winners Page on January 17th 2025. The winner of the $100 gift certificate will be chosen from comments left on the Altenew blog. 

SUPPLIES:


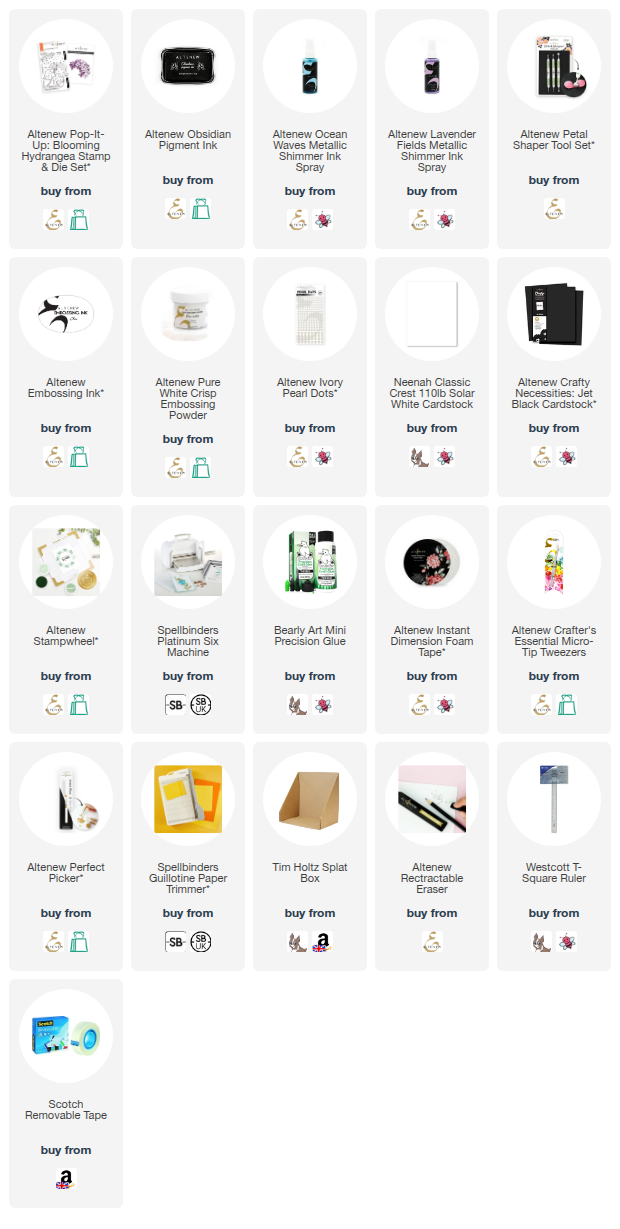
Here are the links to what I have used on the projects. Affiliate links are used on some products. This means that if you make a purchase after clicking on my link, I receive a small commission with no extra cost to you. I truly appreciate your support when using these links. Please click on the logo below the product to shop at your favourite store. All products were personally purchased except those from Clearly Besotted, Hero Arts or those marked with an asterisk (*) which were kindly sent to me to use. You can read my full disclosure here.


Thank you so much for stopping by today, I really do appreciate it. I hope you have a wonderful time on the rest of the hop and a great rest of the day too! Take care! 

End of code