26 February 2024

Spellbinders | Every Occasion Floral Alphabet

Hello there, today I have a card to share using the Spellbinders Every Occasion Floral Alphabet Collection. These are BetterPress plates but you can foil with them too. Each letter comes with a sentiment but you can use them without the sentiments as well, to personalise cards to recipients. 

PLEASE NOTE: This post contains affiliate links. Please see below for my full disclosure.


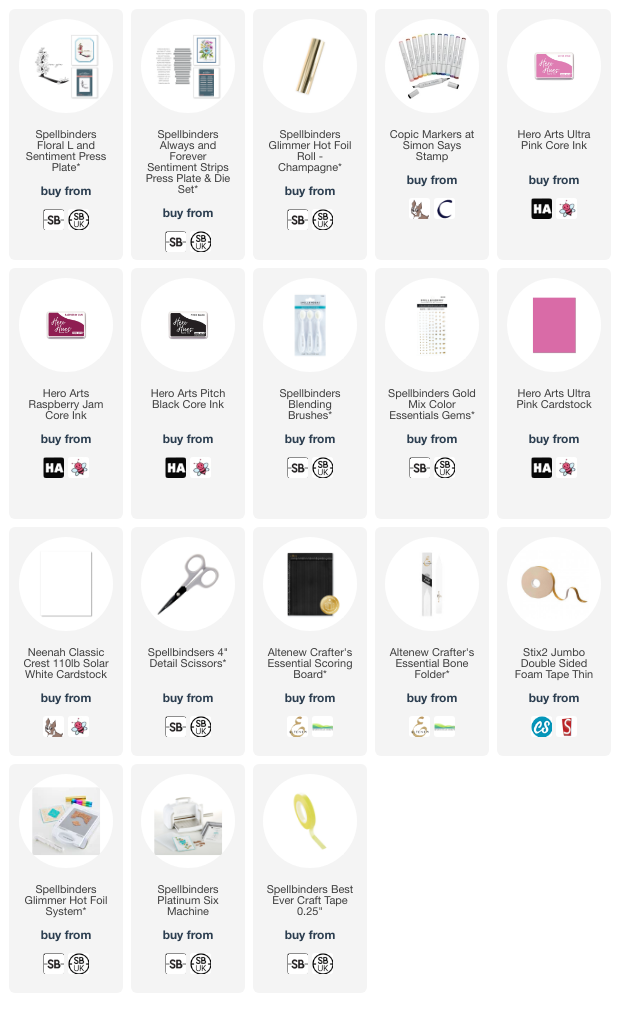
Since this card is for my dear friend Lisa, I first foiled the Spellbinders Floral L and Sentiment Press Plate (just the L) onto white cardstock using Spellbinders Champagne Foil and the Spellbinders Glimmer Hot Foil System. I then coloured the flowers and leaves using Copic Markers (RV69, RV66, RV55, RV52/G29, YG17, YG23, YG01). 


I fussy cut it out using scissors and then set it aside. I took the Spellbinders Always and Forever Sentiments Strips Press Plate & Die Set and hot foiled it onto white cardstock with more Spellbinders Champagne Foil. It was cut out using the coordinating die and then I cut the sides down further with my guillotine. 


I took a US A2 sized card base made from Hero Arts Ultra Pink Cardstock and scored horizontal lines in the front panel. I then added ink blending around the edges with Hero Arts Core Inks in Ultra Pink, Raspberry Jam and Pitch Black. The letter and sentiment were adhered using thin foam tape. To finish off, I embellished with Spellbinders Gold Mix Color Essentials Gems

SUPPLIES:


Here are the links to what I have used on the project. Affiliate links are used on some products. This means that if you make a purchase after clicking on my link, I receive a small commission with no extra cost to you. I truly appreciate your support when using these links. Please click on the logo below the product to shop at your favourite store. All products were personally purchased except those from Clearly Besotted, Hero Arts or those marked with an asterisk (*) which were kindly sent to me to use. You can read my full disclosure here.


The photographs have brightened up the pink a bit, in real-life it is a much deeper shade. I will be sharing more cards using this collection next month here on my blog and over on the Spellbinders Blog. Thank you so much for stopping by today, I hope you have a wonderful day! 

23 February 2024

Altenew | Artist Alcohol Markers 2024 Release Blog Hop + Giveaway

Hello there, I am delighted to be joining Altenew today to celebrate the release of new Artist Alcohol Markers, as well as Alcohol Inks (can be used as refills for the markers or as alcohol inks on their own). There are two new collections releasing - Woodland Garden and Firewood Garden and I used both on my card today. 

PLEASE NOTE: This post contains affiliate links. Please see below for my full disclosure.


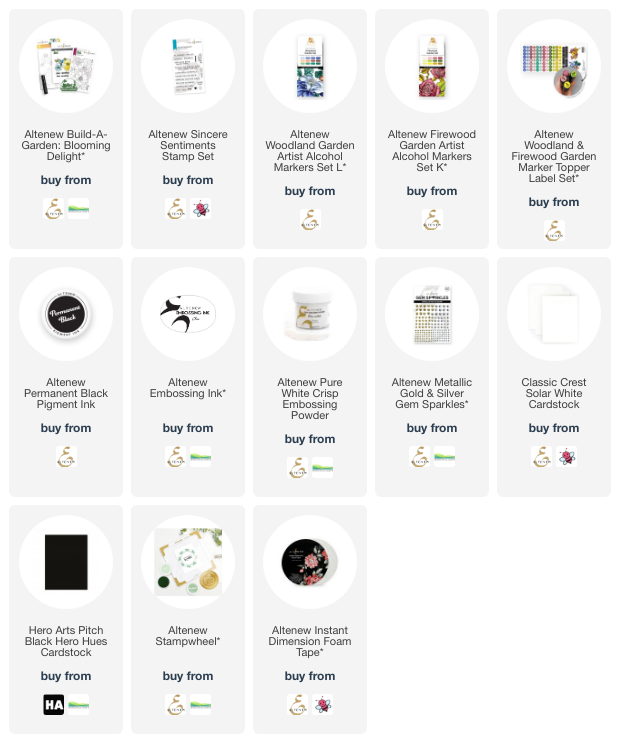
I started off by stamping the floral image from the Altenew Build-A-Garden: Blooming Delight stamp set onto white cardstock using Altenew Permanent Black Ink. I coloured the image using Altenew Woodland Garden Artist Alcohol Markers Set L and Altenew Firewood Garden Artist Alcohol Markers Set K


I used the Blue Mountains colours (Water Hyacinth, Alpine Aster, Periwinkle & Delphinium -  Woodland Garden) for the large flower, Dried Petals colours (Pink Cloud, Pink Crystal, Mauve & Berrylicious - Firewood Garden) for the smaller flowers and Wood Warbler colours for the centres (Icy Lemonade, Oolong Tea & Citronella - Firewood Garden). 


For the leaves, I used Frosted Foliage colours (Jade, Eucalyptus, Green Lakes & Forest Fern - Woodland Garden), as well as the lightest shade in the Forest Trail colours (Aloe Vera - Firewood Garden).  


I then die cut the image using the coordinating die and adhered it to a US A2 sized white card base with Altenew Instant Dimension Foam Tape. Since some of the image got cut off, I added the cut off piece to the top right hand corner. The sentiment, from the Altenew Sincere Sentiments Stamp Set, was stamped onto black cardstock using Altenew Embossing Ink.


I applied Altenew Pure White Crisp Dye Ink and heat set. I cut it into a strip and adhered it to the card with more foam tape. To finish off, I added Altenew Metallic Gold & Silver Gem Sparkles (just the silver ones). 

BLOG HOP:


This blog post is part of fun, inspirational blog hop with prizes. Please click the links below for the other participants in the hop. 

You are invited to the Inlinkz link party!

Click here to enter

GIVEAWAY:

$200 in total prizes! To celebrate this release, Altenew is giving away a $100 gift certificate to 1 lucky winner and a $25 gift certificate to 4 winners! Please leave a comment on the Altenew Card Blog and/or each designer’s blog post on the blog hop list below by 3rd March 2024 for a chance to win. Altenew will draw 5 random winners from the comments left on each stop of this blog hop and announce the winners on the Altenew Winners Page on 5th March 2024.*The winner of the $100 gift certificate will be chosen from comments left on the Altenew blog. 


SUPPLIES:


Here are the links to what I have used on the project. Affiliate links are used on some products. This means that if you make a purchase after clicking on my link, I receive a small commission with no extra cost to you. I truly appreciate your support when using these links. Please click on the logo below the product to shop at your favourite store. All products were personally purchased except those from Clearly Besotted, Hero Arts or those marked with an asterisk (*) which were kindly sent to me to use. You can read my full disclosure here.


Thank you so much for stopping by today, I really do appreciate it. I hope you have a wonderful time on the rest of the hop and a great rest of the day too. Take care! 

21 February 2024

Spellbinders | BetterPress Registration + New Inks

Hello there, today I have a card to share using a few new products from Spellbinders. I am using a BetterPress Registration Plate, along with the new BetterPress Inks (love the new colours!). I am also using the fabulous new 2-1 Punch, which both rounds corners and cuts notches. 

PLEASE NOTE: This post contains affiliate links. Please see below for my full disclosure.


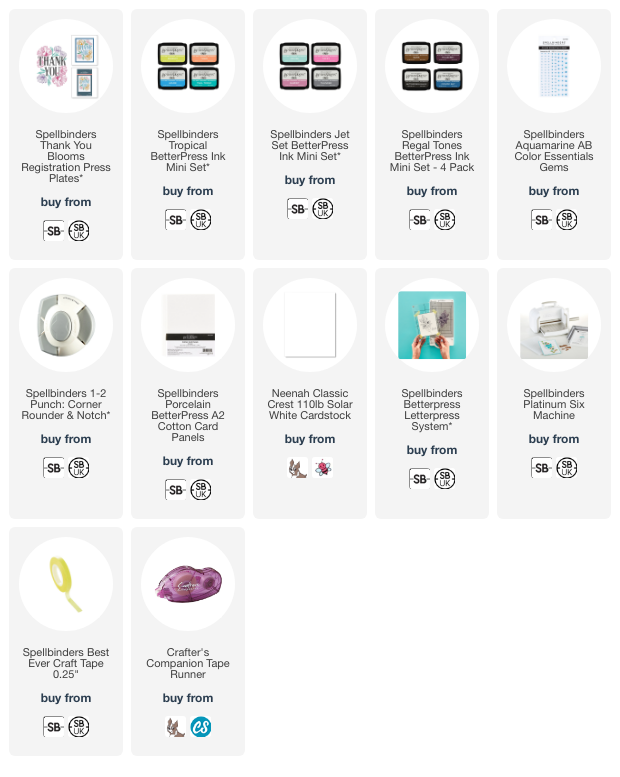
These registration plates are great because they come with a template of where to place the plates so that you can ink them up separately with different inks. You can even foil some of the layers too if you want to. I used Teal Topaz for one set of flowers and Azure for the other. The leaves use Cruise and the sentiment BetterPress Black


I rounded the corners of the panel using the Spellbinders 2-1 Punch: Corner Rounder & Notch and then adhered it to a US A2 sized white card base using tape runner adhesive. I then rounded the corners of the card to match the panel. To finish, I embellished with Spellbinders Aquamarine AB Color Essentials Gems

SUPPLIES:


Here are the links to what I have used on the project. Affiliate links are used on some products. This means that if you make a purchase after clicking on my link, I receive a small commission with no extra cost to you. I truly appreciate your support when using these links. Please click on the logo below the product to shop at your favourite store. All products were personally purchased except those from Clearly Besotted, Hero Arts or those marked with an asterisk (*) which were kindly sent to me to use. You can read my full disclosure here.


There are so many ways to use these plates - add foil, add an accompanying sentiment, ink in an ombre way etc but I also like the simplicity of this card just being one layer with the different shades of ink. Thank you so much for stopping by today, I really appreciate it. I hope you have a wonderful day! 

20 February 2024

Spellbinders | Through the Arbor Garden

Hello there, I am over on the Spellbinders blog today, sharing three projects using the Through the Arbor Garden Collection by Susan Tierney-Cockburn. 

PLEASE NOTE: This post contains affiliate links. Please see below for my full disclosure.


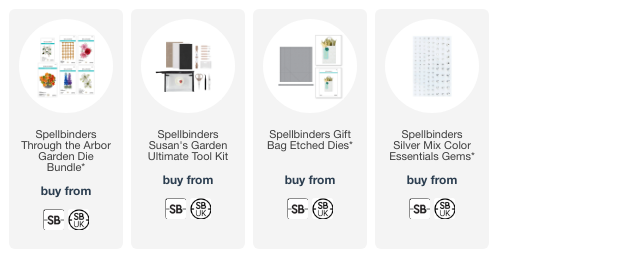
The Through the Arbor Garden Collection is so beautiful! There are six die sets and two embossing folders. I didn't use the embossing folders on my projects but they are beautiful! The flowers in Susan's collections are made to look realistic. I cut them from white cardstock and added ink blending with Distress Inks. I then shaped them using Spellbinders Susan's Garden Ultimate Tool Kit


This project uses the Carnation, Queen Anne's Lace and Nasturtium from the collection to decorate the Spellbinders Gift Bag. I am also sharing a card using the Mock Orange, as well as a card using the Bamboo Trellis Background and Delphinium over on the blog. 

SUPPLIES:


Here are the links to what I have used on the project. Affiliate links are used on some products. This means that if you make a purchase after clicking on my link, I receive a small commission with no extra cost to you. I truly appreciate your support when using these links. Please click on the logo below the product to shop at your favourite store. All products were personally purchased except those from Clearly Besotted, Hero Arts or those marked with an asterisk (*) which were kindly sent to me to use. You can read my full disclosure here.


For the full details on how I made the projects, please head over to the Spellbinders blog. Thank you so much for stopping by today, I hope you have a wonderful day! 

16 February 2024

Concord & 9th | You're The Best

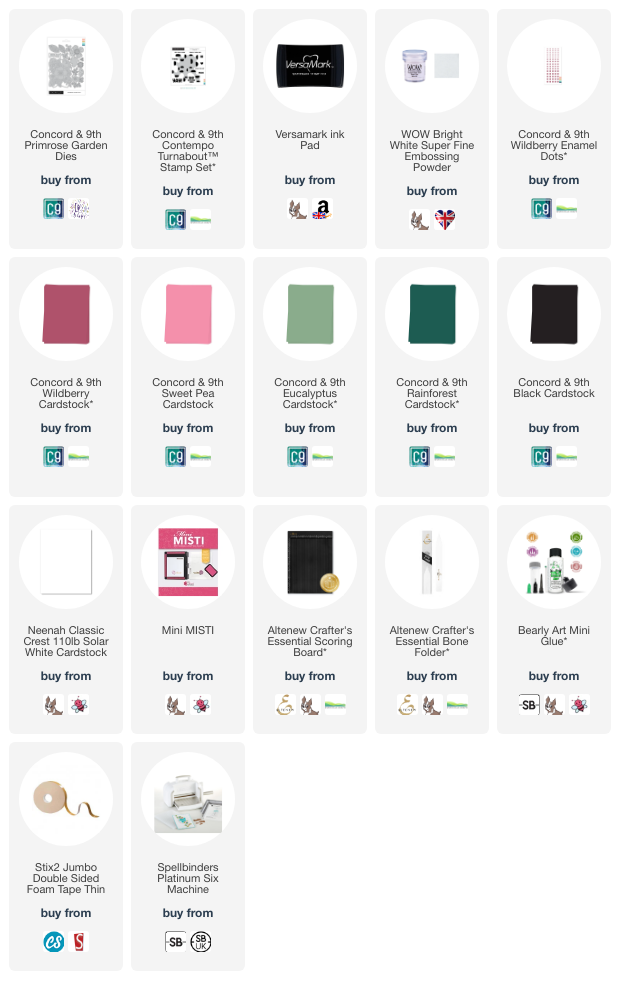
Hello there, today I have a card to share using some more new goodies from Concord & 9th. I love the new 2024 colours and I am using three on my card today. I would have never picked this colour combo myself, so it has been great receiving these colours as it has pushed me a little out of my comfort zone! 

PLEASE NOTE: This post contains affiliate links. Please see below for my full disclosure.


I started off my card by die cutting the flowers and leaves from the Concord & 9th Primrose Garden Die Set. I cut the big flower, as well as the back of the closed flower from Concord & 9th Wildberry Cardstock. The front of the flower, as well as the smaller flower were cut from Concord & 9th Sweet Pea Cardstock. The flower centres, as well as the small flowers were cut from white cardstock. 


I cut the larger leaves from Concord & 9th Rainforest Cardstock and the smaller leaves from Concord & 9th Eucalyptus Cardstock. The flowers were assembled and adhered using Bearly Art Glue. I took a white US A2 sized white card base and added horizontal scoring lines on it. Sadly, they are pretty impossible to see in the photos, but in real life, they add a nice finishing touch to the card!


I adhered the leaves onto the card first, using liquid glue and then added the flowers with thin foam tape. I took the sentiment from the Concord & 9th Contempo Turnabout Stamp Set and stamped it onto black cardstock using Versamark Ink


I applied white embossing powder and heat set. It was cut into a strip and adhered to the card using foam tape. To finish off, I added a few Concord & 9th Wildberry Enamel Dots to the centres of the flowers. 

SUPPLIES:


Here are the links to what I have used on the project. Affiliate links are used on some products. This means that if you make a purchase after clicking on my link, I receive a small commission with no extra cost to you. I truly appreciate your support when using these links. Please click on the logo below the product to shop at your favourite store. All products were personally purchased except those from Clearly Besotted, Hero Arts or those marked with an asterisk (*) which were kindly sent to me to use. You can read my full disclosure here.


The colours do look brighter in the photos than in real life. They are more muted in person. Thank you so much for popping by today, I really do appreciate it. I hope you have a wonderful day and a great weekend too! 

14 February 2024

Hero Arts | 2024 Catalog Release Blog Hop + Giveaway

Hello there and welcome to the Hero Arts 2024 catalogue release blog hop! Hero Arts are releasing a plethora of new products today including stamps, dies, stencils and press plates/foil plates (but there is a slight delay with these). 

PLEASE NOTE: This post contains affiliate links. Please see below for my full disclosure.


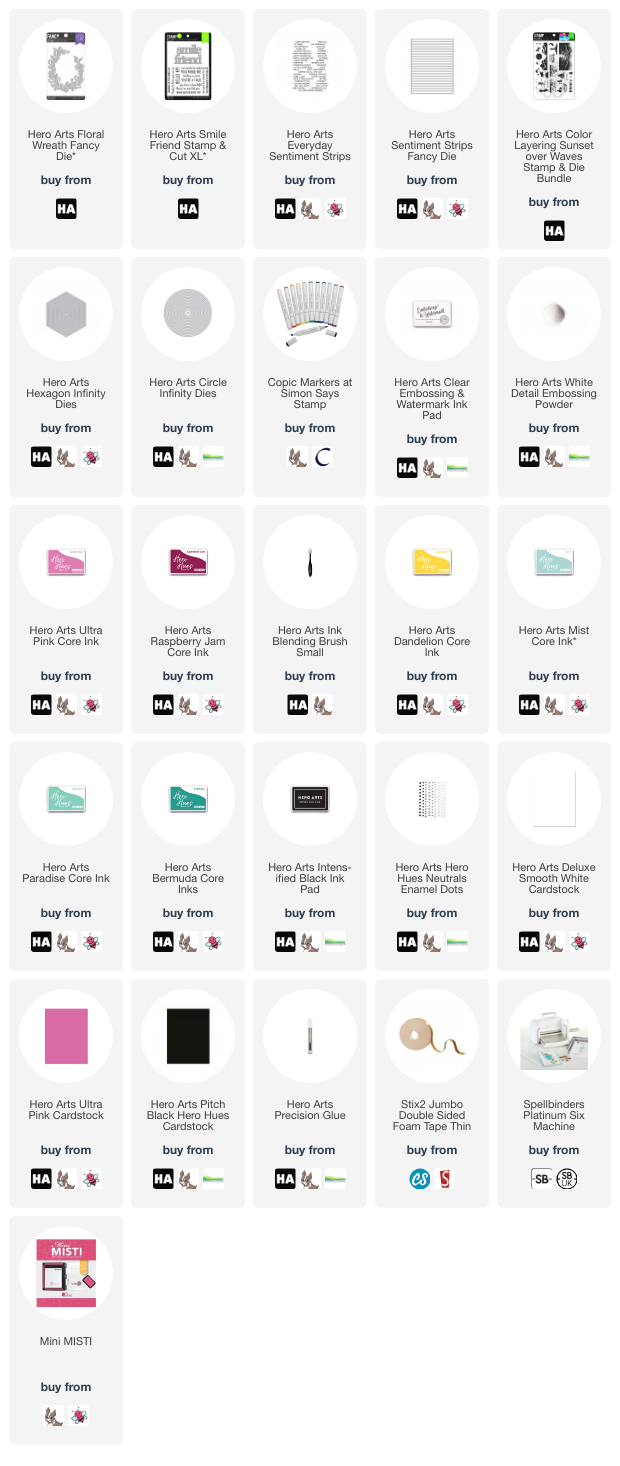
My first card today uses the new Hero Arts Floral Wreath Fancy Die. I cut it three times from white cardstock and then on one, added colouring using Copic Markers. I coloured the leaves and tulips first and then on another one, I coloured just the smaller flowers using Copic Markers. They were fussy cut out using scissors and adhered on top of the other piece. 


I then in turn adhered it to another piece, for added dimension, before adhering onto a US A2 sized white card base with Precision Glue. I took the 'friend' word from the Hero Arts Smile Friend Stamp & Cut XL set and die cut it three times from Hero Arts Ultra Pink Cardstock. On one of the words, I added ink blending to the bottom with Hero Arts Ultra Pink and Raspberry Jam Core Inks and a Small Blending Brush


They were adhered one top of another and then onto the card. I stamped the Hero Arts Everyday Sentiments Strips Stamp onto Hero Arts Pitch Black Cardstock using Hero Arts Clear Embossing & Watermark Ink. I applied Hero Arts White Detail Embossing Powder and heat set. It was cut out using the Hero Arts Sentiment Strips Fancy Die before adhering to the card using foam tape. To finish, I added white enamel dots to the centres of the flowers. 


If you follow Hero Arts, you will know that every year there is a poll and whatever My Monthly Hero Kit wins the poll, that set comes back as part of the next catalogue. The kit that won from last year is the June 2023 kit, so the stamps and dies from the kit are now available to purchase. 


You can read the full details of how I made these cards HERE, but I stamped the Hero Arts Color Layering Sunset over Waves ocean, sun and sky using Hero Arts Core Inks in Dandelion (sun), Mist (clouds), Paradise and Bermuda (ocean). 


I then stamped the silhouette images on top using Hero Arts Intens-ified Black Ink. They were made into shaped cards using the Hero Arts Hexagon and Circle Infinity Dies and the sentiments heat embossed. 

BLOG HOP:


As mentioned, this post is part of a fun, inspirational blog hop with prizes. For the hop, you should have arrived here from Rachel Kleinman and next on the hop is Jennifer Kotas. If you get lost along the way, or want to start the hop from the beginning, please head over to the Hero Arts Blog

GIVEAWAY:

Hero Arts are giving away two $50 gift cards drawn from the comments left across the hop. Comment on all the stops in the hop for more chances to win! You have until Wednesday, 21st February 2024 at 11.59pm to enter. The winners will be announced on the Hero Arts blog. 

SUPPLIES:


Here are the links to what I have used on the projects. Affiliate links are used on some products. This means that if you make a purchase after clicking on my link, I receive a small commission with no extra cost to you. I truly appreciate your support when using these links. Please click on the logo below the product to shop at your favourite store. All products were personally purchased except those from Clearly Besotted, Hero Arts or those marked with an asterisk (*) which were kindly sent to me to use. You can read my full disclosure here.


Thank you so much for stopping by today, I hope you have a wonderful time on the rest of the hop and a great rest of the day too! 

13 February 2024

Clearly Besotted | Sending Love

Hello there, today I have a card to share using the Clearly Besotted Sending Love set. This is such a cute set with characters popping out of envelopes, as well as few other images and sentiments. 

PLEASE NOTE: This post contains affiliate links. Please see below for my full disclosure.


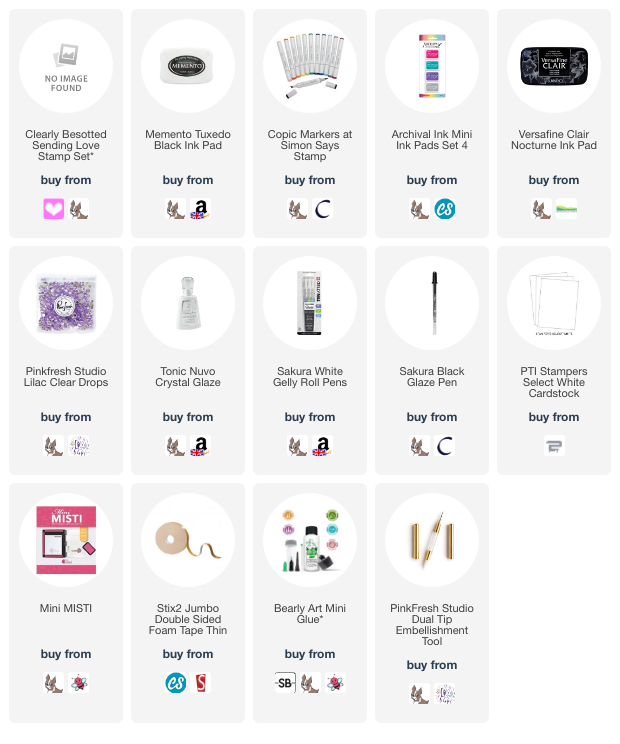
I started off by stamping two of the images from the Clearly Besotted Sending Love Stamp Set onto white cardstock using Memento Tuxedo Black Ink. I coloured them using Copic Markers (the colours that I used are listed below the supplies section). I then fussy cut them out using scissors. 


Using the images as I guide, I stamped the postage marks onto the front of an A2 sized white card base using Shadow Grey Archival Ink. I then stamped the sentiment from the set using Versafine Clair Nocturne Ink


The images were adhered on top using thin foam tape. I added white gel pen highlights to the images, as well as black glaze pen on their eyes. For some added shine, I applied Crystal Glaze to the heart on the penguin's envelope. To finish, I added a few Pinkfresh Studio Lilac Clear Drops

SUPPLIES:


Here are the links to what I have used on the project. Affiliate links are used on some products. This means that if you make a purchase after clicking on my link, I receive a small commission with no extra cost to you. I truly appreciate your support when using these links. Please click on the logo below the product to shop at your favourite store. All products were personally purchased except those from Clearly Besotted, Hero Arts or those marked with an asterisk (*) which were kindly sent to me to use. You can read my full disclosure here.


COPIC MARKERS: Penguin - BV29, BV25, BV23, BV20/YR16, Y17, Y13. Bear - E49, E59, E57, E55. Envelopes - C3, C0, C00. Hearts - V09, V17, V15, V12. 

The set is from the Clearly Besotted January release and it was such a cute release, so I hope you will check it out! I do hope to share some more cards using the release soon but in the mean-time, if you are a fan of Clearly Besotted, do check out the clearance section. There are loads of sets in there at bargain prices! Thank you so much for visiting me today, I really do appreciate it. I hope you have a wonderful day! 

10 February 2024

Spellbinders | Floral Bunny Basket

Hello there, I hope you are well. Today I have a card to share using the Spellbinders February 2024 Large Die of the Month Club Kit which is called "Floral Bunny Basket" and as you can see, it is adorable! I love that bunny's bum! 

PLEASE NOTE: This post contains affiliate links. Please see below for my full disclosure.


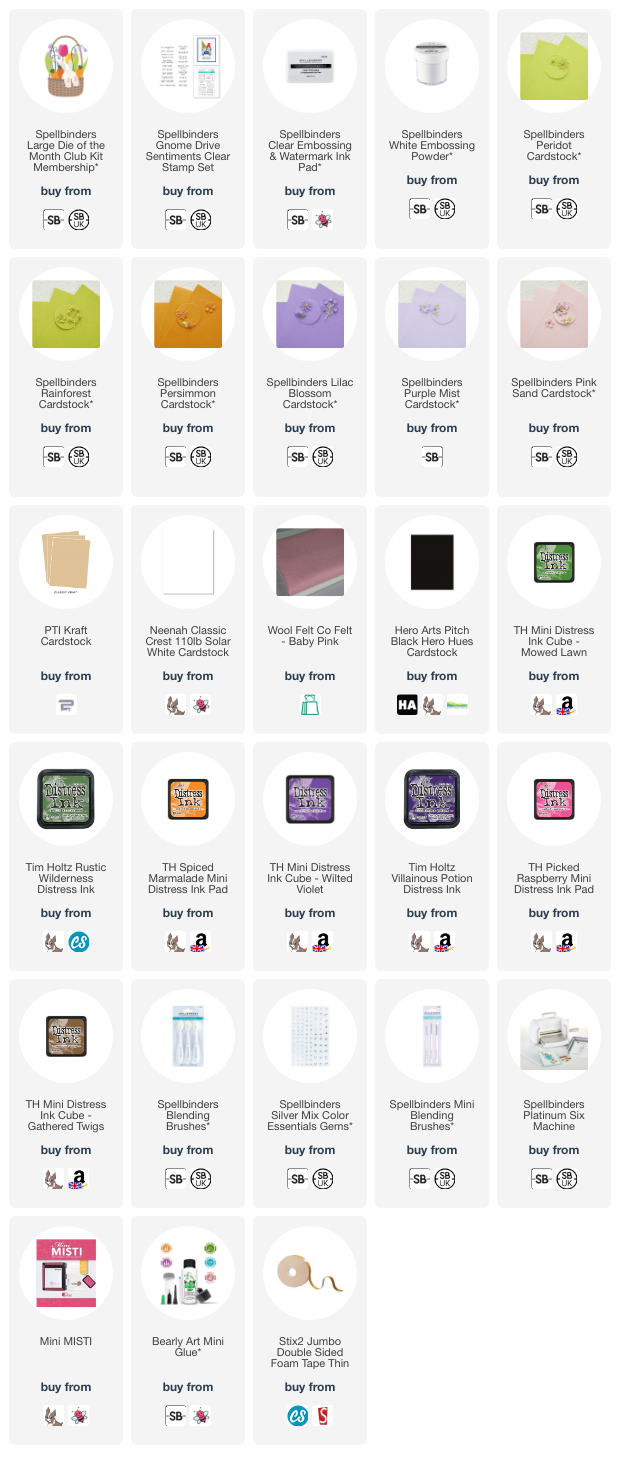
I started off my card by die cutting all of the dies from the Spellbinders February 2024 Large Die of the Month Club Kit using various shades of Spellbinders Cardstock (they are all linked in the supplies list). For the basket handle, I cut it twice and adhered them one on top of another for added stability and dimension. 


I added ink blending to all the pieces, except for the bunny, using Distress Inks and Spellbinders Blending Brushes. For the bunny, I kept him all white but cut his feet pads from pink felt, just for some added softness! I adhered all the pieces to a white US A2 sized card base. Using the basket as a guide to start with, I adhered the carrots, leaves and flowers inside the basket and then adhered the basket on top. 


I then stamped a sentiment from the Spellbinders Gnome Drive Sentiments Stamp Set onto back cardstock using Spellbinders Embossing & Watermark Ink. I applied Spellbinders White Embossing Powder and heat set. It was cut into a strip and adhered to the card using thin foam tape. To finish off, I added a few Spellbinders Silver Mix Color Essentials Gems

SPELLBINDERS CLUB KITS

I hope that you will check out the Spellbinders Club Kits. It is a wonderful monthly subscription where you receive the kit each month. Designers like myself share inspiration using the kit at the beginning of the month to show you lots of different ways that you can use it. 

There are also lots of other club kits too, like the Small Die of the Month, Clear Stamp & Die of the Month, Embossing Folder of the Month (plus lots more!), so there is something for everyone! If you do subscribe, you will get other benefits from Spellbinders too. Please see here for more information. You can also buy older kits here too. 

To buy the kit - if you are a current subscriber to the Large Die of the Month Club Kit (or any kit), you do not need to do anything. You will be charged as normal on the 5th of the month and your kit will be shipped to you. If you are a new subscriber, you can purchase the kit from the 6th - 27th February 2024. Members can cancel their membership at any time.


SUPPLIES:


Here are the links to what I have used on the project. Affiliate links are used on some products. This means that if you make a purchase after clicking on my link, I receive a small commission with no extra cost to you. I truly appreciate your support when using these links. Please click on the logo below the product to shop at your favourite store. All products were personally purchased except those from Clearly Besotted, Hero Arts or those marked with an asterisk (*) which were kindly sent to me to use. You can read my full disclosure here.


Thank you so much for stopping by today, I really do appreciate it. Although I do not have anything to share just yet, there are few releases new from Spellbinders out today, so if you are interested, please pop over to the website and take a look. Wishing you a wonderful weekend! 

9 February 2024

Concord & 9th | You Are Amazing + New 2024 Color Collection

Hello there and happy Friday to you! The other day I received the most beautiful box of goodies from Concord & 9th. I am not a fan of surprises in general, but this was the most beautiful and happy surprise ever! 

They kindly sent me the new 2024 Color Collection, as well as some of the new stamps and dies from the February 2024 release. I have a card to share using some of them today, as well as a look at the new colours. 

PLEASE NOTE: This post contains affiliate links. Please see below for my full disclosure.


For my card, I started off by creating a heart shaped card base using the large heart die in the Concord & 9th Just Say More Die Set. I cut it twice from white cardstock, scored a line at the top on one to create a hinge and adhered it to the back of the other heart. I did cut a little notch off of the bottom so that it stands up okay. 


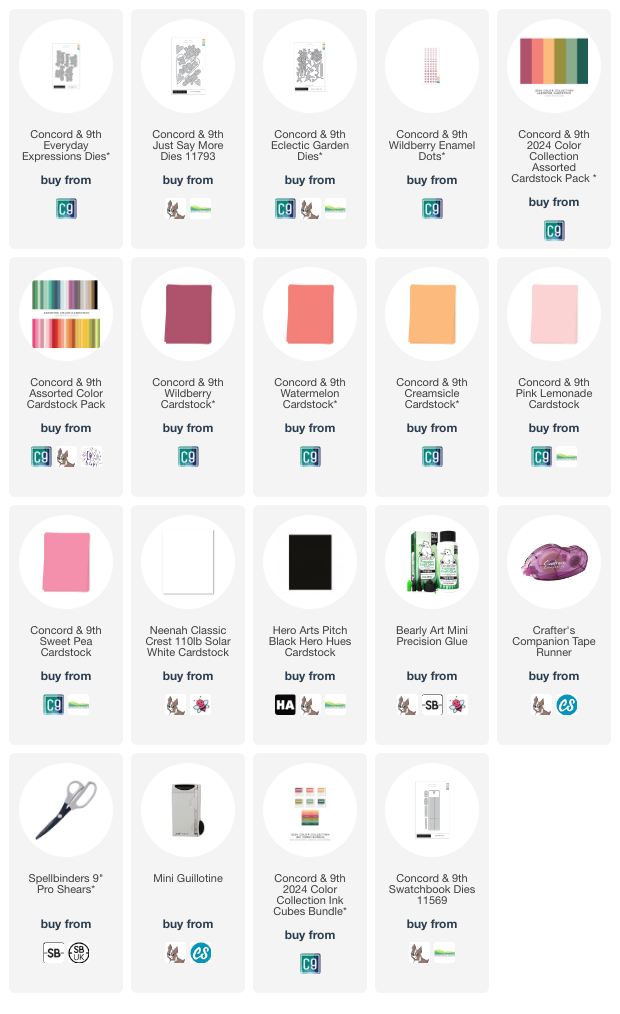
I then took five colours of cardstock and cut them into strips, varying the widths. I used Wildberry, Watermelon and Creamsicle from the new collection, and Pink Lemonade and Sweet Pea from the older Core Collection. They were adhered to the heart using liquid glue and the excess cut off the sides using scissors. I then die cut the flowers & stems from the Concord & 9th Eclectic Garden Set twice from white cardstock. 


I cut the flowers down and then adhered the two layers, one on top of another for some dimension, onto the card. I die cut the sentiment from the new Concord & 9th Everyday Expressions Die Set from white cardstock for the shadow and black for the word itself (both cut twice) and adhered them together, before adhering to the card. To finish off, I added some of the new Concord & 9th Wildberry Enamel Dots to the centres of the flowers. 

2024 COLOR COLLECTION

Here is a look at the new 2024 Color Collection. There is (top to bottom on the swatches) Wildberry, Watermelon, Creamsicle, Grasshopper, Eucalyptus and Rainforest. 


I swatched the cardstock on the left (with the new patterned cardstock in the same colours peeking from the left) and blended the inks on the right. I think they look great as a whole colour combo but also work beautifully with the core collection too. 

SUPPLIES:


Here are the links to what I have used on the project. Affiliate links are used on some products. This means that if you make a purchase after clicking on my link, I receive a small commission with no extra cost to you. I truly appreciate your support when using these links. Please click on the logo below the product to shop at your favourite store. All products were personally purchased except those from Clearly Besotted, Hero Arts or those marked with an asterisk (*) which were kindly sent to me to use. You can read my full disclosure here.


Thank you so much for stopping by today, I really appreciate it. I hope you have a wonderful rest of the day and a great weekend! 

7 February 2024

Altenew | February 2024 Release Blog Hop + Giveaway

Hello there, I am delighted to be joining Altenew today to celebrate the February 2024 release. It is filled with lots of stamps, dies, stencils, embossing folders, embellishments and tools, plus lots more! 

PLEASE NOTE: This post contains affiliate links. Please see below for my full disclosure.


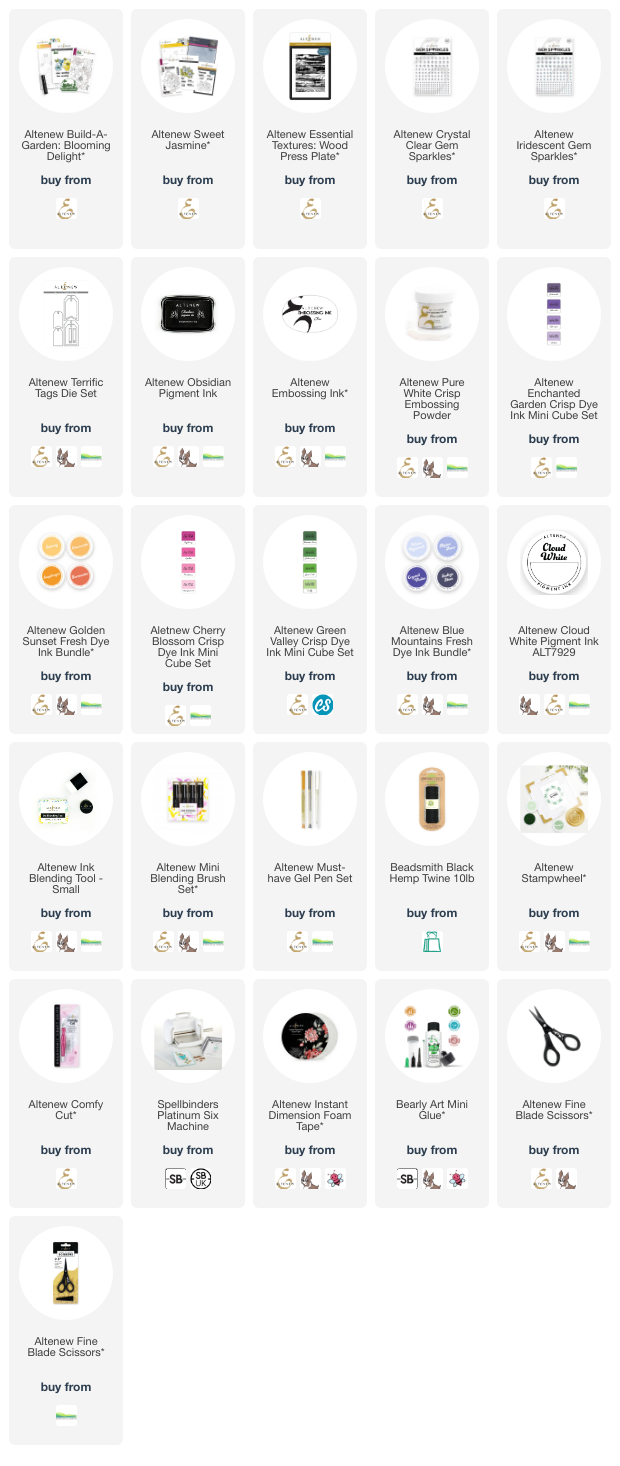
My first project uses Altenew Build-A-Garden Blooming Delight. I stamped the main floral image from the stamp set onto white cardstock using Altenew Obsidian Pigment Ink. I then took the stencils and one by one, placed them over the image and added ink blending to colour it in. 

I used Altenew Enchanted Garden and Cherry Blossom Crisp Dye Inks for the flower petals, Altenew Golden Sunset Fresh Dye Inks for the flower centres and Altenew Green Valley Crisp Dye Inks for the leaves. The image was then die cut out using the coordinating die. 

It was adhered onto a US A2 sized white card base with Altenew Instant Dimension Foam Tape. I stamped a sentiment from the Altenew Sweet Jasmine Stamp Set onto white cardstock using Altenew Obsidian Pigment Ink. I die cut it out using the Altenew Sweet Jasmine Die Set and adhered it to the card. To finish, I embellished with Altenew Iridescent Gem Sparkles

My next project uses the Sweet Jasmine collection - there is a stamp set, die set, stencils, press plate and embossing folder in this collection that can be purchased all together as a bundle, or separately. 

I started off by stamping the image from the Altenew Sweet Jasmine Stamp Set onto white cardstock using Altenew Obsidian Pigment Ink. Using the Altenew Sweet Jasmine Simple Coloring Stencil Set, I coloured the image using ink blending.

I used Altenew Cherry Blossom Crisp Dye Inks for the petals, Altenew Golden Sunset Fresh Dye Inks for the flower centres, and Altenew Green Valley Crisp Dye Inks for the leaves. It was die cut out using the Altenew Sweet Jasmine Die Set and set aside. 

I took the Altenew Essential Textures: Wood Press Plate and instead of pressing it, I embossed it to give a different texture. The panel was adhered to a white US A2 sized white card base, followed by the flower on top using foam tape. The sentiment, stamped with Altenew Obsidian Pigment Ink, was adhered on top. To finish, I embellished with Altenew Crystal Clear Gem Sparkles

My last project today uses the Altenew Sweet Jasmine 3D Embossing Folder. I die cut an Altenew Terrific Tag Die from white cardstock and added ink blending on top using Altenew Blue Mountains Fresh Dye Ink. I placed it inside the embossing folder and ran it through my die cutting machine. 

I then added Altenew Cloud White Pigment Ink on top, to just the raised areas to highlight them. I then mixed a little of the darker ink white water and splattered it on the tag. I adhered another tag to the back (for stability) and threaded twine through the top and tied in a bow. 

I took the sentiment from Altenew Build-A-Garden: Blooming Delight and stamped it onto black cardstock using Altenew Embossing Ink. I applied Altenew Pure White Crisp Embossing Powder and heat set. It was cut into a strip using the new Altenew Comfy Cut craft knife and adhered to the tag using Altenew Instant Dimension Foam Tape. To finish, I added a few white gel pen dots. 

BLOG HOP:

This blog post is part of a fun, inspirational blog hop with prizes. Please click the links below for the other participants in the hop:

You are invited to the Inlinkz link party!

Click here to enter

GIVEAWAY:

$300 in total prizes! To celebrate this release, Altenew is giving away a $100 gift certificate to 1 lucky winner and a $50 gift certificate to 4 winners! Please leave a comment on the Altenew Card Blog and/or each designer’s blog post on the blog hop list below by 13th February 2024 for a chance to win. Altenew will draw 5 random winners from the comments left on each stop of this blog hop and announce the winners on the Altenew Winners Page on 15th February 2024.*The winner of the $100 gift certificate will be chosen from comments left on the Altenew blog. 


SUPPLIES:


Here are the links to what I have used on the projects. Affiliate links are used on some products. This means that if you make a purchase after clicking on my link, I receive a small commission with no extra cost to you. I truly appreciate your support when using these links. Please click on the logo below the product to shop at your favourite store. All products were personally purchased except those from Clearly Besotted, Hero Arts or those marked with an asterisk (*) which were kindly sent to me to use. You can read my full disclosure here.


Thank you so much for stopping by today, I really appreciate it. I hope you have a great time on the rest of the hop and a great rest of the day too! take care!
End of code