31 December 2017

VIDEO | Crafty Favourites 2017

Hello there, today I am sharing a look my favourite craft products of 2017. There was so many that I could choose from but I narrowed it down and just picked my very favourites that I discovered in 2017 or used a lot.
 

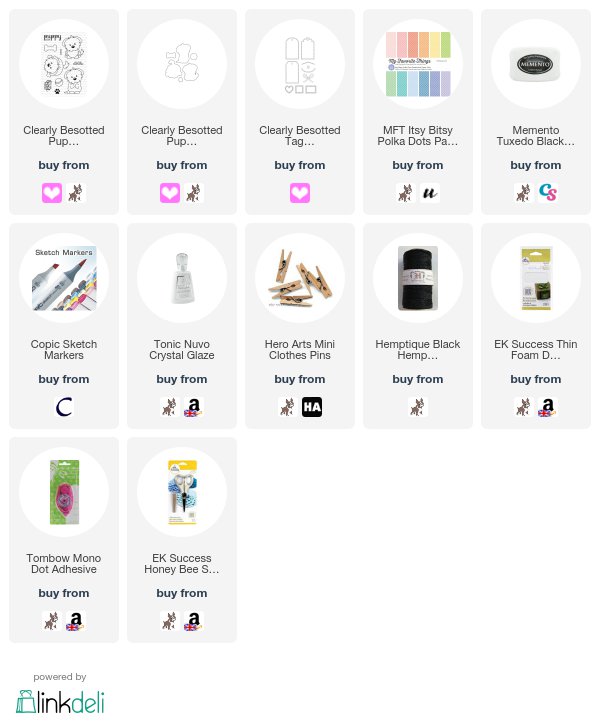
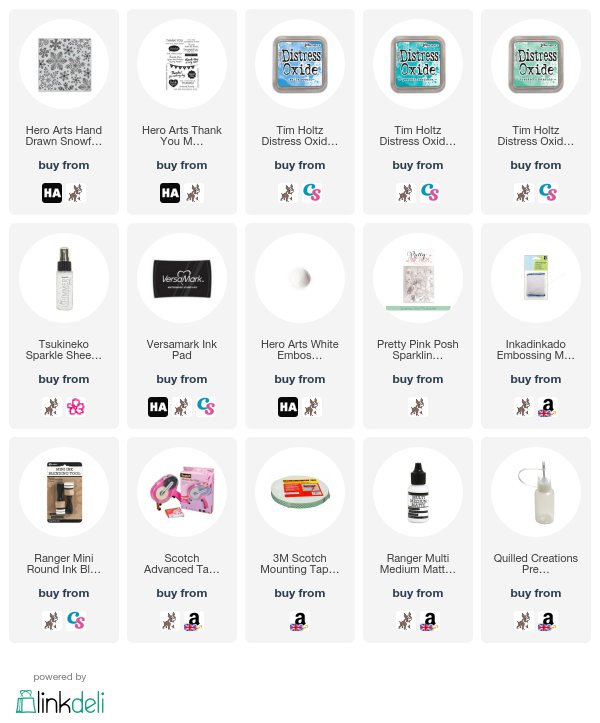
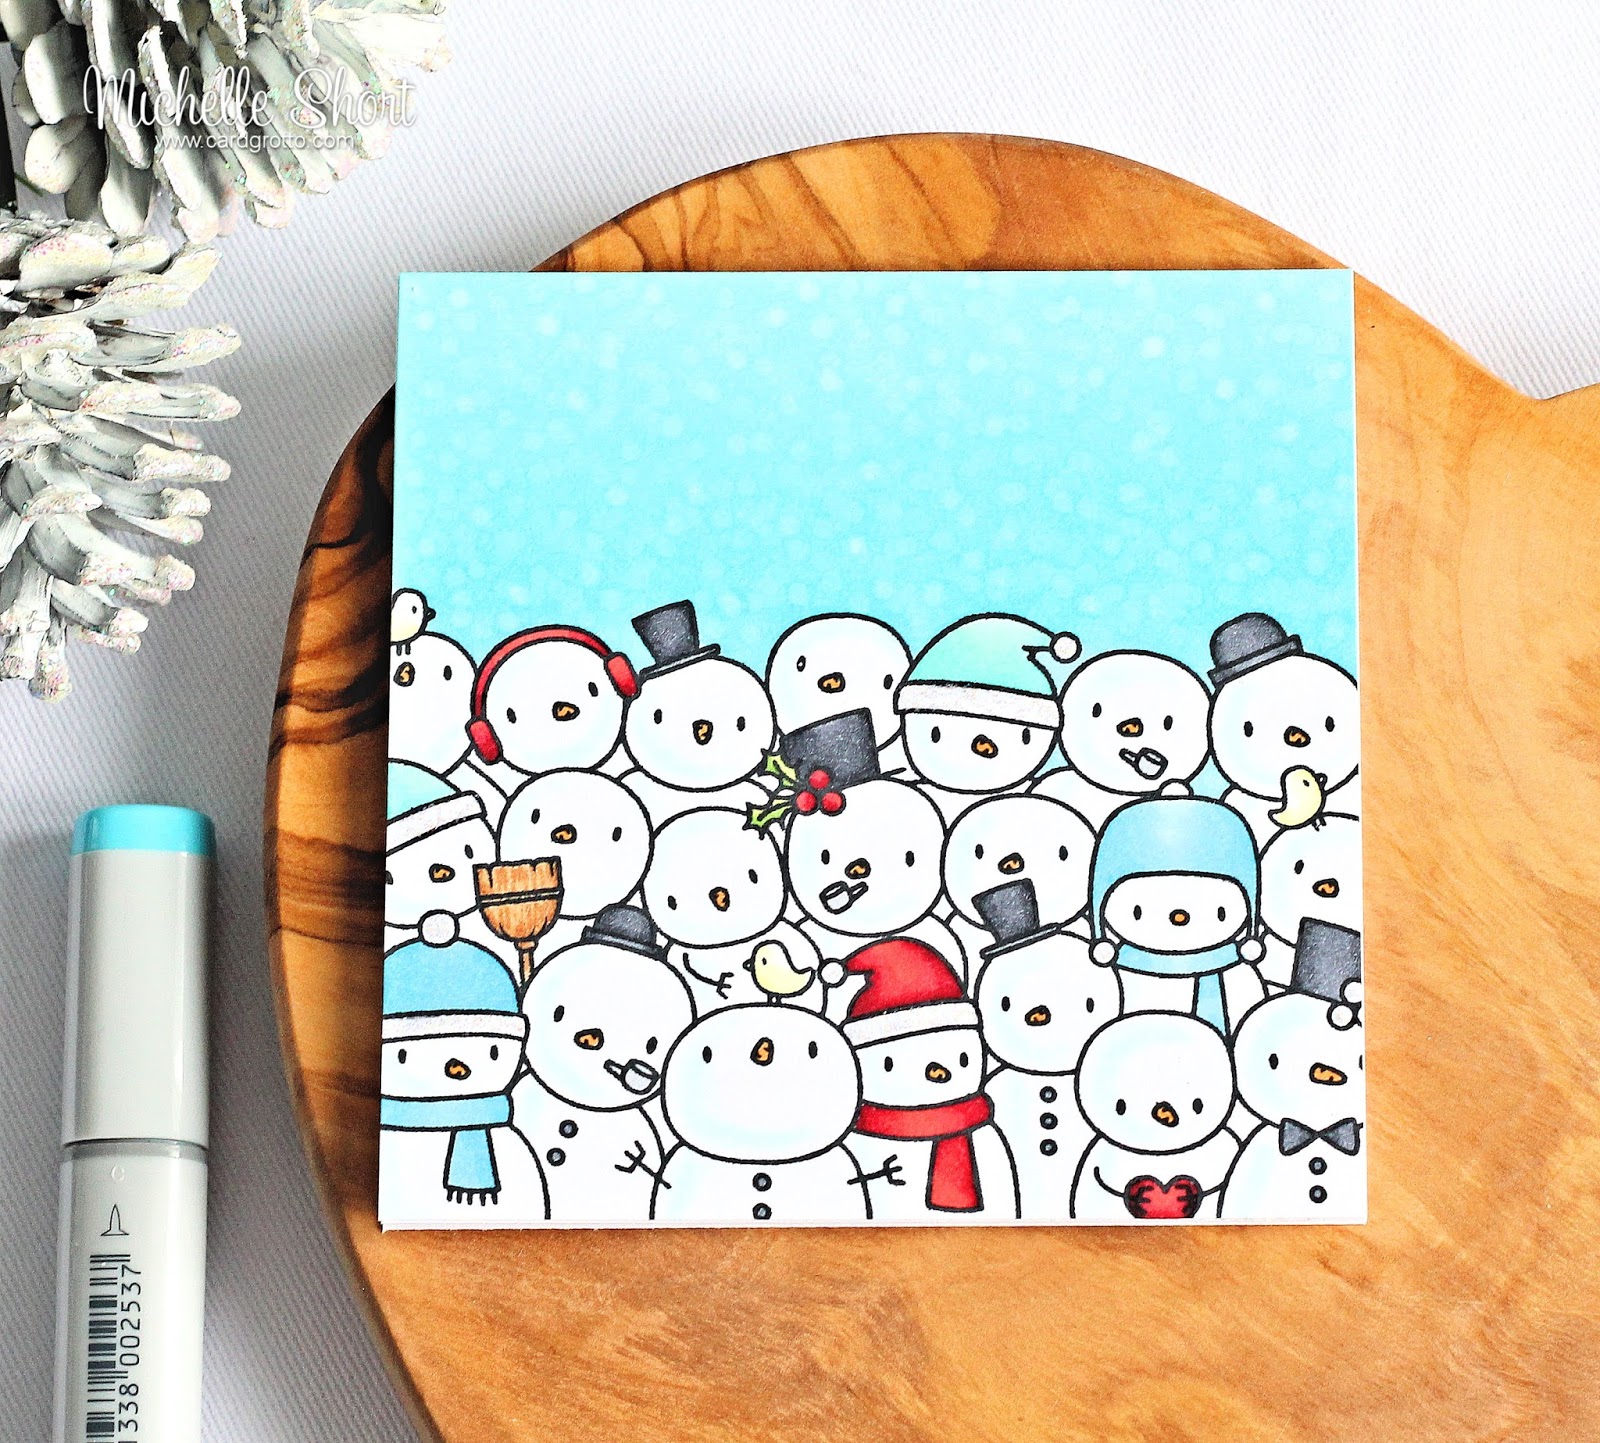
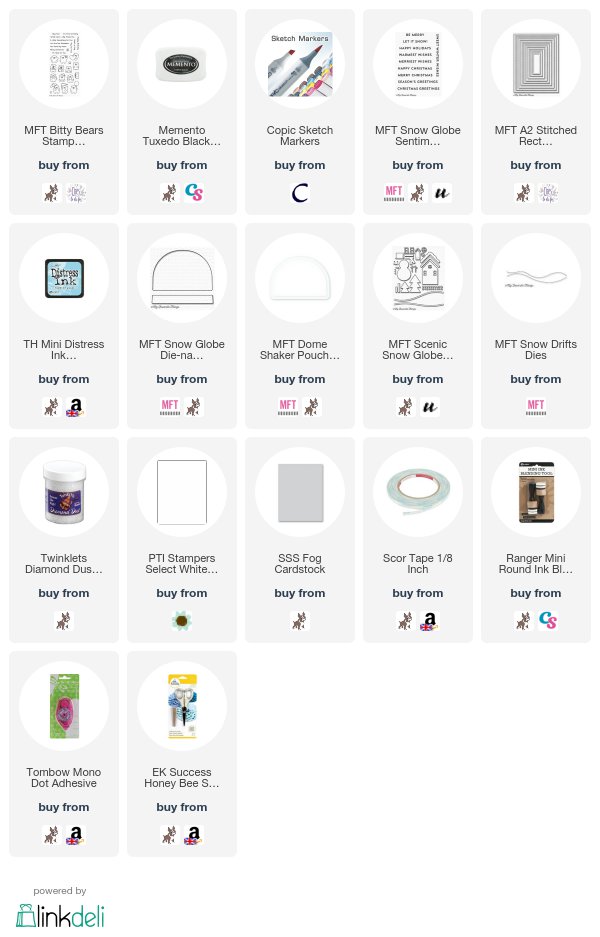
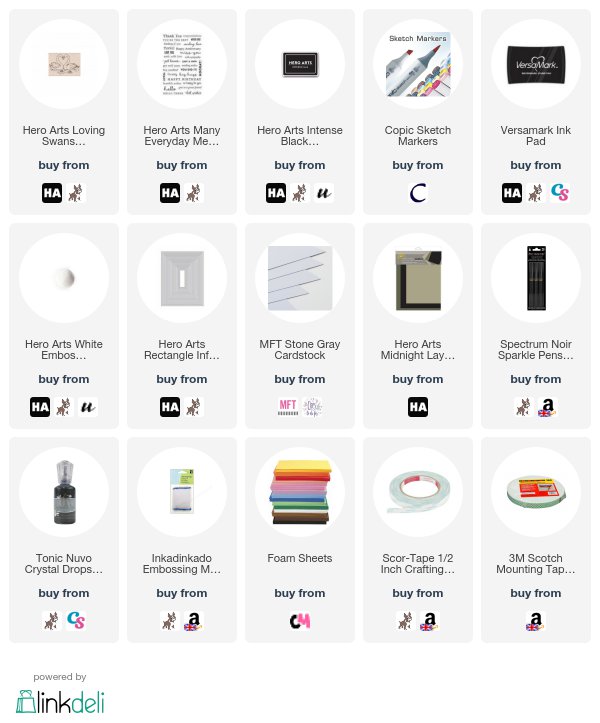
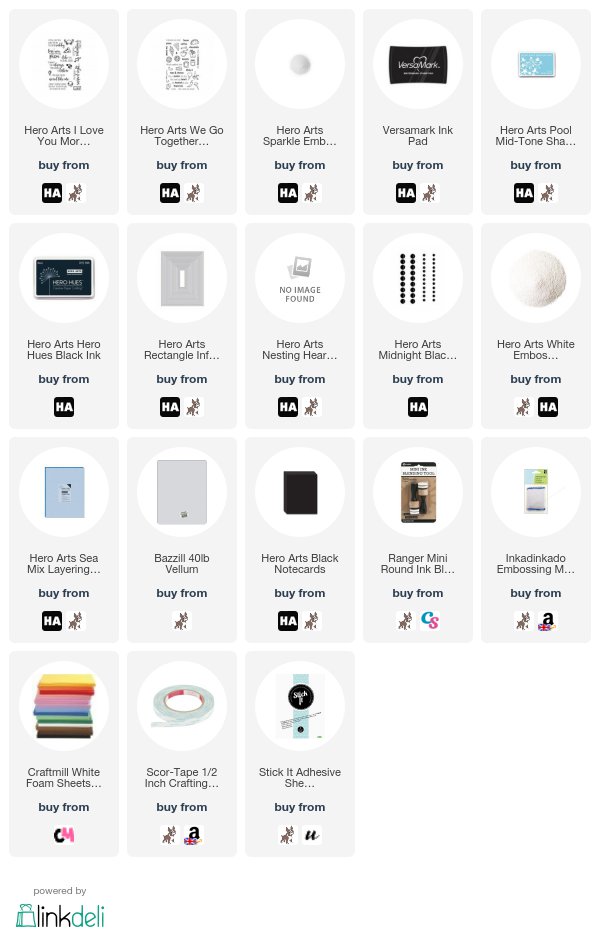
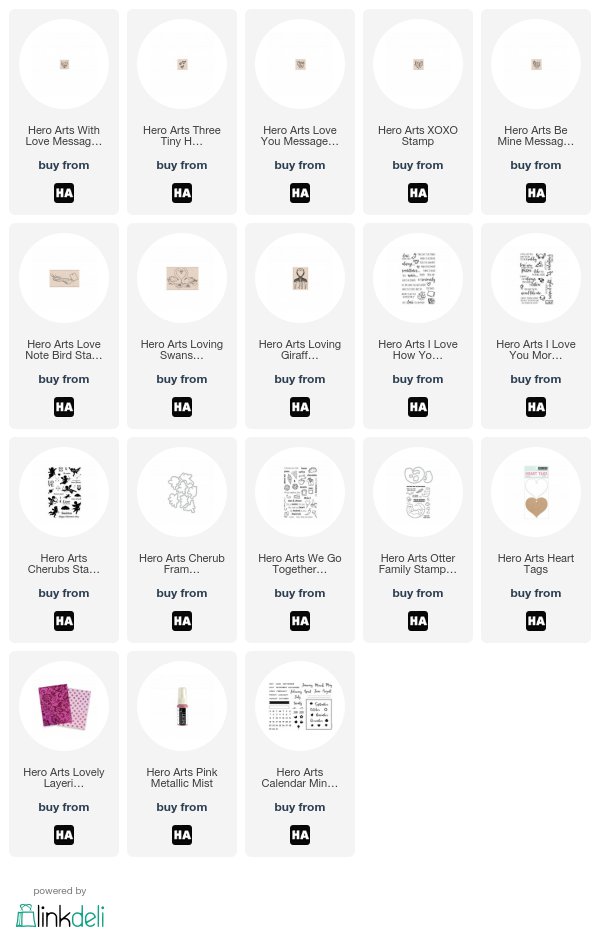
First up is stamps. Well, there were so many stamp sets that I loved using this year but my very favourites are the Clearly Besotted Tiny Type set (I used it lots), the MFT Snow Globe Sentiments set (I used it a lot for Christmas cards), Clearly Besotted Make A Wish (how amazing is that magnolia image?), Clearly Besotted Sending Sunshine (I love sunflowers!) and the MFT Bitty Bears set (because it is so cute!).
 

Next up is dies. Most of the dies I have used this year have been shapes/nesting dies. I love the Dotted Patterns Scallop Frame set from Studio Katia, the MFT A2 Stitched Rectangle sets and also the Hero Arts Nesting Infinity Dies. Another set I have loved using this year is the Clearly Besotted Tag Along Die Collection. What a fabulous set, you can customise tags to your hearts content!
 

For stencils this year I have loved using the Hero Arts ones. I have especially loved embossing with them. Two of my must haves though for the year, are the MFT Cloud stencil and the MFT Drifts & Hills stencil. How fabulous are they for creating clouds, waves and hills/snowbanks? I love them!
 
Alcohol Inks have ben a big favourite of mine this year. I have really enjoyed getting inky with them and creating some fun backgrounds. I have enjoyed using them with Yupo paper and also Lana paper, which is similar to Yupo. I have also enjoyed using Copic Marker Refills to get the same effect.
 

One of my favourite storage/organisation pieces this year has been a nail polish holder. I love storing my ink blending tools in it for easy access. I mention it in my Craft Room Tour 2017.
 
 
Next on to tools. I have loved the Tonic Easy Clean Mat this year. I like that it is white and that it has a non-slip coating on the back. I also really like the Tonic Spoon - it has so many uses from glitter to embossing powder. The Marvy Jewel Picker has been a big favourite of mine this year too and of course, I had to mention the MISTI tools. Although I didn't buy them this year, I have been using them a lot more so I felt that they needed a mention! I have them in beautiful cases made by my friend Ruth.
 
Last but not least, for embellishments I have loved using the Tonic Nuvo Crystal Glaze and the Rainbow and Ice Cube Jewels from Little Things from Lucy's Cards - so pretty!
 

VIDEO:

You can see them all of my favourites here in the video here:
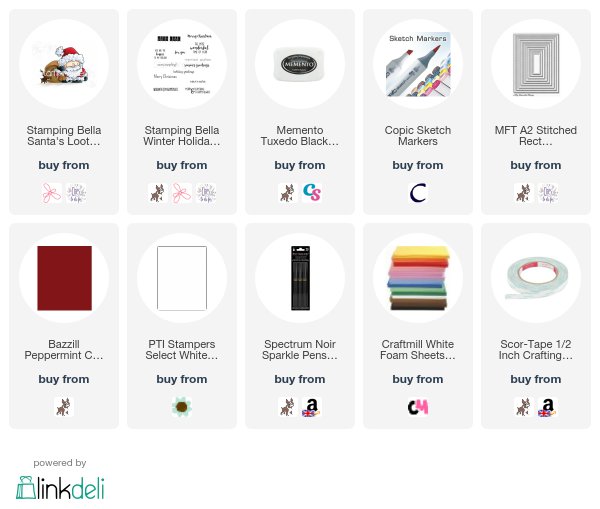
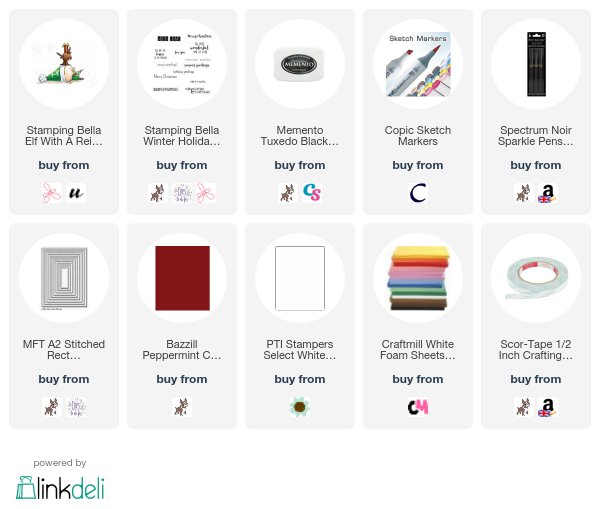
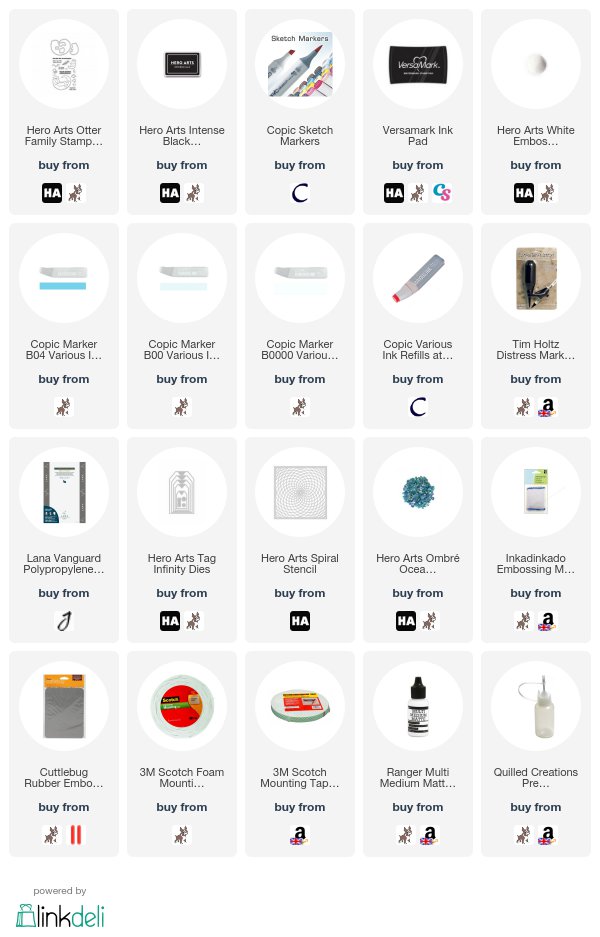
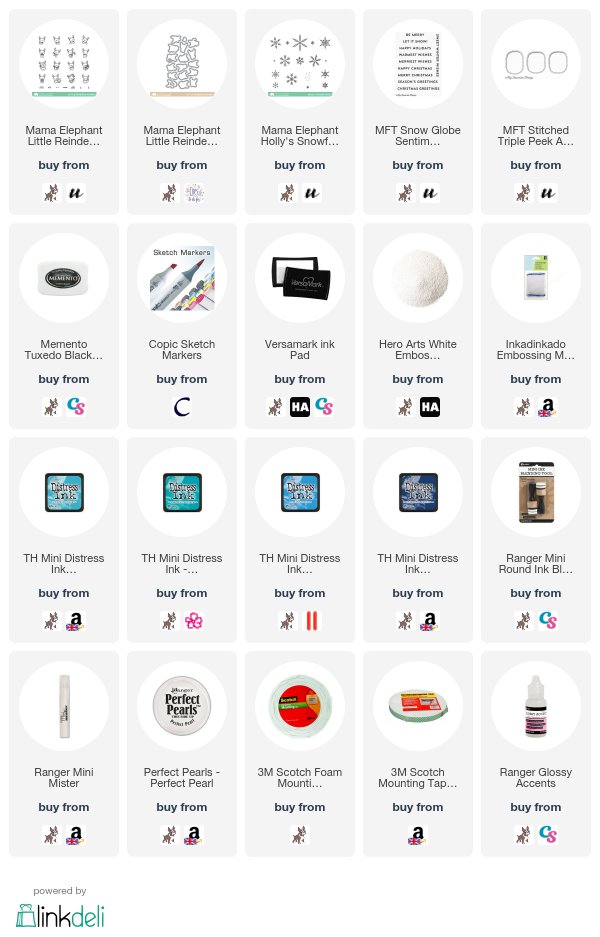
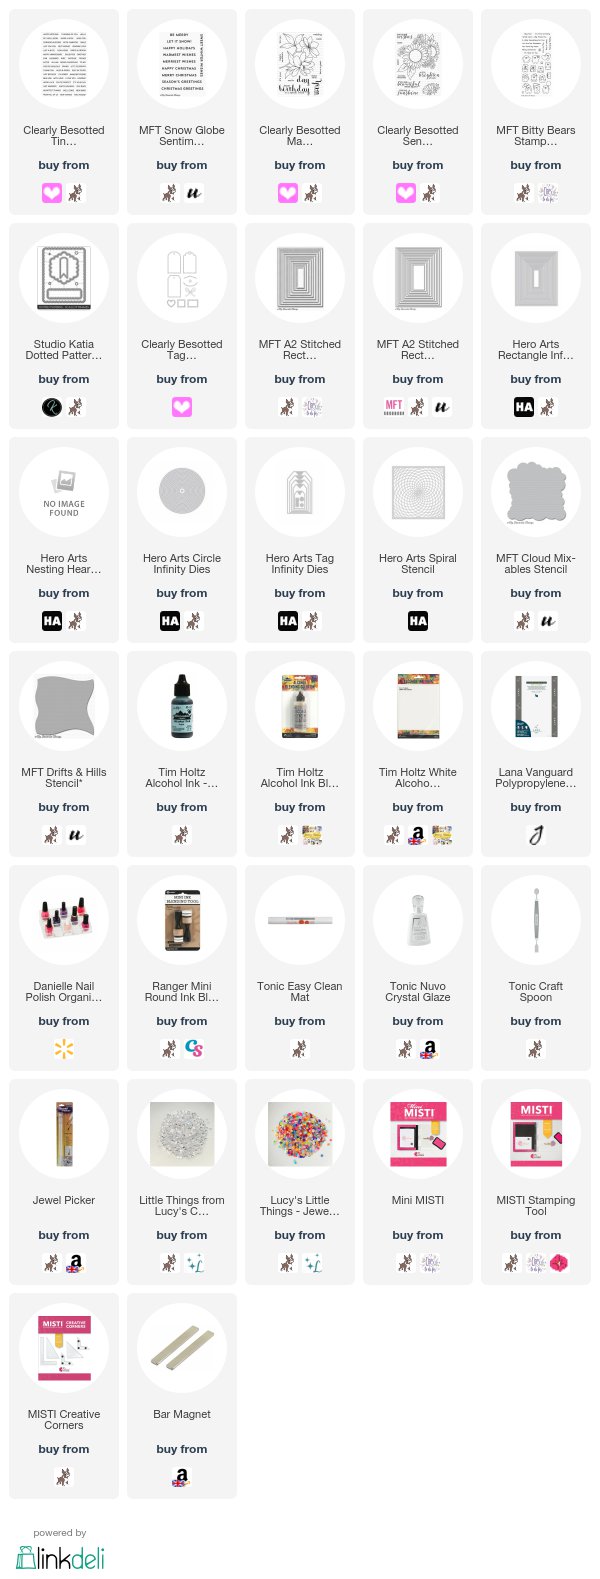


SUPPLIES:

Here are the links to what I shared in the video. Affiliate links are used on some products. This means that if you make a purchase after clicking on my link, I receive a small commission with no extra cost to you. I truly appreciate your support when using these links. Please click on the logo below the product to shop at your favourite store. Products marked with an asterisk (*) were kindly sent to me to use.
 
 
What have your favourites been this year? I would love to hear your thoughts so please leave me comment letting me know. Thanks so much for your support this year. Wishing you all a fantastic 2018.

29 December 2017

My Favourite Cards of 2017

Hello there, since we are almost at the end of 2017, I thought it would be fun to look back at some of my favourite cards of the year. It is always a little tricky picking my favourites, not because I love them all but because I tend to like different cards for different things. I did a lot of colouring this year, which I thoroughly enjoyed, and that focusses a lot in my favourites.
 
Here is a look at them. You can click on the image or the purple butterfly to go to my blog post for that card. There you will find more details on the card and also a list of supplies with links to the products used.
 
 
I hope you have enjoyed looking back at my favourite cards for the year. There were quite a few products that I really wanted to use this year that I didn't get around to, so I am really looking forward to using them next year. I am planning on making more videos in 2018 too. I am really hoping that 2018 will be a great one for me and for all of you reading too. I have really appreciated your support this year. All the comments, the likes on Facebook and Instagram, on You Tube ... I appreciate all of it so much, so thank you from the bottom of my heart. I am hoping to be back in the next two days with a look at my favourite products of the year.

28 December 2017

You're Pawsome!

Hello there, today I have a tag to share using the adorable Puppy Love stamp set from Clearly Besotted. I am also using the fabulous Tag Along Die Set, this set is fabulous as you can mix and match different dies to make some unique tags.
 

I started off by cutting the scallop top tag first from white cardstock, I then took the rectangle piece and die cut this in to the centre to create a window. I cut another whole tag from MFT Itsy Bitsy Polka Dot Pastels Paper Pad and adhered the white tag over the top with tape runner. I also added a white one to the back, to finish the back off nicely.
 
 
I took one of the puppy's from the Puppy Love set and stamped this on to white cardstock with Memento Tuxedo Black Ink. I then coloured him using Copic Markers (colours used listed below the supplies section). I fussy cut him out (there are dies available, I just do not have them yet) and added him to the tag with foam tape. The sentiment was stamped using the same black ink on the bottom right of the tag. I added Crystal Glaze to his nose and then added some twine and a little clothes pin to the top of the tag.
 
SUPPLIES:
Here are the links to what I have used on the card. Affiliate links are used on some products. This means that if you make a purchase after clicking on my link, I receive a small commission with no extra cost to you. I truly appreciate your support when using these links. Please click on the logo below the product to shop at your favourite store. Products marked with an asterisk (*) were kindly sent to me to use.
 
 
COPIC MARKERS - E47, E43, E42, E41.
 
I am not sure whether to keep this as a tag or to add it to a card. For the time being, I like it as a tag :) Thanks so much for visiting me today, I really do appreciate it. I hope you have a wonderful day!

27 December 2017

A Christmas Thank You

Hello there, I am back today to share a card using the gorgeous Hand Drawn Snowflakes Bold Prints. I have some thank you cards to send and I thought this would make a nice background for a Christmas thank you.
 

I started off with a piece of TH watercolour paper. I stamped the Hand Drawn Snowflakes Bold Prints on to it using Versamark Ink. I then applied white embossing powder and heat set. I took three Distress Oxide Inks and blended these over the panel for an embossed resist look. I used Salty Ocean, Peacock Feathers and Cracked Pistachio. I then misted over a little Sparkle Shimmer Spritz and set aside to dry.
 
 
For the sentiment, I took two greetings from the Thank You Messages set and stamped these on to a strip of back cardstock with Versamark Ink. I applied white embossing powder and heat set. I added the snowflake panel to a white A2 card base with tape runner and then added the sentiment strip on top with foam tape. To finish off, I added a few Sparkling Clear sequins.
 
SUPPLIES:
Here are the links to what I have used on the card. Affiliate links are used on some products. This means that if you make a purchase after clicking on my link, I receive a small commission with no extra cost to you. I truly appreciate your support when using these links. Please click on the logo below the product to shop at your favourite store. Products marked with an asterisk (*) were kindly sent to me to use.
 
 
I love those Distress Oxide colours together. By the way, there are not white bits on the black strip in real life, I just forgot to wipe away and dust that had fallen on it before photographing it, because I am clever like that! ;) Thank you so much for visiting me today. I hope you have a fabulous day!

26 December 2017

So Many Snowmen

Hello there, happy Boxing Day! I have one last Christmas card to share with you today. It uses the adorable So Many Snowmen Stamp Set from Mama Elephant.
 

Technically it is not a Christmas card it is a gift voucher card for an electronic gift card code. I thought it would like nice to add it in to a card rather than just give the code on a piece of paper/printed email.
 
 
I simply took a piece of white cardstock and stamped the image on to it using Copic Markers. I coloured all the snowmen first and then added the sky in with shades of blue. I added dots of Copic Colourless Blender to look like snow falling. I added the panel on to a white 4" x 4" card base and then added some Stardust Stickles to a few of the snowman's hats. Simple!
 
SUPPLIES:
Here are the links to what I have used on the card. Affiliate links are used on some products. This means that if you make a purchase after clicking on my link, I receive a small commission with no extra cost to you. I truly appreciate your support when using these links. Please click on the logo below the product to shop at your favourite store. Products marked with an asterisk (*) were kindly sent to me to use.
 
 
COPIC MARKERS: Snowmen - B000, YR15. Aqua - BG15, BG13, BG11. Brown - E57, E55. Black - C8, C6. Red - R89, R37, R24. Blue - B14, B12. Grey - C1. Green - YG17, YG03. Yellow - Y11. Sky - B02, B01, B00, B000, 0.
 
I was debating whether to add a sentiment or not but I decided not to in the end, being a gift card holder, I think it is ok not to have one. I hope you had a wonderful day yesterday, whether you celebrate Christmas or not. I have my brother, sister-in-law and kids round today :) Have a great day!

24 December 2017

A Beary Christmas

Hello there, happy Christmas Eve!  Today I have a card to share that I made for my friend for Christmas using the adorable A Beary Christmas Stamp Set from Mama Elephant.


I started off with a panel of white cardstock cut using the ME Femme Frames die. I then stamped the two bears on to the piece using black ink. The bear to the left was masked off and then the tree stamped so that it looks to be behind the bear. I then made masks for the tree and the other bear too. I took the MFT Drifts & Hills Stencil and used this to mask off the bottom portion of the card and blended over TH Distress Ink in Tumbled Glass above to look like they are standing in snow. The masks were removed and then the images coloured with Copic Markers (the colours used are listed below the supplies section).

 
I took the 'Merry Christmas' sentiment from the MFT Snow Globe Stamp Set and stamped this in the top right hand corner with black ink.  I took a white A2 card base and added patterned paper from the Doodlebug Polar Pals paper pad (sadly discontinued) on to the front with tape runner. The image panel was then added on top with a layer of foam sheet and DST. To finish off, I added Stardust Stickles to the ornaments on the tree and the hat on the bear.


SUPPLIES:

Here are the links to what I have used on the card. Affiliate links are used on some products. This means that if you make a purchase after clicking on my link, I receive a small commission with no extra cost to you. I truly appreciate your support when using these links. Please click on the logo below the product to shop at your favourite store. Products marked with an asterisk (*) were kindly sent to me to use.
 

COPIC MARKERS: Bears - E47, E44, E43, E42, E41. Glow - YR31, YR30. Tree - YG67, YG63, YG61, E57, E55. Round ornaments - B01, B000, V000. Star - YR31, YR30. Tree Trunk - E59, E57, E55. Scarf & hat - V17, V15, V12. Shadow under feet - BG000.

Thank you so much for visiting me today, I really do appreciate it. Wishing everyone a very merry Christmas, and if you do not celebrate it, a wonderful holiday season. I'll be back on Boxing Day!

23 December 2017

Sparkly Snowflake

Hello there, I rarely mass produce cards. The only time I ever do is at Christmas. As much as I would like to make one-off cards for everyone at Christmas, I usually do not have the time sadly. I hope, however, they are no less special to the recipient.
 

My card this year is a very simple one but I actually love the simplicity of it design wise. I die cut the MFT Mesmerizing Mandala Die (which isn't actually a snowflake but I thought it looked like one) from glitter paper. This was adhered to an A2 white card base with Multi Medium Matte glue.
 
 
I took the 'Merry Christmas' sentiment from the MFT Snow Globe Sentiments set and stamped this on to a piece of black cardstock using Versamark Ink. I applied white embossing powder and heat set. I then cut the sentiment out in to a strip using the MFT Stitched Rectangle Word Windows Die. I used the positive of the die so I didn't get the stitching but it was the perfect size for the sentiment. This was added then to the card with foam tape.
 
SUPPLIES:
Here are the links to what I have used on the card. Affiliate links are used on some products. This means that if you make a purchase after clicking on my link, I receive a small commission with no extra cost to you. I truly appreciate your support when using these links. Please click on the logo below the product to shop at your favourite store. Products marked with an asterisk (*) were kindly sent to me to use.
 
 
Sadly I did get as many made this year as I would have liked to. Being ill the last couple of months has really put me back. Hopefully I can make it up to the people I didn't get to send one to during 2018 :) Thank you so much for visiting me today. I hope you have a wonderful weekend. I'll be wrapping presents!

22 December 2017

Picture Book Zebra

Hello there, today I am taking a little break from Christmas cards as Simon Says Stamp kindly sent me the Picture Book Zebra Die from their latest Friends release and I just had to use it asap! It is so very cute!
 

I started off by taking an A2 white card base and cutting a window in to it using the scallop MFT Peek-a-Boo Circle Window die. I then added a piece of acetate to the back of this so that it is stuck to the inside of the front side of the card. I cut the Picture Book Zebra die twice, once from white cardstock and once from black cardstock. The pieces were then assembled on to the acetate using Multi Medium Matte glue.
 
 
I took the 'hi' sentiment from the Tilted Banner Sayings Stamp Set and stamped this on to a piece of black cardstock with Versamark Ink. I applied white embossing powder and heat set. This was cut in to a strip and added to the acetate with Kool Tac (clear foam adhesive).
 
 
I added a piece of MFT Itsy Bitsy Polka Dot Pastels paper to the inside of the card so that it can be seen through the window in the front. I then added a piece of white cardstock to the inside front piece to hide the adhesive showing from adding the zebra and the acetate. To finish off, I added Ebony Black Nuvo Crystal Drops to his eyes.
 
SUPPLIES:
Here are the links to what I have used on the card. Affiliate links are used on some products. This means that if you make a purchase after clicking on my link, I receive a small commission with no extra cost to you. I truly appreciate your support when using these links. Please click on the logo below the product to shop at your favourite store. Products marked with an asterisk (*) were kindly sent to me to use.
 
 
I must get my hands on some more of these picture book dies, they are absolutely adorable! Thanks so much for visiting me today. I hope you have a great day!

21 December 2017

The Littles Christmas

Hello there, today I have two cards to share using two stamps from Stamping Bella. I just love their Christmas images and couldn't resist The Littles Christmas Collection - so cute! My first card uses the Santa's Loot Stamp.


I started off by taking a piece of cardstock that was cut using one of the MFT A2 Stitched Rectangles dies and stamping the image on to this at the top. I then stamped the 'Merry Christmas' sentiment from the Winter Holiday Sentiments set below it. The image was coloured using Copic Markers (the colours used are listed below in the supplies section).
 

The panel was simply adhered to a red A2 card base with foam sheet and DST. To finish off, I added a little SN Sparkle Pen to the white parts of Santa's outfit.


SUPPLIES:

Here are the links to what I have used on the card. Affiliate links are used on some products. This means that if you make a purchase after clicking on my link, I receive a small commission with no extra cost to you. I truly appreciate your support when using these links. Please click on the logo below the product to shop at your favourite store. Products marked with an asterisk (*) were kindly sent to me to use.


COPIC MARKERS: Santa - E13, E11, E00, E000, W3, W1, W00, R89, R37, R29, R27, R24, C10, C8, C6, C5, C3, C1, C0. Bag - E57, E55. Reindeer - E47, E44, E43, E42, E41. Ground - W3, W1, W0.


My next card uses the super cute Elf With A Reindeer On Top Stamp. I used the same products as the above card and stamped the image on to the cardstock panel, along with the same sentiment. The image was also coloured using Copic Markers.


The panel was added to a red A2 card base with foam sheet and DST and then I again, added SN Sparkle Pen to parts of the image.
 

SUPPLIES:

Here are the links to what I have used on the card. Affiliate links are used on some products. This means that if you make a purchase after clicking on my link, I receive a small commission with no extra cost to you. I truly appreciate your support when using these links. Please click on the logo below the product to shop at your favourite store. Products marked with an asterisk (*) were kindly sent to me to use.
 
 
COPIC MARKERS: Elf - E13, E11, E00, E000, R20, YG23, YG03, YG01, C4, C2, C0, R89, R37, R24. Reindeer - E44, E43, E42, E41. Present - R89, R37, R24, YG23, YG03, YG01. Ground - W3, W1, W0.
 
I do apologise that the photos are so rubbish. The lighting here is pretty bad at the moment. It was rather a rush getting the cards sent off to the recipients too! Thanks so much for stopping by to visiting me today. I hope you are having a wonderful week!

20 December 2017

Otterly Amazing

Hello there, today I am over on the Hero Arts Blog sharing a card made using the new Otter Family Stamp & Cut. It is such a cute set and I thought one of the otters would look cute swimming in an alcohol ink background (made using Copic Refills on Yupo paper).
 
 
SUPPLIES:
Here are the links to what I have used on the card. Affiliate links are used on some products. This means that if you make a purchase after clicking on my link, I receive a small commission with no extra cost to you. I truly appreciate your support when using these links. Please click on the logo below the product to shop at your favourite store. Products marked with an asterisk (*) were kindly sent to me to use.
 
 
For more details on how I made the card, please head over to the blog post. Thanks so much for visiting me today. I hope you have a lovely day!

19 December 2017

Little Reindeer

Hello there, today I am back to share another Christmas card with you. This one uses the adorable Little Reindeer Agenda stamps from Mama Elephant. I thought they fitted perfectly in the MFT stitched windows.
 

I started off by stamping ME Holly's Snowflakes on to a piece of watercolour paper using Versamark Ink. I then applied white embossing powder and heat set. I blended over Distress Inks in Broken China, Salty Ocean, Peacock Feathers and Chipped Sapphire. The misted the piece with a solution of Perfect Pearls and water and set aside to dry. I took three of the reindeers from the Little Reindeer Agenda set and stamped these on to white cardstock with black ink. I coloured them using Copic Markers and then die cut them with the coordinating dies.
 
 
I took a panel of white cardstock and cut the MFT Stitched Triple Peek A Boo Window die in to the top centre. I then took the 'Merry Christmas' sentiment from the MFT Snow Globe Sentiments set and stamped this on the panel under the windows. The background piece was added to a white A2 card base and then the window piece was added on top using foam tape. The reindeers were also added using foam tape. To finish off, I added a little Glossy Accents to Rudolph's nose.
 
SUPPLIES:
Here are the links to what I have used on the card. Affiliate links are used on some products. This means that if you make a purchase after clicking on my link, I receive a small commission with no extra cost to you. I truly appreciate your support when using these links. Please click on the logo below the product to shop at your favourite store. Products marked with an asterisk (*) were kindly sent to me to use.
 
 
COPIC MARKERS - E57, E55, E53, R89, R37, R24, C2.
 
How are you all doing for Christmas? I have all my presents bought, although none of them are wrapped yet. As you can see, I am still making Christmas cards so I will be sharing those over here in the next few days. I hope you are all doing well. I wanted to say a huge thank to everyone that has left me such lovely get well comments over the last two months. I am still struggling a bit health wise but I am doing so much better than I was, thank you! :)

18 December 2017

Snow Globe Bears

Hello there, you would think that by now I would have finished making Christmas cards wouldn't you? Well no, I am still making them. In fact, I only started last week! (that's one of the bad things about being unwell during this time of year). This is the card that I made for my mum. I really love the look of the MFT Snow Globe and I thought the Bitty Bears would look adorable inside.
 

I started off with a piece of Bristol cardstock that was cut using the second largest die in the A2 Stitched Rectangles Set 1 Dies. I lightly applied Tumbled Glass Distress Ink and then spritzed with a little water. Once dry, I cut the Snow Globe die from it. I then cut some snow banks using the Snow Drifts dies and cut these in to the snow globe piece too, so that it created one entire scene across the card and in the snow globe.
 
 
I took the Bitty Bears and stamped these on to white cardstock and coloured them using Copic Markers. I then fussy cut them out with scissors. I took the Scenic Snow Globe Die and cut this from white cardstock. I took the trees and coloured with Copic Markers. I took the snow globe panel and adhered this to the centre of a grey card base. I then assembled my scene that will be inside the snow globe. I added in some Diamond Dust and then added the Dome Shaker Pouch on top with Scor Tape.
 
 
I took the original panel that the snow globe was cut out of and added this on to to the card base around the snow globe portion, I also added the snow banks back in. I stamped the sentiment from the Snow Globe Sentiments set on to more grey cardstock and then cut this out with the bottom portion of the Snow Globe Die. This was then added to the card with foam tape.
 
SUPPLIES:
Here are the links to what I have used on the card. Affiliate links are used on some products. This means that if you make a purchase after clicking on my link, I receive a small commission with no extra cost to you. I truly appreciate your support when using these links. Please click on the logo below the product to shop at your favourite store. Products marked with an asterisk (*) were kindly sent to me to use.
 
 
COPIC MARKERS: Bears - E59, E57, E55, R89, R37, R24, V17, V15, V12. Trees - YG17, YG23, YG03.
 
I really like how this card came out and I love those shaker pouches! I must remember to use them again. Thanks so much for visiting me today. I hope you have a great day!

14 December 2017

Hero Arts 2018 Valentine's Release Blog Hop + Giveaway

Hello there, today we are celebrating the release of the 2018 Valentine's Collection from Hero Arts. You can purchase the new products in the Hero Arts shop today, as well as from your favourite retailers. Well of course, we had to have a blog hop to celebrate! If you are following along in the hop, you should have arrived from the fabulous Ilina but if you get lost along the way, I have the full list of participants below.
 
 
I generally do not have a need to send out Valentine's Day cards. I am not sure it is celebrated to same the same extent here in the UK compared to other countries. Generally, you would just send a card to your partner/husband/wife/significant other so I thought I would try and use the stamps for different occasions.
 

For my first card, I thought I would make an anniversary card. I used the beautiful new Loving Swans stamp (wood mounted) and stamped it using Intense Black Ink on to a panel of white cardstock. The image was then coloured using Copic Markers, adding a little light blue-green behind the swans for a background. The panel was adhered to a light grey card base with foam sheet and DST.
 
 
I took the 'happy anniversary' sentiment from the Many Everyday Messages set and stamped this using Versamark Ink on to black cardstock. I applied white embossing powder and heat set. This was then cut in to a strip and added to the card with foam tape. To finish off, I added a little sparkle pen to the water lilies and Ebony Black Nuvo Drops to the swan's eyes.
 
SUPPLIES:

Here are the links to what I have used on the card. Affiliate links are used on some products. This means that if you make a purchase after clicking on my link, I receive a small commission with no extra cost to you. I truly appreciate your support when using these links. Please click on the logo below the product to shop at your favourite store. Products marked with an asterisk (*) were kindly sent to me to use.
 
 
COPIC MARKERS: Swans - C8, C6, C5, C3, C2, C1, C0, YR31, YR30. Water Lilies - YG43, YG40, R85, R83, R81. Water - B01, B00, B000, B0000. Sky/background - BG000, BG0000, 0.
 
My next card uses two new sets to create a funny/silly masculine card. I think this card could be used all year round to send to a friend or loved one, or of course, for Valentine's Day!
 

I started off by taking a panel of Cerulean paper from the Sea Mix Layering Papers collection and cut this using one of the Rectangle Infinity Dies. I then took the pizza image from the We Go Together Stamp Set and stamped this repeatedly over the panel using Versamark Ink. I applied Sparkle Embossing Powder and heat set. I then took Pool Ink and using blending tool, blended ink all over the piece. This ink resists the embossing and shows the colour of the cardstock underneath. For some added depth, I used a little Black Hero Hues ink around the edges.
 
 
I took the sentiment from the I Love You More Than Pizza Stamp Set and stamped this using Versamark Ink on to a piece of vellum. I added white embossing powder and heat set. I then adhered this to another piece of vellum using Stick It adhesive and then added another layer of Stick It on to the back. This was then cut out using a Hearts Infinity Die. I wanted to layer up the vellum to make it a little ore opaque and using Stick It means the adhesive does not show through as it covers the entire piece. This was added to the panel and the side of the heart cut off. The panel was adhered to a black card base with foam tape. To finish off, I added black pearls around the sentiment.


SUPPLIES:

Here are the links to what I have used on the card. Affiliate links are used on some products. This means that if you make a purchase after clicking on my link, I receive a small commission with no extra cost to you. I truly appreciate your support when using these links. Please click on the logo below the product to shop at your favourite store. Products marked with an asterisk (*) were kindly sent to me to use.


VALENTINE’S RELEASE:


Here is a look at the entire new release:
 
 
BLOG HOP:

Here is the full list of participants in the hop today:
 
Michelle Short - you are here!
 
GIVEAWAY:

Hero Arts are giving away three $25 shopping sprees, drawn from the comments left across all blogs in the hop. The more you comment, the more chances you have of wining. Comments close Thursday 21st December at 11.59pm PT and the winners will be announced on the Hero Arts blog the following week. Good luck!
 
Next on the hop is the fabulous Clare. Thanks so much for visiting me today, I hope you have a great rest of the day!
End of code