Hello there, I am delighted to be over on the My Favorite Things YouTube Channel today, sharing a card using the Micest Friend set from the December 2023 release.
PLEASE NOTE: This post contains affiliate links. Please see below for my full disclosure.
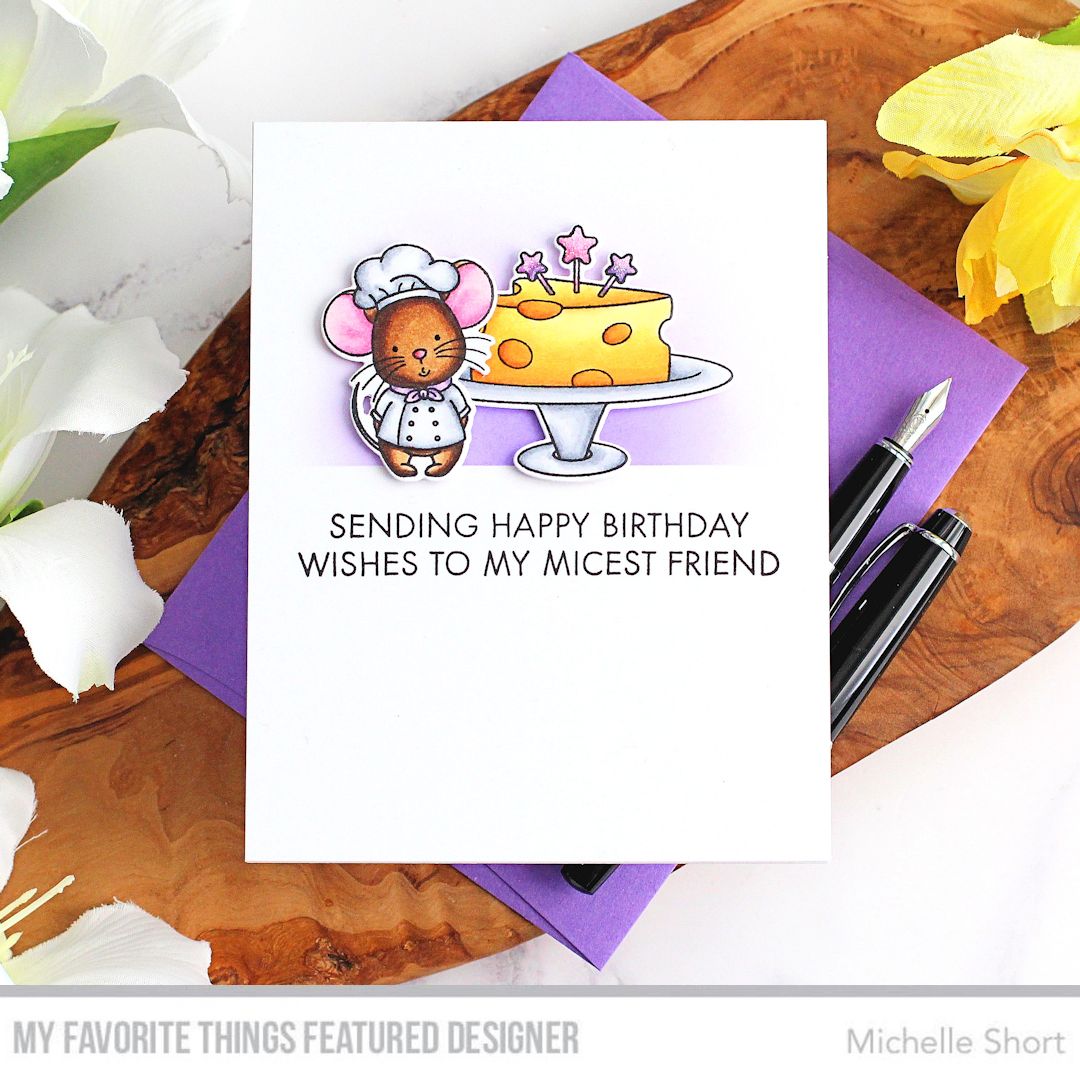
I started off my card by stamping the mouse and cake/cheese from the MFT YUZU Micest Friend Stamp Set onto white cardstock using black ink. I coloured them using Copic Markers (the colours that I used are listed below the supplies list) and then die cut them out using the MFT YUZU Micest Friend Die-namics.

I took a panel of white cardstock and using the images as a guide for placement, stamped the sentiment from the set on top using Versafine Clair Nocturne Ink. I then added memo tape above the sentiment to mask off the 'ground'.

I added ink blending above using Tim Holtz Wilted Violet Distress Ink. I removed the tape and adhered the panel to a US A2 sized white card base with tape runner adhesive. I then adhered the images with foam tape. To finish off, I added black glaze pen to the mouse's eyes and clear glaze pen to his nose. I also added Nuvo Glitter Drops in White Blizzard to the stars on the cake.
VIDEO:
Here is the video showing how I made the card:
If you are viewing this blog post via email subscription, you can watch the video HERE on YouTube.
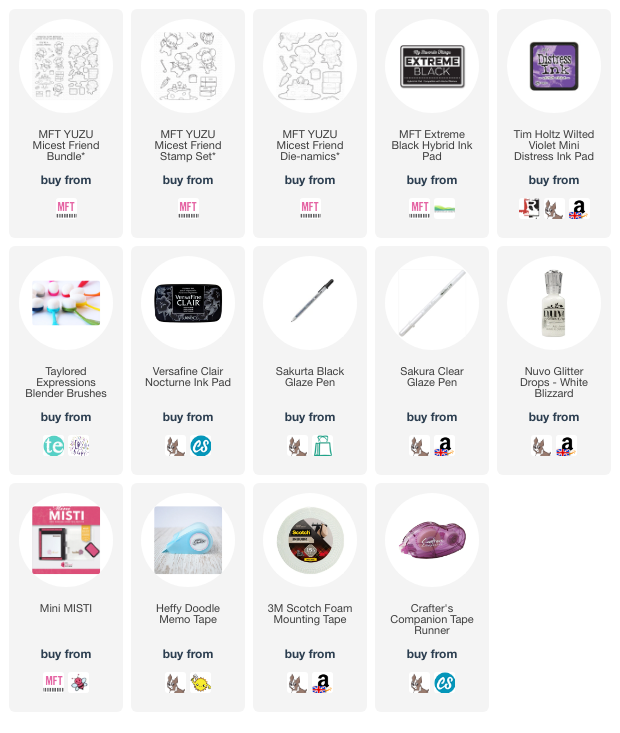
SUPPLIES:
Here are the links to what I have used on the project. Affiliate links are used on some products. This means that if you make a purchase after clicking on my link, I receive a small commission with no extra cost to you. I truly appreciate your support when using these links. Please click on the logo below the product to shop at your favourite store. All products were personally purchased except those from Clearly Besotted, Hero Arts or those marked with an asterisk (*) which were kindly sent to me to use. You can read my full disclosure here.
COPIC MARKERS: Mouse - E49, E59, E57, E55/RV55, RV52, RV00. Chef's hat and jacket - C5, C3, C0. Neck tie - V17, V15, V12. Cake/cheese - YR27, Y17, Y15, Y13, Y11. Platter - C5, C3, C2, C1, C0. Stars - RV55, RV52/V17, V15, V12.
This set is so cute! There are lots of mice in it, so you can create big scenes if you wanted to but I kept mine simple today. Thank you so much for stopping by, I really do appreciate it. I hope you have a wonderful day!