31 July 2021

Sunny Studio | Birthday Cupcake & Cactus

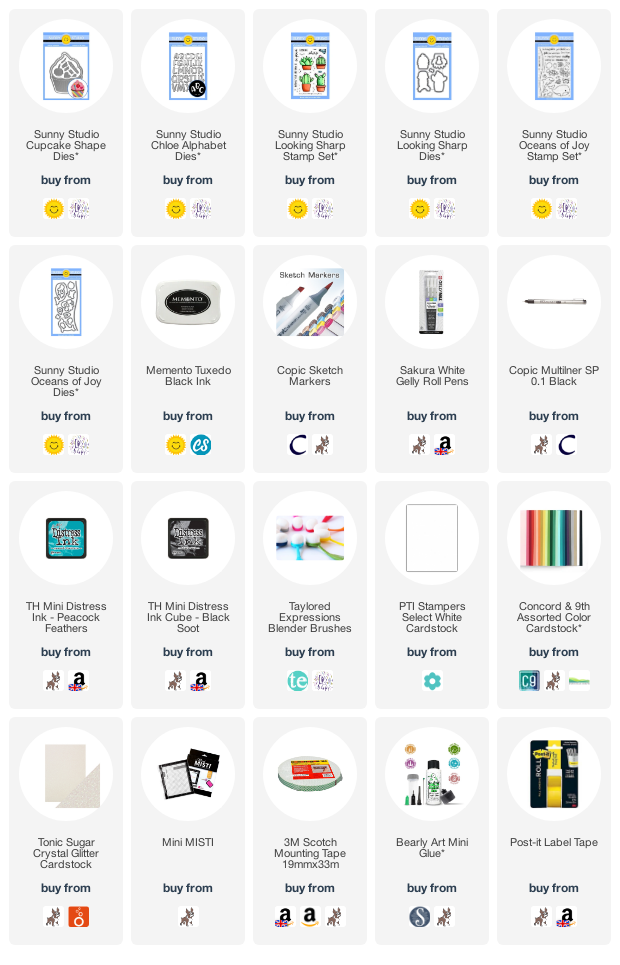
Hello there, I am delighted to be back guesting over on the Sunny Studio Blog today. When I saw the latest release, I fell in love with everything! What an amazing release! I had to narrow down what I wanted to use, so for today’s cards, I am using the fabulous Cupcake Shape Dies, Chloe Alphabet Dies and Looking Sharp. Perfect for Birthday cards, which is what I am sharing with you today.


My first card uses the fabulous Sunny Studio Cupcake Shape Dies. I started off my card by die cutting the cupcake base card twice from white cardstock, as well as the frosting, candle and sprinkles. I then cut the cake and the cupcake wrapper from a kraft cardstock. Using Copic Markers, I coloured the elements to add texture, depth and shading (the colours that I used are listed below the supplies area). I also added highlights with a white gel pen.
 

Although you can adhere the elements directly to the cupcake card base (or leave it off, if you want to add the cupcake to a traditional card base), I decided to piece the elements together first and add tape to the back to hold them in place. I then added foam tape and adhered the pieces, as one, to the cupcake card base. I took the back portion of the card base and made a score line a quarter of the way down. I adhered this piece to the back of the front base, so that the card can stand up and open easily.
 

I took the sentiment from the Sunny Studio Looking Sharp  Stamp Set, masked it off so that only ‘birthday’ would stamp and stamped it on to white cardstock with black ink. I coloured the piece with a matching Copic Marker (V12) that I used on the cupcake and cut it in to a strip. It was added to the card with foam tape. I took the Sunny Studio Chloe Alphabet Dies and cut them from white cardstock, as well as Tonic Crystal Glitter Cardstock. The letters for ‘wishes’ were layered up so that the glitter letter was adhered to the white cardstock one (for extra dimension) and then added them to the card. 
 

My next card uses the Sunny Looking Sharp Stamp Set. This is another really fun set! I love that the set has faces that you can stamp on to the cacti. You can stamp them on the cactus themselves, on to the pots like I have or not at all. So versatile! I started off my card by stamping three of the cacti on to white cardstock with black ink. I also stamped the party hat and bow.


They were coloured with Copic Markers and die cut out using the Sunny Studio Looking Sharp Dies. I set them aside while I worked on my background. I took an A2 white card base and masked off the edges. Using ink blending brushes, I blended on Tim Holtz Black Soot Distress Ink at the bottom and Peacock Feathers at the top. I removed the masks and then stamped the sentiment from the set at the top, using more black ink.
 
 
The cacti were adhered with foam tape at the bottom. I felt like the scene was missing something, so I took the balloon image from the Sunny Studios Oceans of Joy Stamp Set and stamped, coloured and die cut it. I drew a line from the cactus with a Copic Multiliner and then adhered the balloon on top with foam tape. To finish off, I added white gel pen highlights.
 

SUPPLIES:


Here are the links to what I have used on the project. Affiliate links are used on some products. This means that if you make a purchase after clicking on my link, I receive a small commission with no extra cost to you. I truly appreciate your support when using these links. Please click on the logo below the product to shop at your favourite store. All products were personally purchased except those from Clearly Besotted, Hero Arts or those marked with an asterisk (*) which were kindly sent to me to use. You can read my full disclosure here.


COPIC MARKERS: Cupcake wrapper - E59, E57, E55, E53, E51. Cupcake cake - E59, E57, E55. Cupcake frosting - V12, V01, V000, V0000. Sprinkles - V17, V15. Candle - V17, V15, V12, Y17, Y15, Y11. Left hand side cactus - G28, YG17, YG25, YG03, YG01, V17, V15, V12. Middle cactus - G28, YG67, YG63, G82. Right cactus - G28, G17, G09, YG09, YG07, YG01, V17, V15, V12. Pots & party hat - BG49, BG15, BG13, BG11. Balloon - V17, V15, V12. 

That cupcake frosting looks so yummy ... good enough to eat! ;) Although I coloured mine with markers, I think it would look great ink blended or cut from patterned paper too. This die does fit in to a an A2 sized envelope, as long as you place the candle low enough down. For more inspiration using the sets, please head over to the Sunny Studio Blog. Thank you so much for stopping by today, I really do appreciate it. I hope you have a wonderful weekend! 

29 July 2021

Spellbinders | Dancin' Gnome

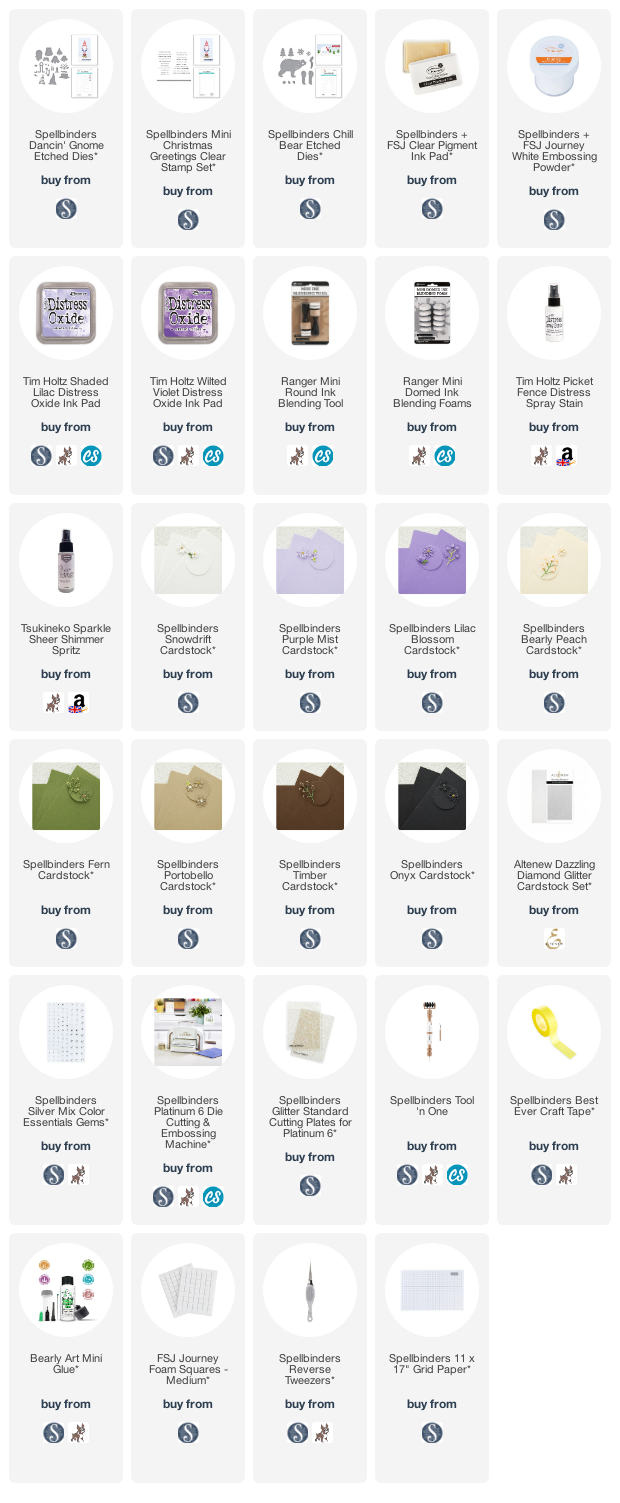
Hello there, I am back today to share anther card using the Be Merry Collection from Spellbinders. If you didn't see my first card using the collection, you can see it here. Today I am using the super cute Dancin' Gnome set. The legs of the gnome are made so that if you want to, they can move so it looks like he is dancing. I didn't do that on my card but it is a great feature and wanted to mention it! 

I started off my card by creating the background. I took a panel of white cardstock and blended Tim Holtz Distress Oxide Inks on to it. I used Shaded Lilac at the bottom and Wilted Violet at the top. I then spritzed on Tim Holtz Picket Fence Distress Spray Stain, followed by Sparkle Sheer Shimmer Sptitz and set the panel aside to dry. I took the Spellbinders Dancin' Gnome Etched Dies and die cut them from Spellbinders cardstock. I used Snowdrift for the gnome's moustache, beard and legs.

I used Bearly Peach for his nose and hands, Purple Mist for his hat and legs/tights and Lilac Blossom for his body, arms and shoes. All the pieces were assembled with Bearly Art Glue. I also die cut the tree that comes in the set from Fern, with Snowdrift for the snow and Timber for the trunk. As well as Timber and Portobello for the tree stump for the gnome to stand on. I adhered the background panel to an A2 white card base with tape runner. I then cut a snowbank to add at the bottom. 

I popped the tree behind it and added the tree stump on top with Bearly Art Glue. I then added the gnome with foam squares. I took the snowflake from the Spellbinders Chill Bear Etched Dies set and cut it from Altenew Glitter Cardstock. It was added to the gnome's hat. I took the sentiment from the Spellbinders Mini Christmas Greetings Stamp Set and heat embossed it on to black cardstock with white embossing powder. It was cut it to a strip with the die and added to the card with thin foam tape. To finish of, I added a Spellbinders Silver Mix Color Essentials Gem to the centre of the snowflake. 

SUPPLIES:


Here are the links to what I have used on the project. Affiliate links are used on some products. This means that if you make a purchase after clicking on my link, I receive a small commission with no extra cost to you. I truly appreciate your support when using these links. Please click on the logo below the product to shop at your favourite store. All products were personally purchased except those from Clearly Besotted, Hero Arts or those marked with an asterisk (*) which were kindly sent to me to use. You can read my full disclosure here.


Although the set is called Dancin' Gnome. I actually think he might be a gonk? I think gnomes have a face but gonks don't? Either way, I think he is super cute! Thank you so much for stopping by to see me today. I really do appreciate it. I hope you are well and still staying safe. Take care! 

28 July 2021

Hero Arts | Decorate a Unicorn Cake!

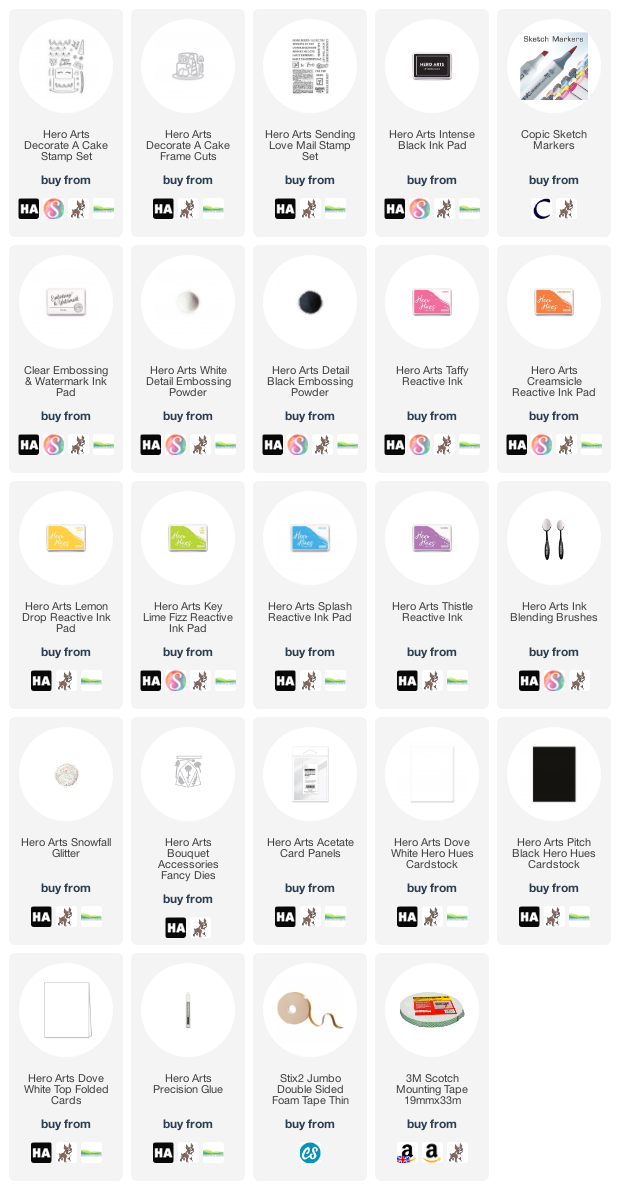
Hello there, I am over on the Hero Arts Blog today, sharing a card using the Decorate A Cake set for a shaker card. I thought it would work really well for the current Stay Crafty With Hero Challenge which is to make an interactive card. 


I started off by stamping the cake from the Decorate A Cake set on to a panel of white cardstock. I die cut it out out with the coordinating dies and then used both pieces for the card. I ink blended the cake with Reactive Inks in rainbow colours and fussy cut it out with scissors (so there was no border). I then used the cut out panel as a guide to adhered the cake on to the front of a card base. 


I stamped and heat embossed the unicorns eyes on to an Acetate Card Panel and then added this to the back of the window panel. I added foam tape to the back and then before adhering it to the card, I added Snowfall Glitter on top of the cake. I then decorated the cake with the ears, horn and flowers. The sentiment was heat embossed from the Sending Love Mail set. 

SUPPLIES:


Here are the links to what I have used on the project. Affiliate links are used on some products. This means that if you make a purchase after clicking on my link, I receive a small commission with no extra cost to you. I truly appreciate your support when using these links. Please click on the logo below the product to shop at your favourite store. All products were personally purchased except those from Clearly Besotted, Hero Arts or those marked with an asterisk (*) which were kindly sent to me to use. You can read my full disclosure here.


For more details on how I made the card, please head over to the Hero Arts Blog. Thanks so much for stopping by today. I hope you are well. Take care!

26 July 2021

Spellbinders | Be Merry Chill Bear

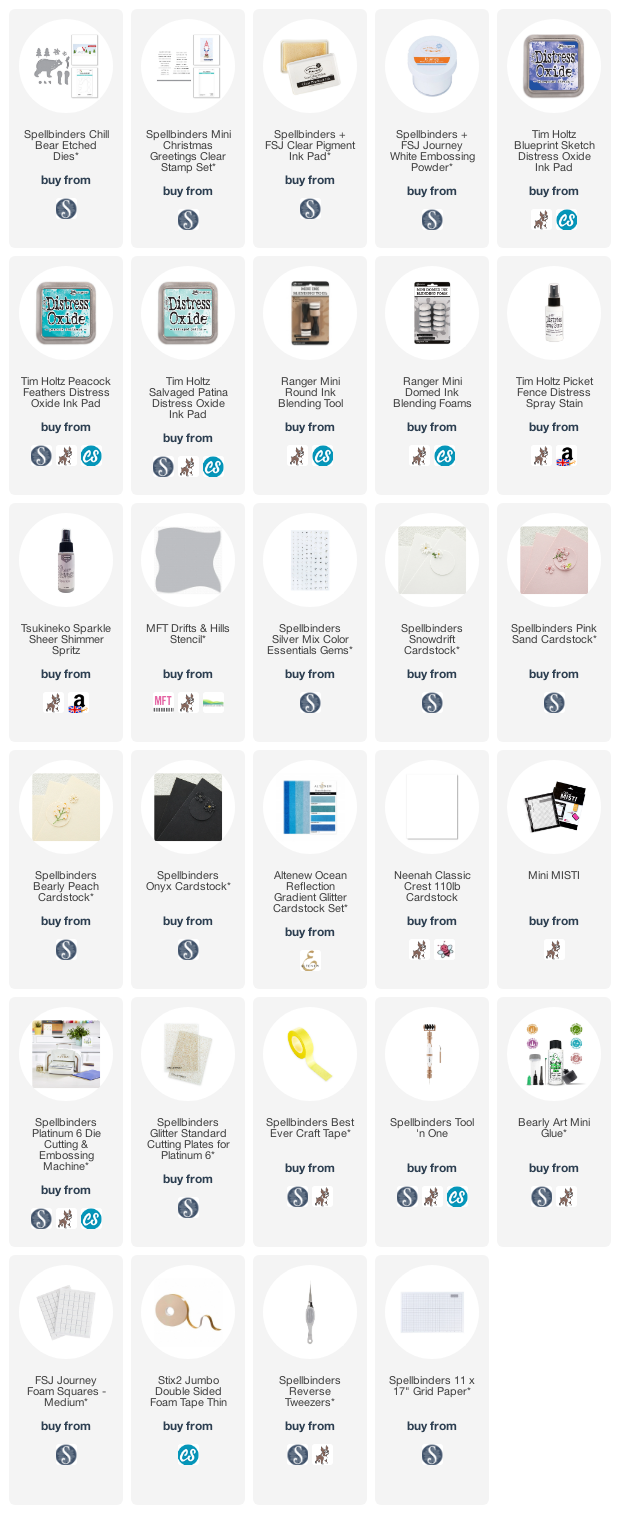
Hello there, today I have a card to share with you using the new Chill Bear set from the Spellbinders Be Merry Collection. Spellbinders have released lots of new Christmas/holiday collections and so I have lots of cards to share with you over the next few months. I thought I would start with this one as it is so cute!


I started off by creating the background as I knew that it would take some time to dry. I took a panel of white cardstock and placed the MFT Drifts & Hills Stencil towards the bottom, securing in place with Spellbinders Best Ever Craft Tape. Using Ink Blending Tools, I blended on Distress Oxide Inks in Blueprint Sketch, Peacock Feathers and Salvaged Patina. With the stencil still in place, I sprayed on Tim Holtz Picket Fence Spray Stain, followed by Sparkle Sheet Shimmer Spritz. 


I removed the stencil and set the panel aside to dry. Whilst it was drying I die cut and assembled my bear. I took the Spellbinders Chill Bear Etched Dies and cut the body and leg from Spellbinders Snowdrift Cardstock, the muzzle from Spellbinders Bearly Peach Cardstock, the cheek and inside ear from Spellbinders Pink Sand Cardstock and the eye and nose from Spellbinders Onyx Cardstock. The pieces were assembled with Bearly Art Glue. I then cut his scarf from Altenew Ocean Reflection Glitter Cardstock and adhered that on top. 


The background panel was adhered to an A2 white card base with thin foam tape. I then added the bear on top with Foam Squares. I took two sentiments from the new Spellbinders Mini Christmas Greetings Stamp Set (also from the Be Merry Collection) and stamped them on to Spellbinders Onyx Cardstock with FSJ Clear Pigment Ink. I applied FSJ White Embossing Powder and heat set. They were cut out using the die that comes with the stamp set and added to the card with foam tape. To finish of, I added a few Spellbinders Silver Mix Color Essentials Gems

SUPPLIES:


Here are the links to what I have used on the project. Affiliate links are used on some products. This means that if you make a purchase after clicking on my link, I receive a small commission with no extra cost to you. I truly appreciate your support when using these links. Please click on the logo below the product to shop at your favourite store. All products were personally purchased except those from Clearly Besotted, Hero Arts or those marked with an asterisk (*) which were kindly sent to me to use. You can read my full disclosure here.


I think this bear is so cute! The set also has some lovely tree and snowflake dies in it. I didn't use them today, but the snowflakes especially are really pretty! Thank you so much for stopping by to see me today. I really do appreciate it. I hope you have a wonderful day and a great week ahead!

22 July 2021

VIDEO | Clearly Besotted July & August Release Preview

*This is my second post of the day, please see below for my Simon Says Stamp post*

Hello there and happy Clearly Besotted release day to you! As mentioned earlier in the week, there were manufacturing delays with the stamps. So instead of just delaying the July release, we thought we would combine the July and August releases for one bumper release! There are 12 stamp sets releasing today at 8pm BST. 


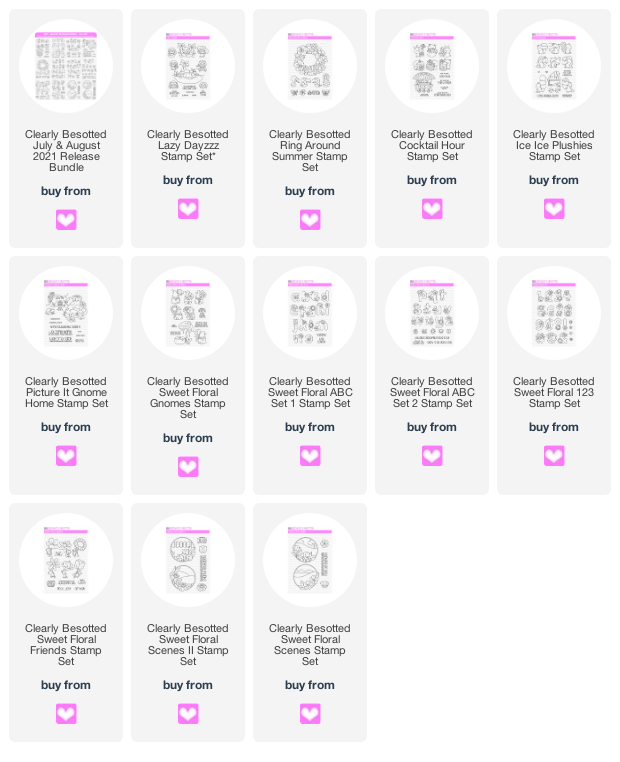
The sets can be purchased separately, or as a bundle (bundle exclusive to Clearly Besotted). The sets can be purchased from the Clearly Besotted Shop (UK based), Simon Says Stamp (US based), Card Nouveau (based in Belgium), ArtCreatiu (based in Spain) and Cloud9 Crafts (based in the Netherlands). The sets release at 8pm BST tonight. Here is a look at all of the sets, plus a recap of the samples that I made:


If you are viewing this post via email subscription, you can watch the video HERE on YouTube. 

SUPPLIES:


Here are the links to what I have used on the project. Affiliate links are used on some products. This means that if you make a purchase after clicking on my link, I receive a small commission with no extra cost to you. I truly appreciate your support when using these links. Please click on the logo below the product to shop at your favourite store. All products were personally purchased except those from Clearly Besotted, Hero Arts or those marked with an asterisk (*) which were kindly sent to me to use. You can read my full disclosure here.


Since the release is so big (yay!) and there was a delay with us receiving them, I unfortunately didn't get a chance to play with a lot of them for the teasers. I do plan on sharing more cards later in the month, as well as next month too using some of the other sets that I didn't get to play with. For more inspiration, please head over to the Clearly Besotted Blog, Keren and Lisa and our wonderful guests this month Alberto, Francine and Mona. I hope you have enjoyed seeing my teasers over the last few days and happy shopping if you shop the release! Take care! 

Simon Says Stamp | Silhouette Sentiments

Hello there, today I have two cards to share with you using the new Simon Says Stamp + CZ Design Silhouette Sentiments set from the new Make Magic release, which is out today. This is such a beautiful set with lots of different sentiments and a wonderful floral silhouette stamp, as well as butterflies. 


I wanted to use Distress Oxide inks for my cards today, as they give a lovely chalky finish and blend beautifully. The downside to them, is that if you stamp on top of them, the ink also has a chalky appearance. I did know this going in and was in two minds as to whether to use the oxides or regular distress but in the end did opt for the oxides. I didn't get a perfect impression with the black ink but it does look better in real-life vs. in the photo's! 


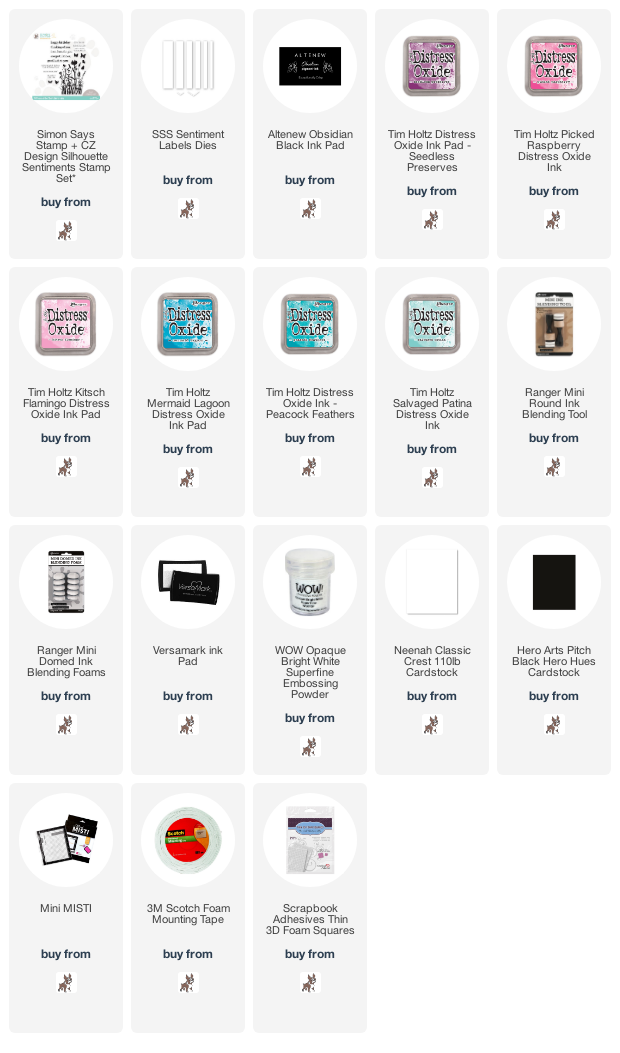
I started off by taking panels of white cardstock and blending Tim Holtz Distress Oxide Ink on top with blending tools. I used Seedless Preserves, Picked Raspberry and Kitsch Flamingo for one and Mermaid Lagoon, Peacock Feathers and Salvaged Patina for the second. I left them to dry for a little bit and then placed them in my Mini MISTI for stamping. 


I took the floral silhouette and two butterflies from the Simon Says Stamp + CZ Design Silhouette Sentiments Stamp Set and stamped them on to the panels using Altenew Obsidian Black Ink. I did stamp them three times each on to the panels and then let them sit to dry. I purposefully let the images overhand the panels slightly on either side. 


Keeping the images in place in the MISTI, I then stamped two A2 white card bases with the same images to complete the stamping on the flower on the right and the butterfly on the left. These were then left to dry again before the ink blended on top with foam tape. 


I took two of the sentiments from the set and stamped them on to black cardstock with Versamark Ink. I applied white embossing powder and heat set. They were cut in to a strips using the Simon Says Stamp Sentiment Labels Dies and added to the card with thin foam squares. 

SUPPLIES:


Here are the links to what I have used on the project. Affiliate links are used on some products. This means that if you make a purchase after clicking on my link, I receive a small commission with no extra cost to you. I truly appreciate your support when using these links. Please click on the logo below the product to shop at your favourite store. All products were personally purchased except those from Clearly Besotted, Hero Arts or those marked with an asterisk (*) which were kindly sent to me to use. You can read my full disclosure here.


These images would look really pretty heat embossed with ink blending too but I do like the bold black silhouettes with the bright colourful backgrounds. I hope you will check out the rest of the release. I will be back later with my Clearly Besotted release reveal but until then, I hope you have a wonderful day! 

21 July 2021

Clearly Besotted Teasers | You're Sweet

Hello there and welcome to day four of the Clearly Besotted July & August 2021 Teasers. Release day is tomorrow but I have one last teaser to share with you today. Today I am using the new Ice Ice Plushies set. Another really fun, summery set that features critters eating ice creams/ice lollies. 


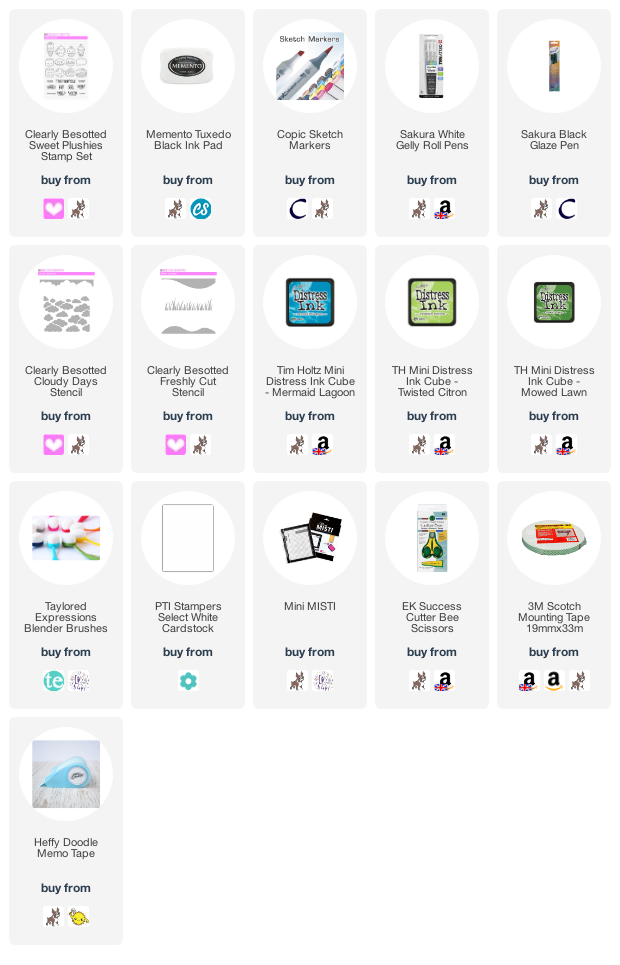
I started off my card by stamping the fox with the watermelon ice lolly and the ice cream stand/truck from the Clearly Besotted Ice Ice Plushies Stamp Set on to white cardstock with Memento Tuxedo Black Ink. They were coloured with Copic Markers (the colours that I used are listed below the supplies area) and fussy cut out with scissors. 


I took an A2 white card base and placed the Clearly Besotted Cloudy Days Stencil on top. Using an ink blending bush and Tim Holtz Mermaid Lagoon Distress Ink, I blended the ink on to the panel, moving the stencil as I went to create random clouds in the sky. I took the Clearly Besotted Freshly Cut Stencil and placed the grass below the clouds. I blended on Tim Holtz Twisted Citron and Mowed Lawn Distress Inks and then removed the stencil before blending on more inks below the grass blades.


Using Copic Markers, I added dot detail to the grass as well. I took the sentiment from the Clearly Besotted Sweet Plushies Stamp Set and stamped it on to the card with Memento Tuxedo Black Ink. I then added the fox and stand/truck with foam tape. To finish off, I added white gel pen highlights to the images and black glaze pen to the fox's eyes. 

SUPPLIES:


Here are the links to what I have used on the project. Affiliate links are used on some products. This means that if you make a purchase after clicking on my link, I receive a small commission with no extra cost to you. I truly appreciate your support when using these links. Please click on the logo below the product to shop at your favourite store. All products were personally purchased except those from Clearly Besotted, Hero Arts or those marked with an asterisk (*) which were kindly sent to me to use. You can read my full disclosure here.


COPIC MARKERS: Fox - E09, E15, E11, E00, W5, W3, W1, W00. Ice lolly - E55, E53, E51, G29, G46, G82, G40, R89, R37, R35, R22, R20. Ice cream stand/truck - R7, R35, R22, R20, YR02, YR01, YR000, C10, C7, C5, C3, C1. Ice cream - E55, E53, E51, E50, R85, R83, R81, YR31, YR30. 

I kept my scene simple today but there are lots of critters in the set, so you could definitely create a big scene with them all! Fore more inspiration using the new sets, please head over to the Clearly Besotted Blog, Keren and Lisa and our wonderful guests Alberto, Francine and Mona. There are quite a few sets that I haven't used during my teasers, so I am hoping to share some more inspiration using them over the next couple of weeks. Thank you so much for stopping by today, see you tomorrow for release day! Take care. 

20 July 2021

Clearly Besotted Teasers | Shake It Up

Hello there and welcome to day three of the Clearly Besotted July & August 2021 Teasers. Release day is Thursday 22nd July, so not too long to wait now! For my card today, I am using the new Cocktail Hour set. This set is so fun! There are lots of critters drinking cocktails and also tiki bar that they can be drinking at too!


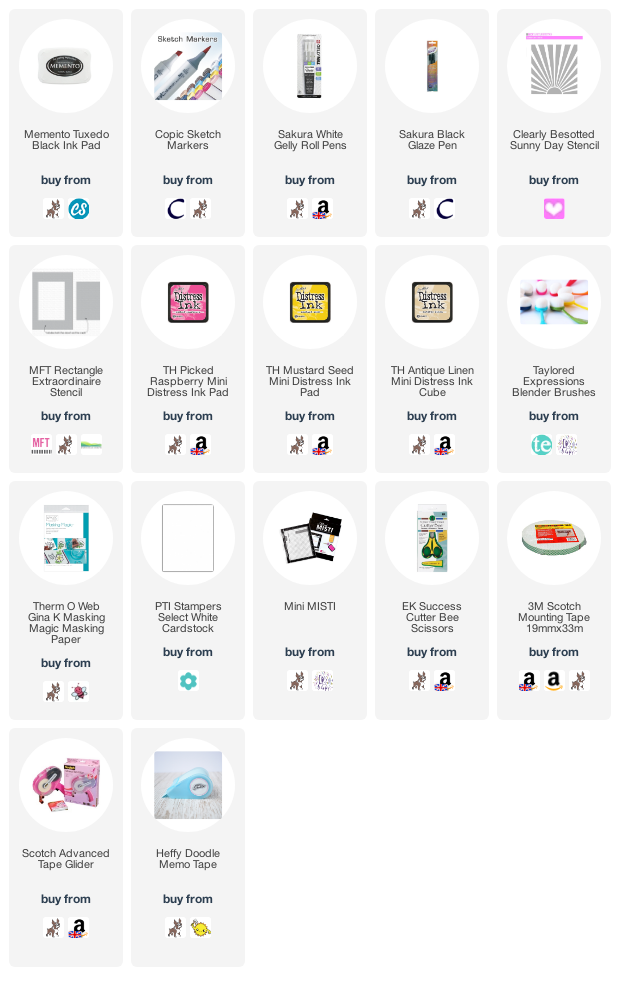
I started off my card by stamping the tiki bar from the Clearly Besotted Cocktail Hour Stamp Set on to a panel of white cardstock with Memento Tuxedo Black Ink. I then made a mask for it from mask paper and placed it on top. I also placed the MFT Rectangle Extraordinaire Stencil on top, securing with low tack tape. 


I masked off the sky first and blended Tim Holtz Antique Linen Distress Ink below for the ground. I moved the mask so that it was covering the ground and then blended Picked Raspberry and Mustard Seed Distress Inks above, blending them to orange where they met. I placed the Clearly Besotted Sunny Day Stencil on top and blended the sky colours again. All of the masks were removed and the tiki bar and ground coloured with Copic Markers. 


I took the sentiment from the set and stamped it on to the panel above the bar with more Memento Tuxedo Black Ink. I then took two of the bunnies from the set and stamped them on to more white cardstock with black ink. They were coloured with Copic Markers (the colours that I used are listed below the supplies area) and fussy cut out with scissors. The panel was adhered flat to an A2 white card base with tape runner and the bunnies added on top with foam tape. To finish off, I added white gel pen highlights to the images. 

SUPPLIES:


Here are the links to what I have used on the project. Affiliate links are used on some products. This means that if you make a purchase after clicking on my link, I receive a small commission with no extra cost to you. I truly appreciate your support when using these links. Please click on the logo below the product to shop at your favourite store. All products were personally purchased except those from Clearly Besotted, Hero Arts or those marked with an asterisk (*) which were kindly sent to me to use. You can read my full disclosure here.


COPIC MARKERS: Tiki bar - E59, E57, E55, E53, E50. Bottles - YR18, YR16, YR12. RV66, RV55, RV52. Y17, Y15, Y11. BG13, BG11, BG10. Chair/stools - E55, E53, E51, RV66, RV55, RV52. Bunnies - W7, W5, W3, W1, R30. Left drink - RV66, RV55, RV52, YR18, YR15, YR12, Y17, Y15, Y13, Y11, YG23, YG01, C3, C1, C0, B81, BG10, BG0000. Right drink - Y17, Y15, Y13, Y11, R89, R39, R37, R35, R14, YG17, YG23, YG01, B81, BG10, BG0000, RV66, RV55, RV52. 

Those drinks look so yummy! Perfect for the weather we are having in the UK at the moment. As I am typing this, it is 29°C and that is too hot for me! However, better than last year, which was 38°C. This year has been crazy with weather around the world, especially in Canada and the US and now flooding in Germany and Europe. My thoughts go out to all who are affected. For more inspiration using the new sets, please do head over to the Clearly Besotted Blog, Keren and Lisa and our wonderful guests Alberto, Francine and Mona. Thanks so much for stopping by today, see you tomorrow. Have a wonderful day! 

19 July 2021

Clearly Besotted Teasers | You're Engaged!

Hello there and welcome to day two of the Clearly Besotted July & August 2021 Teasers. Today I have a card to share with you using the new Ring Around Summer set. If you are familiar with the series, you will know that there is currently a set for Autumn, Christmas and Spring and now there is one for Summer too! 


I started off by stamping the summer wreath from the Clearly Besotted Ring Around Summer Stamp Set on to white cardstock with Memento Tuxedo Black Ink. I then stamped two of the birds from the set as well. They were all coloured with Copic Markers (the colours that I used are listed below the supplies area). 


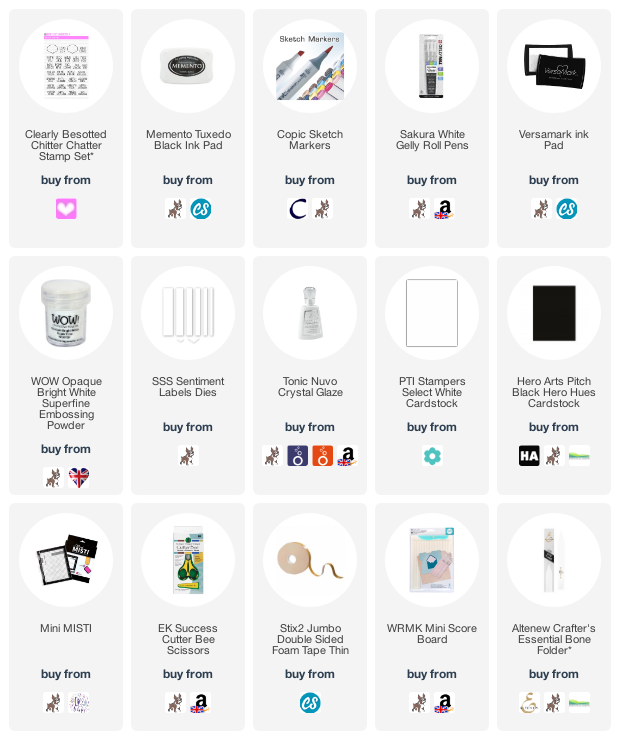
I did add small lines to the beaks of the birds to make them in to toucans (although there is a toucan in the set as well!). I then fussy cut the birds and wreath using scissors. I took an A2 white card base and scored horizontal lines in to the front panel using a score board and bone folder. The wreath was then added on top with thin foam tape. I also added the toucans with the thin foam tape too. I took the sentiment from the Clearly Besotted Chitter Chatter Stamp Set and stamped it on to black cardstock with Versamark Ink.


I applied white embossing powder and heat set. It was cut in to a rectangle and added to the card with more thin foam tape. At this point, I thought the card needed something else, so I took the little heart image from the new Ice Ice Plushies Set (more on that later in the week) and stamped, coloured and cut it out and added it between the toucans. To finish off, I added Tonic Crystal Glaze to the heart and the tips of the toucan's beaks. 

SUPPLIES:


Here are the links to what I have used on the project. Affiliate links are used on some products. This means that if you make a purchase after clicking on my link, I receive a small commission with no extra cost to you. I truly appreciate your support when using these links. Please click on the logo below the product to shop at your favourite store. All products were personally purchased except those from Clearly Besotted, Hero Arts or those marked with an asterisk (*) which were kindly sent to me to use. You can read my full disclosure here.


COPIC MARKERS: Leaves - G29, YG17, YG25, YG03, YG01. Purple flowers - V09, V17, V15, V12, V01. Pink flowers - RV19, RV66, RV55, RV52. Aqua flowers - BG49, BG13, BG11. Centres - Y17, Y11. Heart - R89, R39, R37, R35, 32. Toucans - N10, N8, N6, N5, N3, Y13, Y11, Y00, Y0000, YR18, YR15, YR12, Y15. 

I did originally think I was going to add a 'happy anniversary' sentiment to the card but I liked the engagement one. The set does have lots of other punny sentiments though that work well with the theme. For more inspiration using the sets, please head over to the Clearly Besotted Blog, Keren, Lisa, Alberto, Francine and Mona. Thanks so much for stopping by today, I really do appreciate it. See you tomorrow for day three! 

18 July 2021

Clearly Besotted Teasers | Beach Face

Hello there and welcome to day one of the Clearly Besotted July & August 2021 Teasers. You may have seen on the Clearly Besotted social media sites that there was unfortunately a manufacturing delay with the July release. We have delayed the release but combined it with the August release for one bumper one! Release day is Thursday 22nd July 2021 and from now until then, we will be sharing teasers with you using the new sets. Normal service will resume in September with the release being on September 1st. 


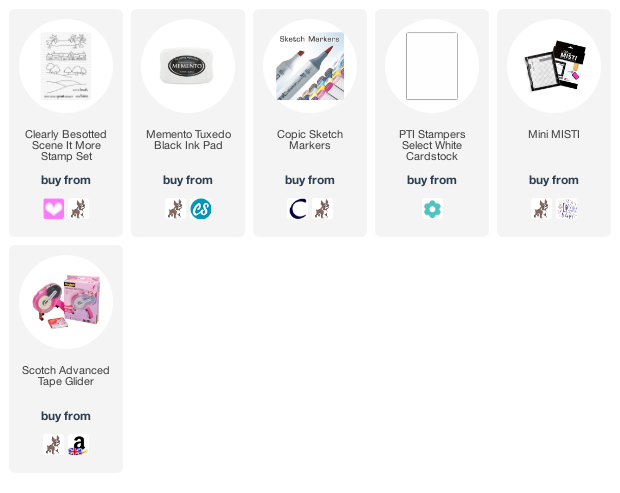
For my card today, I am using the super cute Lazy Dayzzz set. This features lots of adorable sloths lazing on the beach - so fun! I started off by mapping out my background with a pencil on to a panel of white cardstock. I used the Clearly Besotted Scene It More Stamp Set as a guide, leaving off the palm trees. 


Using Memento Tuxedo Black Ink, I then stamped the sloth in the hammock from the Clearly Besotted Lazy Dayzzz Stamp Set on top. Before erasing the pencil lines, I went close to them with the colours I was using of Copic Markers and then erased the lines before colouring the background first and then the image with Copic Markers (the colours that I used are listed below the supplies area). 


I stamped the sentiment from the set below the scene and then simply adhered the panel to a 5.5" x 4" white card base with foam tape. 

SUPPLIES:


Here are the links to what I have used on the project. Affiliate links are used on some products. This means that if you make a purchase after clicking on my link, I receive a small commission with no extra cost to you. I truly appreciate your support when using these links. Please click on the logo below the product to shop at your favourite store. All products were personally purchased except those from Clearly Besotted, Hero Arts or those marked with an asterisk (*) which were kindly sent to me to use. You can read my full disclosure here.


COPIC MARKERS: Sky - B02, B01, B00, B000, B0000. Sun - Y15, Y11, Y00, Y000. Sea - B18, B16, B14, B12. Sand - E44, E43, E42, E41, E40. Trees - E57, E55, E53, G29, YG17, YG23, YG03, YG01. Coconuts - E53, E51, E50. Hammock - V17, V15, V12, V01. Sloth - E79, E77, E74, E71, E70, E81. 

Isn't he just adorable? He has lots of equally adorable friends too! For more inspiration using the new sets, please head over to the Clearly Besotted Blog, Keren and Lisa and our wonderful guests Alberto, Francine and Mona. Thank you so much for stopping by today, see you tomorrow for day two! Take care. 

15 July 2021

VIDEO | Creating Layers of Rainbows

Hello there, today I have a card to share that I shared before over on the Hero Arts YouTube Channel. I am now sharing it over here too. I have created layers of rainbows using different mediums and the Hero Arts Succulent Bouquet set. 


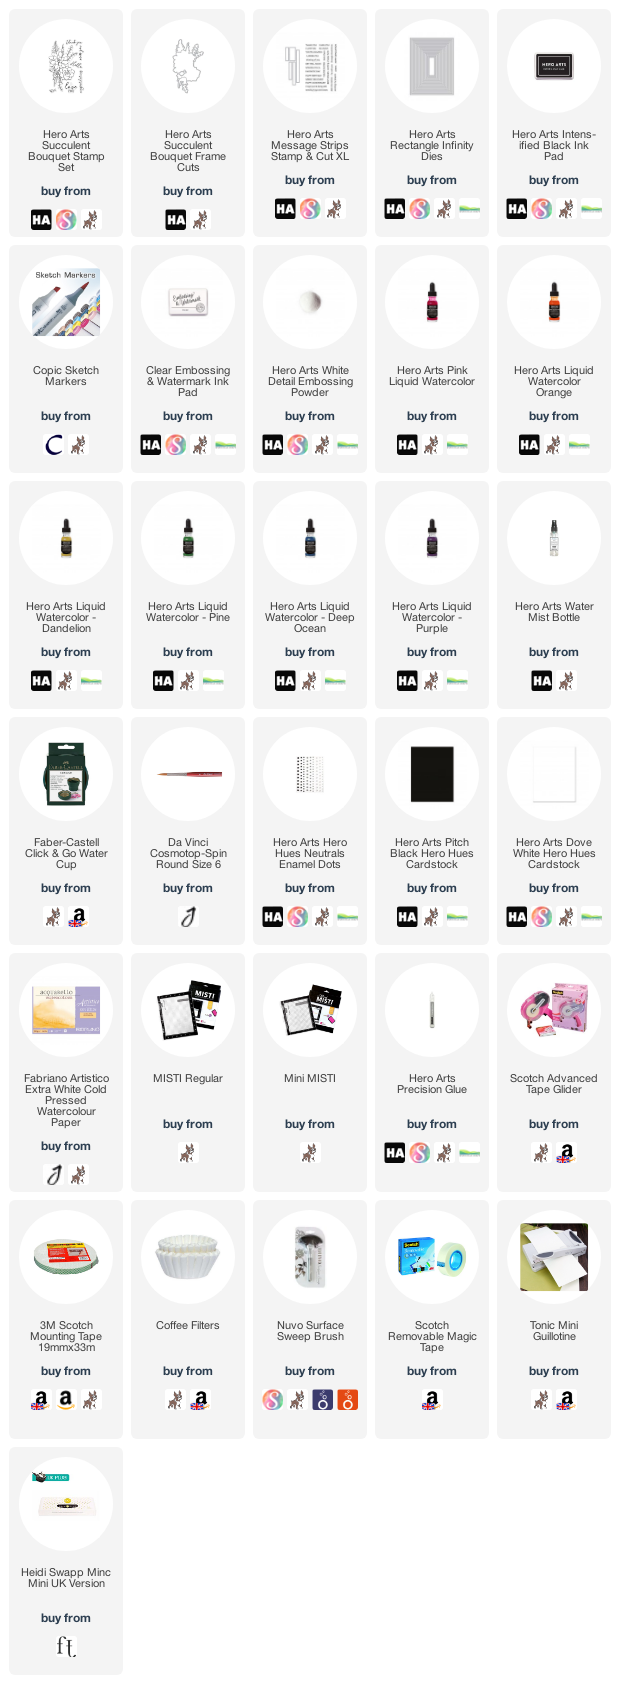
I started off my card by taking a panel of Fabriano Artistico Extra White Cold Pressed Watercolour Paper and stamping the Hero Arts Succulent Bouquet Stamp Set image on top. This is just to be used as a guide for the colours, you will not see it on the finished card. I then spritzed the panel with a Hero Arts Water Mist Bottle and dropped in Hero Arts Liquid Watercolors. 


I used Pink, Orange, Dandelion, Pine, Deep Ocean and Purple. I then misted the area again and ideally at this point, I would let it sit to dry but I did fiddle with it for some time as you will see in the video! Eventually, I set the piece aside to dry. Once dry, it was die cut out using one of the Hero Arts Nesting Rectangle Infinity Dies and adhered flat to an A2 card base made from Hero Arts Pitch Black Cardstock


I took the same Hero Arts Succulent Bouquet stamp and stamped it on to white cardstock with Hero Arts Intens-ified Black Ink. It was coloured using Copic Markers (the colours that I used are listed below the supplies area) and die cut out using the coordinating die. I also die cut the piece another two times just from white cardstock so I could stack the die cuts up for dimension. This was then adhered on top of the panel on the card. 


I took a sentiment from the Hero Arts Message Strips Stamp & Cut XL and stamped it on to more Pitch Black Cardstock with Hero Arts Clear Embossing & Watermark Ink. I applied White Detail Embossing Powder and heat set. It was cut out with the coordinating die and added to the card with foam tape. To finish off, I added a few Hero Arts Neutrals Enamel Dots

VIDEO:

Here is the video showing how I made the card:


If you are viewing this blog post via email subscription, you can watch the video HERE on YouTube. 

SUPPLIES:


Here are the links to what I have used on the project. Affiliate links are used on some products. This means that if you make a purchase after clicking on my link, I receive a small commission with no extra cost to you. I truly appreciate your support when using these links. Please click on the logo below the product to shop at your favourite store. All products were personally purchased except those from Clearly Besotted, Hero Arts or those marked with an asterisk (*) which were kindly sent to me to use. You can read my full disclosure here.


COPIC MARKERS: R85, R83, R81, YR68, YR65, YR61, Y17, Y15, Y11, YG17, YG23, YG03, YG01, B06, B04, B02, B01, V17, V15, V12. 

Thank you so much for stopping by to see me today, I really do appreciate it. I hope you have a wonderful day. Take care. 

13 July 2021

VIDEO | MFT Stitched Blooms Cascade

Hello there, I was over on the MFT YouTube Channel yesterday, sharing a card using the Stitched Blooms Die-namics. I thought they would look pretty cascading down from the top of a card. 


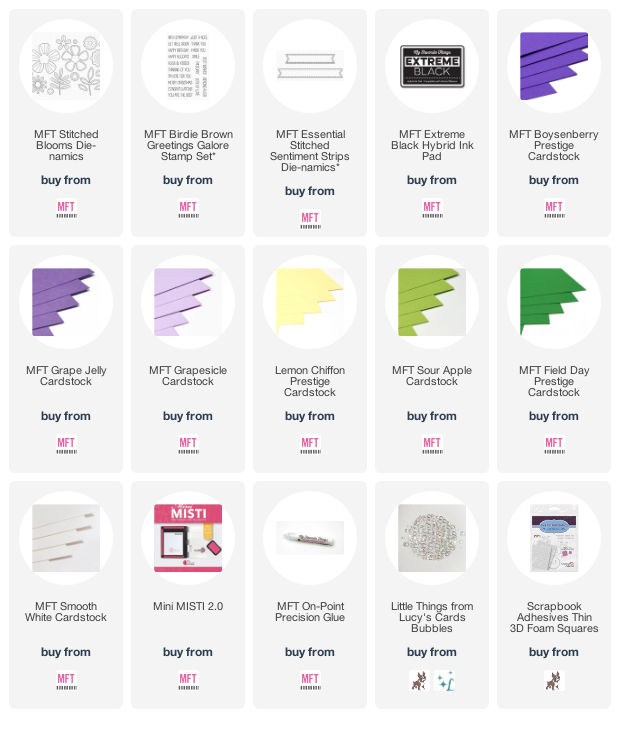
I started off by die cutting the MFT Stitched Blooms Die-namics from various shades of MFT cardstock. I used Boysenberry, Grape Jelly and Grapesicle for the flower petals, Lemon Chiffon for the flower centres and Sour Apple and Field Day for the leaves. 


They were arranged on to an A2 white card base, adhering them with MFT On-Point Precision Glue and thin foam squares. I kept them overhanging the card base as I like the look but because of this, the card will not fit in a standard envelope. I will create a custom made one but I do think the card would still look nice with the edges cut off as well!


I took the sentiment, from the MFT Birdie Brown Greetings Galore Stamp Set and stamped it on to white cardstock with MFT Extreme Black Ink. I die cut it using a MFT Essential Stitched Sentiment Strips Die-namics and then cut the sides off before adhering it to the card with foam tape. To finish off, I added a few Lucy's Bubbles

VIDEO:


Here is the video showing how I made the card. If you are viewing this post via email subscription, you can watch the video HERE on YouTube. 

SUPPLIES:


Here are the links to what I have used on the project. Affiliate links are used on some products. This means that if you make a purchase after clicking on my link, I receive a small commission with no extra cost to you. I truly appreciate your support when using these links. Please click on the logo below the product to shop at your favourite store. All products were personally purchased except those from Clearly Besotted, Hero Arts or those marked with an asterisk (*) which were kindly sent to me to use. You can read my full disclosure here.


Thank you so much for stopping by today, I really do appreciate it. I hope you have a wonderful day! 
End of code