Hello there, you may remember my Stamping Bella Wonderful Wednesday from last week where I said it was my last week. Well, guess who cannot count? Yes, it's me! ;) There are actually five Wednesday's in May so I get to share another card with you! :)

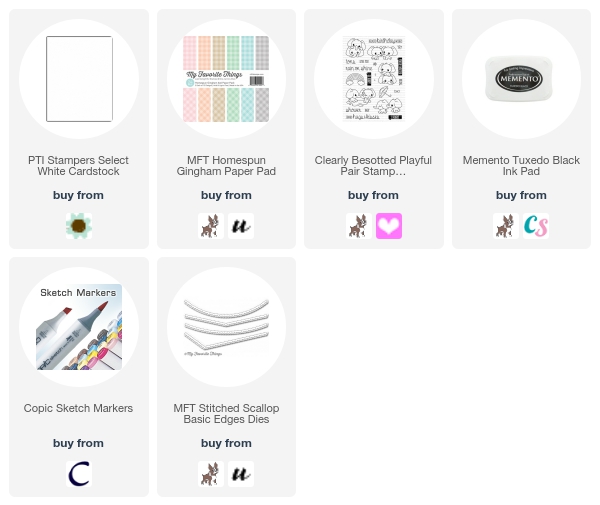
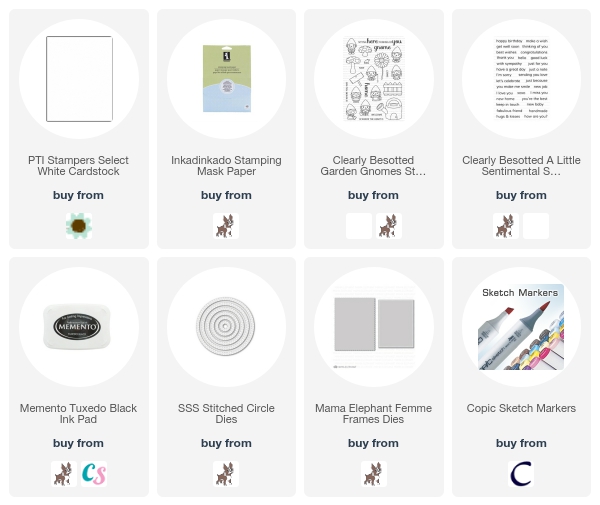
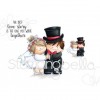
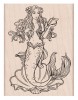
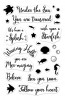
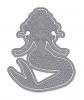
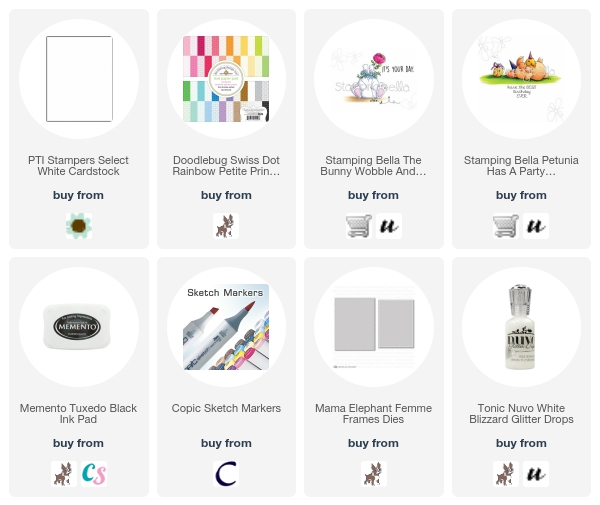
I started off by stamping the bunny from the Bunny Wobble and The Peony Stamp Set on to a panel of white cardstock, cut using the ME rectangle Femme Frames die. I them took the sentiment from the Petunia Has A Party Stamp Set and stamped this beside her. I coloured the bunny and flower with Copic Markers, adding a little shading around the image, as well as a ground for her to sit on.

I took a piece of paper from the Doodlebug Swiss Dot Rainbow Petite Prints Paper Pad and added this to the front of a white A2 card base. I then added the image panel on top with foam tape. To finish off, I added Nuvo Glitter Drops in Blizzard to the centres of the flowers in the bunny's hair/fur and then I added dots on to the peony.
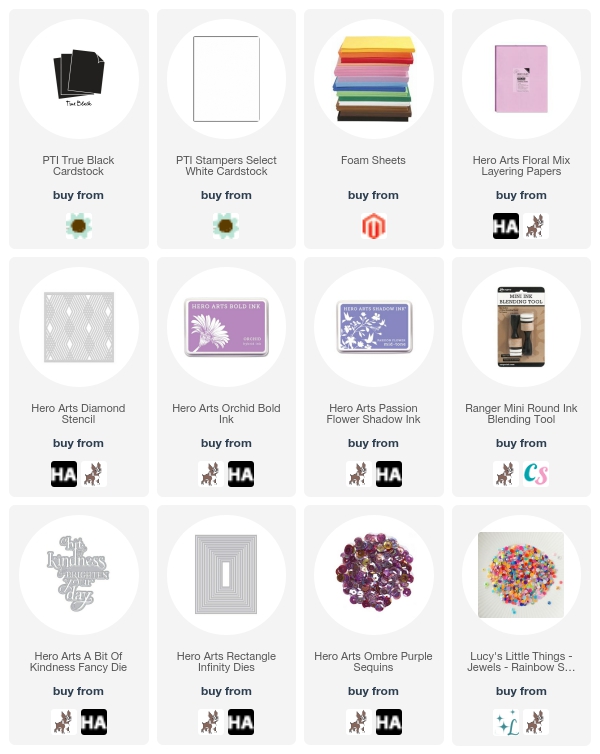
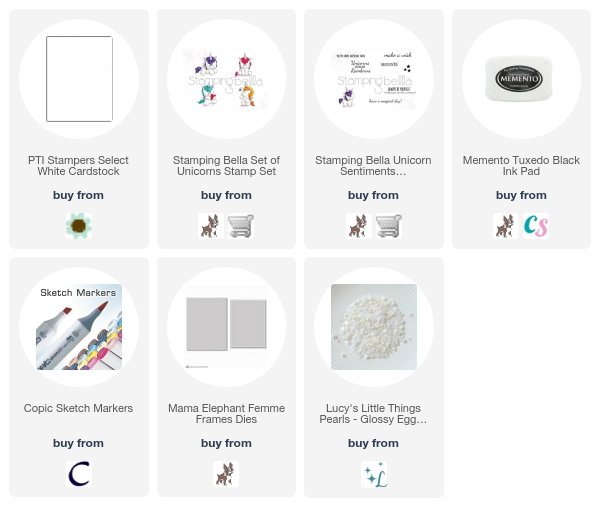
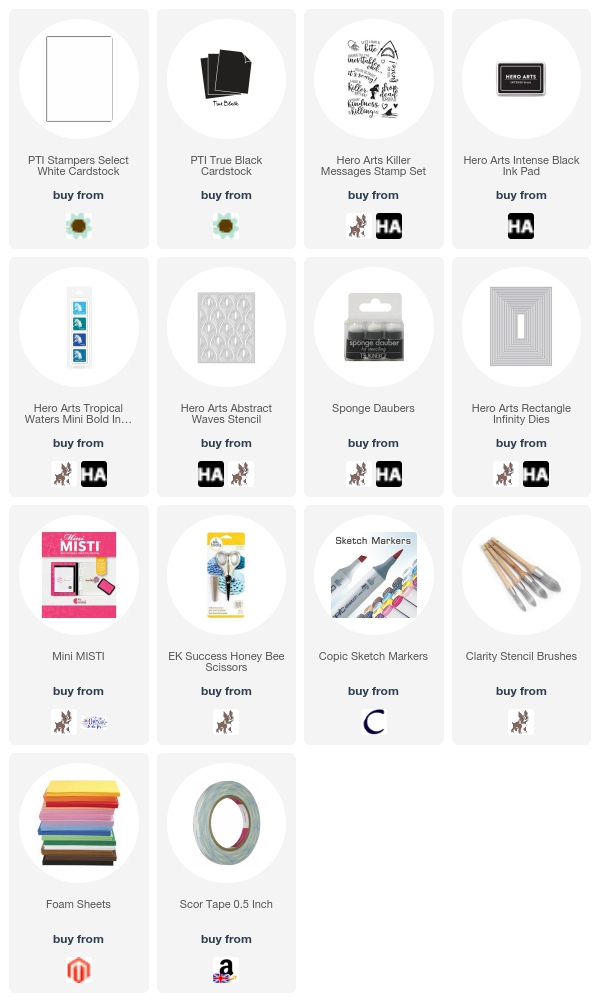
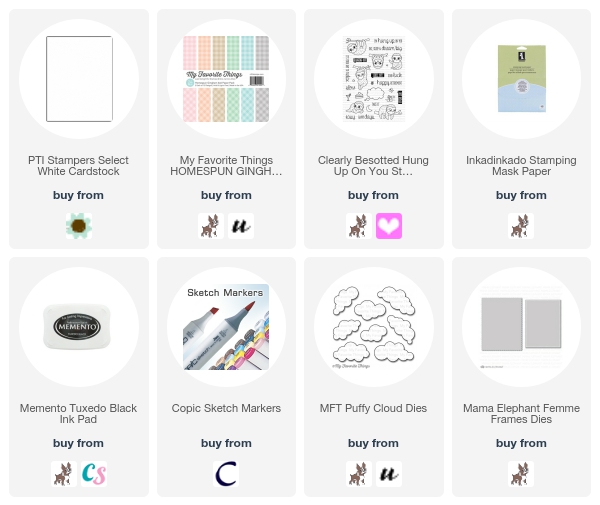
SUPPLIES:
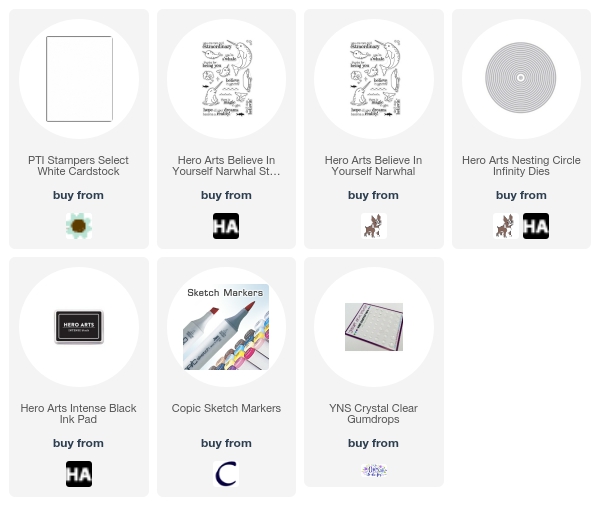
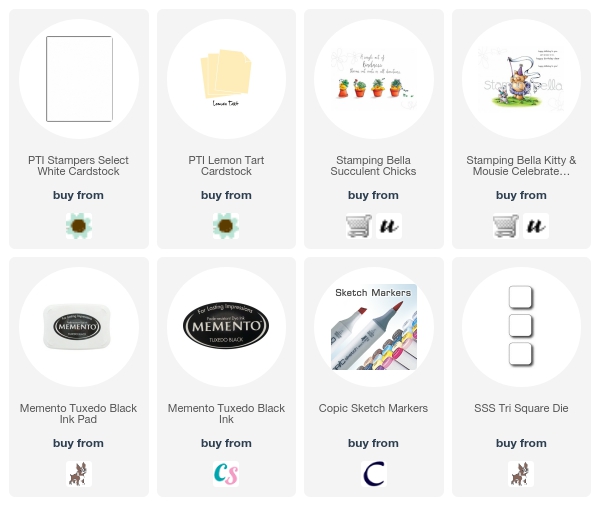
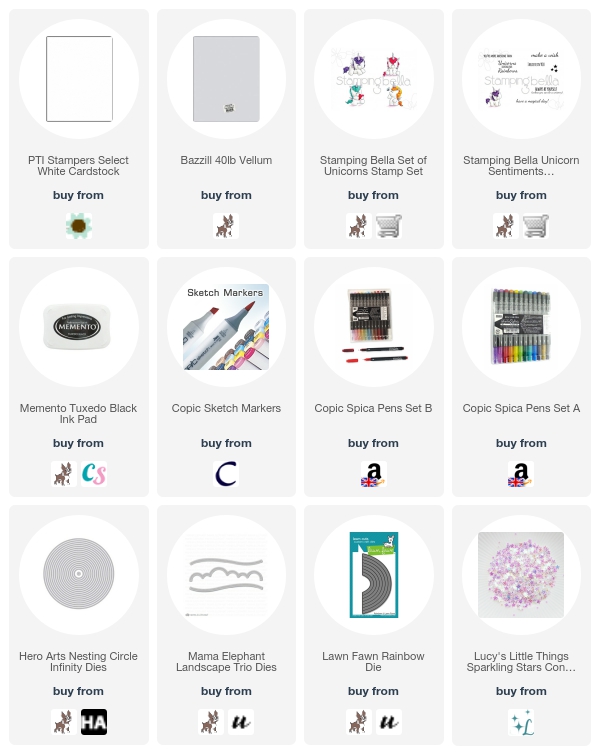
Here are the links to what I have used on the card. Please click on the picture or wording to be taken to where I purchased
it. Affiliate links are used on some products. This means that if you make a
purchase after clicking on my link, I receive a small commission with no extra
cost to you. I truly appreciate your support when using these links. Please
click on the shop logo below the product to shop at your favourite store.
COPIC MARKERS: Bunny - N4, N2, N1, N0, R00, R000. Flowers - BG57, BG53, BG11, Y11, Y00. Peony - BG57, BG53, BG11. Leaves - G43, G40. Ground - W3, W2, W0. Shadow - B0000, 0.
Ok, so now that is my last post for Stamping Bella this month! I will be back later in the year with another guest month, but of course, I will be using more Stamping Bella stamps before then! Thanks so much for stopping by today. I hope you have a great day!