Hello there, I hope you are well! Today I have a card to share using the Simon Says Stamp Candy Cane Plate Die that they kindly sent me to use. This is such a fun design and I think this card would be perfect to mass produce too!
PLEASE
NOTE: This post contains affiliate links. Please see below for my full
disclosure.

I started off by die cutting the Simon Says Stamp Candy Cane Plate Die from white cardstock. I popped out all the inside pieces and adhered it to an A2 sized white card base with Bearly Art Glue. On a separate piece of cardstock, I added ink blending with Tim Holtz Picked Raspberry, Seedless Preserves and Wilted Violet Distress Inks and Ink Blending Brushes.

It was die cut out using using the same Simon Says Stamp Candy Cane Plate Die and the inside pieces inlayed back into the white panel. This did take a while but the Pinkfresh Studio Embellishment Tool really helped! I stamped a sentiment from the Simon Says Stamp Tiny Words Christmas Stamp Set onto black cardstock using Versamark Ink. I applied white embossing powder and heat set. It was cut into a strip using the Simon Says Stamp Sentiment Labels Dies and adhered to the card using foam squares.
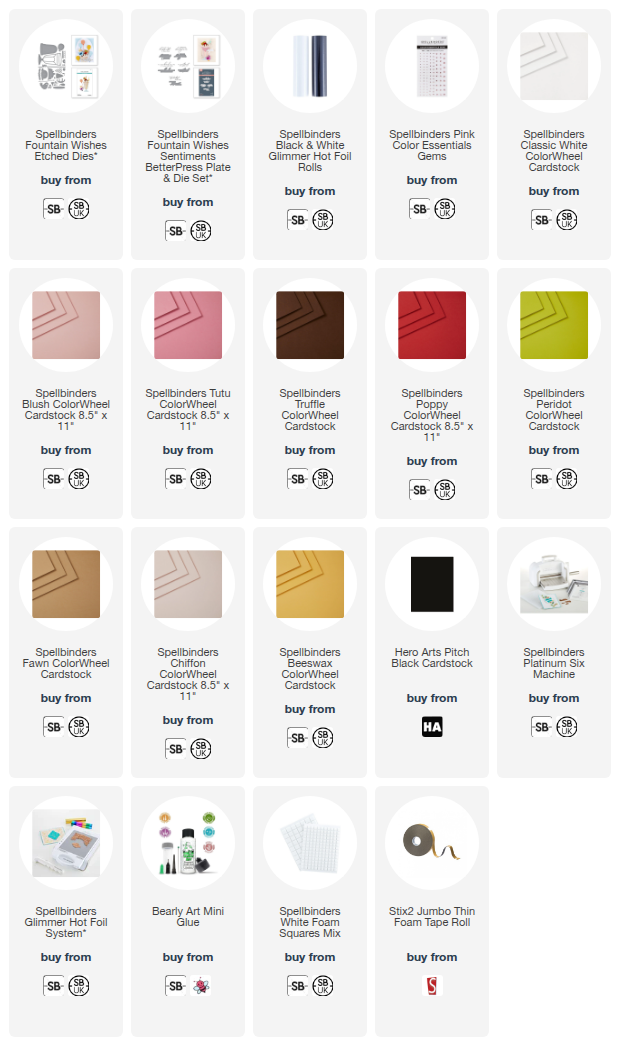
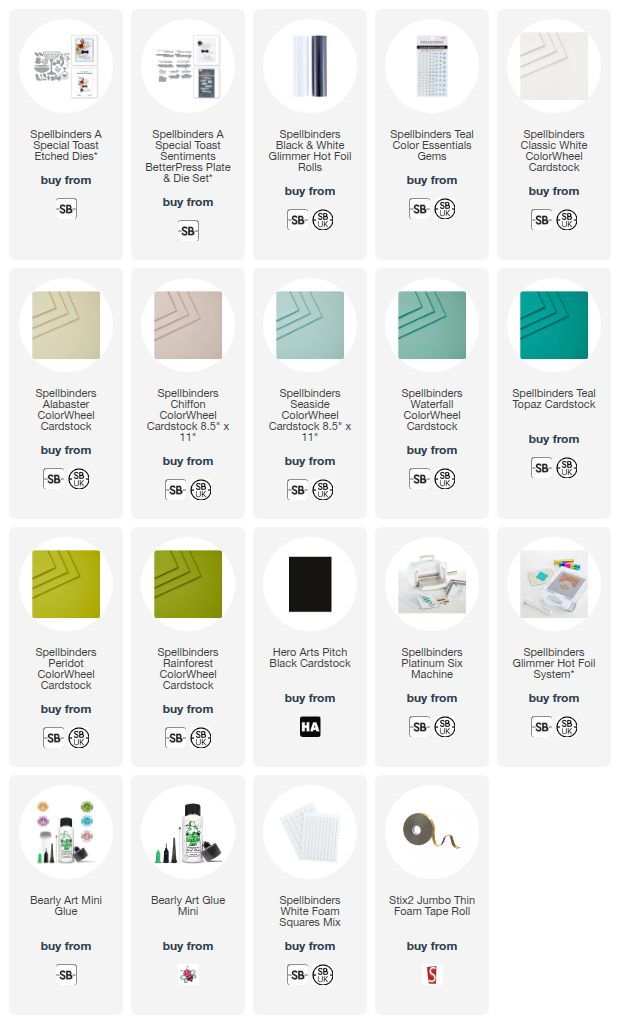
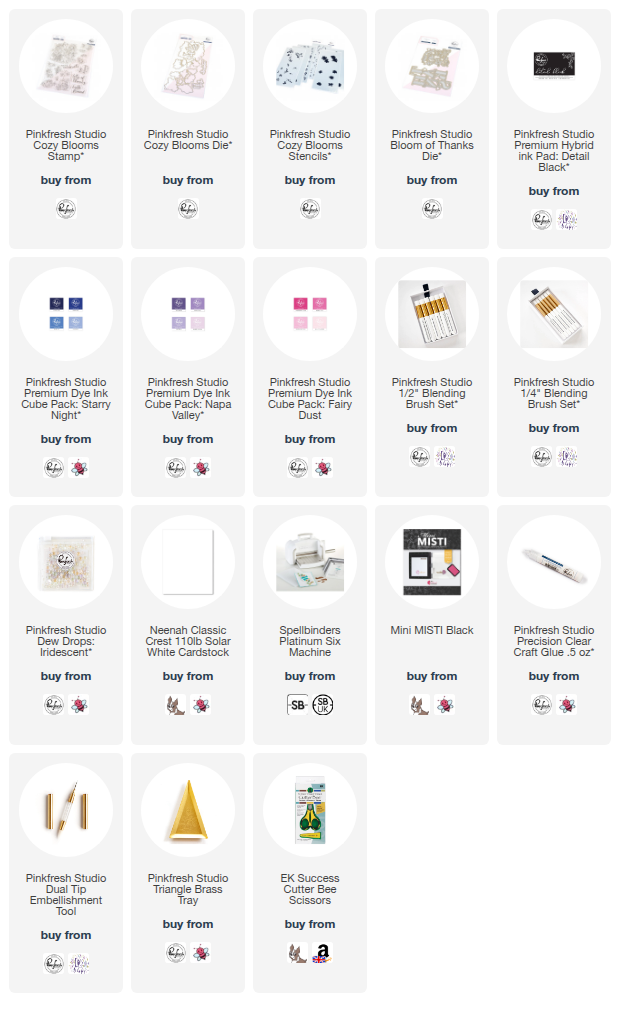
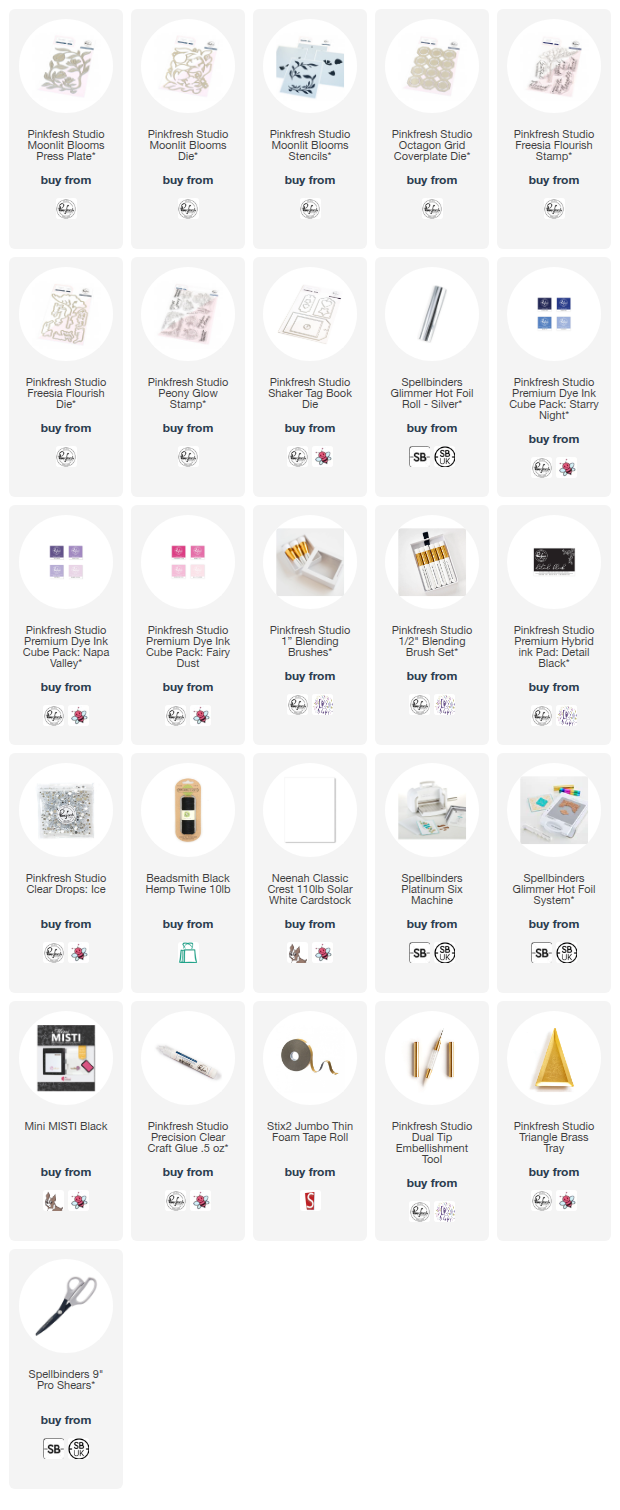
SUPPLIES:
Here are the links to
what I have used on the project. Affiliate
links are used on some products. This means that if you make a purchase after
clicking on my link, I receive a small commission with no extra cost to you. I
truly appreciate your support when using these links. Please click on the logo below
the product to shop at your favourite store. All products were personally
purchased except marked with an asterisk (*) which were kindly sent to me to
use. You can read my full disclosure here.
I quite like inlay, to me it is kind of like doing a jigsaw puzzle but I know it's not for everyone! You could definitely just pop the white layer on top with foam tape and have the colour show through from the bottom layer, rather than inlay the pieces. Thank you so much for stopping by today, I really do appreciate it. I hope you have a wonderful day and a great weekend!