30 April 2019

Clearly Besotted Teasers | Have A Nice Day

Hello there and welcome to day four of the Clearly Besotted Teasers for May 2019. Not long to wait now, the new sets release tomorrow at 8pm BST. Today I am using the new Sitting Here Thinking stamp set. It is such a cute set consisting of a park scene, lots of different animals that can sit on the bench and wonderful sentiments.
 

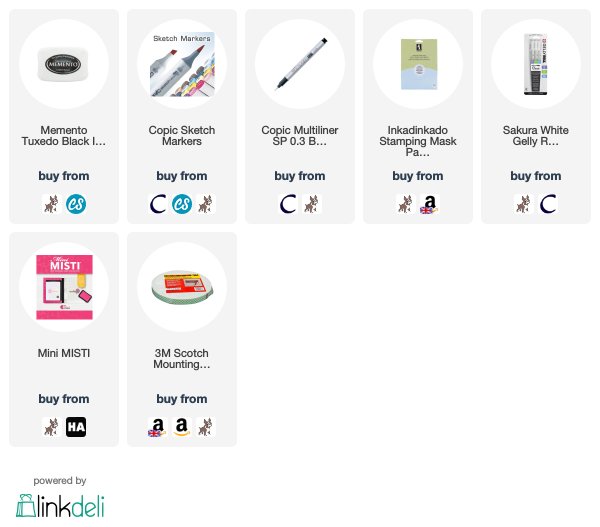
I started off by stamping the fox image on to a panel of white cardstock, I made a mask for him from masking paper and added the mask on to the image. I then stamped the scene stamp on top. I removed the mask to have the fox sitting on the bench. So sweet! The image was slightly too narrow for my card, so I drew in lines at the side with a black Copic Multiliner to extend the scene slightly. I then stamped the sentiment in the top right hand corner.
 
 
The panel was coloured with Copic Markers (the colours that I used are listed below the supplies section). I coloured the sky first, then the grass, bushes and tree, the buildings and lamp post, followed by the bench and fox. I then added white gel pen to the eyes of the fox. The panel was added to a 4.5" x 4.5" card base with foam tape.
 
SUPPLIES:

Here are the links to what I have used on the card. Affiliate links are used on some products. This means that if you make a purchase after clicking on my link, I receive a small commission with no extra cost to you. I truly appreciate your support when using these links. Please click on the logo below the product to shop at your favourite store. All products were personally purchased except those from Clearly Besotted, Hero Arts or those marked with an asterisk (*) which were kindly sent to me to use. You can read my full disclosure here.
 
 
COPIC MARKERS: Fox - E18, E09, E08, E15, E13, E50. Bench - E57, E55, E53. Grass - YG17, YG23, YG03, YG01. Bushes - G46, G24, G43, YG01. Tree - E59, E57, E55, YG67, YG17, YG23, YG03, YG01. Sky - B02, B01, B00, B000, B0000. Lamp post - C7, C5, C3, C1, Y00. Building - T7, T5, T3, T2, T1. N3, N2, N1. W3, W1.
 
I absolutely adore this set, it is so cute! Although I went with the fox, as I said, there are lots of other cute critters that can sit on the bench too! For more inspiration using the Clearly Besotted May 2019 release, please head over to the Clearly Besotted Blog, as well as Keren and Lisa. Thanks so much for stopping by today, see you tomorrow for release day and my last teaser. Have a lovely day!

29 April 2019

Clearly Besotted Teasers | Magical Plushies

Hello there and welcome to day three of the Clearly Besotted Teasers for May 2019. Release day is May 1st and I hope you are enjoying the teasers so far. Today is the turn of the new Magical Plushies set. It is such a cute set filled with unicorns and narwhals. Today I am using the narwhals.
 

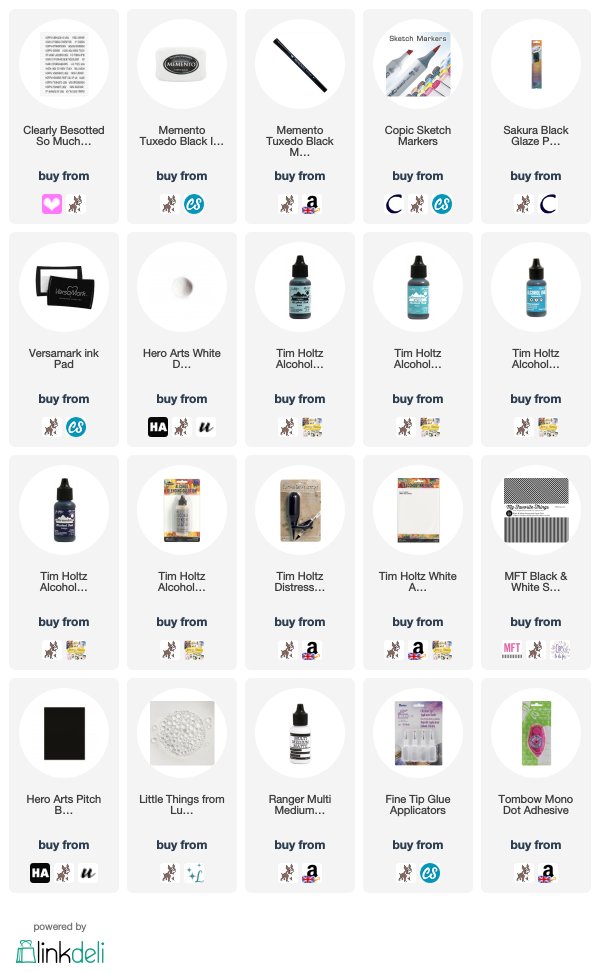
I started off by creating my background. I took a panel of Yupo paper and added drops of alcohol ink in Aqua, Pool, Aquamarine and Indigo. I wanted it to be darker at the bottom and a bit lighter at the top. I moved the alcohol inks around using the Distress Marker Spritzer and also flicked drops of blending solution on for some added interest. The panel was then set aside to dry before adhering it to an A2 white card base with tape runner. I also added a strip of MFT Black & White Striped paper, as well as a thin strip of black cardstock to the left hand side.
 
 
I took two of the narwhals from the Magical Plushies set and stamped these on to white cardstock with Memento Tuxedo Black Ink. They were coloured using Copic Markers (the colours that I used are listed below the supplies section) and fussy cut out with scissors (but there are coordinating dies available). I ran a Memento Tuxedo Black Marker around the edges and added them to the card with foam tape.
 
 
I took the sentiment from the So Much To Say set and stamped this on to black cardstock with Versamark Ink. I applied white embossing powder and heat set. This was cut in to a strip and added to the card with more foam tape. To finish off, I added a few Lucy's Raindrops around the sentiment and added black glaze pen to the eyes of the narwhals.
 
SUPPLIES:

Here are the links to what I have used on the card. Affiliate links are used on some products. This means that if you make a purchase after clicking on my link, I receive a small commission with no extra cost to you. I truly appreciate your support when using these links. Please click on the logo below the product to shop at your favourite store. All products were personally purchased except those from Clearly Besotted, Hero Arts or those marked with an asterisk (*) which were kindly sent to me to use. You can read my full disclosure here.
 
 
COPIC MARKERS: T8, T6, T5, T3, T2, T1.
 
I did make a card using the unicorns too which I will share here on my blog in a week or two. I will have a peek of that in my release video on Wednesday though. For more inspiration using the new release, please do visit the Clearly Besotted Blog and also Keren and Lisa. Thanks so much for stopping by today. I very much appreciate it. I hope you have a great day!
28 April 2019

Clearly Besotted Teasers | ConGRADulations!

Hello there and welcome to day two of the May 2019 Clearly Besotted teasers. Today I have a card to share with you using the new Wise Owl set. This is a wonderful set for the book lovers in your life, as well as academics and students.
 

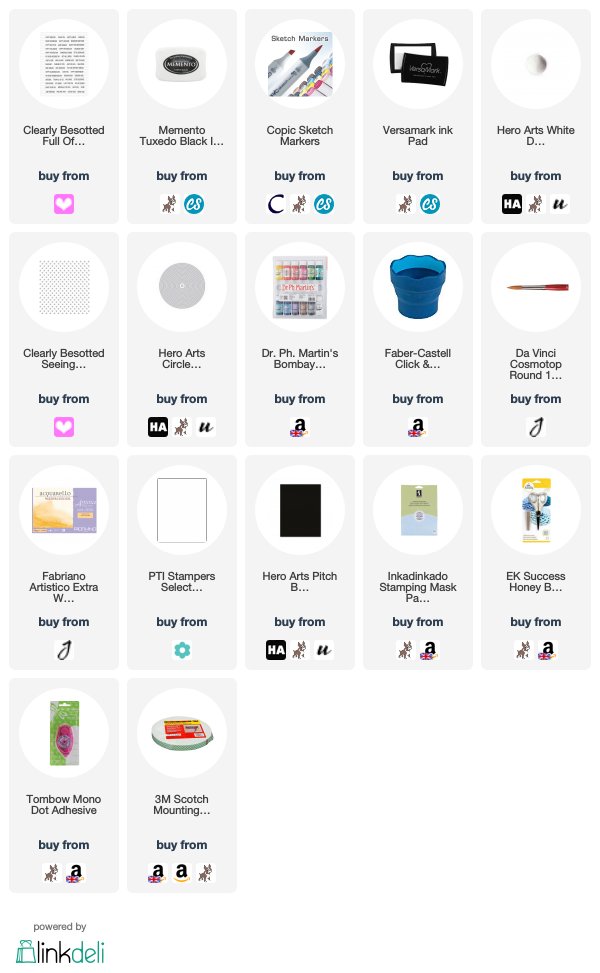
I started off by stamping the owl, mortar board and scroll from the Wise Owl set on to white cardstock with Memento Tuxedo Black Ink. I stamped the scroll and mortar board first, masked them off and then stamped the owl that is standing on books, so that he is holding the scroll and wearing the mortar board. The image was coloured using Copic Markers (the colours that I used are listed below the supplies area) and then fussy cut with scissors (but there are dies available if you didn't want to fussy cut).
 
 
I took a piece of watercolour paper and added Dr. Ph. Martin's Bombay Ink in Teal, Blue and Violet to it, blending between the colours as best as I could with water and a paintbrush. I set the piece aside to dry and once dry, cut it in to a circle. I then ran it through my die cutting machine with the Seeing Stars Stencil to create some texture. This was added to a white 4" x 5.5" card base with tape runner. I then added the owl on top with foam tape. I took the sentiments from the Full Of Sentiment set and stamped them on to black cardstock with Versamark ink. I applied white embossing powder and heat set. They were cut in to strips and added to the card with more foam tape.
 
SUPPLIES:

Here are the links to what I have used on the card. Affiliate links are used on some products. This means that if you make a purchase after clicking on my link, I receive a small commission with no extra cost to you. I truly appreciate your support when using these links. Please click on the logo below the product to shop at your favourite store. All products were personally purchased except those from Clearly Besotted, Hero Arts or those marked with an asterisk (*) which were kindly sent to me to use. You can read my full disclosure here.
 
 
COPIC MARKERS: Owl - W7, W5, W4, W3, W1, W0, YR27, Y28, Y26. Mortar Board - N9, N7, N6, N5. Scroll - C4, C1, C0, V17, V15, V12. Books (top to bottom) - B24, B23, B12. B69, B66, B63. V17, V15, V12.
 
I think this set would be perfect to use on bookmarks too. Oh and I must use my Bombay Inks more often, I love how they blended together! For more inspiration using the new release, please do head over to the Clearly Besotted Blog, Keren and Lisa. Thanks so much for visiting me today, I hope you have a great day!

27 April 2019

Clearly Besotted Teasers | Anniversary Seahorses

Hello there and welcome to day one of the Clearly Besotted teasers for May 2019. I cannot believe we are on the May release already, time is going way to quickly! The new products release on May 1st and from now until then, we will be sharing teasers with you using the new sets. My card today uses the new Sweet Seahorse set. This is such a cute set and perfect for lots of occasions but I am big on making cute animal anniversary cards, so I went with that for my card today.
 

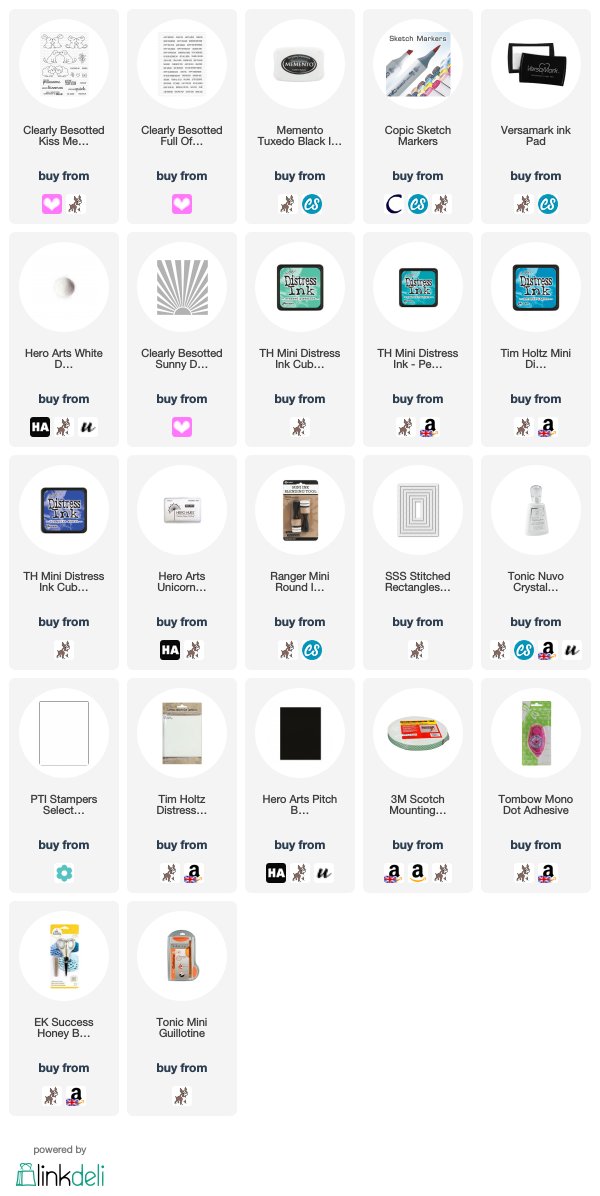
I started off by creating my background. I took a panel of watercolour paper and cut it using one of the Simon Says Stamp Stitched Rectangle dies. Using a blending tool, I blended on Distress Inks in Cracked Pistachio, Peacock Feathers, Mermaid Lagoon and Blueprint Sketch for the sea. I splattered on some water and let dry for a few minutes. I then took the Sunny Day Stencil and placed this upside down on the panel. I blended over Hero Arts Unicorn White Pigment Ink to create light rays through the water (they show up better in real-life). The panel was then set aside to dry.
 
 
I took the seahorses and the seaweed/kelp images from the Sweet Seahorse set and stamped these on to white cardstock with Memento Tuxedo Black Ink. I coloured them with Copic Markers (the colours that I used are listed below the supplies section) and fussy cut them out with scissors (but there are coordinating dies if you wanted to use them). The seaweed and kelp were added to the bottom of the panel with tape runner and the seahorses added above with foam tape.
 
 
I took the little hearts from the Kiss Me Quick set and stamped these on to white cardstock and coloured them with Copic Markers. They were fussy cut out and added between the seahorses on the panel. The panel was adhered to an A2 white card base with tape runner. I then took the sentiment from the Full Of Sentiment set and stamped this on to black cardstock with Versamark Ink. I applied white embossing powder and heat set. This was cut in to a strip and added to the card with foam tape.
 
SUPPLIES:

Here are the links to what I have used on the card. Affiliate links are used on some products. This means that if you make a purchase after clicking on my link, I receive a small commission with no extra cost to you. I truly appreciate your support when using these links. Please click on the logo below the product to shop at your favourite store. All products were personally purchased except those from Clearly Besotted, Hero Arts or those marked with an asterisk (*) which were kindly sent to me to use. You can read my full disclosure here.
 
 
COPIC MARKERS: Seahorses - BG18, BG15, BG13, BG11, V09, V17, V15, V12. Kelp/seaweed - BG78, BG75, BG72. Hearts - R89, R37, R35.
 
I love these seahorses, they are so sweet! For more inspiration using the new release, please head over to the Clearly Besotted Blog, as well as Keren and Lisa. Thank you so much for popping by today, I really do appreciate it. See you tomorrow for day two! Have a great day!

25 April 2019

Sending Smiles

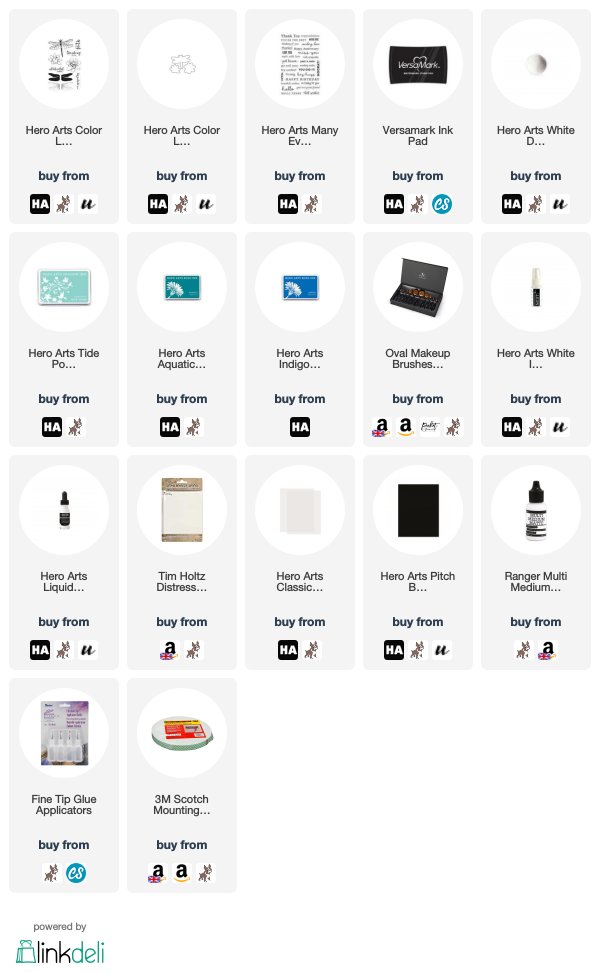
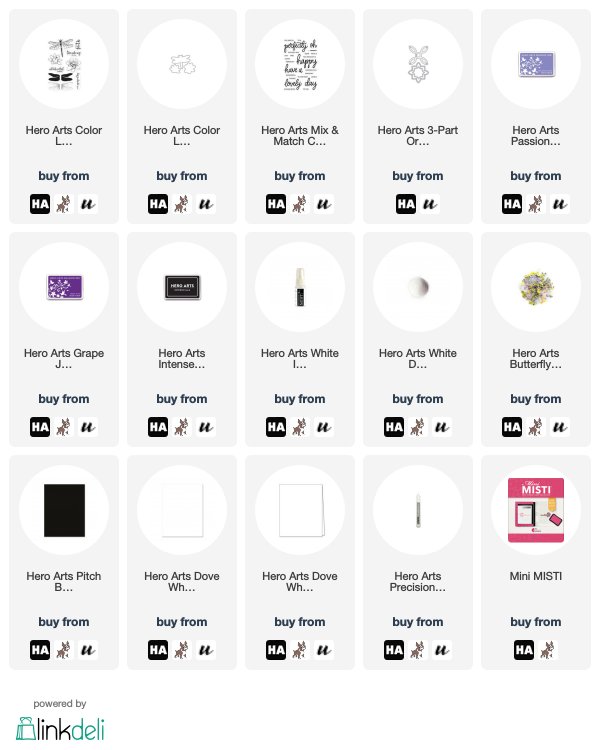
Hello there, I hope you are all well. When I made this card using the Hero Arts Color Layering Dragonfly set, I thought it would look really pretty on vellum. I didn't want to do it for that design but went back to it and made this card.
 

I started off by creating a background for my dragonfly to sit on. I took a piece of watercolour paper and blended inks on to it. I used Hero Arts Tide Pool, Aquatic and Indigo. I then sprayed the piece with Hero Arts White Iridescent Shimmer Spray and splattered on some White Liquid Watercolor. I set the piece aside to dry and then cut it in to a square and mounted it to an A2 white card base with foam tape.
 

I stamped the dragonfly on to Vellum Cardstock using Versamark Ink. I applied Detail White Embossing Powder and heat set. It was then cut out with the coordinating die. I added this to the card with small dabs of Multi Medium Matte behind the embossing. I took a sentiment from the Hero Arts Many Everyday Messages set and stamped it on to Pitch Black Hero Hues Cardstock with Versamark ink. I applied the same embossing powder as the dragonfly and heat set. This was cut in to a strip and added to the card with more foam tape.
 
SUPPLIES:

Here are the links to what I have used on the card. Affiliate links are used on some products. This means that if you make a purchase after clicking on my link, I receive a small commission with no extra cost to you. I truly appreciate your support when using these links. Please click on the logo below the product to shop at your favourite store. All products were personally purchased except those from Clearly Besotted, Hero Arts or those marked with an asterisk (*) which were kindly sent to me to use. You can read my full disclosure here.
 
 
I think the dragonfly looks so pretty on vellum. I think it gives a lovely softness to the card against the brighter ink blending. Thank you so much for stopping by to see me today, I really do appreciate it. I hope you have a great day!

22 April 2019

Birthday Butterfly

Hello there, today I have a card to share that was very quick to put together. I tend to keep all the background pieces that I have made and never used. I never know when I might need one for a quick card. I especially do this a lot with alcohol ink backgrounds. When using alcohol ink, I tend to make a few backgrounds in one go, even if I have no idea what I will use them for at the time, to make the most of spending time cleaning up afterwards. For this card, I used one of those backgrounds.
 

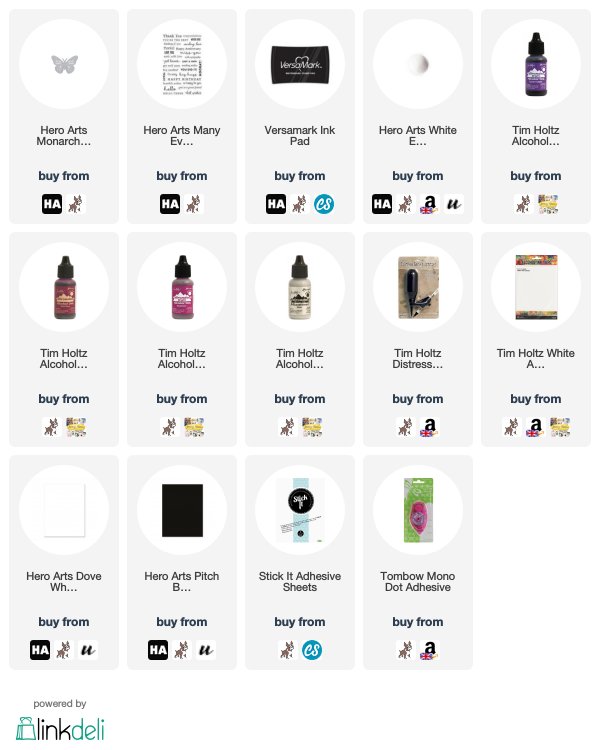
The background was made by applying alcohol inks to Yupo paper and using the Distress Marker Spritzing Tool to move the ink around. I used Raspberry, Wild Plum and Purple Twilight on this piece, as well as a little Silver Mixative. I cut the piece down and added it to the front of an A2 white card base with tape runner.
 
 
I took Dove White Hero Hues Cardstock and added Stick It to the back. I then ran three pieces through my die cutting machine with the Hero Arts Monarch Butterfly Fancy Die. These were adhered one on top of each other and then in to the middle of the card. I took the sentiment from the Hero Arts Many Everyday Messages Stamp Set and stamped it on to Pitch Black Hero Hues Cardstock with Versamark Ink. I applied white embossing powder and heat set. It was then cut in to a strip and added to the card with tape runner.
 
SUPPLIES:

Here are the links to what I have used on the card. Affiliate links are used on some products. This means that if you make a purchase after clicking on my link, I receive a small commission with no extra cost to you. I truly appreciate your support when using these links. Please click on the logo below the product to shop at your favourite store. All products were personally purchased except those from Clearly Besotted, Hero Arts or those marked with an asterisk (*) which were kindly sent to me to use. You can read my full disclosure here.


I really like how the white and black pop against the bright background. Do you keep your background scraps? Thanks so much for visiting me today. I hope you have a wonderful day!

20 April 2019

Happy Easter

Hello there, wishing you all a very happy Easter, if you celebrate, if not, happy weekend! I am here today to share a card that I made for my mum for Easter. I used the adorable Bella from Purple Onion Designs. I have used her before for general cards but I thought she would look cute on an Easter card too.
 

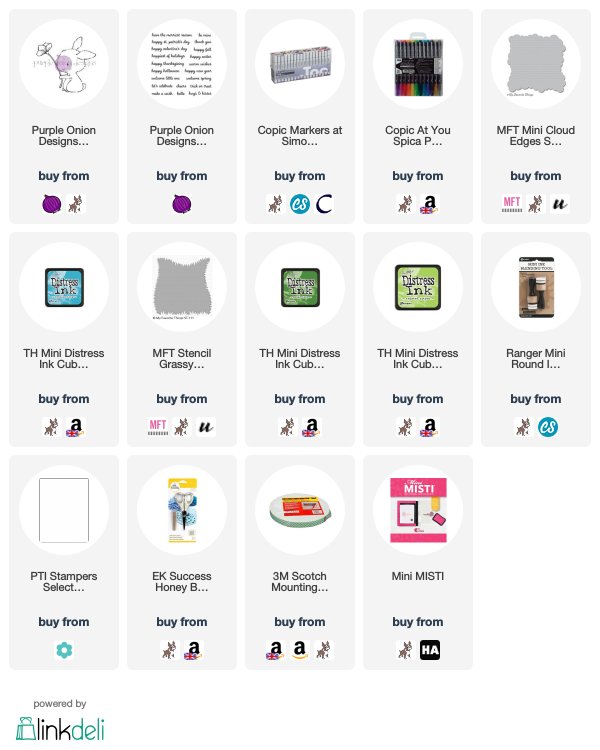
I started off by stamping Bella (Bunny Holding Long Flower) on to white cardstock with Memento Tuxedo Black Ink. I coloured her with Copic Markers (the colours that I used are listed below the supplies section) and then fussy cut her out with scissors. I took an A2 white card base and blended clouds on to the top section. I used Broken China Distress Ink, along with the MFT Mini Cloud Edges Stencil.
 
 
I then took the MFT Grassy Edges Stencil and added a little grass section at the bottom of the clouds. I used Twisted Citron and Mowed Lawn Distress Inks for this. I took the sentiment from the Purple Onion Designs Sweet Occasions Sentiment Set and stamped it on to the grass with Memento Tuxedo Black Ink. Bella was then added on with foam tape. To finish off, I added a few dots of Spica Glitter Pen to the flower.
 
SUPPLIES:

Here are the links to what I have used on the card. Affiliate links are used on some products. This means that if you make a purchase after clicking on my link, I receive a small commission with no extra cost to you. I truly appreciate your support when using these links. Please click on the logo below the product to shop at your favourite store. All products were personally purchased except those from Clearly Besotted, Hero Arts or those marked with an asterisk (*) which were kindly sent to me to use. You can read my full disclosure here.
 
 
COPIC MARKERS: Bunny - N5, N3, N2, N1, N0, R00, R000. Flower - Y17, Y15, Y13, Y11, Y00, G43.
 
A very simple card but I thought it was sweet! Thank you so much for stopping by today, I really do appreciate it. I hope you have a wonderful weekend, whatever you are up to!

17 April 2019

May All Your Dreams Come True

Hello there, today I have a card to share using the beautiful Picture It Fairy Tale stamp set from Clearly Besotted. This image works perfectly to use with critters and such but I thought it would look really pretty on it's own too.
 

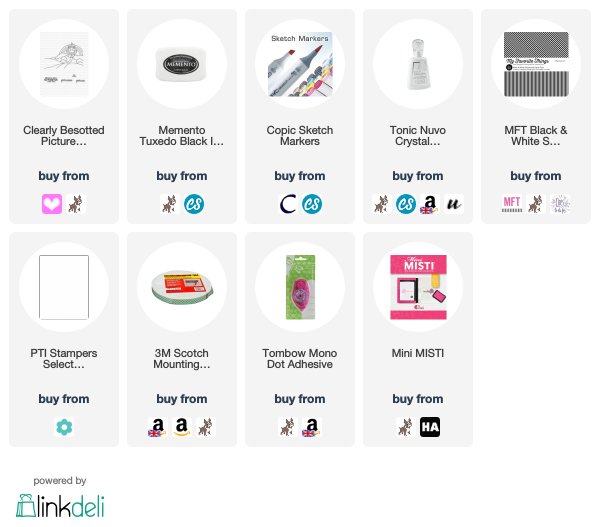
I started off by stamping the background image on to white cardstock, with Memento Tuxedo Black Ink. I then stamped the sentiment from the Picture It Fairy Tale stamp set in the top left hand corner. The image panel was then simply coloured with Copic Markers (the colours that I used are listed below the supplies area).
 
 
I added a strip of MFT Black & White Striped Paper to the left hand side of an A2 white card base and then added the image panel with foam tape. To finish off, I added Crystal Glaze to the castle.
 
SUPPLIES:

Here are the links to what I have used on the card. Affiliate links are used on some products. This means that if you make a purchase after clicking on my link, I receive a small commission with no extra cost to you. I truly appreciate your support when using these links. Please click on the logo below the product to shop at your favourite store. All products were personally purchased except those from Clearly Besotted, Hero Arts or those marked with an asterisk (*) which were kindly sent to me to use. You can read my full disclosure here.
 
 
COPIC MARKERS: Sky - B02, B01, B00, B000, B0000. Grass and bushes - YG67, YG17, YG23, YG03, YG01. Path - E44, E43, E42, E41. Castle - N8, N7, N3, N2, N1, V17, V15, V12. Rainbow - R85, R83, R81, YR16, YR15, YR12, Y17, Y15, Y13, Y11.
 
It is a bit of an odd layout, but I'm going with it! :) Thank you so much for popping by to see me today, I really do appreciate it. I hope you are all well and have a great day!

15 April 2019

VIDEO | Subtle Background with Dry Embossing

Hello there, today I am over on the Hero Arts blog taking a look at creating a subtle background with dry embossing.
 
 
I used the beautiful Color Layering Dragonfly for my focal point and the 3-Part Ornament Frame Cuts for the embossed background. I really like how the dry embossing brings your eye in to the dragonfly.
 
VIDEO:
 
Here is the video showing how I made the card:


If you are viewing this blog post via email subscription, you can watch the video here on YouTube.
 
SUPPLIES:

Here are the links to what I have used on the card. Affiliate links are used on some products. This means that if you make a purchase after clicking on my link, I receive a small commission with no extra cost to you. I truly appreciate your support when using these links. Please click on the logo below the product to shop at your favourite store. All products were personally purchased except those from Clearly Besotted, Hero Arts or those marked with an asterisk (*) which were kindly sent to me to use. You can read my full disclosure here.
 
 
For more information, please visit the blog post on the Hero Arts Blog. Thanks so much for stopping by today, have a great day!

11 April 2019

VIDEO | Ombré Alcohol Ink Backgrounds With One Ink

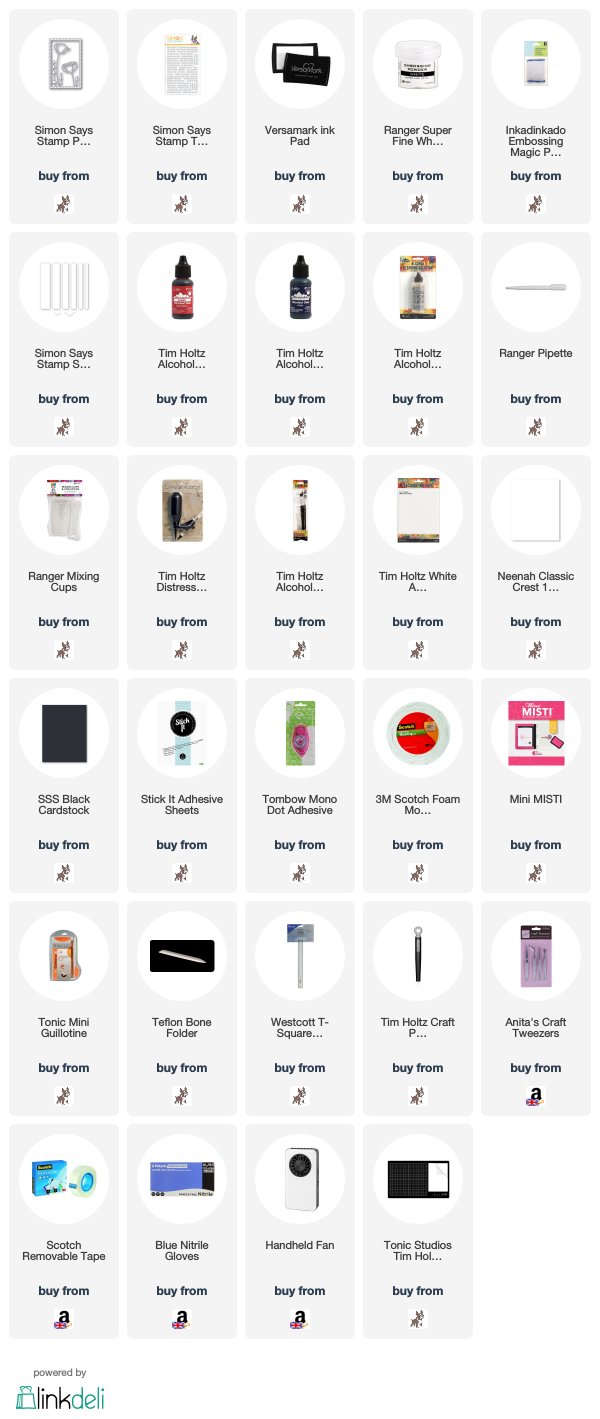
Hello there, today I have two cards to share with you that I made using alcohol inks. I wanted to create an ombré look but using only one colour of alcohol ink. I am combing the backgrounds with the new Simon Says Stamp Poppy Frame Die from the new Blossoms and Butterflies collection, which is out today.
 
 
I started off my cards by creating the background. I took Yupo Paper and first added the colour on to the bottom piece directly from the alcohol ink bottle. I used Watermelon for the red and Indigo for the blue. I wanted a fragmented/harsh line look on my backgrounds, so I spritzed it using the Distress Marker Spritzer Tool. This blows air on to the alcohol ink and moves it, as well as dries it.
 
 
I then added a small amount of the same ink in to a mixing cup and added Alcohol Ink Blending Solution to it. This lightens the colour so that I can create my middle shade of ink. I used a pipette to apply this to the Yupo paper. I added drops to the middle of the Yupo pieces, making sure to add some over the top of the edge of the dark area to help blend it. I then added more Alcohol ink Blending Solution to the cup and applied the ink in the same way, to the top of the piece. If the colour was not light enough, I added drops of the Alcohol ink Blending Solution directly to the top, to lighten it further.
 
 
Once I was happy with the ombré, I splattered on some of the Alcohol ink Blending Solution with a paint brush. This helped to create a blend between the colours and also gave more texture to the piece. These were then set aside to dry. Once dry, they were cut down to be the same size as my die cut.
 
 
I took the Simon Says Stamp Poppy Frame die and die cut this six times from white cardstock, that had Stick It on the back. I layered these up to create two stacked die cut pieces, each with three layers. These were added to the alcohol ink backgrounds and then added to white A2 card bases with tape runner.
 
 
I took the sentiments from the Simon Says Stamp Tiny Words stamp set and stamped these on to black cardstock with Versamark Ink. I applied white embossing powder and heat set. These were then cut in to strips using the Simon Says Stamp Sentiment Labels dies and added to the cards with a combination of mounting tape and tape runner.
 
VIDEO:

Here is a look at how I made the cards:


 If you are viewing this blog post via email subscription, you can watch the video here on YouTube.
 
SUPPLIES:

Here are the links to what I have used on the card. Affiliate links are used on some products. This means that if you make a purchase after clicking on my link, I receive a small commission with no extra cost to you. I truly appreciate your support when using these links. Please click on the logo below the product to shop at your favourite store. All products were personally purchased except those from Clearly Besotted, Hero Arts or those marked with an asterisk (*) which were kindly sent to me to use. You can read my full disclosure here.
 
 
I really like how the ombré turned out. As I mentioned in the video, you can do this with three shades of alcohol ink and you may get more definition of the colours but I wanted to see if you could do it with just one ink too. Thank you so much for stopping by today. I hope you have a great day!

10 April 2019

Easter Egg Treat Boxes

This is a sponsored conversation written by me on behalf of Cricut. The opinions and text are all mine.

Hello there, following on from my posts reviewing the Cricut Maker and the Cricut EasyPress 2, I am back to share my final post of the series with you. Since I made quite a few projects when reviewing the EasyPress 2 (you can see that post here), I thought I would focus today on the Maker. If you haven't already seen it, you can see my review of that here). I thought it would be fun to create some Easter treat boxes as I like to make some every year.

 
I first looked in Design Space to see if there were any ready-made projects that I could make. There was lots of different ideas on there but I decided to create something myself using the image files. First of all, I found the Chocolate Box (#M97AA7) from the Fancy Boxes collection.
 
 
The box cuts an opening in the front to add a contrasting colour of cardstock behind, but I thought it would be fun to replace that with acetate and add a greeting to the acetate with vinyl. I took a piece of purple cardstock and placed this in the Maker to cut and score the box. I used the Scoring Wheel for the scoring and it worked wonderfully! I love that Design Space tells you to add the Scoring Wheel in first, it does what it needs to do and then it prompts you to add in the Premium Fine Point Blade to do the cutting.
 
 
Once the boxes were cut I added a piece of acetate behind the opening. You can get the Maker to cut this for you but I decided to just adhere a piece behind the window. I then worked on the sentiment for the window. I found a sentiment in Design Space images called Hippity Hoppity Happy Easter (#M9FFC85C) from the Shake Your Bunny Tail collection.
 

I didn't want the whole phrase so I edited it to remove the hearts and the 'hippity hoppity' part. This was cut on to white vinyl. I weeded the sentiment and then using Transfer Tape, I added the vinyl wording to the acetate. I found that the scraper tool from the Essential Tools Set helped with this.
 

I then constructed the boxes (they assemble very easily) and added mini chocolate eggs inside. To finish off, I added ribbon through the top holes to tie them together.
 
 
I did make the boxes a little bigger than they originally are in Design Space to accommodate my eggs but that is the great thing with using the Maker to make things like this, you can make them any size you need to.
 
I have had a lot of fun working with the Cricut Maker and EasyPress 2 over the last couple of months. It has been really nice to do something different. I hope you have enjoyed the series and I hope to share other things that I make with the machines soon. Thank you so much for stopping by today, I really do appreciate it.

5 April 2019

Birthday Balloons

Hello there, today I have a card to share that I made for my dad for his birthday. I was inspired by this card from Laurie and just changed it slightly to fit my design.
 

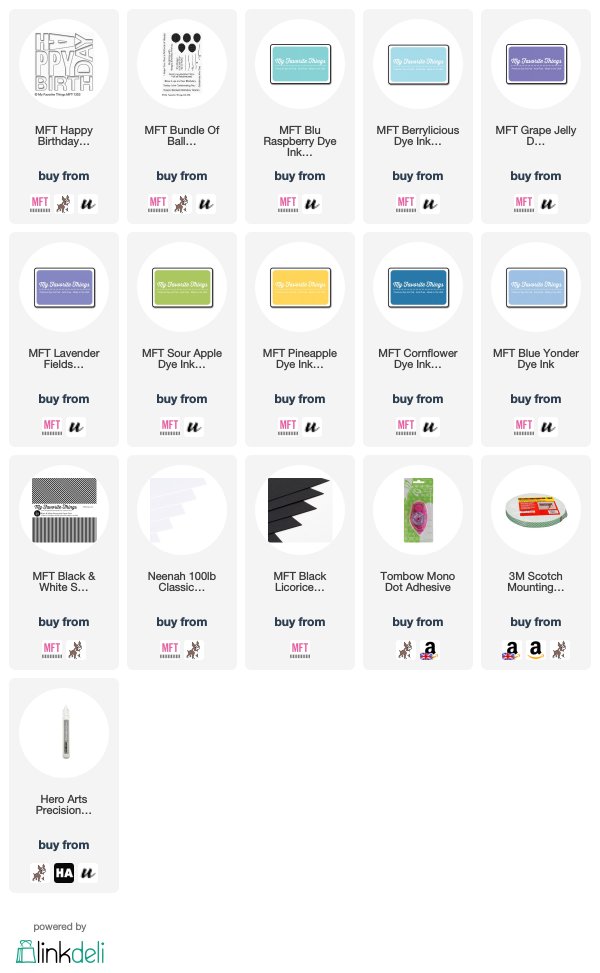
I started off by taking a panel of white cardstock and stamping the balloons from the MFT Bundle Of Balloons stamp set on to it. I stamped all five sizes/shapes randomly across the panel using various shades of MFT ink. I then die cut this panel using the MFT Happy Birthday Block die and made sure to keep all the pieces. I cut the die again three times from black cardstock.
 
 
I took the stamped panel and added a layer of printer paper on the back (this is so that I can pop it up on foam tape but still have something to adhere the letters to). I then placed the letters that I cut from black cardstock inside, one on top of another, with liquid glue. I made sure to add the inside pieces of the letters in and then added the top layer of the letters which were cut from the stamped panel. This gives a continuation of the design but because of the layers, it shows up the letters too.
 
 
I took an A2 white card base and added a strip of MFT Black & White Striped Paper to the bottom. I then added the panel on top with foam tape. To finish off, I added a small strip of black cardstock between the layers.
 

SUPPLIES:

Here are the links to what I have used on the card. Affiliate links are used on some products. This means that if you make a purchase after clicking on my link, I receive a small commission with no extra cost to you. I truly appreciate your support when using these links. Please click on the logo below the product to shop at your favourite store. All products were personally purchased except those from Clearly Besotted, Hero Arts or those marked with an asterisk (*) which were kindly sent to me to use. You can read my full disclosure here.
 
 
I really like how this card turned out and I love those balloons! Thank you so much for visiting me today, I very much appreciate it. I hope you have a great day and a wonderful weekend!

3 April 2019

VIDEO | Raskog Cart Organisation 2019

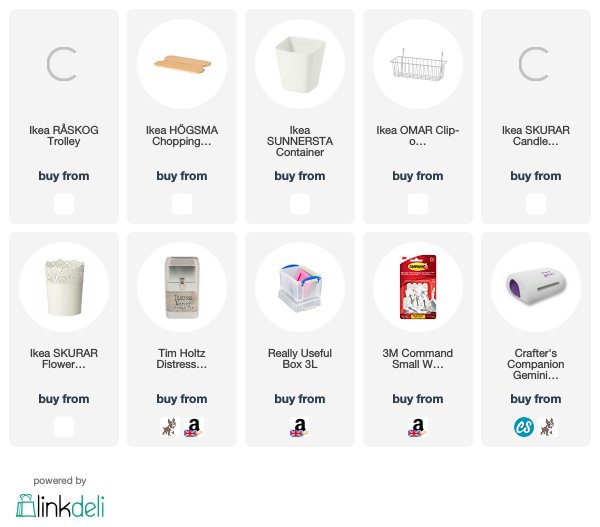
Hello there, if you have been following me for a little while, you will know that I love my Raskog cart. It holds so much stuff and when you have a small craft room like mine, you need all the storage space you can get! I recently picked up the Hogsma Cutting Board to put on the top of it to create a die cutting station for myself.
 
 
The Hogsma Cutting Board has indentations at the side so that it sits perfectly on the top of the Raskog. Up until now, I have been getting my die cutting machine out of my cupboard each time I want to use it and put it back in afterwards. To be honest with you, this has become hard work and so I wanted to see if I could keep it out all of the time. I was not keen to have it on my desk (I like to keep my desk fairly clutter free, where possible) but as soon as I saw the Hogsma Chopping Board, I knew it would be perfect to use for die cutting.
 
 
I do also use a Spellbinders Platinum 6 for die cutting but I can easily grab that and put it on my desk to use it, if needed, as it has a handle. The Gemini Junior doesn't, so that's why I opted to put the Gemini Junior on there as it is harder to move. There is enough space on the top to run my cutting plates through and I have a plug socket next to my Raskog so I can plug my Gemini Junior in when I am using it. I added a 3M hook to the back so that I can hang up the cord to keep it out of the way.
 
 
The great thing with the board is that the cups still fit underneath which is really helpful for me. I have the older Bygel cups but the newer Sunnersta fit as well. Underneath the board there is still room to put things. At the moment, I just have a Cricut Trimmer and pens in it but I will likely add more as time goes on. I am thinking that when I am using my Cricut Maker, I can move my die cutting machine and place the Maker on top, so it will have two uses :)
 
 
The next tier of my cart holds a lot of my pens and pencils. I have them in the Skurar cups from Ikea. The small ones are labelled as candle holders and these hold my multi-liners, water brushes, gel pens, sparkle pens etc. the bigger version are labelled as plant pots and in these I have my Zig Clean Color Real Brush Pens, Arteza Real Brush Pens, Prismacolor pencils and Derwent Coloursoft pencils. I have a basket at the front which holds paper towels. Sadly, this has been discontinued but the OMAR Clip On Basket looks very similar.
 
 
The bottom tier holds more cups. these ones hold mini misters and dropper bottles, Aletenew Artist Markers and Tonic Nuvo Aqua Flow pens. I have my Distress Markers in the Tim Holtz Tin and next to that my Copic Refills in a Really Useful Box, as well as my Copic Airbrush attachments and some gloves.
 
 
To the side of the cart are my heat tools (and an art brush), these are clipped on with 3M hooks.
 
VIDEO:
 
Here is the video showing my updated organisation:


If you are viewing this blog post via email subscription, you can watch the video here on YouTube.
 
SUPPLIES:

Here are the links to what I shared in the video. Affiliate links are used on some products. This means that if you make a purchase after clicking on my link, I receive a small commission with no extra cost to you. I truly appreciate your support when using these links. Please click on the logo below the product to shop at your favourite store. All products were personally purchased except those from Clearly Besotted, Hero Arts or those marked with an asterisk (*) which were kindly sent to me to use. You can read my full disclosure here.
 
 
I really like how this is working for me. I am finding it so much easier to die cut now. Thank you so much for stopping by today, I really do appreciate it. I hope you have a great rest of the day!
End of code