31 July 2022

Clearly Besotted Teasers | Ring Around Fall

Hello there and welcome to day four of the Clearly Besotted August Teasers. Only one more sleep till release day tomorrow! I still have two more teasers to share with you though. Today I am using the Ring Around Fall set again, but this time with the beautiful wreath image and also combining it with the Balloon Bunch Autumn set. 

The Balloon Bunch Autumn set consists of lots of critters and balloons that can be combined to make some fun scenes. I used it a little differently however! 

PLEASE NOTE: This post contains affiliate links. Please see below for my full disclosure.


I started off by stamping the fox from the Clearly Besotted Balloon Bunch Autumn Stamp Set on to a panel of white cardstock using Memento Tuxedo Black Ink. I then made a mask for him using masking paper, fussy cut it out and placed it on top of the image. I then took the wreath image from the Clearly Besotted Ring Around Fall Stamp Set and stamped it on top. I removed the masking paper and it looks like the little fox is sitting on the wreath - so cute! 


I coloured them with Copic Markers (the colours that I used are listed below the supplies area) and then fussy cut them out with scissors. The image was adhered to an A2 white card base (with scoring lines on. Sadly they do not show up in photos) using thin foam tape. 


I took the sentiment from the Clearly Besotted Balloon Bunch Autumn Stamp Set and stamped it on to black cardstock with Versamark Ink. I applied White Embossing Powder and heat set. It was cut in to a strip and added to the card with more thin foam tape. To finish off, I added white gel pen highlights to the images and Little Things from Lucy's Cards Ice Cube Jewels to embellish. 

SUPPLIES:


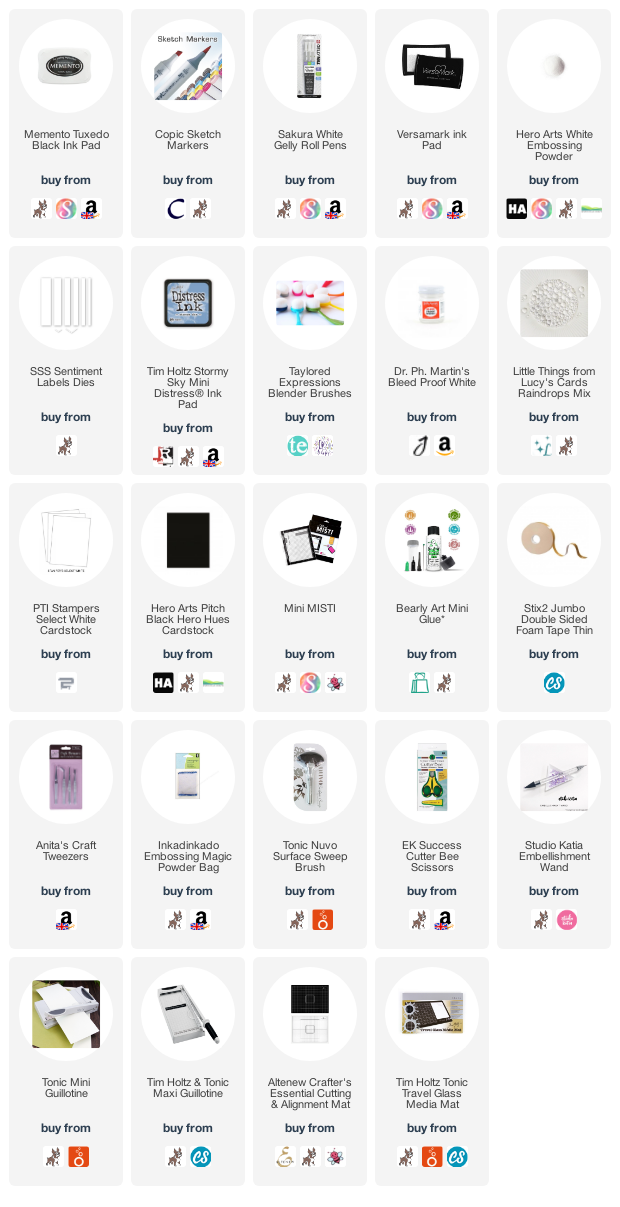
Here are the links to what I have used on the project. Affiliate links are used on some products. This means that if you make a purchase after clicking on my link, I receive a small commission with no extra cost to you. I truly appreciate your support when using these links. Please click on the logo below the product to shop at your favourite store. All products were personally purchased except those from Clearly Besotted, Hero Arts or those marked with an asterisk (*) which were kindly sent to me to use. You can read my full disclosure here.


COPIC MARKERS: Fox - E19, E13, E11, E30, E00, E0000. Mushrooms - R89, R39, R37, R35/E59, E57, E55, E53, E51/C3, C1. Sunflowers - E49, E79, E77, E74/YR27, Y17, Y15, Y13, Y11. Leaves - G28, G46, G82, G43/G29, YG17, YG23, YG01. Wheat - E44, E43, E42, E41. 

The tiny fox does get a little lost amongst the wreath but he was too cute not to use! For more inspiration using the new release, please head over to the Clearly Besotted Blog, Keren, Francine and Alberto. Thank you so much for stopping by today, I really appreciate it. I have one more teaser to share with you tomorrow before the reveal! Have a lovely day!

30 July 2022

Clearly Besotted Teasers | Sunflowers For You

Hello there and welcome to day three of the Clearly Besotted August 2022 Teasers. Release day is 1st August 2022. I hope that you have been enjoying the teasers so far. There are still a few more days left! Today I am using the new Ring Around Fall set. This set features a beautiful wreath (which I will be using tomorrow) as well as the sunflowers that I am using today. 

PLEASE NOTE: This post contains affiliate links. Please see below for my full disclosure.


I started off by stamping the sunflowers from the Clearly Besotted Ring Around Fall Stamp Set on to a panel of white cardstock using Memento Tuxedo Black Ink. I then coloured the image using Copic Markers. For the background, I added in some dots using Copic Markers for the sky. I wanted there to be some colour but I didn't want it to be solid and dots work well for that. 


The panel was adhered to an A2 white card base with tape runner. I took the sentiment from the set and stamped it on to black cardstock with Versamark Ink. I applied White Embossing Powder and heat set. It was cut in to a strip and added to the card using thin foam tape. To finish off, I added a few white gel pen dots. 

SUPPLIES:


Here are the links to what I have used on the project. Affiliate links are used on some products. This means that if you make a purchase after clicking on my link, I receive a small commission with no extra cost to you. I truly appreciate your support when using these links. Please click on the logo below the product to shop at your favourite store. All products were personally purchased except those from Clearly Besotted, Hero Arts or those marked with an asterisk (*) which were kindly sent to me to use. You can read my full disclosure here.


COPIC MARKERS: Sunflower petals - YR27, Y17, Y15, Y13, Y11. Centres - E49, E79, E77, E74, E71. Stems and leaves - G28, YG17, YG23, YG01. Sky/background - B01, B00, B000, B0000.

A really simple card but I think that image really packs a punch and is so beautiful! It could be combined with lots of critters too though. For more inspiration using the new release, please head over to the Clearly Besotted Blog and my fantastic teamie Keren. We also have our wonderful resident guests with us this month - Francine and Alberto. Thanks so much for stopping by today, see you tomorrow! 

29 July 2022

Clearly Besotted Teasers | Floating Feathers

Hello there and welcome to day two of the Clearly Besotted August 2022 Teasers. Release day is 1st August 2022 but we will be sharing teasers using the new sets until then. Today I am using the beautiful new Floating Feathers set. This is such a pretty set with clouds, lots of critters with feathers and lovely sentiments too.

PLEASE NOTE: This post contains affiliate links. Please see below for my full disclosure.


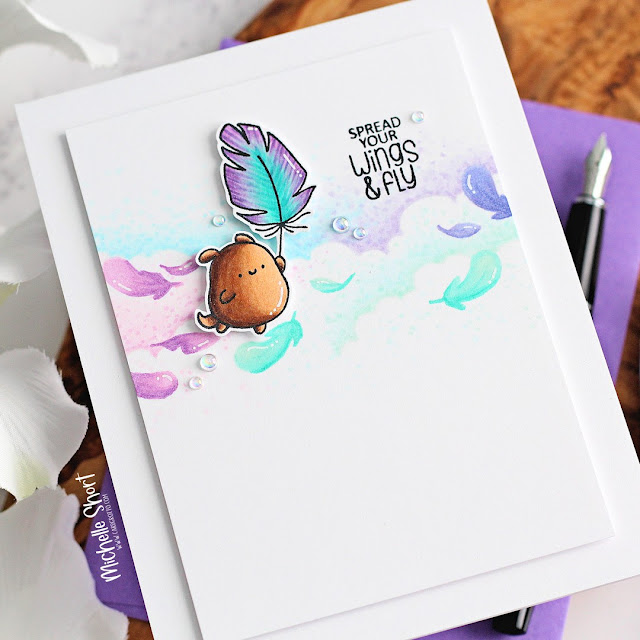
I started off my card by stamping the cloud and feathers image from the Clearly Besotted Floating Feathers Stamp Set on to a panel of white cardstock using Hero Arts Contour Ink. This is a very pale grey colour that is perfect for no-line colouring. I also stamped the dog with the feather on a separate piece of cardstock, this time using Memento Tuxedo Black Ink


Both the panel and image were coloured using Copic Markers (the colours that I used are listed below the supplies area for reference). I then stamped the sentiment from the set on to the panel with Memento Tuxedo Black Ink. It was adhered to an A2 white card base with thin foam tape. 


I fussy cut the dog and feather image using scissors and then adhered it on to the card with more thin foam tape. To finish off, I added a few Little Things from Lucy's Cards Bubbles and white gel pen highlights on the images. 

SUPPLIES:


Here are the links to what I have used on the project. Affiliate links are used on some products. This means that if you make a purchase after clicking on my link, I receive a small commission with no extra cost to you. I truly appreciate your support when using these links. Please click on the logo below the product to shop at your favourite store. All products were personally purchased except those from Clearly Besotted, Hero Arts or those marked with an asterisk (*) which were kindly sent to me to use. You can read my full disclosure here.


COPIC MARKERS: Dog - E59, E57, E55, E53, E51. Feather - V17, V15, V12/BG49, BG13, BG11, BG10. Clouds - B00, B000, B0000/BV00, BV000, BV0000/BG10, BG000, BG0000/V01, V000, V0000. Feathers - BV13, BV11, BV02/BG13, BG11, BG10/V15, V12, V01. 

Another adorable set and perfect for lots of different occasions/sentiments too. For more inspiration using the new release, please head over to the Clearly Besotted Blog, Keren, Francine and Alberto. Thanks so much for stopping by today, I very much appreciate it. Wishing you a wonderful day! 

28 July 2022

Clearly Besotted Teasers | Fall Corners

Hello there and welcome to day one of the Clearly Besotted August 2022 Teasers. I cannot believe that we are almost in August, this year is flying by! Since this is the August release, it means autumn and fall. Yes, I know it is still boiling hot but us crafters have to be ahead of the seasons! 

The release hits the shops on the 1st August 2022 at 8pm BST. From now until then, we will be sharing teasers with you using the new sets. 

PLEASE NOTE: This post contains affiliate links. Please see below for my full disclosure.


For my card today, I am using the adorable Clearly Besotted Fall Corners Stamp Set. This, as the name suggests, consists of two autumnal corner images plus another two stand alone image and lots of sentiments. I stamped one of the corner images from the set on to white cardstock with Memento Tuxedo Black Ink. It was coloured using Copic Markers and fussy cut out with scissors. 


I took a white A2 card base and added ink blending to the bottom left hand corner with Tim Holtz Stormy Sky Distress Ink and an ink blending brush. I splattered on Dr. Ph. Martin's Bleed Proof White Paint and then set it aside to dry. Once dry, the image was added on top with thin foam tape. 


I took the sentiment from the set and stamped it on to black cardstock with Versamark Ink. I applied White Embossing Powder and heat set. It was cut in to a strip and added to the card with more thin foam tape. To finish off, I added white gel pen highlights to the images and a few Little Things from Lucy's Cards Raindrops to embellish. 

SUPPLIES:


Here are the links to what I have used on the project. Affiliate links are used on some products. This means that if you make a purchase after clicking on my link, I receive a small commission with no extra cost to you. I truly appreciate your support when using these links. Please click on the logo below the product to shop at your favourite store. All products were personally purchased except those from Clearly Besotted, Hero Arts or those marked with an asterisk (*) which were kindly sent to me to use. You can read my full disclosure here.


COPIC MARKERS: Mushrooms - E59, E57, E55, E53, E51/R89, R39, R37, R35, R32/C3, C0. Grass - YG17, YG23, YG01. Tree stump - E49, E79, E77, E74. Gnome - E13, E11, E000/W5, W3, W1/B99, B97, B95, B93. 

This is such a cute set. I love that stack of mushrooms! For more inspiration using the new release please head over to the Clearly Besotted Blog and my amazing teamie Keren. We also have our fabulous resident guests with us this month - Alberto and Francine. Thank you so much for stopping by today, I hope you have a wonderful day! 

27 July 2022

Penguin Palace | Hugs

Hello there, I am delighted to be guest designing with Penguin Palace for the next couple of weeks. Penguin Palace are a Canadian craft company that ship worldwide. They are the innovators of the fabulous 360°™ stenciling tool but also specialise in stamps and dies too. I will be using some of their fabulous stamps and coordinating dies on my projects today. 

PLEASE NOTE: This post contains affiliate links. Please see below for my full disclosure.


For my projects today, I am using the adorable Inseparable set. This set features the most adorable hugging friends and family images. It also has some accompanying images, which I use on my tag. I wanted to use the bears for my card though, as I thought they would be perfect for a new baby card. 


I started off by stamping the image from the Penguin Palace Inseparable Stamp Set on to white cardstock with Memento Tuxedo Black Ink. I coloured them with Copic Markers (the colours that I used are listed below the supplies area) and then die cut out using the Penguin Palace Inseparable Perfect Cuts. I also die cut the image another two times, so that I could stack them on top of another for some added dimension. 


I took a heart die cut and added ink blending to it with Distress Inks. I used Black Soot for the ground and Unchartered Mariner Oxide, Peacock Feathers and Salvaged Patina for the top. It was adhered to a mini slimline card base (3.5" x 6.25") and then the bears added on top. 


I took the sentiment from the same set and stamped it on to black cardstock with Versamark Ink. I applied white embossing powder and heat set. It was die cut out with the coordinating dies and added to the card. To finish off, I added a few Little Things from Lucy's Cards Ice Cube Jewels


I couldn't resist creating a little tag too but this time, I wanted to use the smaller, accompanying images from the set. I stamped the envelope (twice) and leaf fronds from the Penguin Palace Inseparable Stamp Set on to white cardstock with Memento Tuxedo Black Ink


They were coloured with Copic Markers and die cut out using the Penguin Palace Inseparable Perfect Cuts. I die cut a tag from white cardstock and popped a heart die cut on top. I took the sentiment from the Penguin Palace Unity and Friendship Quotes Stamp Set and stamped it on to black cardstock with Versamark Ink. I applied white embossing powder and heat set. 


It was die cut using the Penguin Palace Unity and Friendship Quotes Perfect Cuts and then added to the tag. The envelopes and leaf fronds were added above with a combination of liquid glue and thin foam tape. To finish off, I added twine through the tag and tied in a bow and then embellished with Little Things from Lucy's Cards Bubbles and Tonic Crystal Glaze on the hearts. 

SUPPLIES:


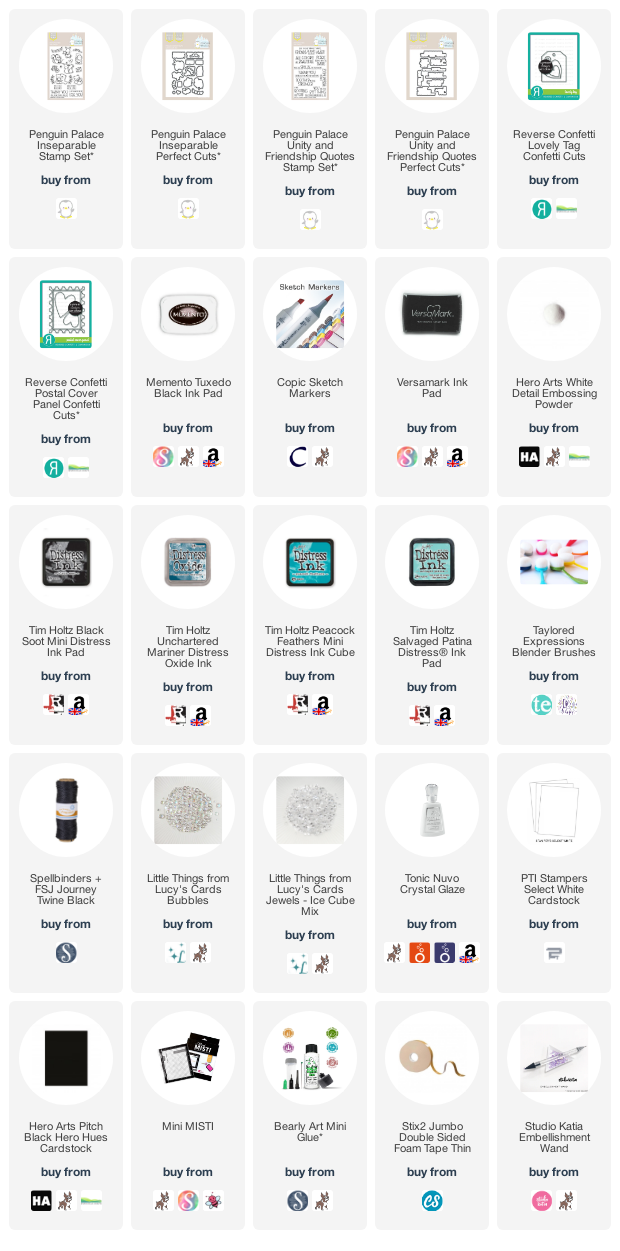
Here are the links to what I have used on the projects. Affiliate links are used on some products. This means that if you make a purchase after clicking on my link, I receive a small commission with no extra cost to you. I truly appreciate your support when using these links. Please click on the logo below the product to shop at your favourite store. All products were personally purchased except those from Clearly Besotted, Hero Arts or those marked with an asterisk (*) which were kindly sent to me to use. You can read my full disclosure here.


This set is absolutely adorable. I have already coloured some of the other images and hope to use them soon! For more inspiration, please head over to the Penguin Palace Blog. Thank you so much for stopping by today, I really appreciate it. I hope you have a great day! 

25 July 2022

Spellbinders | Parcel & Post Mailbox

Hello there, today I have two cards to share with you using the fabulous Parcel & Post Collection from Spellbinders. The collection features a mailbox die (with some foliage and a cute little envelope), Christmas foliage, glimmer foil sentiments and ones in stamp format too. There is also a heart decorations set so that you can decorate the mailboxes for Valentine's - so cute! 

PLEASE NOTE: This post contains affiliate links. Please see below for my full disclosure.


I started off my cards by die cutting the elements from the Spellbinders Parcel & Post Mailbox Etched Dies for the mailboxes themselves. I used Spellbinders Phone Booth Cardstock for the main body and then C9 Cranberry for the darker piece at the side (barely a difference in the photos, a slight difference in real-life). I die cut the envelopes from Spellbinders Alabaster Cardstock. The handles were cut from Hero Arts Gold Glitter Cardstock. As you can see, the mailbox actually opens at the top, so that you can pop mail and foliage inside! 


For the sentiments, I foiled the Spellbinders Christmas Mailbox Greetings Glimmer Hot Plate (there are four individual plates in the set) on to white cardstock using Spellbinders Champagne Foil. They were then die cut out using the die from the mailbox set and popped up with additional layers. The mailboxes were assembled using Bearly Art Glue


I ran two panels of cardstock through my die cutting machine with the Spellbinders Dazzling Dots Embossing Folder. The panels were adhered to A2 card bases and then the mailboxes added on top with thin foam tape. I then set about decorating them! I die cut the foliage pieces from the Spellbinders Parcel & Post Christmas Decorations Etched Dies set from Spellbinders Fern, Rainforest and Poppy Fields Cardstock. 


The additional pine fronds are from the Spellbinders Winter Welcome Sled Etched Dies and the poinsettia from the Spellbinders Christmas Blooms Etched Dies. The smaller holly leaves are also from this set. The elements were popped inside and on top of the mailboxes using a combination of Bearly Art Glue, thin foam tape and foam squares. 


The hearts are from the Spellbinders Delicious Decorations Etched Dies set. On one card I cut it from red cardstock and added it to the envelope and the other, I die cut them from gold glitter cardstock to use as an accent/embellishment. To finish off, I added Color Essentials Gems to to both cards. 

SUPPLIES:


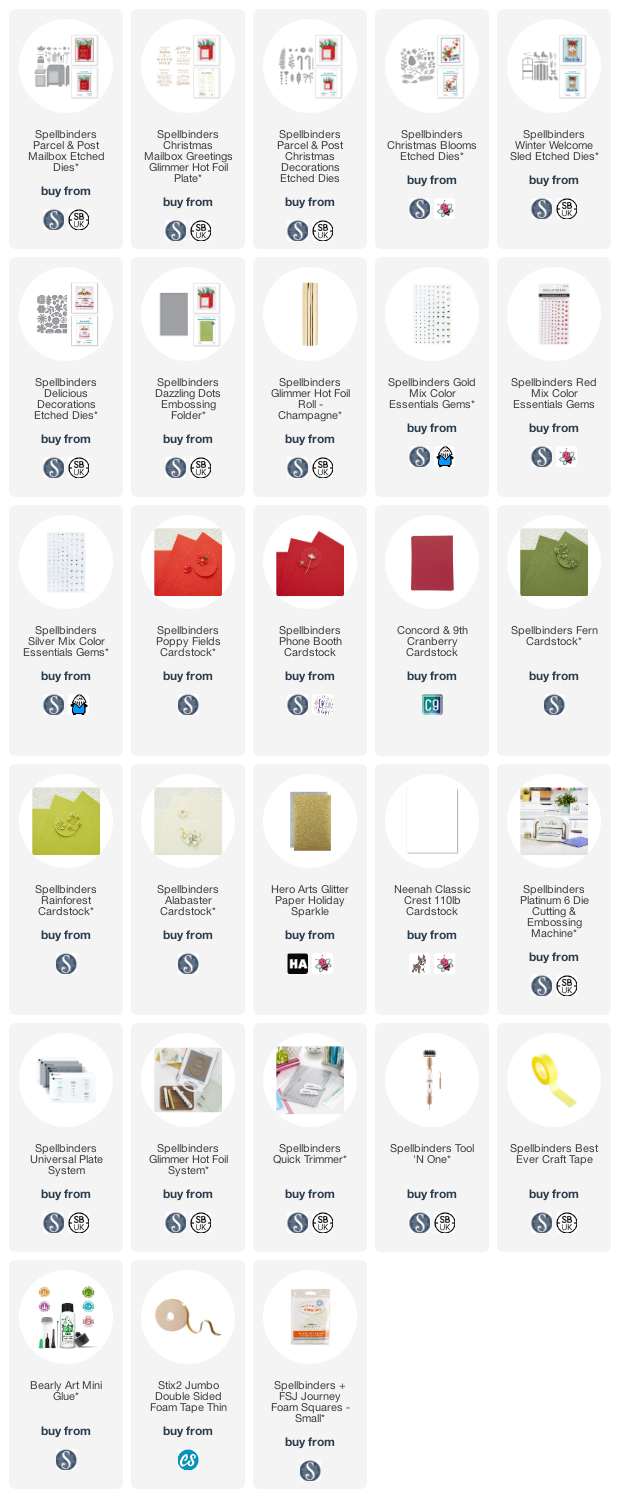
Here are the links to what I have used on the projects. Affiliate links are used on some products. This means that if you make a purchase after clicking on my link, I receive a small commission with no extra cost to you. I truly appreciate your support when using these links. Please click on the logo below the product to shop at your favourite store. All products were personally purchased except those from Clearly Besotted, Hero Arts or those marked with an asterisk (*) which were kindly sent to me to use. You can read my full disclosure here.


These are so fun to make and put together! You can embellish a little, a lot or not at all and as you can see, you can combine different sets as well. 

SPELLBINDERS UK STORE: You may have seen that Spellbinders now have a UK store! If you are in the UK or Europe, you can order from the shop and have no customs fees (if you are in the UK, I am not sure about Europe, sorry!) and a lot less shipping costs! Not everything is on there (compared to the US store) but they are slowly adding products when they can. If you are a UK kit subscriber, you can now sign up there too. 

Thanks so much for stopping by to see me today, I really do appreciate it. I hope you have a wonderful day. Take care!

21 July 2022

Hero Arts | One Embossing Powder Two Ways

Hello there, I am over on the Hero Arts Blog today sharing two ways to use one embossing powder. Clear embossing powder is great because if you add it to white cardstock and then ink blend over the top, you get the white cardstock showing through. If you stamp after ink blending, you get a lovely shiny watermark look.

PLEASE NOTE: This post contains affiliate links. Please see below for my full disclosure.


I am showing both ways on my cards today using the Candles Bold Prints, Reactive Inks and Birthday Stamp & Cut XL for the sentiment. These were pretty quick cards to put together and great for mass producing, if you like that sort of thing! 

SUPPLIES:


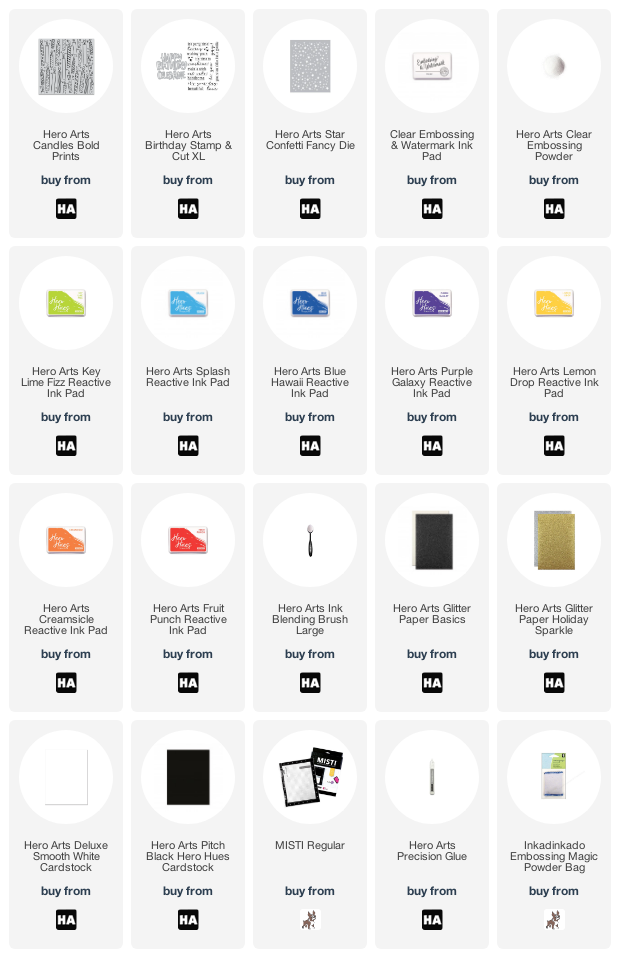
Here are the links to what I have used on the projects. Affiliate links are used on some products. This means that if you make a purchase after clicking on my link, I receive a small commission with no extra cost to you. I truly appreciate your support when using these links. Please click on the logo below the product to shop at your favourite store. All products were personally purchased except those from Clearly Besotted, Hero Arts or those marked with an asterisk (*) which were kindly sent to me to use. You can read my full disclosure here.


These cards work for the current Another Year Older Stay Crafty Challenge, which is to make birthday cards, so I hope you will check that out! For more details on the cards, please head over to the blog post HERE. Thanks so much for stopping by today, have a great day! 

Simon Says Stamp | Layered Hummingbird

Hello there, today I have a card to share with you using the new Layered Hummingbird die from Simon Says Stamp. It is part of their new Dream Big release which is out today. This hummingbird is so pretty, it layers up really easily and is a great size for a focal point. 

PLEASE NOTE: This post contains affiliate links. Please see below for my full disclosure.


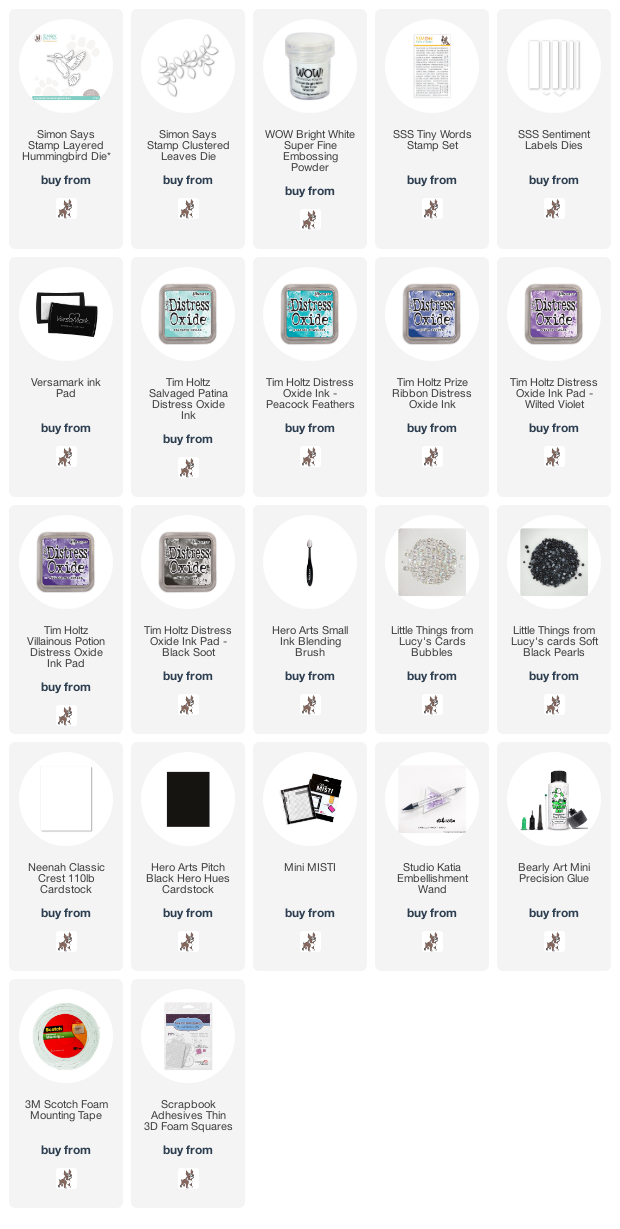
I started off by die cutting the Simon Says Stamp Layered Hummingbird Die from white cardstock. The die cuts all of the layers at once, which is helpful! Using Ink Blending Brushes, I blended on Distress Oxide Inks in Salvaged Patina, Peacock Feathers and Prize Ribbon for the body and head, plus a little on the wings. For the rest of the wings, I used Wilted Violet and Villainous Potion. For the beak I used Black Soot


I then adhered the layers together using Bearly Art Glue. There is a layer for the eye but instead, I adhered a Soft Black Pearl. I die cut the Simon Says Stamp Clustered Leaves Die three times from white cardstock and layered them one on top of another on an A2 white card base. I cut the excess off with scissors. 


The hummingbird was adhered on top with a combination of foam tape and thin foam squares (depending on where it overlapped the leaves). I took the sentiment from the Simon Says Stamp Tiny Words Stamp Set and stamped it on to black cardstock with Versamark Ink. I applied white embossing powder and heat set. It was cut in to a strip and added to the card with more thin foam tape. To finish off, I added a few Little Things from Lucy's Cards Bubbles

SUPPLIES:


Here are the links to what I have used on the project. Affiliate links are used on some products. This means that if you make a purchase after clicking on my link, I receive a small commission with no extra cost to you. I truly appreciate your support when using these links. Please click on the logo below the product to shop at your favourite store. All products were personally purchased except those from Clearly Besotted, Hero Arts or those marked with an asterisk (*) which were kindly sent to me to use. You can read my full disclosure here.


Thank you so much for stopping by today, I really do appreciate it. I will be back a little bit later with another blog post, but in the mean-time, I hope you have a great day! 

19 July 2022

Spellbinders | Celebrate the Season

Hello there, I am over on the Spellbinders Blog today sharing three projects using the new Celebrate the Season Collection which was released last week. The collection features lots of dies, foil plates, stamps and embossing folders. It is a fantastic collection for creating holiday/Christmas/winter projects but a few of the products can be used all year round, I think!

PLEASE NOTE: This post contains affiliate links. Please see below for my full disclosure.


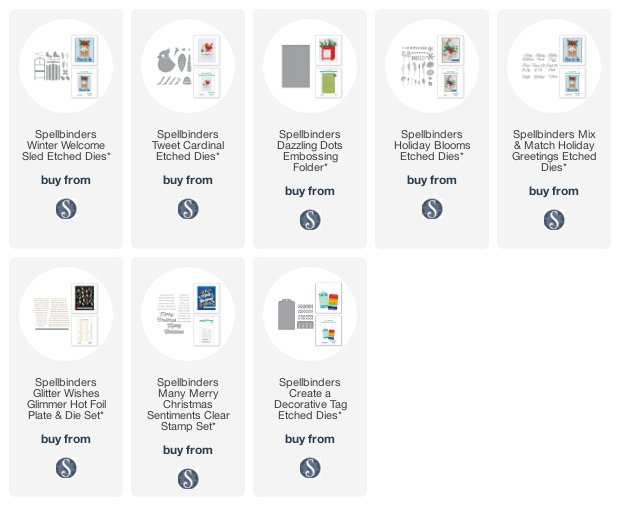
My first project uses the wonderful Winter Welcome Sled. This die set consists of a sled plus ice skates and some foliage. I used all three on my card to create my focal point. For my second project, I thought I would create a gift tag using the Tweet Cardinal, Dazzling Dots Embossing Folder and Holiday Blooms. That bird is so sweet! My final project uses the Holiday Blooms but in a more non-traditional color palette. I paired them with the fabulous Mix & Match Holiday Holiday Greetings

SUPPLIES:


Here are the links to what I have used on the projects. Affiliate links are used on some products. This means that if you make a purchase after clicking on my link, I receive a small commission with no extra cost to you. I truly appreciate your support when using these links. Please click on the logo below the product to shop at your favourite store. All products were personally purchased except those from Clearly Besotted, Hero Arts or those marked with an asterisk (*) which were kindly sent to me to use. You can read my full disclosure here.


For more details and a full supply list of how I made the projects, please head over to the Spellbinders Blog post HERE. This is such a great collection and I hope to use some of the other products from it soon too. Thank you so much for stopping by, have a wonderful day! 

18 July 2022

VIDEO | MFT Birthday Poppies

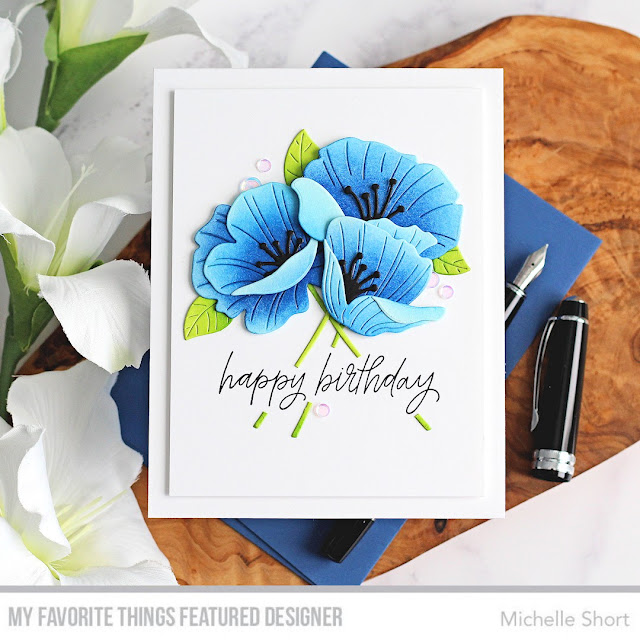
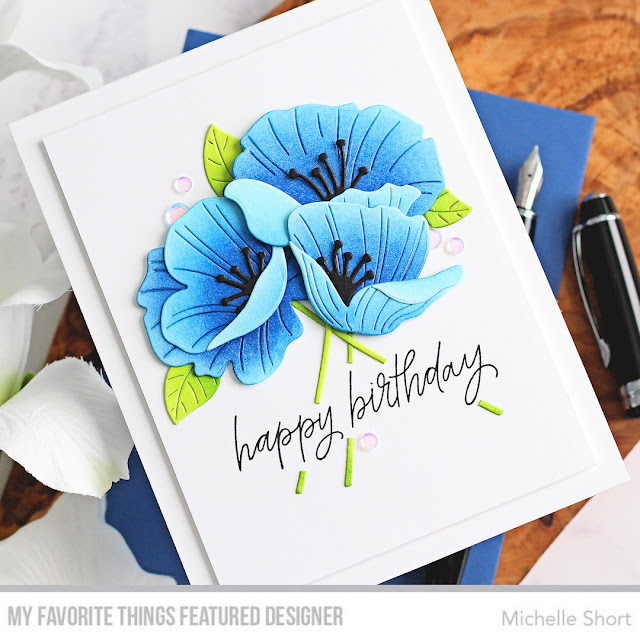
Hello there, I am over on the My Favorite Things YouTube channel today sharing a card using the Perfect Poppies dies. Although poppies are usually red, I wanted to make them blue for my card and create a birthday card. 

PLEASE NOTE: This post contains affiliate links. Please see below for my full disclosure.


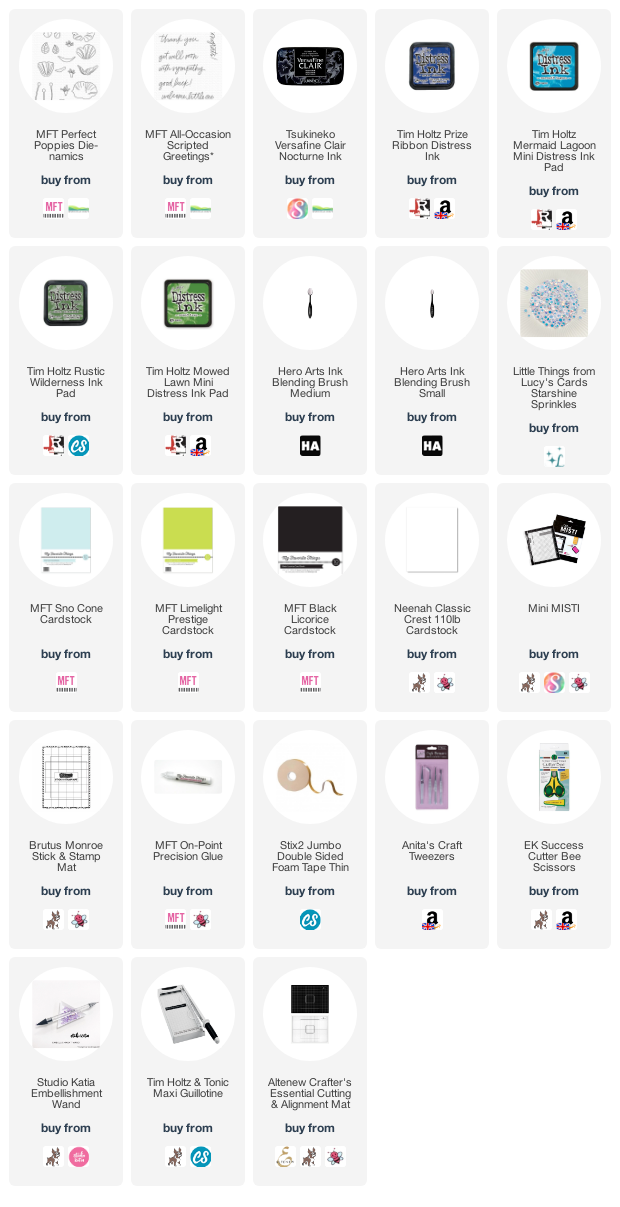
I started off by die cutting the MFT Perfect Poppies Die-namics from MFT Sno Cone Cardstock for the petals, MFT Limelight Cardstock for the leaves and stems and MFT Black Licorice for the stamens. I added ink blending to the petals and leaves with Distress Inks. I used Mermaid Lagoon and Prize Ribbon for the petals and Mowed Lawn and Rustic Wilderness for the leaves and stems. 


The pieces were then layered up and adhered with MFT On-Point Precision Glue. I took a 3.75" x 5" panel of white cardstock and stamped the sentiment from the MFT All-Occasion Scripted Greetings Stamp Set with Versafine Clair Nocturne Ink. I then adhered the stems on top, cutting them so that they could fit around the sentiment. 


The panel was adhered to an A2 white card base with thin foam tape. The poppies were then adhered on top with more thin foam tape. The leaves tucked underneath with more On-Point Precision Glue. To finish off, I added a few Little Things From Lucy's Cards Starshine Sprinkles. 

VIDEO:

Here is the video showing how I made the card:


If you are viewing this blog post via email subscription, you can watch the video HERE on YouTube. 

SUPPLIES:


Here are the links to what I have used on the project. Affiliate links are used on some products. This means that if you make a purchase after clicking on my link, I receive a small commission with no extra cost to you. I truly appreciate your support when using these links. Please click on the logo below the product to shop at your favourite store. All products were personally purchased except those from Clearly Besotted, Hero Arts or those marked with an asterisk (*) which were kindly sent to me to use. You can read my full disclosure here.


I think the blue poppies work quite well, but I am looking forward to trying these poppies in red too! Thank you so much for stopping by today, I really do appreciate it. I hope you have a wonderful day! Take care!

15 July 2022

Reverse Confetti | July 2022 Release Blog Hop

Hello there, I am delighted to be joining Reverse Confetti for their July 2022 Release Blog Hop today. This is such a fabulous release and my projects today give me all the summer vibes (we are in the middle of a heat waves here in the UK, so they are very appropriate!). More details on the hop below. 

PLEASE NOTE: This post contains affiliate links. Please see below for my full disclosure.


My first project uses the new Reverse Confetti Dog Days Stamp Set. This set features some super cool dogs (I use one on my next project) but I fell in love with the palm trees and sun image so wanted the focus to be on that. It was stamped on to white cardstock with Memento Tuxedo Black Ink. I then coloured it with Copic Markers (the colours that I used are listed below the supplies list) and die cut it out using the coordinating Reverse Confetti Dog Days Confetti Cuts


I took a panel of white cardstock and using the MFT Mini Cloud Edges Stencil, blended on Distress Inks for the clouds. I used Worn Lipstick at the top, followed by Dried Marigold and then Squeezed Lemonade. For the sand, I used the MFT Drifts & Hills Stencil and Antique Linen Distress Ink. The panel was adhered to an A2 white card base with thin foam tape. 


I die cut two additional layers of the image from white cardstock and stacked them up before adhering to the card. I stamped the sentiment from the Reverse Confetti Sunny Flower Stamp Set on to white cardstock with Versamark Ink. I applied White Embossing Powder and heat set. It was cut in to a strip and added to the card with more thin foam tape. To finish off, I added a few Lucy's Little Things Raindrops


I couldn't resist making a tag with the Reverse Confetti Dog Days Stamp Set, so I stamped the palm tree image again but masked off the smaller tree. I also stamped the dog with the surfboard. They were coloured using Copic Markers and die cut out. 


I die cut a Reverse Confetti Lovely Tag Die from white cardstock for the main tag and black cardstock for the hole reinforcer. On the white part, I added ink blending with Distress Inks for a subtle beach/sea/sky background. I used Antique Linen for the sand, Peacock Feathers for the water and Mermaid Lagoon for the sky. 


The images were added on top with thin foam tape. I stamped the sentiment from Reverse Confetti Dog Days Sentiments Stamp Set on to black cardstock with Versamark Ink. I applied white embossing powder and heat set. It was fussy cut out with scissors and added to the tag. To finish off, I added twine through the top of the tag and Nuvo Crystal Glaze to the dog's sunglasses. I also some white gel pen highlights to the images. 


My final project for today uses the new Reverse Confetti Sunny Flower Stamp Set. This stamp is great because you can really mix and match the different elements. There is an outline, a solid image, added detail, different flower centres etc. I stamped the flower outline and leaves images multiple times on to vellum using Versamark Ink


I applied white embossing powder and heat set. They were die cut out using the Reverse Confetti Sunny Flower Confetti Cuts. I also cut two flower centres from yellow cardstock. I then die cut the Reverse Confetti Large Rainbow Circle Confetti Cuts from shades of pink, yellow and aqua cardstock. They were layered on to a white circle die cut with thin foam tape. The circle was then adhered to a 4.25" x 4.25" white card base. 


The flowers were adhered with thin foam tape and then the leaves tucked underneath and adhered with liquid glue. The sentiment was heat embossed on black cardstock and cut in to a strip before adding to the card with more thin foam tape. To finish off, I added pink and yellow enamel dots. 

SUPPLIES:


Here are the links to what I have used on the project. Affiliate links are used on some products. This means that if you make a purchase after clicking on my link, I receive a small commission with no extra cost to you. I truly appreciate your support when using these links. Please click on the logo below the product to shop at your favourite store. All products were personally purchased except those from Clearly Besotted, Hero Arts or those marked with an asterisk (*) which were kindly sent to me to use. You can read my full disclosure here.


COPIC MARKERS: Trees - G29, YG17, YG23, YG01/E59, E57, E55, E53. Sun - Y17, Y15, Y13, Y11. Dog - E59, E57, E55, E53. Glasses - V17, V15, V12. Surfboard - R89, R39, R37, R35, R33/YR18, YR16, YR15, YR12/Y17, Y15, Y13, Y11/G29, YG17, YG23, YG01/Bo2, B01, B00, B000, B69, B66, B63, V17, V15, V12. 

BLOG HOP:

As mentioned, this post is part of  a fun, inspirational blog hop. Below are all of the participants:

Thank you so much for stopping by today, I really appreciate it. I hope you have a fantastic day!
End of code