Pages

8 May 2024

Altenew | May 2024 Release Blog Hop + Giveaway

Hello there, I am delighted to be joining Altenew today to celebrate the May 2024 release, which is out now! There are lots of lovely new products in this release and I am sharing a few of them with you today! 

PLEASE NOTE: This post contains affiliate links. Please see below for my full disclosure.


My first card uses the Altenew Mini Delight: Butterfly Dreams Stamp & Die Set. This is a fun set that consists of butterflies and sentiments in a stamp set and a bird cage in die form! I started off by stamping one of the butterflies from the set onto Altenew Vellum Translucent Paper using Altenew Embossing Ink. I applied Altenew Pure White Crisp Embossing Powder and heat set. It was then fussy cut out using scissors

I die cut the bird cage three times from white cardstock, as well as the leaves from the Altenew Craft-A-Flower: Dendrobium Orchid Layering Die Set. I adhered the bird cage die cuts together, one on top of another, and then added ink blending on top using Altenew Crystal Violet Fresh Dye Ink. For the leaves, I added ink blending with Altenew Green Valley Fresh Dye Inks. I took a panel of white cardstock and added ink blending to it with Altenew Blue Mountains Fresh Dye Inks, Navy Fresh Dye Ink and Jet Black Fresh Dye Ink (just around the edges). 

I then mixed a combination of silver and gold watercolours from the Altenew Metallic Watercolor 14 Pan Set and splattered them onto the panel. I added gold thread through the top of the bird cage and then adhered it to the panel, popping the leaves underneath before the glue dried. I secured the thread at the back and then adhered it to a US A2 sized white card base with Glue Tape. The butterfly was adhered on top with a tiny amount of liquid glue, followed by Altenew Antique Gold Sequins. The sentiment from the set was heat embossed in white onto cardstock that was inked with the same colours of ink as the background. 

My next card uses the beautiful Altenew Craft-A-Flower: Gardenia Layering Die Set. I die cut the petals and leaves from white cardstock and then placed them on my Sticky Mat to add ink blending. I used Altenew Enchanted Garden Fresh Dye Inks for the petals and Altenew Green Valley Fresh Dye Inks for the leaves. 

I die cut a panel of black cardstock with the new Altenew PixelGrid Cover Plate. Keeping the inside pieces intact, I adhered it to a US A2 sized black card base with Glue Tape and a little liquid glue. The Gardenia leaves were adhered on top, followed by the flowers using Altenew Instant Dimension Foam Tape

I stamped a sentiment from the Altenew Soft Blossoms Stamp Set onto black cardstock using Altenew Embossing Ink. I applied Altenew Pure Crisp White Embossing Powder and heat set. It was cut into a strip and adhered to the card with more foam tape. To finish off, I embellished with Altenew Crystal Clear Gem Sparkles

Also releasing this month are gorgeous new Artsy Aprons! There are lots of colours/designs available but I opted for Pink & Aqua Billowing Peonies. As you can see, it matches my craft room! :)

BLOG HOP:

This blog post is part of a fun, inspirational blog hop with prizes. Please click the links below for the other participants in the hop. 

You are invited to the Inlinkz link party!

Click here to enter

GIVEAWAY:

$300 in total prizes! To celebrate this release, Altenew is giving away a $100 gift certificate to 1 lucky winner and a $50 gift certificate to 4 winners! Please leave a comment on the Altenew Card Blog and/or each designer’s blog post on the blog hop list below by 14th May 2024 for a chance to win. Altenew will draw 5 random winners from the comments left on each stop of this blog hop and announce the winners on the Altenew Winners Page on 16th May 2024.*The winner of the $100 gift certificate will be chosen from comments left on the Altenew blog.


SUPPLIES:


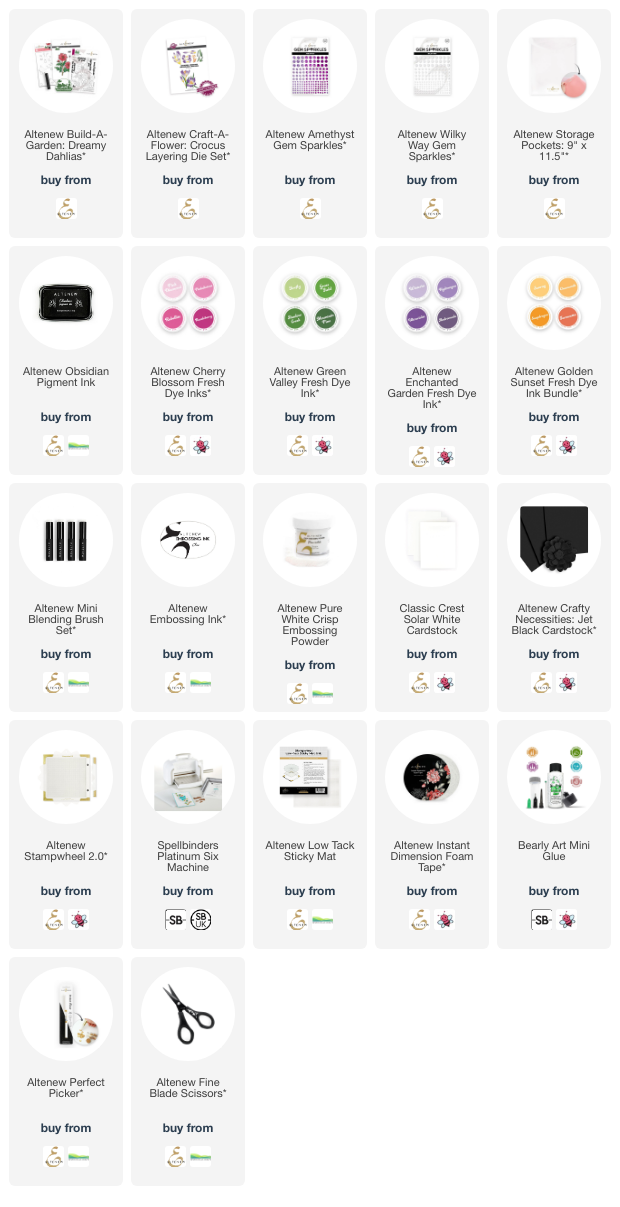
Here are the links to what I have used on the projects. Affiliate links are used on some products. This means that if you make a purchase after clicking on my link, I receive a small commission with no extra cost to you. I truly appreciate your support when using these links. Please click on the logo below the product to shop at your favourite store. All products were personally purchased except those from Clearly Besotted, Hero Arts or those marked with an asterisk (*) which were kindly sent to me to use. You can read my full disclosure here.


Thank you so much for stopping by today, I really do appreciate it. I hope you will check out the fabulous release and have a wonderful rest of the day! Take care! 

6 May 2024

Hero Arts | My Monthly Hero May 2024 Release Blog Hop + Giveaway

Hello there and welcome as we celebrate the release of the Hero Arts May 2024 My Monthly Hero Kits and add-on products. Hero Arts is celebrating their 50th anniversary this month, so this month's kit is birthday and celebratory themed! 

PLEASE NOTE: This post contains affiliate links. Please see below for my full disclosure.


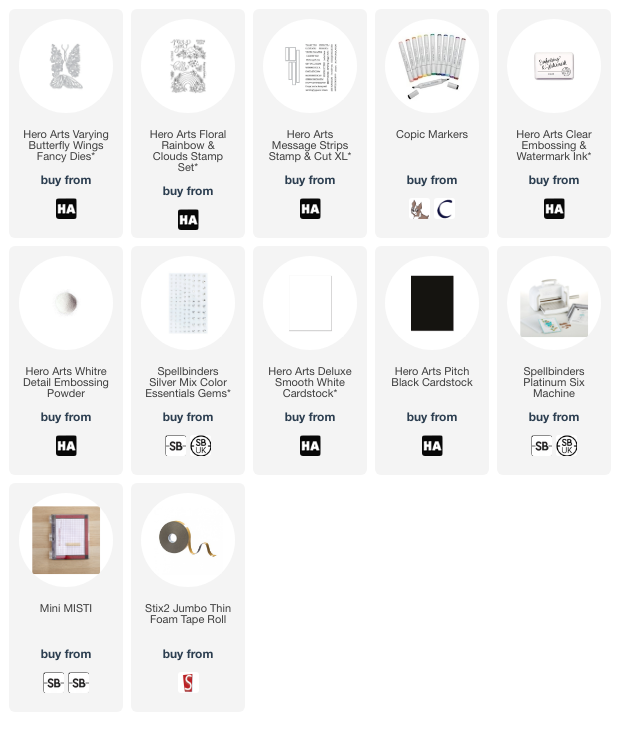
My first card today uses the Hero Arts May 2024 My Monthly Hero Classic Kit. I started off by stamping the cake, cake stand and candles from the Floral Cake Stamp Set that is in the kit onto white cardstock using Hero Arts Intens-ified Black Ink. I coloured them using Copic Markers and then die cut them out using the coordinating dies. 


I took a panel of white cardstock and masked off the sides and bottom edges. I took a Hero Arts Large Ink Blending Brush and blended Hero Arts Orchid and Amethyst Core Inks inside, fading up to the white of the cardstock at the top. I removed the masks/tape and adhered the panel onto a US A2 sized white card base with tape runner adhesive. 


I adhered the candles and stand to the cake (using Precision Glue) and then adhered it all to the card using thin foam tape. I stamped a sentiment from the stamp set onto white cardstock using Hero Arts Intens-ified Black Ink and then die cut it out with the coordinating die. I also cut the die another two times from white cardstock. The die cuts were adhered one on top of another (for dimension) and then adhered onto the card. To finish off, I added Hero Arts Clear Lacquer Pen to the flames on the candles.


In case you missed it, this is the countdown card that I created using the Hero Arts May 2024 My Monthly Hero Premium Kit. For more details on the card, please see the blog post here


My next project uses some of the add-on products from this month's release. I started off by taking a panel of Hero Arts Luxe White Watercolor Paper (there is some in the MMH kit) and cut it using the largest of the Hero Arts Tag Infinity Dies. I then spritzed the tag using Hero Arts Royal Purple + Gold and Ocean Blue + Gold Two-Tone Metallic Sprays. I dried the tag with my heat tool before moving on to the next step. 


I placed the Hero Arts Dancing Lines Stencil on top and applied Hero Paste Glitter using the Hero Arts Palette Knife. I removed the stencil and set it aside to dry. Once dry, I added a little Hero Arts Grape Juice and Bermuda Core Inks to the corners. I then splattered on Hero Arts Gold Hero Wax (mixed with a little water). I die cut the larger of the two Hero Arts Delicate Butterfly Fancy Dies from white cardstock. It was adhered to the tag using thin foam tape.


I then took a sentiment from the Hero Arts Your Day Messages Stamp Set and stamped it onto Hero Arts Pitch Black Cardstock using Hero Arts Clear Embossing & Watermark Ink. I applied Hero Arts White Detail Embossing Powder and heat set before cutting into a strip and adhering to the tag with more foam tape. To finish off, I added twine through the top of the tag and tied in a double bow. 

This tag was inspired by the amazing work of Natasha Vacca. Natasha is the queen of mixed media! Whilst it isn't something I personally do very often, I swoon over her work on a daily basis! 

MY MONTHLY HERO KITS:


• Floral Cake Clear Stamp Set, 4" x 6"
• 11 Coordinating Dies
• 6 Sheets Luxe White Watercolor Paper, 5.5" x 8.5"
• Contour Ink Pad
• Flat Water Flow Brush
• Watercolor Palette
• Watercolor Swatch Cards

Plus Special 50th Anniversary Gifts:
• Message Clear Stamp Set, 3” x 4”
• 3 Coordinating Dies
• Yay Fancy Die

The kit is valued at $80 but you can get it for $36.99 ($34.99 if you are a monthly subscriber, $32.99 if you subscribe for 6 months). 


• Floral Cake Clear Stamp Set, 4" x 6" • Balloon Background Cling Stamp, 4.6" x 5.8" • 11 Coordinating Dies • 6 Sheets Luxe White Watercolor Paper, 5.5" x 8.5" • Contour Ink Pad • Flat Water Flow Brush • Watercolor Palette • Watercolor Swatch Cards • Champagne Sequins • Birthday Enamel Dots Plus Special 50th Anniversary Gifts: • Message Clear Stamp Set, 3” x 4” • 3 Coordinating Dies • Yay Fancy Die • Yay Clear Stamp & Coordinating Die • Congrats Fancy Die

The kit is valued at $120 but you can get it for $49.99 ($47.99 if you are monthly subscriber, $45.99 if you subscribe for 6 months).

Want just the premium kit elements? You can get them here

ADD-ONS:

There are lots of add-on products released each month. These work alongside the kit, or work on their own too. These can be purchased from Hero Arts when you order a kit, on their own, or from your favourite Hero Arts retailer (these are not exclusive (unlike the kit) and are restocked if sold out). Here is a look at them:

BLOG HOP:

This post is part of a fun, inspirational blog hop with prizes. For the hop, you should have arrived here from the amazing Lydia. Next on the hop is the fabulous Natasha. If you get lost along the hop, or want to start it from the beginning, please head over to the Hero Arts Blog

GIVEAWAY:

Hero Arts are giving away a $50 gift card to the Hero Store, drawn from the comments left across all the stops in the hop. Enter by Sunday 12th May 2024 at 11.59pm PT. The winner will be announced on the Hero Arts Blog the following week. 

SUPPLIES:


Here are the links to what I have used on the projects. Affiliate links are used on some products. This means that if you make a purchase after clicking on my link, I receive a small commission with no extra cost to you. I truly appreciate your support when using these links. Please click on the logo below the product to shop at your favourite store. All products were personally purchased except those from Clearly Besotted, Hero Arts or those marked with an asterisk (*) which were kindly sent to me to use. You can read my full disclosure here.


Wishing all at Hero Arts a very happy 50th anniversary! Thank you so much for all that you do for the industry and community. I am honoured that I have been working with Hero for the past 8 years and hope for many more to come! 

Thank you so much for stopping by today, I really do appreciate it. I hope you have a lovely time on the rest of the hop and a lovely rest of the day too! Take care! 

5 May 2024

Hero Arts | May 2024 My Monthly Hero Countdown to Creativity

Hello there and welcome as we countdown to the Hero Arts May 2024 My Monthly Hero release. The kits and add-ons release tomorrow (Monday 6th May 2024) and all weekend long we have been sharing inspiration using the kits. If you missed any of the earlier posts from my teamies, please head over to the Hero Arts Blog to catch up! 

Since it is Hero Arts 50th anniversary this month, the kit is birthday and celebration themed!

PLEASE NOTE: This post contains affiliate links. Please see below for my full disclosure.


For my card today, I am using the Hero Arts May 2024 My Monthly Hero Premium Kit. I started off by stamping the Balloon Background Cling Stamp from the kit onto Hero Arts Deluxe Smooth White Cardstock using Hero Arts Clear Embossing & Watermark Ink. I applied Hero Arts Detail White Embossing Powder and heat set. 


Using Hero Arts Large Ink Blending Brushes, I blended Hero Arts Reactive Inks on top. I used (top to bottom) Key lime Fizz, Blue Raspberry, Blue Hawaii and Purple Galaxy. I removed any excess ink from the embossed lines using a dry cloth and then splattered with a little water on top, before setting aside to dry. Once dry, I die cut the Congrats Fancy Die from the kit into the middle of the panel. I also cut it another four times from white cardstock. 


I placed a piece of scrap paper on the back of the panel and then popped the white die cut pieces inside, followed by the middle pieces of the background panel, adhering with Hero Arts Precision Glue. I then popped the background die cut on top, to complete the eclipse look. The panel was adhered to a US A2 sized white card base with thin foam tape. To finish off, I added a few enamel dots - some from the kit and some from the Aquas and Blues packs. 

SUPPLIES:


Here are the links to what I have used on the project. Affiliate links are used on some products. This means that if you make a purchase after clicking on my link, I receive a small commission with no extra cost to you. I truly appreciate your support when using these links. Please click on the logo below the product to shop at your favourite store. All products were personally purchased except those from Clearly Besotted, Hero Arts or those marked with an asterisk (*) which were kindly sent to me to use. You can read my full disclosure here.


For more inspiration using the kit, please head over to the Hero Arts Blog here. Make sure to leave a comment over there too for a chance to win a kit. Thank you so much for stopping by today, I really appreciate it. I hope you will join me tomorrow for the release! Have a great day! 

3 May 2024

Spellbinders | Peony Perfection

Hello there, I hope you are well. Today I have a card to share using a couple of products from the Spellbinders Cheers to You collection. This is a collection of Press Plates to use in the Betterpress Letterpress System, but they can be hot foiled too! 

PLEASE NOTE: This post contains affiliate links. Please see below for my full disclosure.


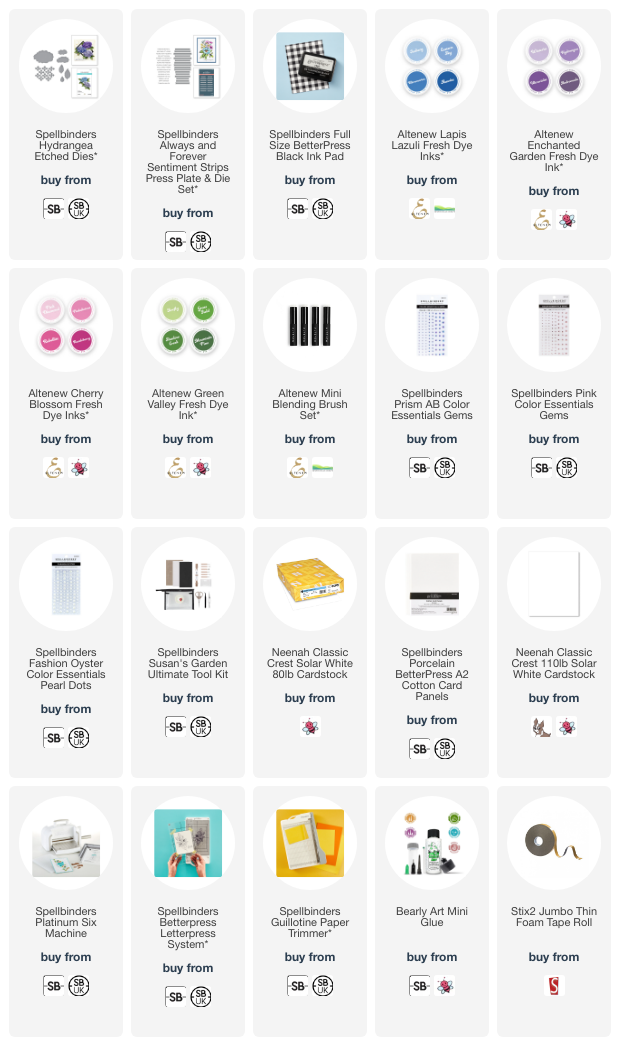
For my focal point, I am using the Spellbinders Peony Perfection Registration Press Plates. This is a set of two plates with a guide to where to place them in the Spellbinders Betterpress Letterpress System. This means that you can ink up the flower petals and stems in different colours but the guide makes it super easy to line up the plates! 


I took one of the shims out of my platform and then placed the registration guide onto the chase and held it in place with Best Ever Craft Tape. I then placed the peony flowers in position and inked them up using Spellbinders Wild Berry BetterPress Ink. I placed a Spellbinders A2 Porcelain Cotton Panel onto the platen, holding in place with more Best Ever Craft Tape (the thinner version). I placed the platen on the platform and then ran it through my Platinum Six


I removed the flower plate from the chase and then placed the stems and leaves plate down, following the registration guide for placement. I inked up the plate with Spellbinders Teal Topaz BetterPress Ink and ran it through the Platinum Six again. I removed the panel from the platen and placed the Taylored Expressions Rectangle Masking Stencil on top, holding it down with low-tack tape. Using the same inks that I did for the pressing, along with Spellbinders Blending Brushes, I blended Wild Berry at the top and Teal Topaz at the bottom.


With the mask still in place, I splattered on a little Tsuekineko Sheer Shimmer Spritz on top, removed the mask and set it aside to dry. Once dry, it was adhered to a US A2 sized white card base with tape runner adhesive. I pressed the Spellbinders Cheers to You Sentiments Press Plate & Die Set onto more Porcelain cardstock using Teal Topaz Ink. I die cut them out using the coordinating die and adhered the happy birthday one on my card with thin foam tape to finish. 

SUPPLIES:


Here are the links to what I have used on the project. Affiliate links are used on some products. This means that if you make a purchase after clicking on my link, I receive a small commission with no extra cost to you. I truly appreciate your support when using these links. Please click on the logo below the product to shop at your favourite store. All products were personally purchased except those from Clearly Besotted, Hero Arts or those marked with an asterisk (*) which were kindly sent to me to use. You can read my full disclosure here.


In the photos, the Teal Topaz Ink looks a little more blue in tone than in real-life. It has got a little bit more of a teal tone in person! Thank you so much for stopping by today, I really do appreciate it. I hope you have a wonderful day! 

1 May 2024

VIDEO | Bear Hugs

Hello there, I am delighted to be over on the My Favorite Things YouTube channel today, sharing a card using the adorable new Bear Hugs set. 

PLEASE NOTE: This post contains affiliate links. Please see below for my full disclosure.


I started off my card by stamping the bear, cart with flowers and butterfly from the MFT Bear Hugs Stamp Set onto white cardstock using black ink. I then coloured the them using Copic Markers (the colours that I used are listed below the supplies section for reference). They were then die cut out using the MFT Bear Hugs Die-namics


I took a 4 1/4" x 5 1/2" panel of white cardstock and placed the MFT Rectangle Extraordinaire Stencil on top, holding down with Post-It Tape. I added ink blending inside the mask to create a simplified sunset background. I used Distress Inks in Squeezed Lemonade, Mustard Seed, Spiced Marmalade, Worn Lipstick and Festive Berries, adding the darker colour at the top and fading to the white of the cardstock at the bottom. 


I removed the mask and stamped a sentiment at the top from the MFT Bear Hugs set with Versafine Clair Nocturne Ink. Once the ink was dry, I adhered the panel onto a US A2 sized white card base with tape runner adhesive. The bear, cart and butterfly were adhered at the bottom using thin foam tape. To finish off, I added white gel pen highlights and dots, as well as black glaze pen to the bear's eyes and nose. 

VIDEO:

Here is the video showing how I made the card:


If you are viewing this blog post via email subscription, you can watch the video HERE on YouTube. 

SUPPLIES:


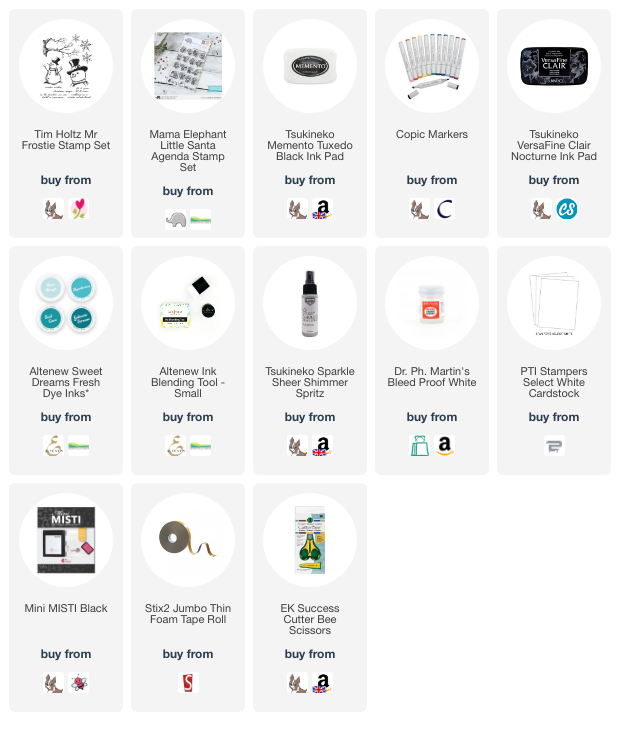
Here are the links to what I have used on the project. Affiliate links are used on some products. This means that if you make a purchase after clicking on my link, I receive a small commission with no extra cost to you. I truly appreciate your support when using these links. Please click on the logo below the product to shop at your favourite store. All products were personally purchased except those from Clearly Besotted, Hero Arts or those marked with an asterisk (*) which were kindly sent to me to use. You can read my full disclosure here.


COPIC MARKERS: Bear - E59, E39, E37, E34, E33, E31, E30. Cart - E49, E59, E57, E55. Leaves - G29, YG17, YG23, YG01. Sunflower - YR27, Y17, Y15, Y13/E79, E77, E74. Pink flower - RV66, RV55, RV52/Y17, Y15, Y13. Butterfly - RV66, RV55, RV52, E59. 

This is such a cute set! Whilst I kept my card pretty simple (as always!), you could definitely go all out and create a big scene with these images. Thank you so much for stopping by today, I really do appreciate it. I hope you have a wonderful day! 
26 April 2024

VIDEO | Sending Tons of Love

Hello there, I am delighted to be over on the My Favorite Things YouTube channel, sharing a card using the adorable YUZU Ear For You set. These elephants and mice are so cute! I thought I would make a one layer card today using masking. 

PLEASE NOTE: This post contains affiliate links. Please see below for my full disclosure.


I started off my card by stamping the images (elephant, mouse and tree log) from the MFT YUZU Ear For You Stamp Set onto masking paper. I then fussy cut them out using scissors. I placed them onto a scrap piece of paper so that I could figure out where I wanted to stamp them on the panel. This masking map/template is a great way to make sure you get the placement of the images exactly where you want them. 


I die cut a panel of white cardstock using the largest of the MFT Stitched Eyelet Lace Rectangle STAX Die-namics. Using the masking map/template as a guide, I stamped the images on top using black ink, adding the masks for the images where needed. I also stamped the sentiment from the set onto the panel too. I added ink blending around the images with Distress Inks and blending brushes. 


I used Twisted Citron for the grass/ground and Mermaid Lagoon for the sky. I then removed the masks and coloured the images using Copic Markers (the colours that I used are listed below the supplies area). I adhered another of the die cut panels to the back of the stamped one (for stability) and then adhered a mini (3.5" x 4.75") card base to the back. To finish off, I added white gel pen dots to the elephant's cheeks, black glaze pen to his eyes and clear glaze pen to the nose of the mouse. 

VIDEO:

Here is the video showing how I made the card:


If you are viewing this blog post via email subscription, you can watch the video HERE on YouTube. 

SUPPLIES:


Here are the links to what I have used on the project. Affiliate links are used on some products. This means that if you make a purchase after clicking on my link, I receive a small commission with no extra cost to you. I truly appreciate your support when using these links. Please click on the logo below the product to shop at your favourite store. All products were personally purchased except those from Clearly Besotted, Hero Arts or those marked with an asterisk (*) which were kindly sent to me to use. You can read my full disclosure here.


COPIC MARKERS: Tree log - E49, E59, E57, E55. Elephant - C8, C6, C5, C4, C3, C1, C0, RV55, RV52. Mouse - E27, E25, E23, E21, RV66, RV55, RV52. Grass - G29, YG17, YG23, YG01. Sky - B02, B01. 

Whilst it is a little more work, I do like that the images are all one, rather than them being die cut and then adhered. However, I still think that would look good too! Thank you so much for stopping by today, I hope you have a wonderful day! 

18 April 2024

Simon Says Stamp | Appreciate You

Hello there, today I have a card and tag to share using the Appreciate You Stamp Set from the new Simon Says Stamp Celebrate release, which is out today. They kindly sent me the set to use that is aimed towards teachers. 

PLEASE NOTE: This post contains affiliate links. Please see below for my full disclosure.


I kept the projects simple, keeping lots of white space. I started off by stamping the apple from the Simon Says Stamp Appreciate You Stamp Set onto white cardstock using Memento Tuxedo Black Ink, twice. I then coloured them using Copic Markers (the colours that I used are listed below the supplies area). 


I stamped two of the sentiments from the set (stamping the teacher one twice) onto white cardstock using Versafine Clair Nocturne Ink. I fussy cut the apples and sentiments out using scissors, but there are dies available for the set. 


For the card, I took a US A2 sized white card base and rounded the corners using the Spellbinders 1-2 Corner Rounder and Notch Punch. I then simply adhered the apple and sentiments on top using thin foam tape. To finish, I added white gel pen highlights to the apple. 


For the tag, I die cut a middle size tag from the Hero Arts Nesting Tag Dies from white cardstock. I then cut it down so that it was shorter. I cut the hole reinforcer from black cardstock and adhered that on top using liquid glue. I adhered the apple on top using thin foam tape, as well as the 'teacher' sentiment.


I then stamped the 'thank you' sentiment from the Simon Says Stamp Tiny Words Stamp Set onto black cardstock using Versamark Ink. I applied white embossing powder and heat set. It was cut into a strip and then adhered to the tag with more thin foam tape. To finish, I added twine through the top of the tag and added white gel pen highlights to the apple. 

SUPPLIES:


Here are the links to what I have used on the projects. Affiliate links are used on some products. This means that if you make a purchase after clicking on my link, I receive a small commission with no extra cost to you. I truly appreciate your support when using these links. Please click on the logo below the product to shop at your favourite store. All products were personally purchased except those from Clearly Besotted, Hero Arts or those marked with an asterisk (*) which were kindly sent to me to use. You can read my full disclosure here.


COPIC MARKERS: Apple - R89, R39, R29, R27, R24, R22. Stem - E49, E29, E27, E25, E23. Leaves - G29, YG17, YG23, YG01. 

Thank you so much for stopping by today, I hope you have a wonderful day! 

16 April 2024

Spellbinders | Handmade For You

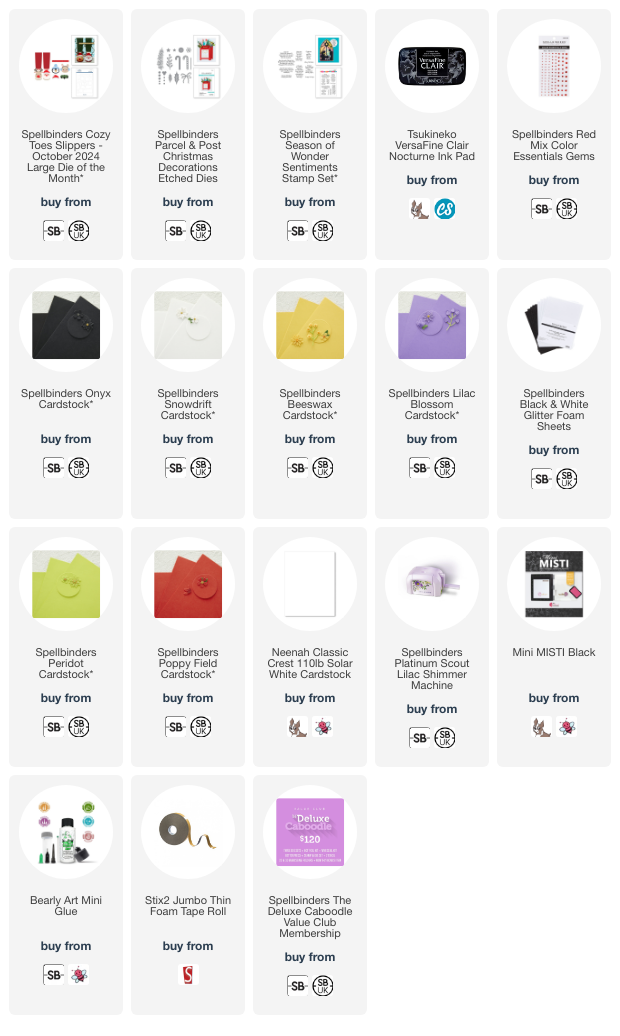
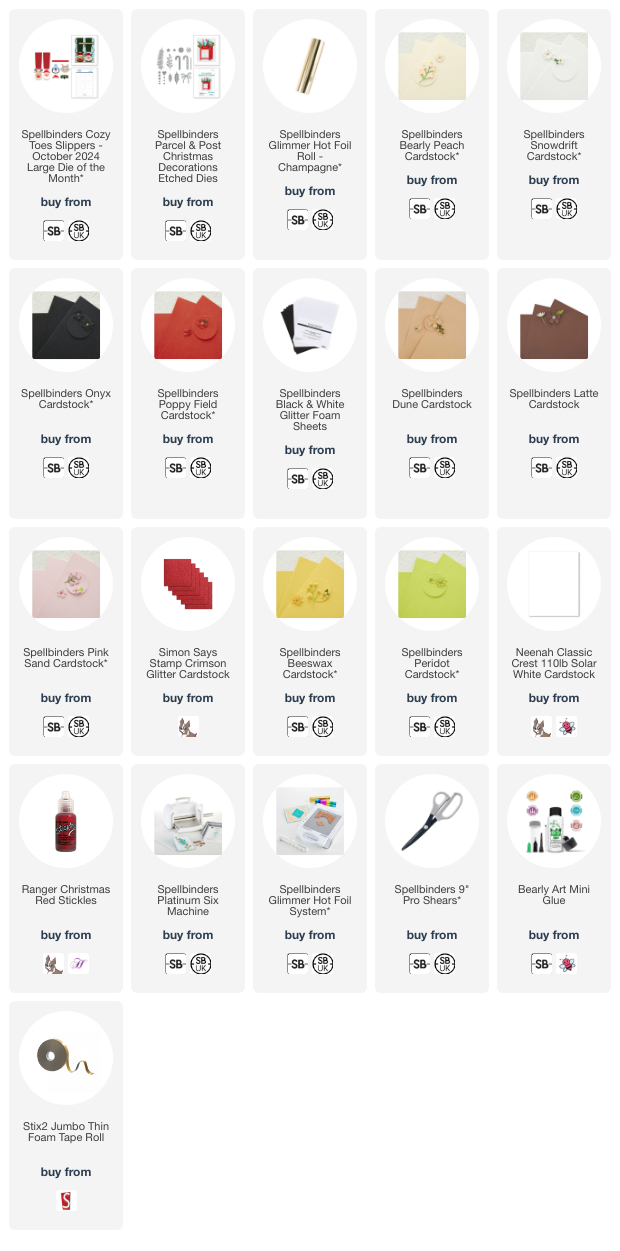
Hello there, today I have a card to share using the Spellbinders April 2024 Large Die of the Month Club Kit called "Pins and Needles Jar". As you can see, the theme for the kits this month is sewing. This kit includes the sewing jar, plus all the sewing items to go in it, but you can use them separately too! 

PLEASE NOTE: This post contains affiliate links. Please see below for my full disclosure.


I started off by die cutting the jar from the Spellbinders April 2024 Large Die of the Month Club Kit twice from white cardstock. I made a score line at the top of one to create a hinge. I adhered that to the top of the other piece to create a card base. I blended Mermaid Lagoon Distress Ink around the edges using a Blending Brush


I cut the pin cushion bit from MFT Orange Sherbet Paper and the metal piece from Spellbinders Brushed Silver Cardstock. They were adhered to the base using Bearly Art Glue. I then die cut all the sewing pieces from Spellbinders Snowdrift, Purple Mist, Lilac Blossom, Royal Amethyst and Brushed Silver Cardstock. The pieces were adhered together using Bearly Art Glue and then adhered to the base using Bearly Art Glue and thin foam tape. 


I hot foiled a sentiment from the Spellbinders Always and Forever Sentiment Strip Press Plate & Die Set onto white cardstock using Spellbinders Silver Foil. It was then die cut out using coordinating die. I added Spellbinders Fashion Silver Embellishments to the scissors and then adhered the sentiment with thin foam tape. 

SPELLBINDERS CLUB KITS

I hope that you will check out the Spellbinders Club Kits. It is a wonderful monthly subscription where you receive the kit each month. Designers like myself share inspiration using the kit at the beginning of the month to show you lots of different ways that you can use it. 

There are also lots of other club kits too, like the Small Die of the Month, Clear Stamp & Die of the Month, Embossing Folder of the Month (plus lots more!), so there is something for everyone! If you do subscribe, you will get other benefits from Spellbinders too. Please see here for more information. You can also buy older kits here too. 

To buy the kit - if you are a current subscriber to the Large Die of the Month Club Kit (or any kit), you do not need to do anything. You will be charged as normal on the 5th of the month and your kit will be shipped to you. If you are a new subscriber, you can purchase the kit from the 6th - 27th April 2024. Members can cancel their membership at any time.


SUPPLIES:


Here are the links to what I have used on the project. Affiliate links are used on some products. This means that if you make a purchase after clicking on my link, I receive a small commission with no extra cost to you. I truly appreciate your support when using these links. Please click on the logo below the product to shop at your favourite store. All products were personally purchased except those from Clearly Besotted, Hero Arts or those marked with an asterisk (*) which were kindly sent to me to use. You can read my full disclosure here.


Without the pins in the top, the jar fits inside of an A2 sized envelope, but since I added them, I'll have to make a custom envelope for this card! Thank you so much for stopping by today, I really do appreciate it. I hope you have a wonderful day! 

13 April 2024

Spellbinders | Glimmering Flowers

Hello there, I hope things are well with you. Today I have a few cards to share using the new Spellbinders Glimmering Flowers collection. This is a small collection consisting of two beautiful glimmer hot foil plates (and coordinating stencils) and a sentiment set. 

PLEASE NOTE: This post contains affiliate links. Please see below for my full disclosure.


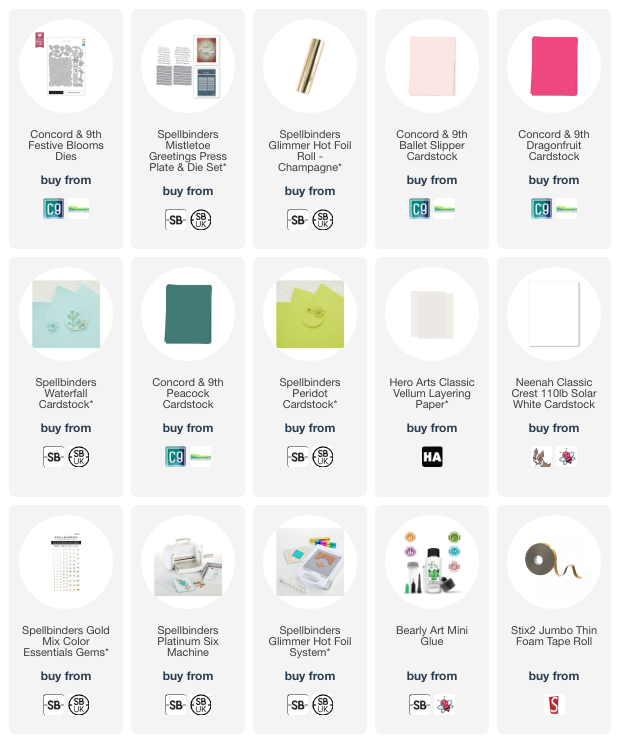
I started off this card by hot foiling the Spellbinders Glimmering Peonies Glimmer Plate onto Spellbinders Fruit Punch Cardstock with Spellbinders Champagne Foil using the Spellbinders Glimmer Hot Foil System. I then cut the panel down to 5" x 3.75" and added ink blending around the edges with Picked Raspberry, Seedless Preserves and Black Soot Distress Ink using Blending Brushes


I splattered on Coliro Finetec Moon Gold Watercolour before setting aside to dry. Once dry, the panel was adhered to a US A2 sized white card base with thin foam tape. I die cut the 'happy' die from the Spellbinders Yana's Layered Script Sentiment Etched Dies three times, adhered one on top of another using Bearly Art Glue and then adhered it on to the card. 


I took the Spellbinders Curved Everyday Glimmer Plate & Die Set and hot foiled it onto white cardstock with Spellbinders Champagne Foil. It was then die cut out using the coordinating die. I took the 'birthday wishes' sentiment, cut the edge off and adhered it to the card below the 'happy' with thin foam tape. To finish, I embellished with Spellbinders Gold Color Essentials Gems


I am also sharing three cards using this collection over on the Spellbinders Blog. The card above uses the Spellbinders Glimmering Buttercups Glimmer Plate and Stencil Bundle, along with the Spellbinders Curved Everyday Glimmer Plate & Die Set to create an oval shaped card. For more information on the card and to see the others, please head over to the Spellbinders blog

SUPPLIES:


Here are the links to what I have used on the projects. Affiliate links are used on some products. This means that if you make a purchase after clicking on my link, I receive a small commission with no extra cost to you. I truly appreciate your support when using these links. Please click on the logo below the product to shop at your favourite store. All products were personally purchased except those from Clearly Besotted, Hero Arts or those marked with an asterisk (*) which were kindly sent to me to use. You can read my full disclosure here.


Thank you so much for stopping by today. I hope you have a wonderful weekend!