13 October 2022

Alex Syberia Designs | Full of Hugs

Hello there, I am delighted to be joining Alex Syberia Designs today as part of an Instagram Hop to celebrate their Kickstarter Campaign. They are almost at their goal, so if you haven't pledged but want a set, please do take a look. 

PLEASE NOTE: This post contains affiliate links. Please see below for my full disclosure.


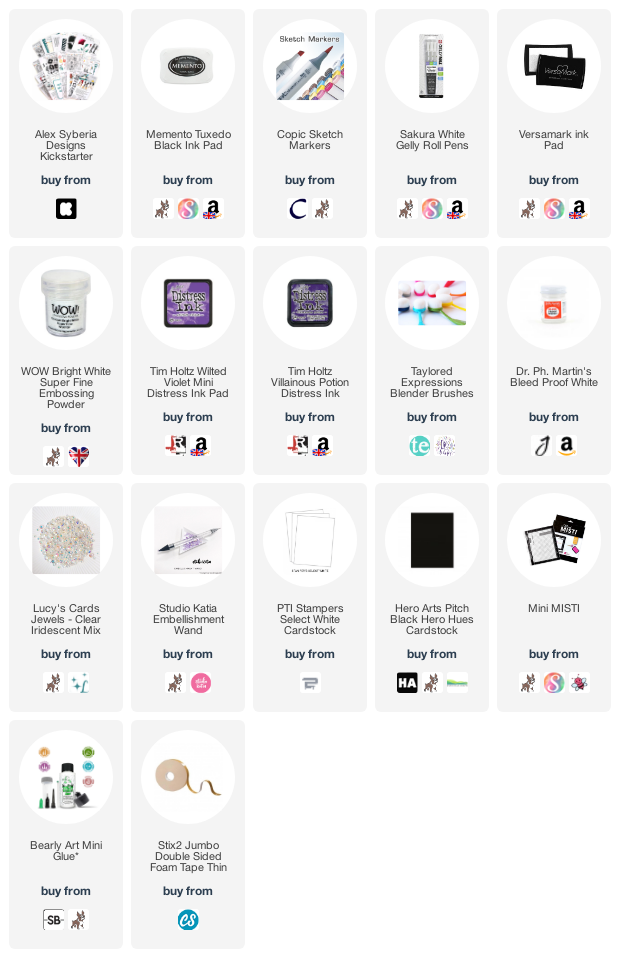
I started off my card by stamping the penguin and mailbox from the Alex Syberia Designs Smile & Wave Stamp Set on to white cardstock with Memento Tuxedo Black Ink. I then cololured them using Copic Markers (the colours that I used are listed below the supplies list for reference). They were die cut out using the coordinating dies.


I took a panel of white cardstock and using ink blending brushes, blended on Tim Holtz Distress Inks in Wilted Violet and Villainous Potion. I blended to white at the bottom to make it sort of look like snow was there. It was splattered with Dr. Ph. Martin's Bleed Proof White paint and set aside to dry. Once dry, it was adhered to a US A2 sized white card base with thin foam tape. 


The images were then added on top (with the same adhesive). I stamped the sentiment from the set on to black cardstock with Versamark Ink. I applied white embossing powder and heat set. It was die cut out with the coordinating die and adhered to the card. To finish off, I added white gel pen highlights to the images and a few Little Things from Lucy's Cards Iridescent Jewels

SUPPLIES:


Here are the links to what I have used on the project. Affiliate links are used on some products. This means that if you make a purchase after clicking on my link, I receive a small commission with no extra cost to you. I truly appreciate your support when using these links. Please click on the logo below the product to shop at your favourite store. All products were personally purchased except those from Clearly Besotted, Hero Arts or those marked with an asterisk (*) which were kindly sent to me to use. You can read my full disclosure here.


COPIC MARKERS: Penguin - BV29, BV25, BV23, C3, C1, Y17, Y15, Y13, B000. Mailbox & envelope - V17, V15, V12. Snow - B00, B000, B0000. 

INSTAGRAM HOP:


All of the fun is happening over on Instagram today, with inspiration and giveaways. Please head over to my Instagram page HERE and Alex Syberia Designs HERE

The Kickstarter Campaign closes in just a few days on Sunday, 16th October 2022. You can find out all of the information about the campaign here

Thank you so much for stopping by today, I really do appreciate it. I hope you have a wonderful day! 

12 October 2022

Spellbinders | Magical Deer

Hello there, today I have two cards to share with you using the Magical Deer Etched Dies from the Spellbinders Winter Tales Collection. Although I made these cards into Christmas cards, they could easily be changed to winter cards by just changing the sentiment. I actually think that this deer could probably be used all year round. 

PLEASE NOTE: This post contains affiliate links. Please see below for my full disclosure.


I decided to keep my cards pretty clean and simple, just changing up the colours and the sentiment between them. 


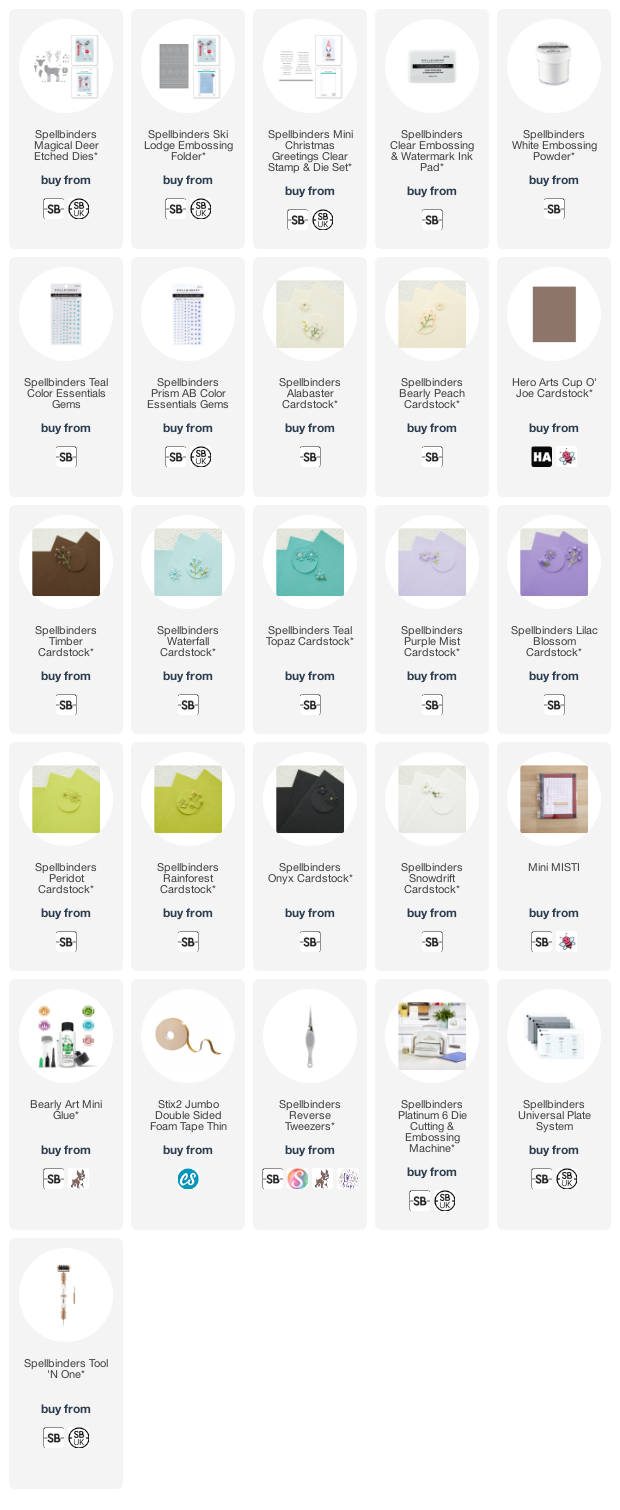
I started off by die cutting the Spellbinders Magical Deer Etched Dies from shades of cream and brown cardstock. There are lots of dots that can be inlaid, but I decided to just add a lighter colour of cardstock on to the back of the deer and let it show through. 


I did inlay the detail on their heads, as well as the blanket parts on their bodies too. I adhered the antlers to the heads and then the heads to the bodies. The head and body parts were adhered to the card base with thin foam tape. The antlers were adhered with Bearly Art Glue. 


For the card bases, I simply ran panels of white cardstock through my platinum 6 inside the Spellbinders Ski Lodge Embossing Folder and then they were adhered flat to US sized A2 card bases. 


The sentiments from the Spellbinders Mini Christmas Greetings Clear Stamp & Die Set were stamped on to black cardstock using Spellbinders Clear Embossing & Watermark Ink. I applied Spellbinders White Embossing Powder and heat set. They were cut into a strips and added to the cards with thin foam tape. 


I die cut the flowers and leaves in the set and adhered them to the antlers. To finish off, I added Spellbinders Teal and Prism AB Color Essentials Gems to the centres of the flowers. 

SUPPLIES:


Here are the links to what I have used on the project. Affiliate links are used on some products. This means that if you make a purchase after clicking on my link, I receive a small commission with no extra cost to you. I truly appreciate your support when using these links. Please click on the logo below the product to shop at your favourite store. All products were personally purchased except those from Clearly Besotted, Hero Arts or those marked with an asterisk (*) which were kindly sent to me to use. You can read my full disclosure here.


I really like this deer. I think he looks very elegant but still cute as well! I did think about adding holly or lights to his antlers instead of the flowers but thought the flowers looked pretty. Maybe I will make some more with holly leaves and berries! Thank you so much for stopping by today, I really do appreciate it. I hope you have a wonderful day! 

11 October 2022

Hero Arts | Happy Holidays Foiling

Hello there, I am over on the Hero Arts Blog today, sharing a card using foiling and glitter paste - both not easy to photograph sadly ... but both super pretty!

PLEASE NOTE: This post contains affiliate links. Please see below for my full disclosure.


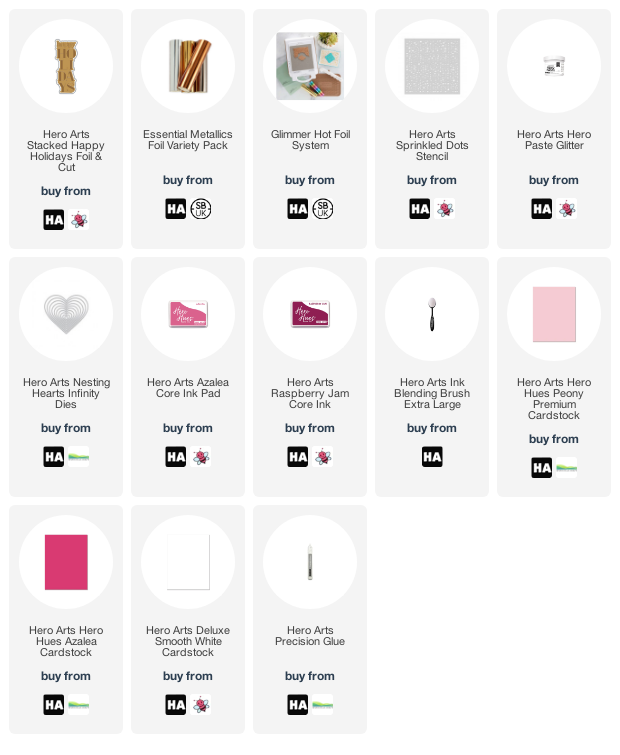
I foiled the Stacked Happy Holidays Foil & Cut on to white cardstock using silver foil. It was then cut out using the coordinating die. The background uses ink blending along with the Sprinkled Dots Stencil and Hero Paste Glitter

SUPPLIES:


Here are the links to what I have used on the project. Affiliate links are used on some products. This means that if you make a purchase after clicking on my link, I receive a small commission with no extra cost to you. I truly appreciate your support when using these links. Please click on the logo below the product to shop at your favourite store. All products were personally purchased except those from Clearly Besotted, Hero Arts or those marked with an asterisk (*) which were kindly sent to me to use. You can read my full disclosure here.


For more details on how I made the card, please head over to the Hero Arts Blog. Thanks so much for stopping by today, wishing you a great day! 

8 October 2022

Farewell, Reverse Confetti

Hello there, I am delighted, honoured and saddened to be joining Reverse Confetti today as part of an Instagram hop. Why saddened? because if you haven't already seen the news, after almost 10 years Reverse Confetti have decided to close. If you have followed me for a while, you will know that I have loved and used Reverse Confetti products for a long time. 

I have been honoured to have worked with them for the last four and a half years as part of their release blog hops. They will be truly missed but the shop remains open for the time being with 40% discount off of all products. So, if you like something, please do grab it while you can. 

PLEASE NOTE: This post contains affiliate links. Please see below for my full disclosure.


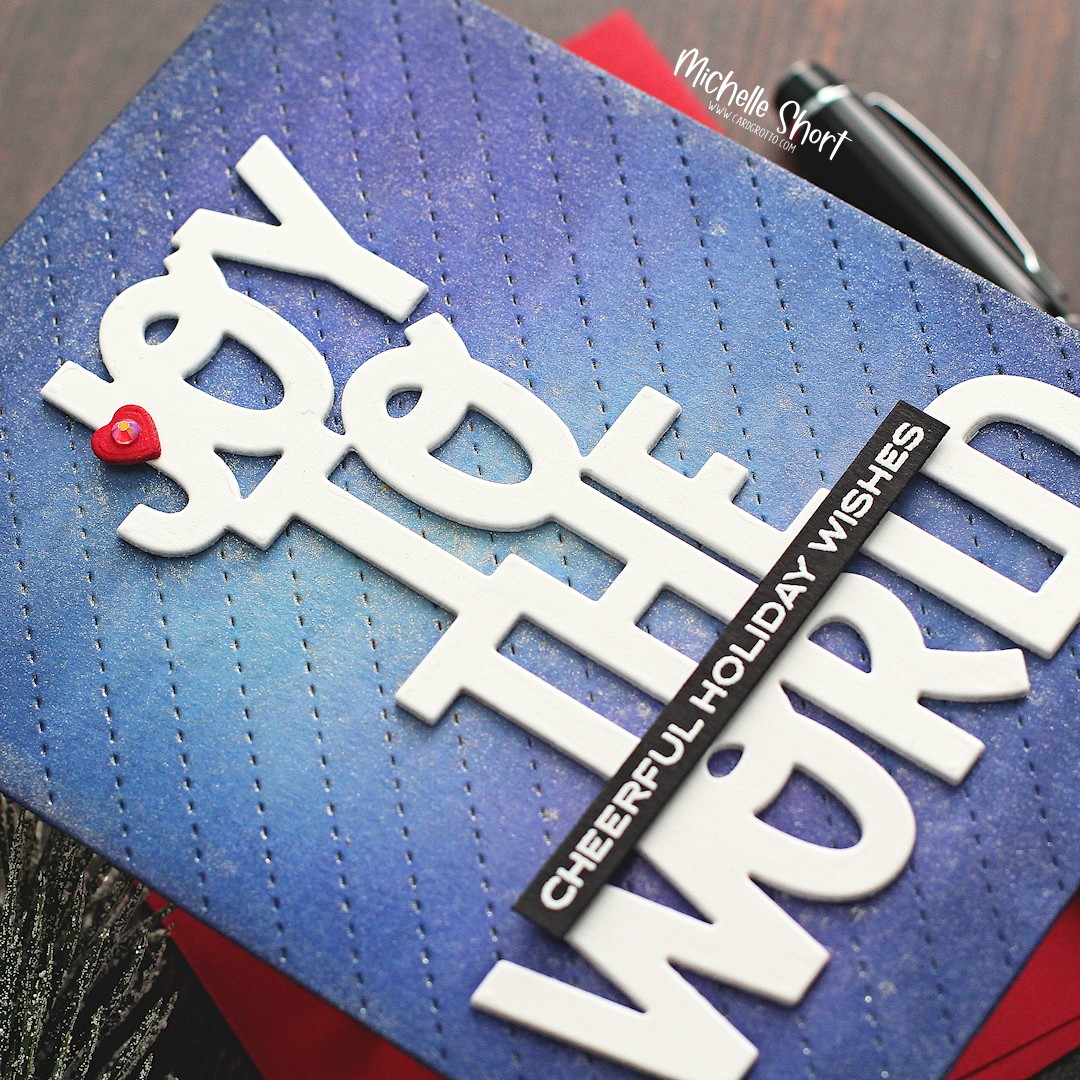
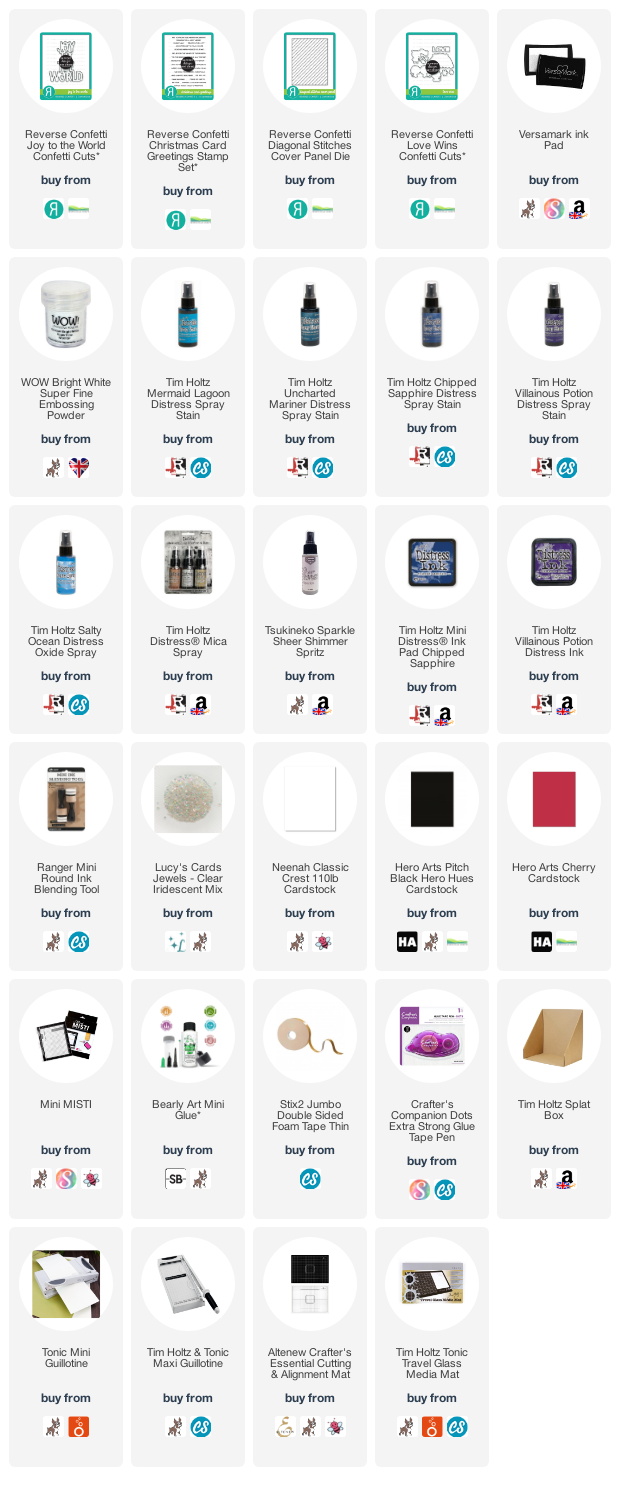
For my card today, I started off by creating the background. I took a panel of watercolour paper and die cut it using the Reverse Confetti Diagonal Stitched Cover Panel Confetti Cuts


I then sprayed it with various Tim Holtz Distress Spray Stains. I used Mermaid Lagoon, Uncharted Mariner, Chipped Sapphire and Villainous Potion. I also used a little Salty Ocean Oxide Spray. I then spritzed it with Sparkle Sheer Shimmer Spritz and Tim Holtz Tarnished Brass Distress Mica Spray before setting it aside to dry. 


Once dry, I added ink blending to the edges using Chipped Sapphire and Villainous Potion Distress Inks. The panel was adhered to a US A2 sized white card base with tape runner. I took the Reverse Confetti Joy to the World Confetti Cuts and cut it three times from white cardstock. They were stacked one on top of another for added dimension and adhered to the card. 


I took the sentiment from the Reverse Confetti Christmas Card Greetings Stamp Set and stamped it on to black cardstock with Versamark Ink. I applied white embossing powder and heat set. It was cut into a strip and added to the card with thin foam tape. 

I die cut the heart from the Reverse Confetti Love Wins Confetti Cuts three times from red cardstock and layered them up on the 'J'. I added an Iridescent Jewel to finish. 

SUPPLIES:


Here are the links to what I have used on the project. Affiliate links are used on some products. This means that if you make a purchase after clicking on my link, I receive a small commission with no extra cost to you. I truly appreciate your support when using these links. Please click on the logo below the product to shop at your favourite store. All products were personally purchased except those from Clearly Besotted, Hero Arts or those marked with an asterisk (*) which were kindly sent to me to use. You can read my full disclosure here.


LOOKING BACK: FAVOURITE REVERSE CONFETTI PROJECTS

Before I go, I wanted to share some of my favourite previous projects with you using Reverse Confetti. As well their products being excellent quality, I love the quirkiness to their sets. I have always found them slightly different than what is already on the market, which I have appreciated. 


Top left - I do not know why, but I think this might be my favourite project I have ever made with Reverse Confetti products! It uses the Holiday Gnomes and Seasonal Says It All sets. You can read how I made the tag HERE

Top right - These are recent makes. Both the card and tag use the Love Bugs Stamp Set and the Postal Cover Panel Dies. You can read how I made the card and tag HERE

Bottom left - This card uses the beautiful Over the Rainbow Confetti Cuts along with the Thanks and Hello Duo Word Dies. Sadly, both have now left the website so I cannot link to them but you can read how I made the card HERE

Bottom right - These tags use the Dashed Line Tag Die (one of my favourite ever dies!) as well as the Holiday Bough and Seasonal Says It All sets. You can read how I made the tags HERE

INSTAGRAM HOP:


For more inspiration using Reverse Confetti and to follow the hop, please head over to my Instagram page here and Reverse Confetti's here

A huge thank you goes to Jen and her team for giving so much to the crafting community over the years. Reverse Confetti will be incredibly missed. Thank you so much for stopping by today, I really do appreciate it. Wishing you a great weekend! 

7 October 2022

Spellbinders | Stitched Ornament

Hello there, today I have a card to share using the Spellbinders October 2022 Large Die of the Month Club Kit. The kit this month is called "Stitched Ornament Display" and it creates not only a stitched ornament, but a display to put in/on as well. I didn't use the display, opting to put the ornament on a card base instead, but it is really cool! 

PLEASE NOTE: This post contains affiliate links. Please see below for my full disclosure.


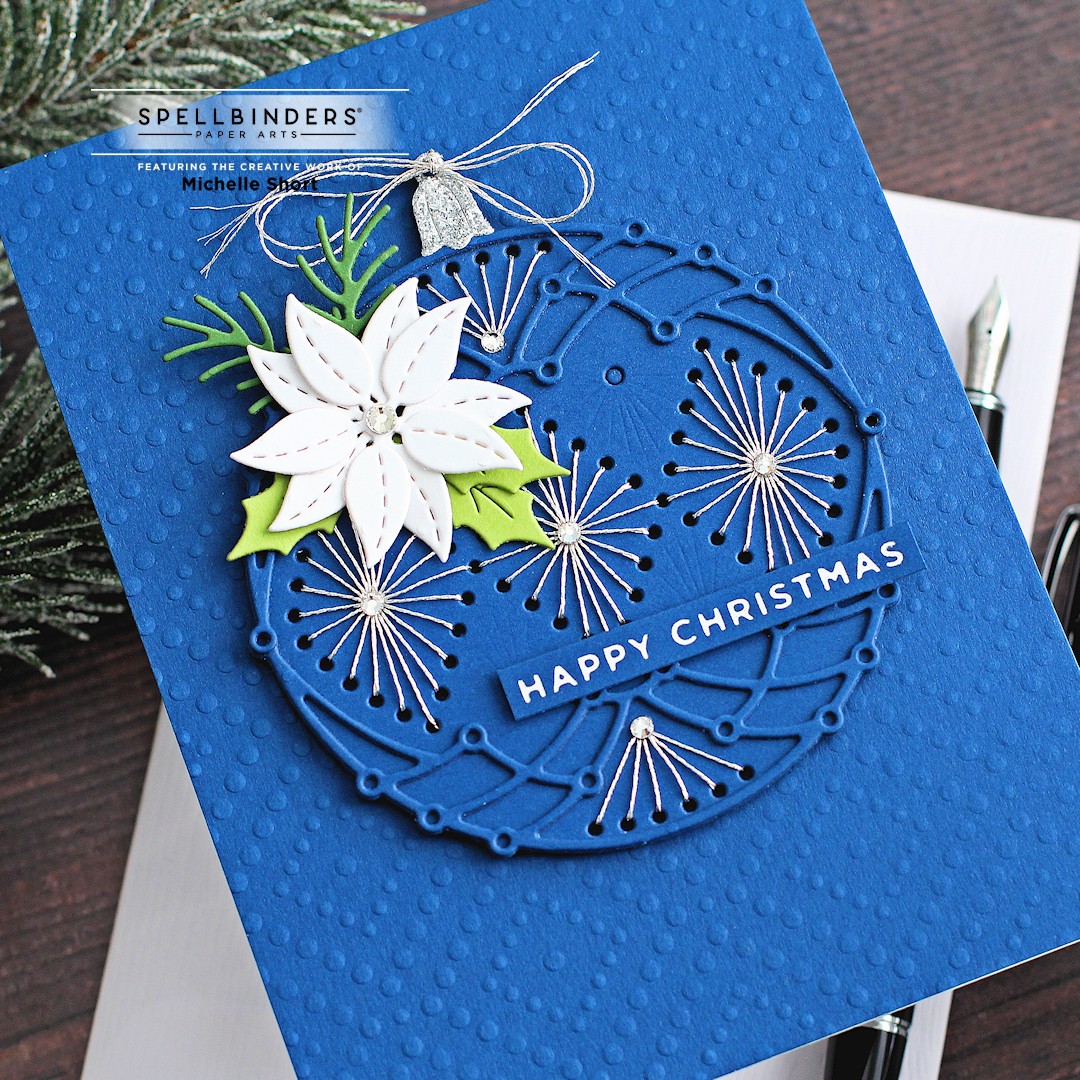
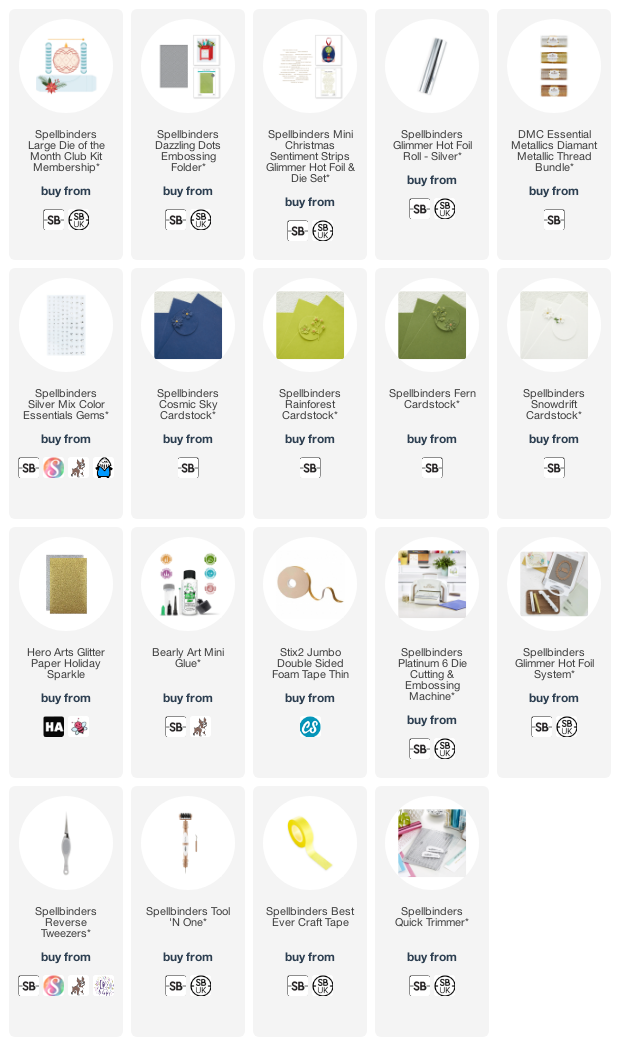
I started off my card by die cutting the ornament stitching piece and outline die from the Spellbinders October 2022 Large Die of the Month Club Kit twice from Spellbinders Cosmic Sky Cardstock. They were adhered together for some added stability whilst stitching. I stitched the ornament using DMC Silver Diamant Thread. I did not stitch all the parts, I left a few open as I liked the look. 


I die cut the ornament topper from silver glitter paper and added it on top. I then die cut the poinsettia, holly leaves and pine branches from the set and adhered them on to the ornament. I tied more thread through the top and tied in a bow. 

I took a panel of Cosmic Sky Cardstock and ran it through my die cutting machine inside the Spellbinders Dazzling Dots Embossing Folder. The panel was then adhered to a US A2 sized white card base. 


The ornament was added on top with thin foam tape. I took the sentiment from the Spellbinders Mini Christmas Sentiment Strips Glimmer Hot Foil & Die Set and foiled it on to more Cosmic Sky Cardstock with Silver Foil. It was cut into a strip and added to the card with more thin foam tape. To finish off, I added Spellbinders Silver Mix Color Essentials Gems to embellish. 

SUPPLIES:


Here are the links to what I have used on the project. Affiliate links are used on some products. This means that if you make a purchase after clicking on my link, I receive a small commission with no extra cost to you. I truly appreciate your support when using these links. Please click on the logo below the product to shop at your favourite store. All products were personally purchased except those from Clearly Besotted, Hero Arts or those marked with an asterisk (*) which were kindly sent to me to use. You can read my full disclosure here.


SPELLBINDERS CLUB KITS

I hope that you will check out the Spellbinders Club Kits. It is a wonderful monthly subscription where you receive the kit each month. Designers like myself share inspiration using the kit at the beginning of the month to show you lots of different ways that you can use it. 

There are also lots of other club kits too, like the Small Die of the Month and Stamp & Clear Die of the Month (plus lots more!), so there is something for everyone! If you do subscribe, you will get other benefits from Spellbinders too. Please see here for more information. You can also buy older kits here too. 

If you do want to get hold of this month's kit, you would need to subscribe by 28th October 2022 to receive it. Subscribers can cancel their membership at any time. 


Thank you so much for stopping by today, I really do appreciate it. I hope you have a lovely day! 

6 October 2022

Simon Says Stamp | Many Thanks Pumpkin

Hello there, today I have a card to share with you using the new Turkey Day stamp set from the Simon Says Stamp Cozy Hugs release which is out today. Being a vegetarian, the turkey images didn't really appeal to me that much, but I love the pumpkins in the set, so I thought I would do something a little different with it than as intended! 

PLEASE NOTE: This post contains affiliate links. Please see below for my full disclosure.


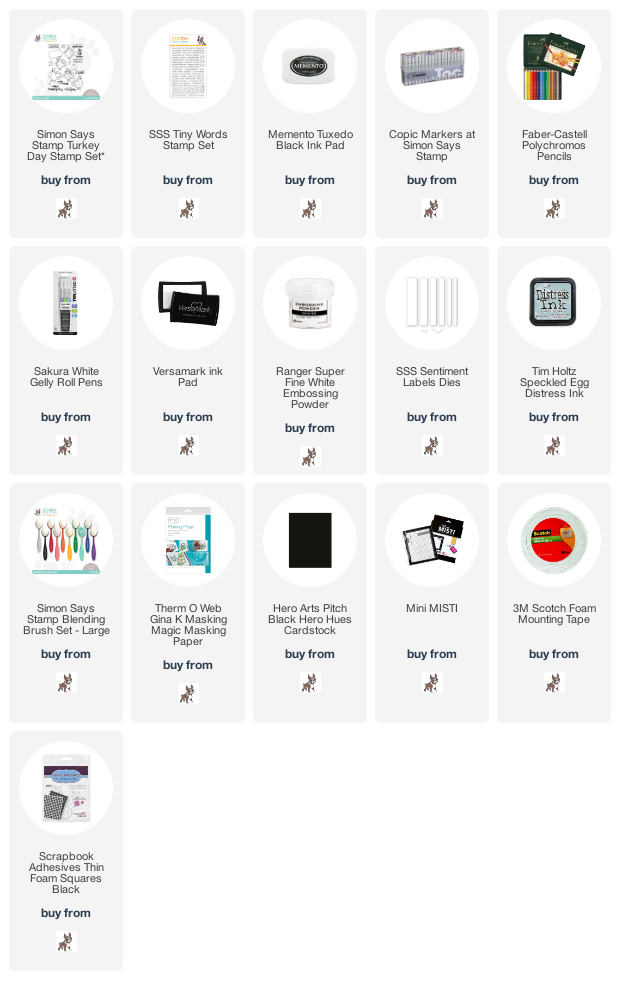
I started off by taking a panel of white cardstock and stamped the larger of the two pumpkins from the Simon Says Stamp Turkey Day Stamp Set in the centre using Memento Tuxedo Black Ink


I then made a mask for it from masking paper and placed it over the top. I stamped the second pumpkin either side of the first one and made a masks for them also. Using an ink blending brush, I blended Tim Holtz Speckled Egg Distress Ink above the pumpkins. 

The masks were removed and the pumpkins coloured with Copic markers, as well as the ground. I also added some shadows with a black Polycromos Pencil. 


The panel was then adhered to a US A2 sized white card base with foam tape. 

I took the sentiment from the Simon Says Stamp Tiny Words Stamp Set and stamped it on to black cardstock with Versamark Ink. I applied Ranger Super Fine White Embossing Powder and heat set. It was cut into a strip and added to the card with thin foam tape. To finish off, I added white gel pen dots and sparkles. 

SUPPLIES:


Here are the links to what I have used on the project. Affiliate links are used on some products. This means that if you make a purchase after clicking on my link, I receive a small commission with no extra cost to you. I truly appreciate your support when using these links. Please click on the logo below the product to shop at your favourite store. All products were personally purchased except those from Clearly Besotted, Hero Arts or those marked with an asterisk (*) which were kindly sent to me to use. You can read my full disclosure here.


COPIC MARKERS: Pumpkins - BG78, BG75, BG72, BG70/E59, E57, E55/G28, G46, G82. Ground - W10, W7, W3, W1, W0. Black Polychromos Pencil. 

I was tempted to colour the pumpkins orange and create more of a Halloween card, but I thought they would look nice in aqua/teals too, so that's what I went with! Thank you so much for stopping by today, I really do appreciate it. I hope you have a lovely day!

5 October 2022

Alex Syberia Designs Kickstarter Campaign Blog Hop 2 + Giveaway

Hello there, I am delighted to be joining Alex Syberia Designs for their second blog hop to celebrate their Kickstarter Campaign. There are lots of stamps, dies and stencils as part of the release, so something for everyone! You can see my first two posts using the release here and here

This post is part of a fun, inspirational blog hop with prizes. Please see below for more details on the hop and Kickstarter Campaign. 

PLEASE NOTE: This post contains affiliate links. Please see below for my full disclosure.


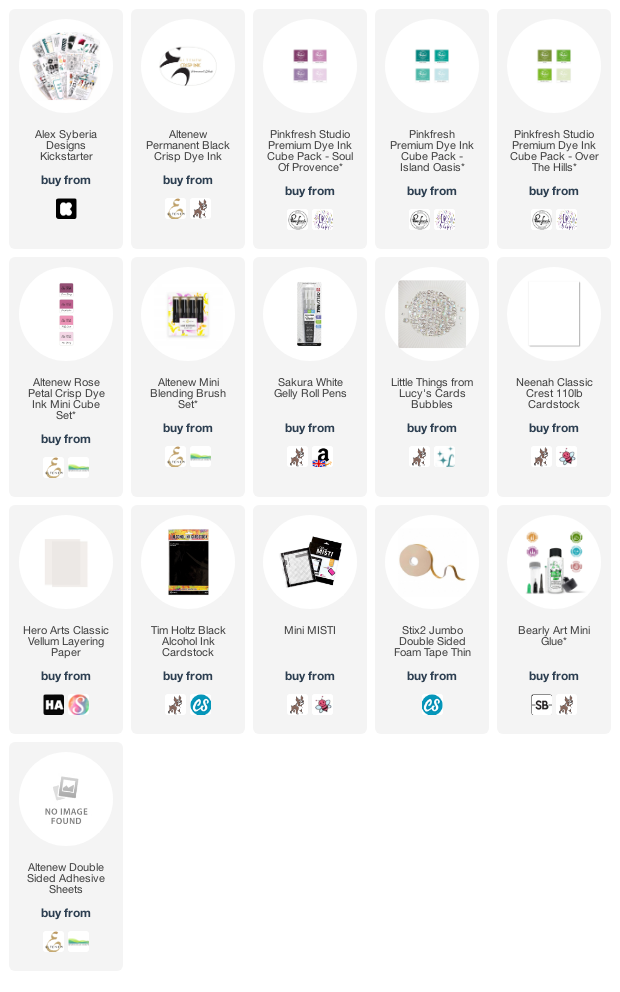
My card today uses the beautiful Life Is Good stamp set, dies and stencil. I started off by stamping the main image from the Alex Syberia Designs Life Is Good Stamp Set on to white cardstock with black ink. I then placed the stencils on top, one by one to add colour to the image with ink blending. 


I did leave the added detail layers out as I liked it as is. That's the great thing with stencils, you can add layers or not! I used a combination of Altenew and PinkFresh Studio inks for the ink blending. I then die cut it out using the coordinating die. 

I added ink blending to a mini slimline card base (3.5" x 6.25") before adhering the image on top with thin foam tape. 


I took the Alex Syberia Designs Smile Word Die and die cut the word from black cardstock and the shadow from vellum. Before die cutting, I added double-sided adhesive sheet to the black cardstock for easy adhering on to the vellum. To finish off, I added a few Little Things from Lucy's Cards Bubbles to embellish as well as a few white gel pen dots to the image. 

SUPPLIES:


Here are the links to what I have used on the project. Affiliate links are used on some products. This means that if you make a purchase after clicking on my link, I receive a small commission with no extra cost to you. I truly appreciate your support when using these links. Please click on the logo below the product to shop at your favourite store. All products were personally purchased except those from Clearly Besotted, Hero Arts or those marked with an asterisk (*) which were kindly sent to me to use. You can read my full disclosure here.


KICKSTARTER CAMPAIGN:

Did you know that Kickstarter is all or nothing? That means that Alex Syberia Designs need to reach their funding goal to be able to go ahead and manufacture this beautiful collection. You can back them on their Kickstarter Campaign and you can help them spread the word about it! 

There are fantastic discounts, which are only available through their Kickstarter Campaign:

BLOG HOP:

Here is the list of designers taking part in the hop today:


GIVEAWAY:

Alex Syberia Designs is giving away some fantastic prizes - their full September Release and two of their gorgeous Floral Bundle or Critter Bundle to choose from. There are also amazing companies and crafty friends who are celebrating with us. Here's the complete list of awesome prizes:

· Alex Syberia Designs:

o    Full September Release Bundle (worth £329/$395)

o    Two bundles to choose from: Floral Bundle (worth £160/$192) or Cuties Bundle (worth £108/$129) *

·  Artcreatiu - 25€ Gift Card

· Bearly Art - $50 Gift Card (open to US participants only)

· Catherine Pooler Designs - $30 Gift Card

· Crafty Purple Frog - £25 Gift Card

· Kit & Clowder - 30$ Gift Card

· La papelería de Lola - 25€ Gift Card

·  Organizemore - $50 Gift Card

· Picket Fence Studios - $75 Gift Card

· Seize the Stamp - CHF 50

· The Gray Muse - $50 Gift Card

· Tonic Studios - £100/$100 Gift Card

· Wow! Embossing powder - £20/$20 Gift Card

Check the Kickstarter Campaign for more info

That's a total of 15 prizes for 15 lucky winners! To be in with a chance to win one of these amazing prizes all you have to do is play along with each of the four hops! Alex Syberia Designs will draw winners from those entrants that have played along the hops by 16th October 2022. 

To enter, leave a comment on this blog post as well as those of all the other amazing designers. Winners will be announced on the Alex Syberia Designs blog on the 23rd October 2022.

I really hope you will check out the Kickstarter Campaign. The products are amazing! Thank you so much for stopping by today, I hope you enjoy the rest of the hop and have a great day! 

4 October 2022

VIDEO | CASEing Your Own Cards

Hello there, I am over on the My Favorite Things YouTube channel today, sharing a card using the super cute Ride or Die set. I knew that I wanted to use this set and which character I wanted to use but I wasn't sure of a card design. I went to my Instagram feed and found a card that I made previously where I thought I could adapt the design slightly to work with the character. 

PLEASE NOTE: This post contains affiliate links. Please see below for my full disclosure.


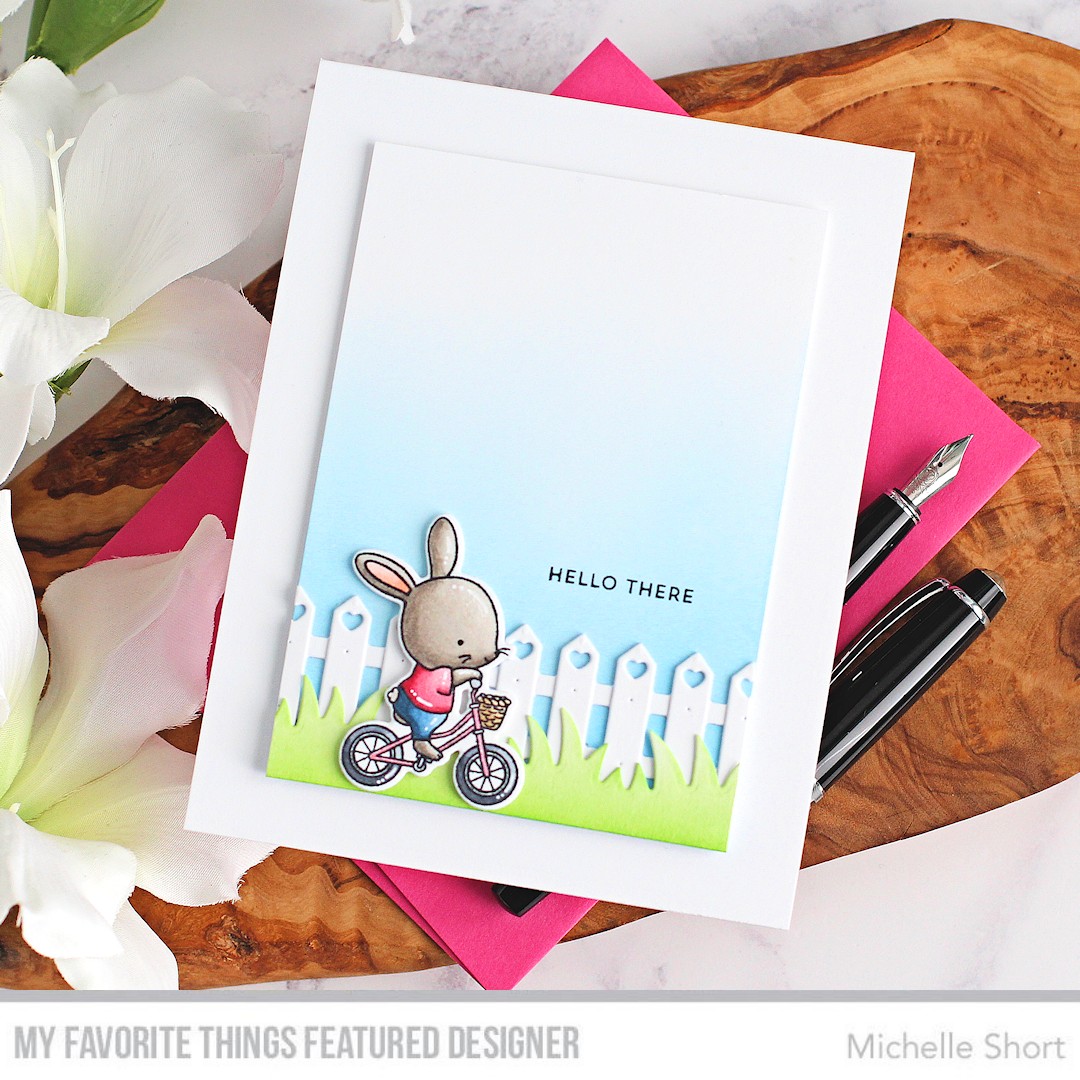
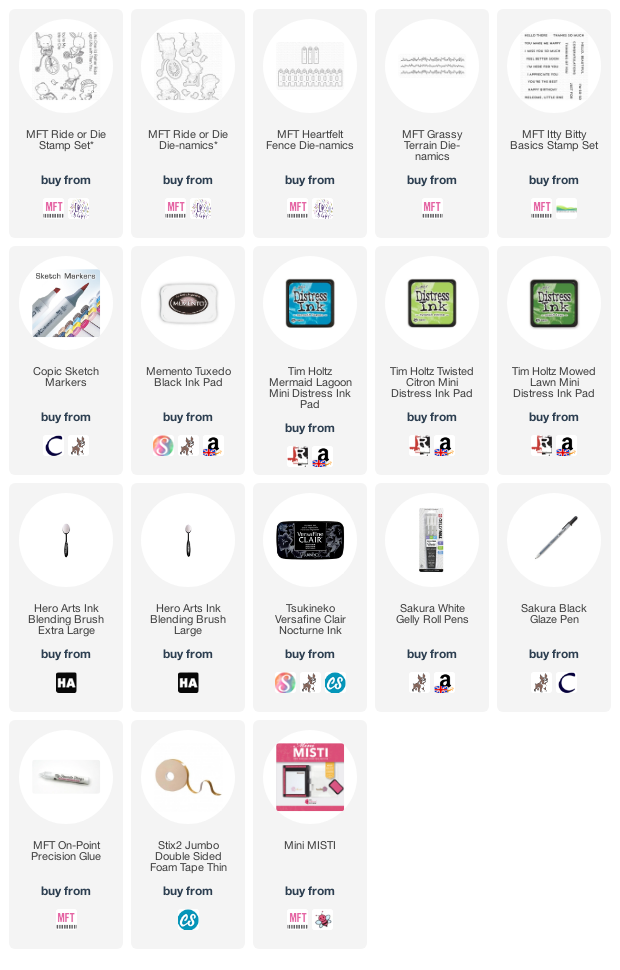
I started off my card by stamping the bunny from the MFT Ride or Die Stamp Set on to white cardstock with black ink. I then coloured her using Copic Markers (the colours that I used are listed below the supplies area for reference). I die cut her out using the MFT Ride or Die Die-namics


I took a 3.25" x 4.5" white panel of cardstock and added a little Tim Holtz Mermaid Lagoon Distress Ink to it to create the illusion of a sky. I die cut a MFT Grassy Terrain Die-namics from white cardstock and then added ink blending with Tim Holtz Twisted Citron and Mowed Lawn Distress Inks. Finally, I die cut the MFT Heartfelt Fence Die-namics from white cardstock also. 


I stamped a sentiment from the MFT Itty Bitty Basics Stamp Set on to the panel and then adhered the fence below using MFT On-Point Precision Glue. I cut off the excess with scissors and then adhered the grass piece on top. The panel was adhered to a US A2 sized white card base with thin foam tape. The bunny was then added on top with more thin foam tape. To finish off, I added black glaze pen to her eye and white gel pen highlights. 

VIDEO:

Here is the video showing how I made the card:


If you are viewing this blog post via email subscription, you can watch the video HERE on YouTube. 

SUPPLIES:


Here are the links to what I have used on the project. Affiliate links are used on some products. This means that if you make a purchase after clicking on my link, I receive a small commission with no extra cost to you. I truly appreciate your support when using these links. Please click on the logo below the product to shop at your favourite store. All products were personally purchased except those from Clearly Besotted, Hero Arts or those marked with an asterisk (*) which were kindly sent to me to use. You can read my full disclosure here.


COPIC MARKERS: Bunny - W5, W4, W3, W2, W1, W0/R02, R01, R000. Jeans - B99, B97, B95, B93. Top - R39, R85, R83, R81. Bike - R81/C1/C7, C5, C3/E55, E53, E51. 

If you are ever stuck with a card designs, take a look back at ones you have already created and see if you can adapt it to use with other images. Thanks so much for stopping by today, I really appreciate it. Wising you a great day! 

3 October 2022

Hero Arts | My Monthly Hero October 2022 Release Blog Hop + Giveaway

Hello there and welcome to the Hero Arts October 2022 My Monthly Hero Release Blog Hop + Giveaway. Both the kit and add-ons are now available in store to purchase. The release this month is all about North Pole scene building. Perfect for winter, Christmas and holiday projects. I have two cards to share with you today - one using the main kit and the other with three of the add-on products. 

PLEASE NOTE: This post contains affiliate links. Please see below for my full disclosure.

I already shared one card using the main kit, which you can see here. For my card today, I wanted to share another way of using the kit clear stamp set but on a smaller scale. 

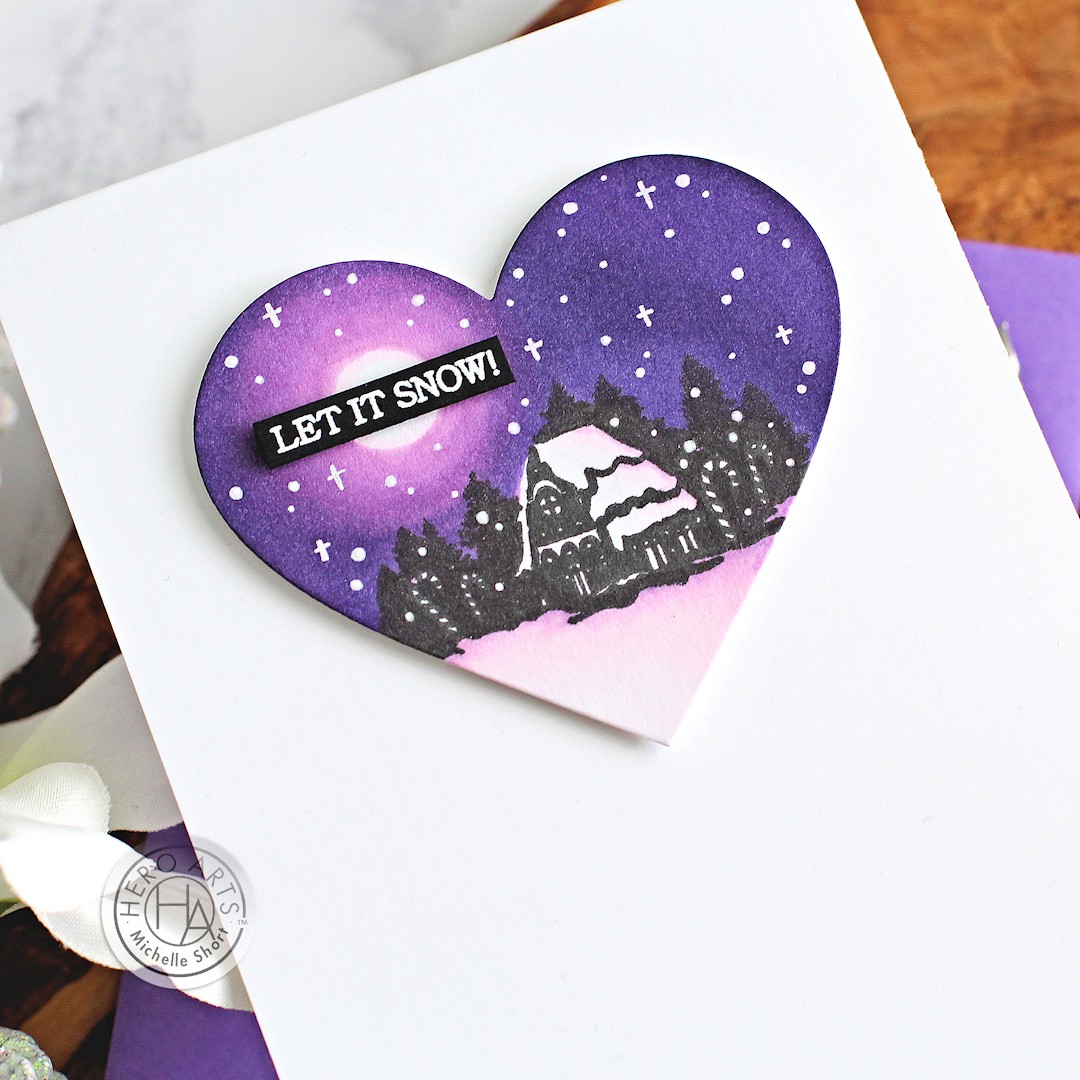
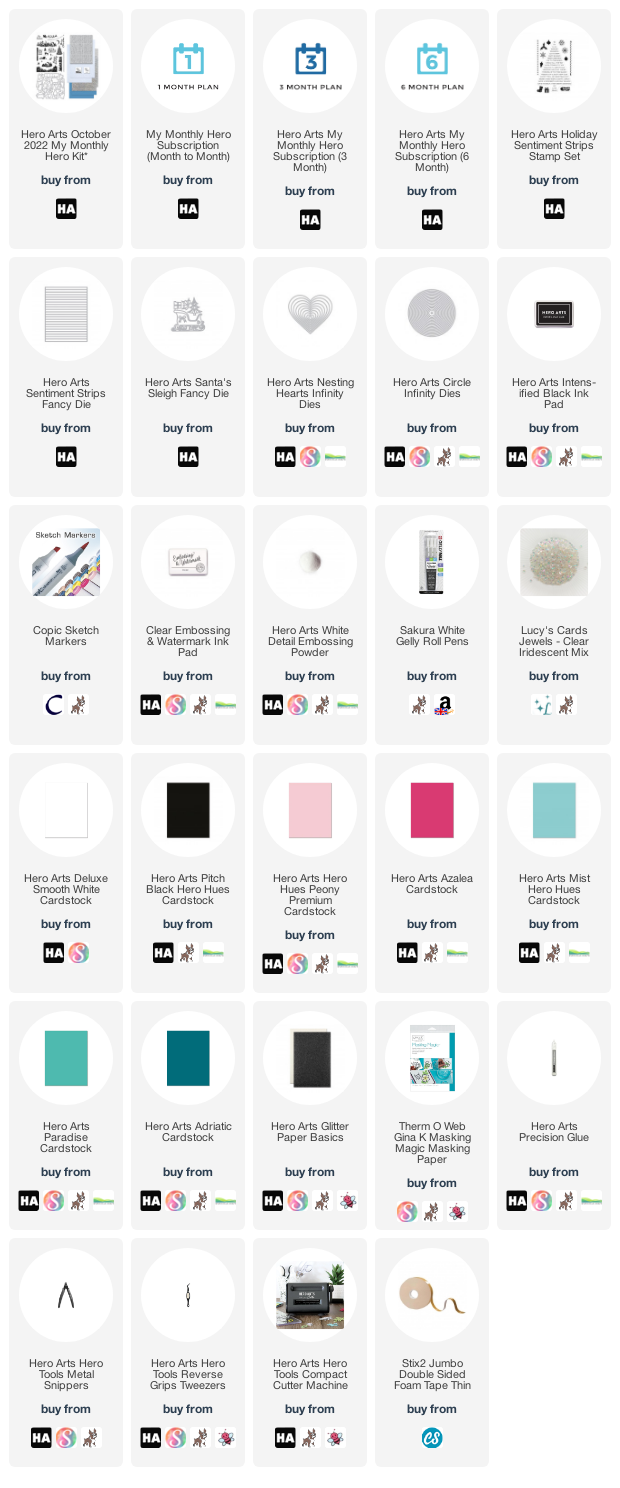
I started off by stamping one of the silhouette images from the Hero Arts October 2022 My Monthly Hero Kit clear stamp set on to white cardstock using Hero Arts Intens-ified Black Ink. I then die cut it out using a Hero Arts Nesting Hearts Infinity Die. I also die cut a Nesting Circle Infinity Die from masking paper. 

The masking paper circle was adhered in the sky and then I coloured the heart using Copic Markers. I used the circle mask as a guide for the moon. The mask was removed and then I added a very pale purple around the inside edges. The heart panel was adhered to a US A2 sized white card base with foam tape. 

I took the sentiment from the Hero Arts Holiday Sentiment Strips Stamp Set and stamped it on to Hero Arts Pitch Black Cardstock with Hero Arts Clear Embossing & Watermark Ink. I applied Hero Arts White Detail Embossing Powder and heat set. It was cut into a strip using the Hero Arts Sentiment Strips Fancy Die and adhered to the card with thin foam tape. To finish off, I added white gel pen sparkles and dots to the image. 

My second card uses a few of the new add-on sets, including two that I used on the card above! (Love them!) I started off by die cutting the Hero Arts Sentiment Strips Fancy Die from five colours of Hero Arts Cardstock - Peony, Azalea, Mist, Paradise and Adriatic. They were adhered to a panel of cardstock at a slight angle, using Precision Glue

I took the Hero Arts Santa's Sleigh Fancy Die and die cut it from white cardstock three times. They were adhered one on top of another for added dimension. I also cut it from white glitter paper. I cut the trim off the top and placed it on the white sleigh. The holly leaves and berries from the set were die using Paradise and Peony cardstock. 

The sleigh was adhered to the panel using Precision Glue and then the panel adhered to a US A2 sized white card base using thin foam tape. The holly was added on top. The sentiment from the Hero Arts Holiday Sentiment Strips Stamp Set was heat embossed in white on to black cardstock and die cut using the Hero Arts Sentiment Strips Fancy Die. It was adhered to the card with thin foam tape. To finish off, I added a few iridescent jewels. 

SUPPLIES:


Here are the links to what I have used on the projects. Affiliate links are used on some products. This means that if you make a purchase after clicking on my link, I receive a small commission with no extra cost to you. I truly appreciate your support when using these links. Please click on the logo below the product to shop at your favourite store. All products were personally purchased except those from Clearly Besotted, Hero Arts or those marked with an asterisk (*) which were kindly sent to me to use. You can read my full disclosure here.


MY MONTHLY HERO KIT:


Winter has come, direct from the North Pole! The October My Monthly Kit features a darling 6” x 8” stamp set with everything you need to build a magical scene, right down to Santa's sleigh. The coordinating dies cut out everything in the stamp set, including the messages. There's a cling background stamp for adding falling snow, and we've included two types of white ink to allow you to experiment with different techniques! The kit is rounded out with some gorgeous papers.

KIT CONTENTS:

6" x 8" Clear Stamp Set
19 Coordinating Frame Cuts
Snow Dots Cling Stamp
2 Ink Cubes (White Reactive & Unicorn Pigment)
2 Sheets of Diamond Glitter Paper (5.5" x 8.5")
2 Sheets of Snow Glow Cardstock (5.5" x 8.5")
2 Sheets of Lapis Cardstock (5.5" x 8.5")

The Hero Arts October 2022 My Monthly Hero Kit is valued at $79 but you can get it for $34.99 (approximately £28 depending on exchange rate, not including VAT/customs charges). The kits are exclusive to the Hero Arts store and often sell out quickly, so you can subscribe here, so that you never miss a kit. 

ADD-ONS:

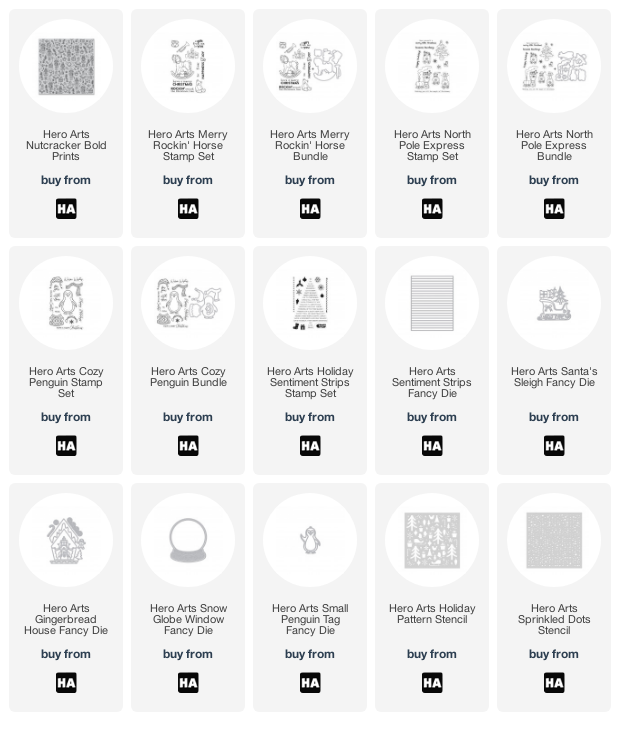
There are lots of add-on products released each month. These work alongside the kit, or work on their own too. These can be purchased from Hero Arts when you order a kit, on their own or from your favourite Hero Arts retailer (these are not exclusive and are restocked if sold out). Here is a look at them:


BLOG HOP:

This post is part of a fun, inspirational blog hop with prizes. For the hop, you should have arrived here from the fabulous Maria. Next on the hop is the fantastic Mindy. If you get lost along the way, or want to start the hop from the beginning, please head over to the Hero Arts Blog

GIVEAWAY:

Hero Arts are giving away a $50 gift card drawn from the comments left across all of the stops in the hop. Enter by 9th October 2022 at 11.59pm PT. The winner will be announced the following week on the Hero Arts Blog.

Thank you so much for stopping by today, I really do appreciate it. I hope you have a lovely time on the rest of the hop and a great rest of the day too! Take care.
End of code