15 February 2022

Hero Arts | Spring 2022 Release Blog Hop + Giveaway

Hello there, today is such a fun day as the Hero Arts Spring 2022 Release is out today! There are lots of new products being released - stamps, coordinating Frame Cuts, Fancy Dies, Looking Glass Dies, inks, EarthSafe glitter and glitter paste. 

There are also new tools being released, including the fabulous new Compact Cutter and storage items too. The new tools and storage items won't be available until March, but do head over to the shop and click on the "notify me" button to be the first in line to get them! 

We are celebrating the release with a fun, inspirational blog hop with prizes. Please see below for more details. 

PLEASE NOTE: This post contains affiliate links. Please see below for my full disclosure.


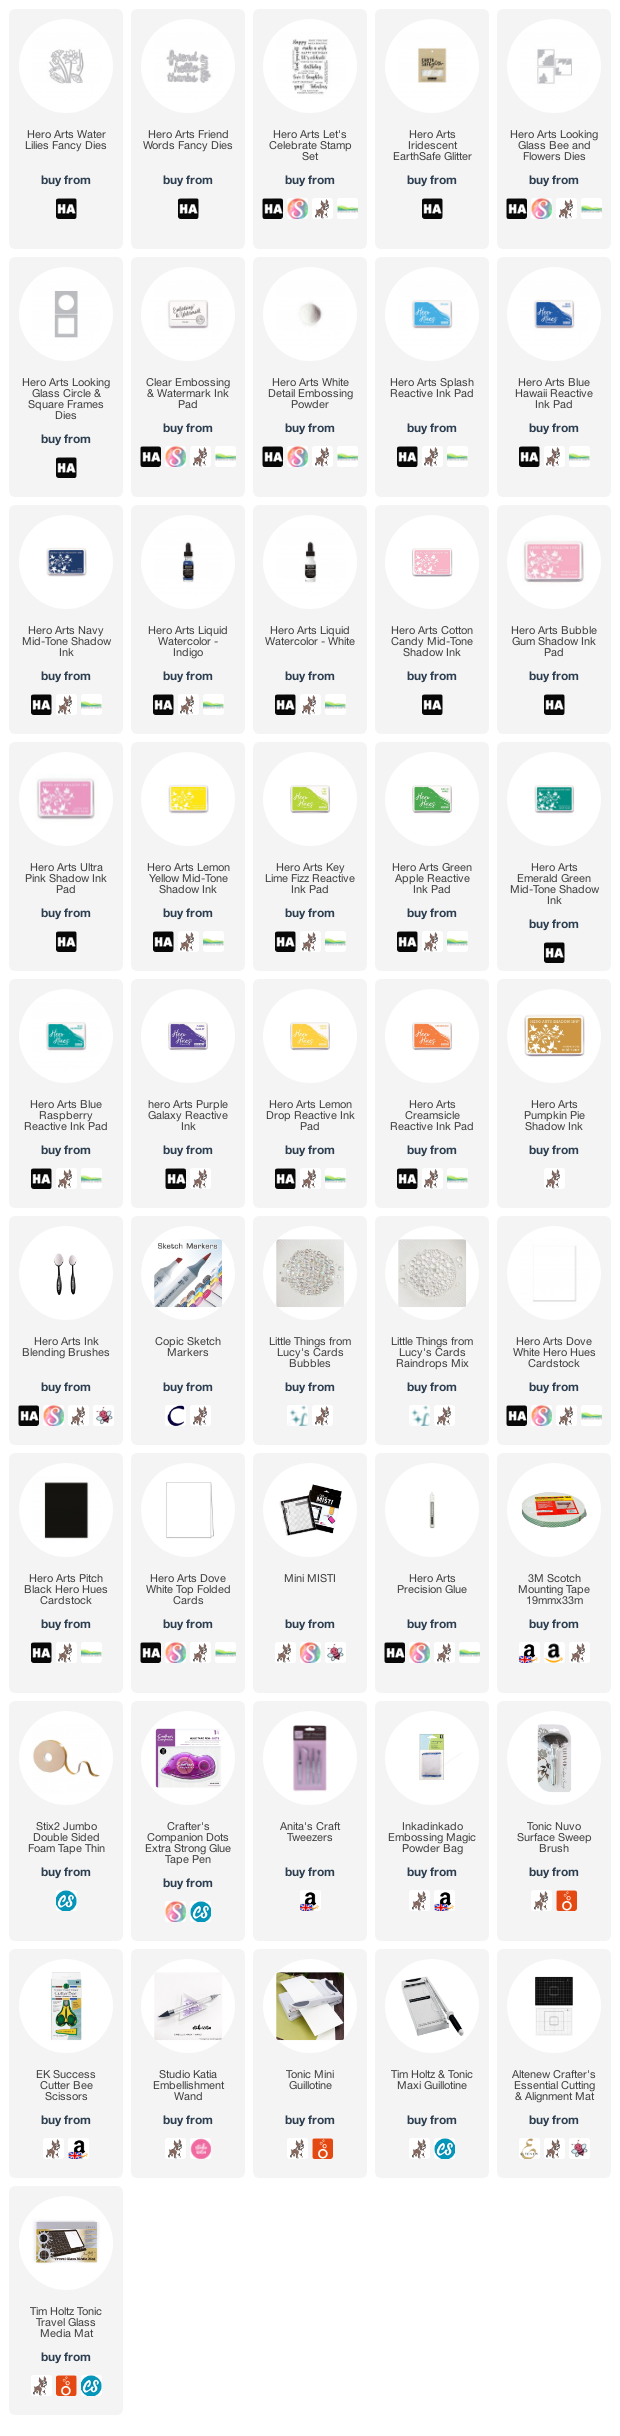
My first card uses some new Fancy Dies. These are standalone dies that can be used on their own, or combined with other products. I thought the new Water Lilies Fancy Dies were so pretty, I had to play with those first! I started off by die cutting the Hero Arts Water Lilies Fancy Dies from Hero Arts Dove White Cardstock. 


Using Ink Blending Brushes, I added colour to them with ink pads and ink blending. I used Hero Arts Cotton Candy, Bubble Gum and Ultra Pink Mid-Tone Shadow Inks for the lilies, adding a little Hero Arts Lemon Yellow Mid-Tone Shadow Ink for the inside of the open flower. For the stems and lily pads, I used Hero Arts Key Lime Fizz and Green Apple Reactive Inks and Hero Arts Emerald Green Mid-Tone Shadow Ink. 


For the dragonfly, I used Hero Arts Blue Raspberry and Purple Galaxy Reactive Inks. I took a panel of white cardstock (6.25" x 3.25") and added ink blending to it using Hero Arts Splash and Blue Hawaii Reactive Inks, as well as Hero Arts Navy Mid-Tone Shadow Ink. I focused most of the darker colour at the bottom and towards the left hand side. I then splattered with Hero Arts Liquid Watercolors in White and Indigo and set aside to dry. 


Once dry, it was adhered to a mini slimline card base (6.25" x 3.25") with tape runner adhesive. I then added small dabs of glue to the flowers and dragonfly and sprinkled the new Hero Arts Iridescent EarthSafe Glitter on top and tapped off the excess. The flowers were adhered to the card with a combination of foam tape (for the flower heads) and Hero Arts Precision Glue for the stems. The lily pads were adhered with Precision Glue. 


I took the new Hero Arts Friend Words Fancy Dies and die cut the hello word five times from white cardstock. On one layer, I added the Purple Galaxy and Ultra Pink Inks at the bottom. The layers were then stacked up with Precision Glue and adhered to the card. 

I took the sentiment from the Hero Arts Let's Celebrate Stamp Set and stamped it on to Hero Arts Pitch Black Cardstock with Hero Arts Clear Embossing & Watermark Ink. I applied Hero Arts White Detail Embossing Powder and heat set. It was cut in to a strip and added to the card with foam tape. To finish off, I added a few Little Things from Lucy's Cards Bubbles. 


My next card uses the new Hero Arts Looking Glass Bee and Flowers Dies. Like the other dies in this series, the dies create a looking glass/3D effect which is so cool! You can use as many or as little of the layers as you like. I decided to just use the flowers and leaves layers today. I started off by die cutting the layers from panels of Hero Arts Dove White Cardstock. 


I added ink blending to the layers using Hero Arts Ink Blending Brushes (check out the new sizes being released!). The leaves were blended with Hero Arts Key Lime Fizz and Green Apple Reactive Inks. The flowers were blended with Hero Arts Lemon Drop and Creamsicle Reactive Inks, adding a little Hero Arts Pumpkin Pie Mid-Tone Shadow Ink to the edges. The centres use Pumpkin Pie also but I also added a little Copic Marker on top to get the shade that I wanted. 


I took a top folding card base and added ink blending to the middle for the bottom layer. I used Hero Arts Splash and Blue Hawaii Reactive Inks, as well as a little Hero Arts Navy Mid-Tone Shadow Ink. The leaves layer was added on top with thin foam tape, followed by the flower layer, with more thin foam tape. I then created a frame from white cardstock, using the new Hero Arts Looking Glass Circle & Square Frames Dies. I cut two and layered them up for a little more dimension. 


I took the sentiment from the Hero Arts Let's Celebrate Stamp Set and stamped it on to Hero Arts Pitch Black Cardstock with Hero Arts Clear Embossing & Watermark Ink. I applied Hero Arts White Detail Embossing Powder and heat set. It was cut in to strips and added to the card with  more thin foam tape. To finish off, I added Little Things from Lucy's Cards Raindrops, adhering with Hero Arts Precision Glue. 

SUPPLIES:


Here are the links to what I have used on the projects. Affiliate links are used on some products. This means that if you make a purchase after clicking on my link, I receive a small commission with no extra cost to you. I truly appreciate your support when using these links. Please click on the logo below the product to shop at your favourite store. All products were personally purchased except those from Clearly Besotted, Hero Arts or those marked with an asterisk (*) which were kindly sent to me to use. You can read my full disclosure here.


BLOG HOP:


As mentioned, this blog post is part of a fun, inspiration filled hop. For the blog hop, you should have arrived here from the wonderful Maria Willis. Next on the hop is the fantastic Mindy Eggen. If you get lost along the way, or want to the start the hop from the beginning, please head over to the Hero Arts Blog. 

GIVEAWAY:

Hero Arts are giving away three $50 gift cards, drawn from the comments left across all the stops in the hop. Enter by Sunday 20th February at 11.59pm PT. The winners will be announced on the Hero Arts Blog the following week. Good luck!

SPRING STAMP-ALONG 2022


Before I go, I just wanted to mention registration is now open for the Spring 2022 Stamp-Along. This is a virtual event of two full days of stamping, with demos from our artists and special key-note guests, all for $30. The event takes place in a private Facebook group. You can participate live on April 22nd and 23rd, or watch the classes on replay when you have time. You can find out more about the class here. 

Thank you so much for stopping by today, I really do appreciate it. I hope you will check out the new release. It is a wonderful one! Wishing you a wonderful rest of the day! 

VIDEO | MFT Anniversary Bears

Hello there, I am over on the My Favorite Things YouTube Channel today, sharing a clean and simple anniversary card using the I'm So in Love with You, Still set. This set is geared towards Valentine's, but can be used for other occasions too, like anniversary cards. 

PLEASE NOTE: This post contains affiliate links. Please see below for my full disclosure.


I started off the card by stamping the two bears from the MFT I'm So in Love with You, Still Stamp Set, as well as the hearts, on to white cardstock with black ink. I then coloured them using Copic Markers (the colours that I used are listed below the supplies area). They were then die cut out using the MFT I'm So in Love with You, Still Die-namics. 

For the background, I took a 4.25" x 5.5" white panel of cardstock and placed the MFT Rectangle Extraordinaire Stencil on top, securing in place with Post-It Tape. Using Ink Blending Brushes, I blended on Tim Holtz Distress Inks in Mermaid Lagoon, Wilted Violet and Kitsch Flamingo. I kept the colours light and airy. I then went in with the MFT Cloud Stencil and added three clouds, with the same inks. 

The masks were removed and the panel added to an A2 white card base with tape runner adhesive. The bears were added on top with foam tape. I die cut four additional layers of the hearts and stacked them on top of another, with the stamped one on top. This was then added to the card with MFT On-Point Precision Glue. 

The sentiment, from the MFT Itty Bitty Basics Stamp Set, was stamped on to black cardstock with Versamark Ink. I applied white embossing powder and heat set. It was die cut out using the MFT Itty Bitty Strips Die-namics and added to the card with foam tape. To finish off, I added a few Little Things from Lucy's cards Raindrops, securing in place with more On-Point Precision Glue. 

VIDEO:

Here is the video showing how I made the card:

SUPPLIES:


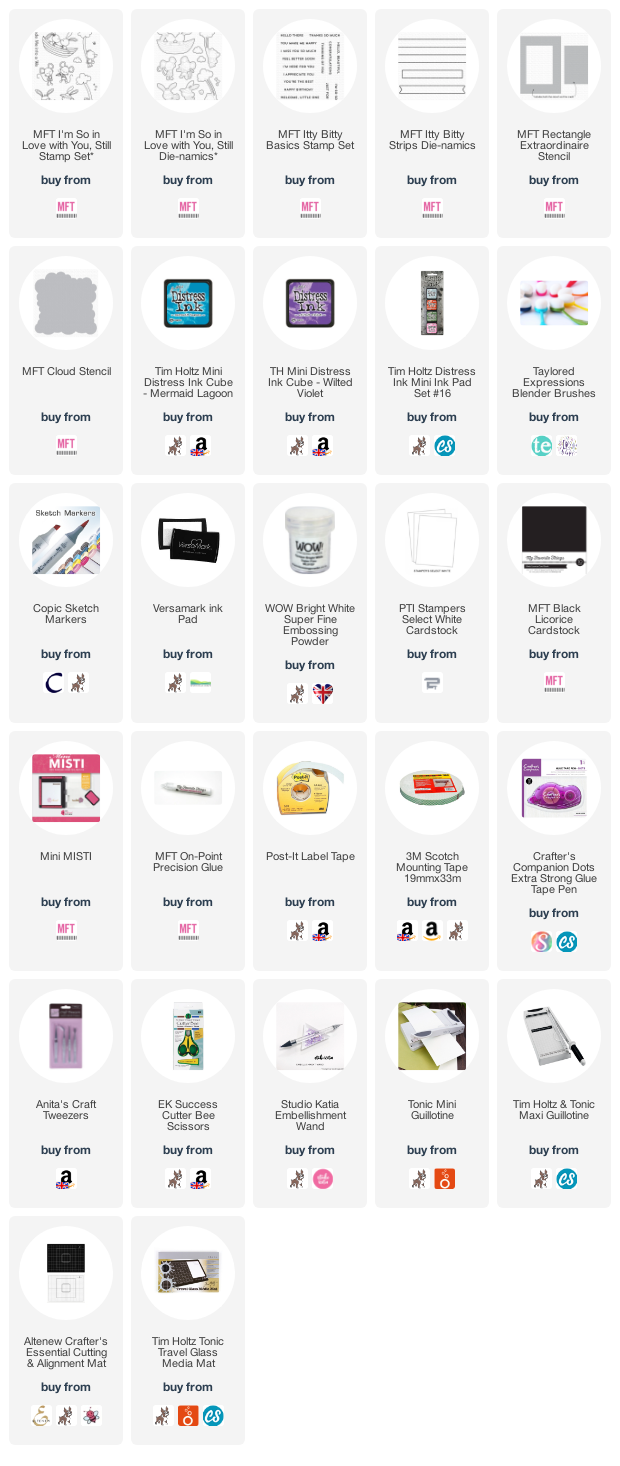
Here are the links to what I have used on the project. Affiliate links are used on some products. This means that if you make a purchase after clicking on my link, I receive a small commission with no extra cost to you. I truly appreciate your support when using these links. Please click on the logo below the product to shop at your favourite store. All products were personally purchased except those from Clearly Besotted, Hero Arts or those marked with an asterisk (*) which were kindly sent to me to use. You can read my full disclosure here.


COPIC MARKERS: Clouds - BG11, BG10, 0. Bears - E59, E57, E55, E53, E51, E50, E49, R12. Tops/T-shirts - RV66, RV55, RV52/V17, V15, V12, B04, B02, B00. Swings - E79, E74, E71. 

You can barely see the clouds in the background in the photos, but in real-life, they add just that extra touch. Thank you so much for stopping by to see me today, I really do appreciate it. I will be back later with a blog hop. In the mean-time, have a wonderful day! 

14 February 2022

Spellbinders | Bibi's Butterflies

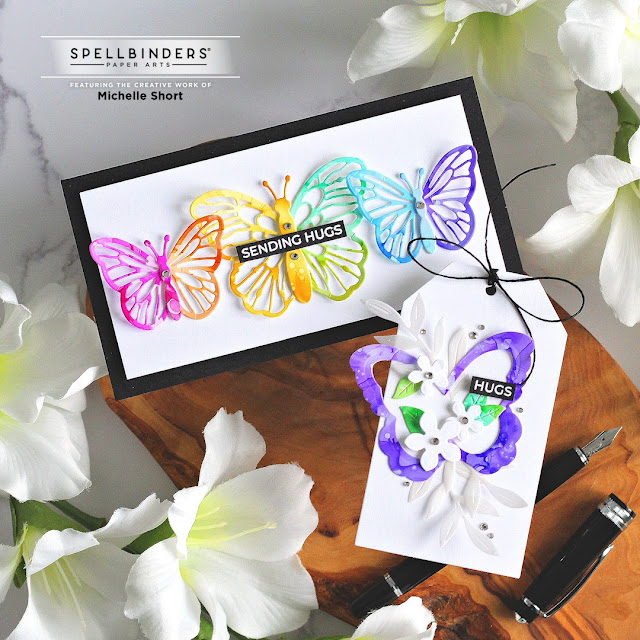
Hello there, today sees the release of a new collection over at Spellbinders called Bibi's Butterflies. It is a collection by the amazing Bibi Cameron, featuring lots of different butterflies. There are lots of different dies in the collection, plus a stamp set and stencil too. I am using three of the sets today, but I will have more projects to share at a later date. I happen to love butterflies, so absolutely fell in love with this collection!

PLEASE NOTE: This post contains affiliate links. Please see below for my full disclosure.


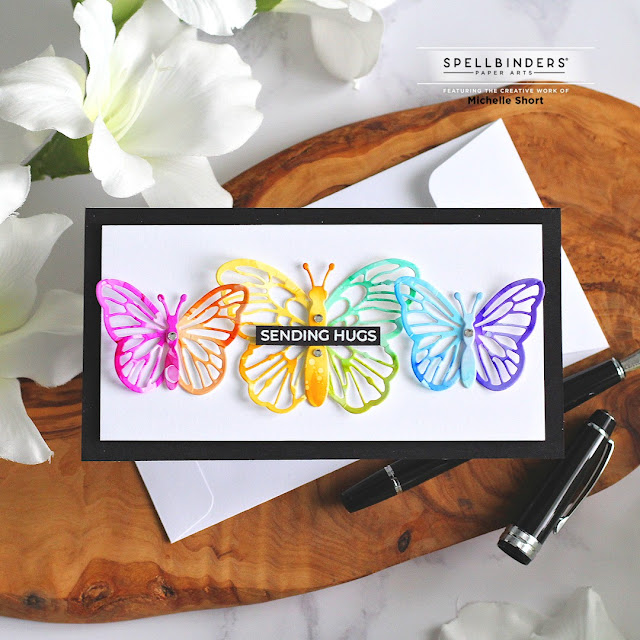
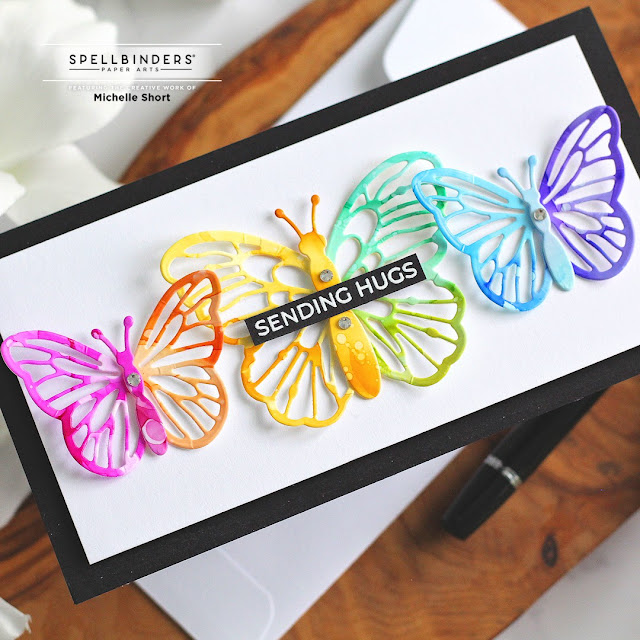
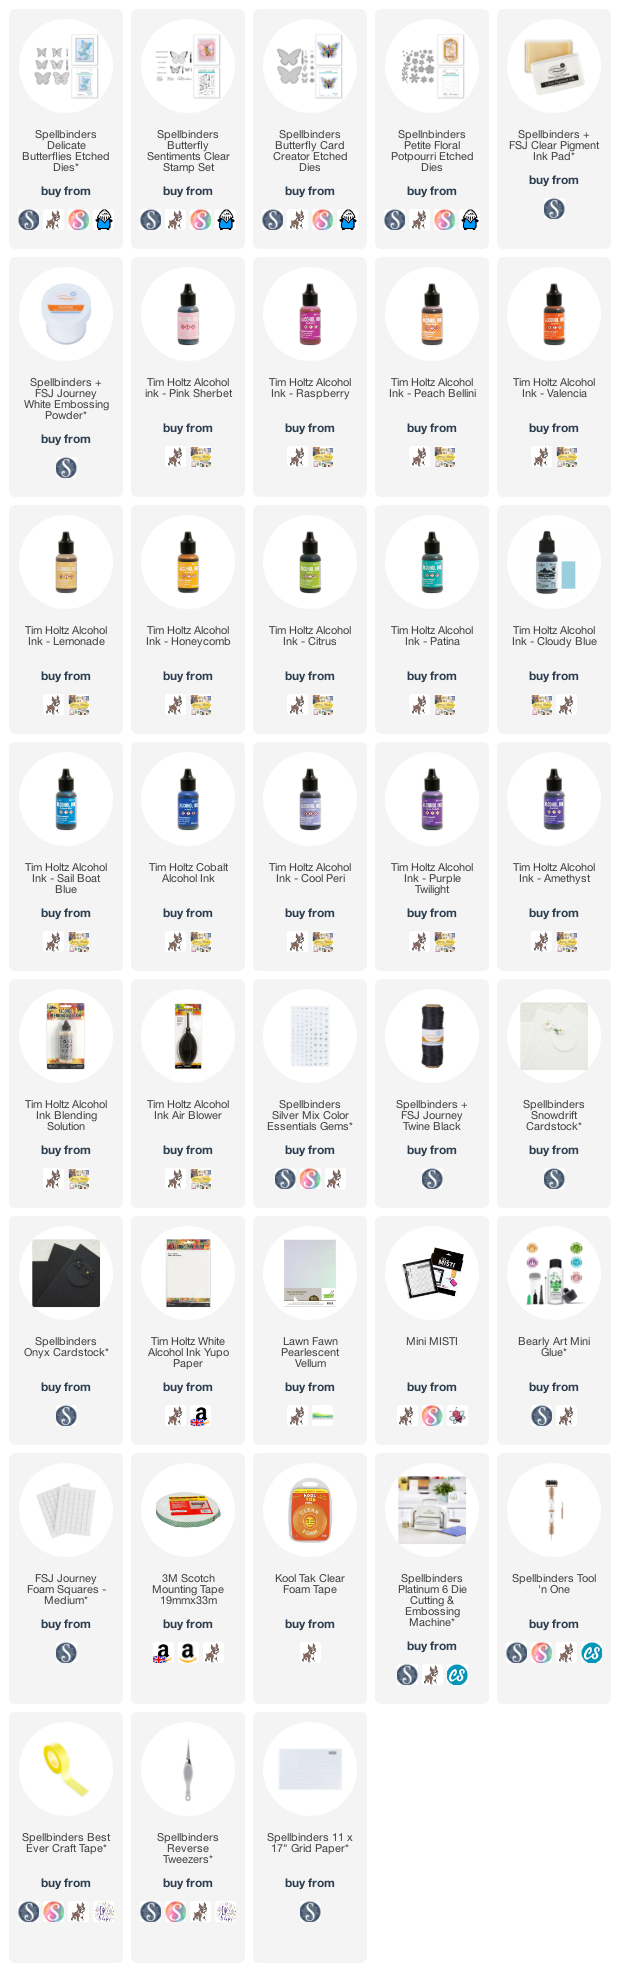
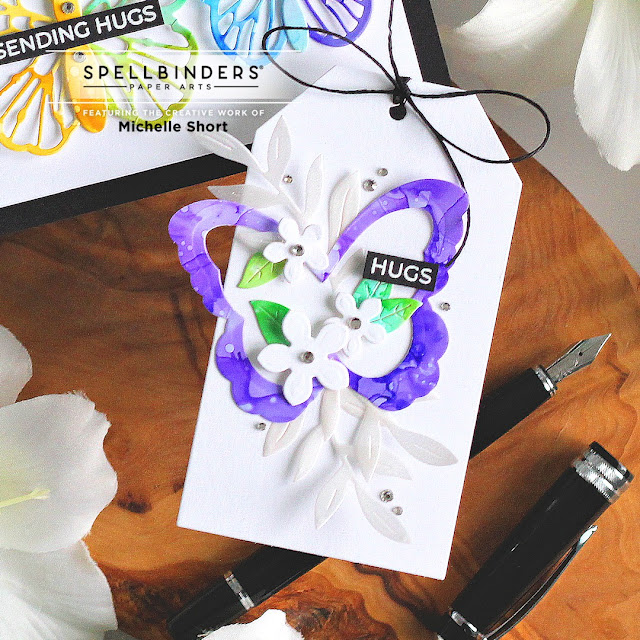
My first project today is a mini slimline card. I originally wanted to have a rainbow of butterflies on my card, but I only had room for three, so I did a bit of an experiment to get all of the colours in - creating two tone butterflies! I started off my card by taking Tim Holtz Alcohol Inks and adding them to Yupo Paper (all of the colours that I used are linked in the supplies list). I mixed in some Alcohol Blending Solution and moved them about with the air blower tool. I did one sheet of each colour and set them aside to dry. 


Once dry, I die cut the sheets using Spellbinders Delicate Butterflies Etched Dies. I used the two largest of the dies (there is one more just slightly smaller in size). What is great about this set is that there is a sold butterfly and an outline, so that you can cut them together like I have (for an outline look), or you can have them solid or layer them up on top of each other. So may possibilities! 


Because, I wanted all of the colours of the rainbow, I decided to cut the butterflies in half so that I could piece them back together so that there was one colour on each side of the butterfly. I took a black mini slimline card base (6.25" x 3.25") and added a panel of white cardstock on top, slightly smaller, using foam tape. I then added the butterfly wings on top using a small amount of clear foam tape to the centre of each butterfly. I then added the bodies on top to hide the join. 


The sentiment, from Spellbinders Butterfly Sentiments Clear Stamp Set, was stamped on to Spellbinders Onyx Cardstock using FSJ Clear Pigment Ink. I applied Spellbinders White Embossing Powder and heat set. It was cut in to a strip and added to the card with more clear foam tape. To finish off, I added a few Spellbinders Silver Mix Color Essentials Gems. 


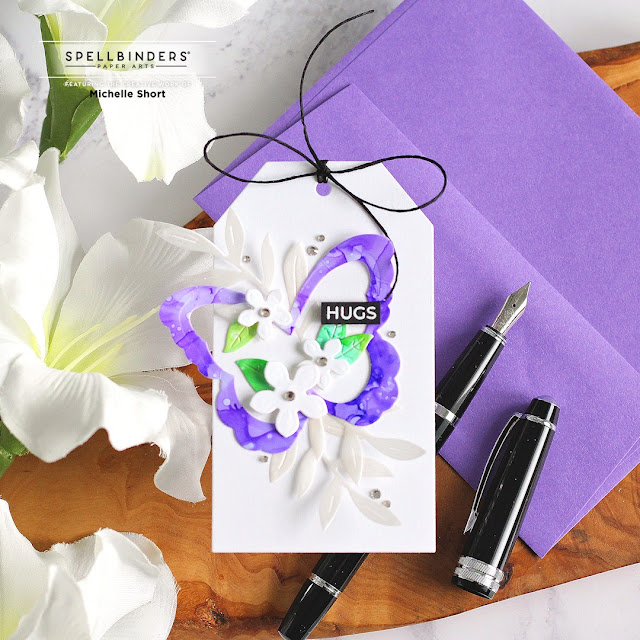
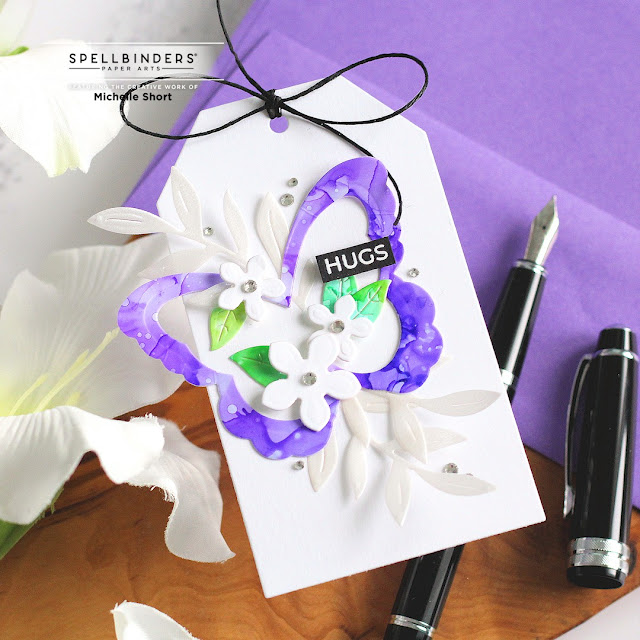
For my next project, I thought I would create a tag. I took the purple piece of alcohol ink paper that I had left and die cut it using the largest of the solid Butterflies from the Spellbinders Delicate Butterflies Etched Dies set. I then die cut the smaller butterfly from the inside to create a sort of frame piece. I took the green alcohol ink piece and die cut the leaves from the Spellbinders Butterfly Card Creator Etched Dies set. 


I also die cut the leaf fronds from this set using pearlescent vellum. This set is great because you can create a butterfly shaped card but there are also lots of flowers and leaves that can be used for lots of different projects. I added the vellum leaf fronds to the tag with a small amount of Bearly Art Glue. I then added the butterfly on top. I die cut some small flowers, from the Spellbinders Petite Floral Potpourri Etched Dies Set, from white cardstock. 


The flowers were adhered inside of the butterfly with foam squares. I then popped the leaves underneath. The sentiment, from the same Spellbinders Butterfly Sentiments Clear Stamp Set, was heat embossed in white again but this time, I just used the 'hugs' portion. It was added to the tag with more foam squares. To finish off, I added Spellbinders Journey Twine through the top of the tag and tied in a bow at the front. I then added Spellbinders Silver Mix Color Essentials Gems. 

SUPPLIES:


Here are the links to what I have used on the projects. Affiliate links are used on some products. This means that if you make a purchase after clicking on my link, I receive a small commission with no extra cost to you. I truly appreciate your support when using these links. Please click on the logo below the product to shop at your favourite store. All products were personally purchased except those from Clearly Besotted, Hero Arts or those marked with an asterisk (*) which were kindly sent to me to use. You can read my full disclosure here.


I hope you will check out Bibi's Butterflies Collection. It is so pretty! Thank you so much for stopping by today, I really do appreciate it. Wishing you a fantastic day! 

12 February 2022

Spellbinders | Just For You Tag

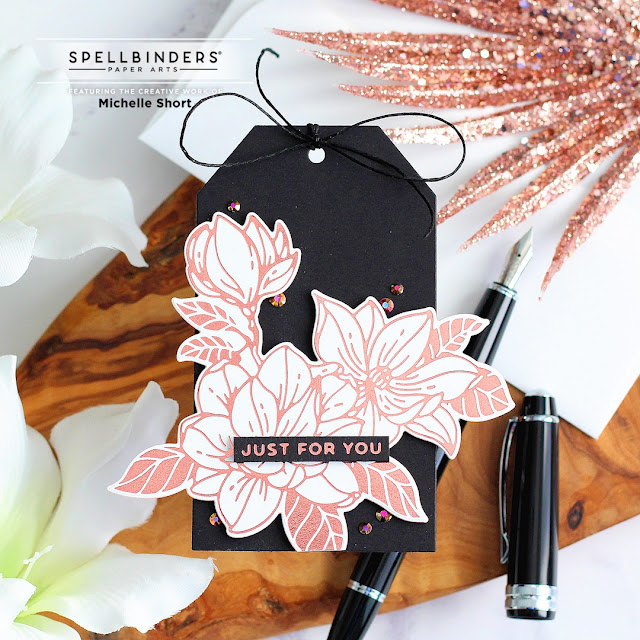
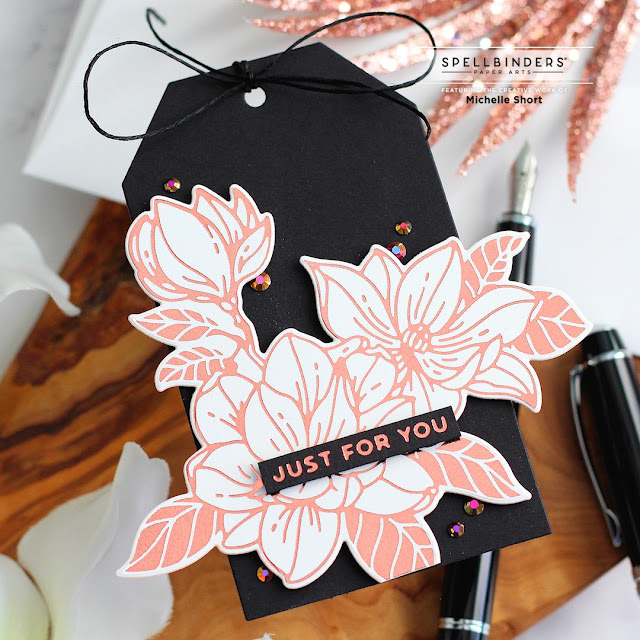
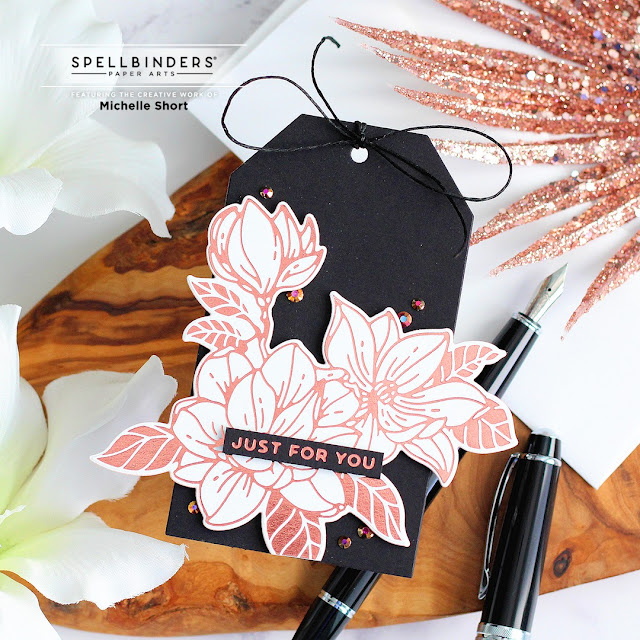
Hello there, today I have a tag to share with you using Yana's Magnolia Glimmer Blooms Hot Foil Plate because I could not resist using it again, it is so pretty! This time I thought I would use it on a tag. As you can see it is quite large for the tag, but I do like elements to overhang on tags, so that's ok!

PLEASE NOTE: This post contains affiliate links. Please see below for my full disclosure.


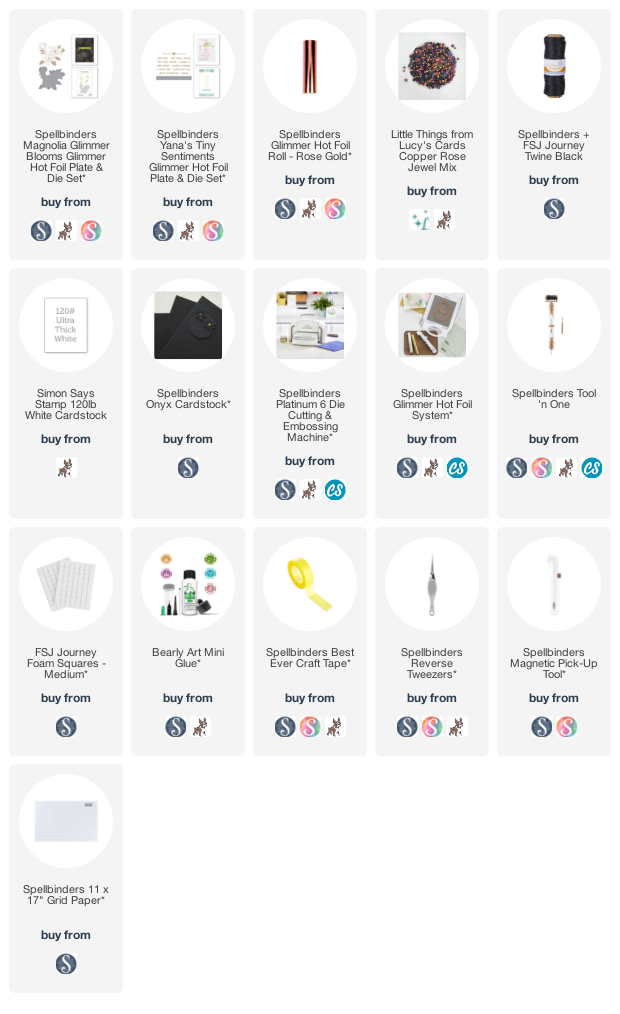
I started off by taking Spellbinders Yana's Magnolia Glimmer Bloom Glimmer Hot Foil Plate & Die Set and foiled it on to Simon Says Stamp 120lb White Cardstock with Spellbinders Rose Gold Glimmer Hot Foil Roll. I had planned on foiling it on to black cardstock but sadly, I couldn't get a good enough impression so went with white instead. I still think it looks pretty! 


It was die cut with the coordinating die. I die cut a tag (using an older Spellbinders tag die) from Spellbinders Onyx Cardstock. The magnolia was adhered on top with foam squares, cutting off the leaf at the bottom so that it could stand up, if it needed to. I took the sentiment, from Spellbinders Yana's Tiny Sentiments Glimmer Hot Foil Plate & Die Set, and foiled it on to the Onyx cardstock with more Rose Gold foil. 


It was cut in to a strip and added to the tag with more foam squares. I added Spellbinders Journey Black Twine through the top of the tag and tied in a bow at the front. To finish off, I added Lucy's Little Things Copper Rose Jewel Mix gems to the tag with Bearly Art Glue. 

SUPPLIES:


Here are the links to what I have used on the project. Affiliate links are used on some products. This means that if you make a purchase after clicking on my link, I receive a small commission with no extra cost to you. I truly appreciate your support when using these links. Please click on the logo below the product to shop at your favourite store. All products were personally purchased except those from Clearly Besotted, Hero Arts or those marked with an asterisk (*) which were kindly sent to me to use. You can read my full disclosure here.


Yana's Blooms collection is so pretty! You can see the whole collection here. You can also see the previous projects that I made with the collection here and here. Thank you so much for stopping by today, I really do appreciate it. Wishing you a wonderful weekend! 

10 February 2022

Altenew | Islands in Space Collection Blog Hop + Giveaway

Hello there and welcome to a new release from Altenew! Today sees the release of two new Artist Alcohol Marker sets, alcohol inks (which can also be used as refills for the markers) and colouring sheets. We are celebrating the release today with a fun, inspiration filled blog hop with prizes. Please see below for more information. 

PLEASE NOTE: This post contains affiliate links. Please see below for my full disclosure.


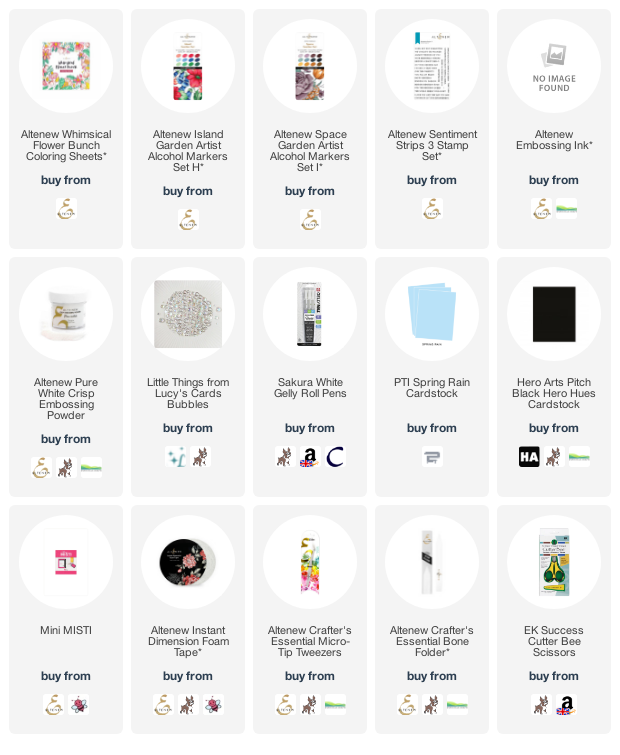
For today's blog post, I have created a card using the new Altenew Whimsical Flower Bunch Coloring Sheets and Altenew Island Garden Artist Alcohol Markers Set H and Altenew Space Garden Artist Alcohol Markers Set I. I wanted to first take a quick look at the colours in the new marker sets:


As you can see, the Island Garden Set contains the Tea Party collection (reds), Lapis Lazuli collection (blues) and Green Meadows collection (greens). The Space Garden Set contains the Sugarplums collection (mauve/purples), Tranquility collection (blues) and Fall Harvest collection (yellows). 


The Whimsical Flower Bunch Coloring Sheets are 6 x 6" loose sheets. You get 24 sheets in a pack with 12 designs. Each design has one sheet with black outlines and one with a pale grey outline printed on to white 80lb cardstock. 


For my card, I started off by taking one of the Altenew Whimsical Flower Bunch Coloring Sheets and coloured it using both sets of the markers, mainly the Altenew Island Garden Artist Alcohol Markers Set H with the blues and greens. I also added in some yellow from the Altenew Altenew Space Garden Artist Alcohol Markers Set I. 


I outlined the images with the palest of the blue markers and then fussy cut around the top edge, as well as cutting the panel down to fit an A2 card base. It was adhered to a pale blue card base using Altenew Instant Dimension Foam Tape. 


I took the sentiment from the Altenew Sentiment Strips 3 Stamp Set and stamped it on to black cardstock with Altenew Embossing Ink. I applied Altenew Pure White Crisp Embossing Powder and heat set. It was cut in to a strip and added to the card with more foam tape. To finish off, I added white gel pen dots and highlights to the flowers and then added some Bubble embellishments. 

SUPPLIES:


Here are the links to what I have used on the project. Affiliate links are used on some products. This means that if you make a purchase after clicking on my link, I receive a small commission with no extra cost to you. I truly appreciate your support when using these links. Please click on the logo below the product to shop at your favourite store. All products were personally purchased except those from Clearly Besotted, Hero Arts or those marked with an asterisk (*) which were kindly sent to me to use. You can read my full disclosure here.


BLOG HOP:


As mentioned, this post is part of a fun, inspirational blog hop. For the hop, you should have arrived here from the wonderful Emily Midgett. Next on the hop the amazing Erum Tasneem. If you get lost along the hop or want to start from the beginning, please head over to the Altenew Blog. 

GIVEAWAY:


$300 in total prizes! To celebrate this release, Altenew is giving away a $50 gift certificate to 2 lucky winners and a $25 gift certificate to 8 winners! Please leave a comment on the Altenew Card Blog and/or each designer’s blog post on the blog hop list below by 16th February 2022 for a chance to win. Altenew will draw 10 random winners from the comments left on each stop of this blog hop and announce the winners on the Altenew Winners Page on 18th February 2022.

I have to be honest, I usually colour on 100lb cardstock, so it was a little bit difficult for me with the sheets but they are such pretty designs and I love the new colours of markers! Thank you so much for stopping by to see me today, I really appreciate it. I hope you have a wonderful rest of the day! 
Hero Arts | Cloudy Night Sky

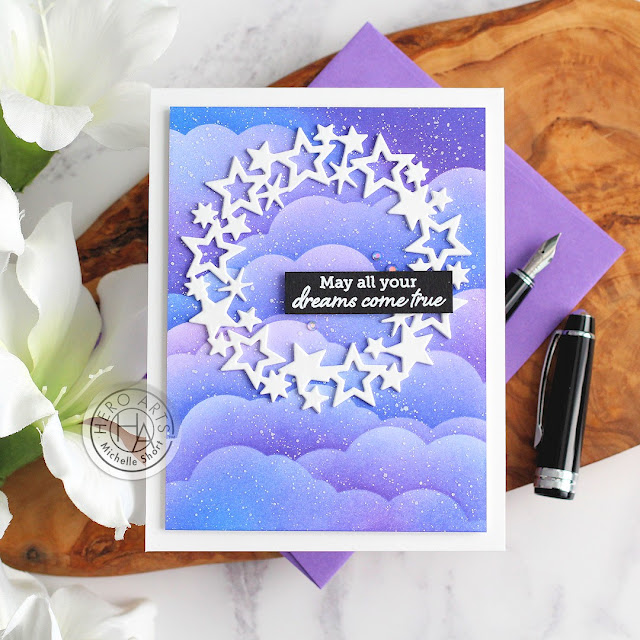
Hello there, I am over on the Hero Arts Blog today, sharing a card made using the new Star Wreath Fancy Die that was released as an add-on to the February 2022 My Monthly Hero Kit. 

PLEASE NOTE: This post contains affiliate links. Please see below for my full disclosure.


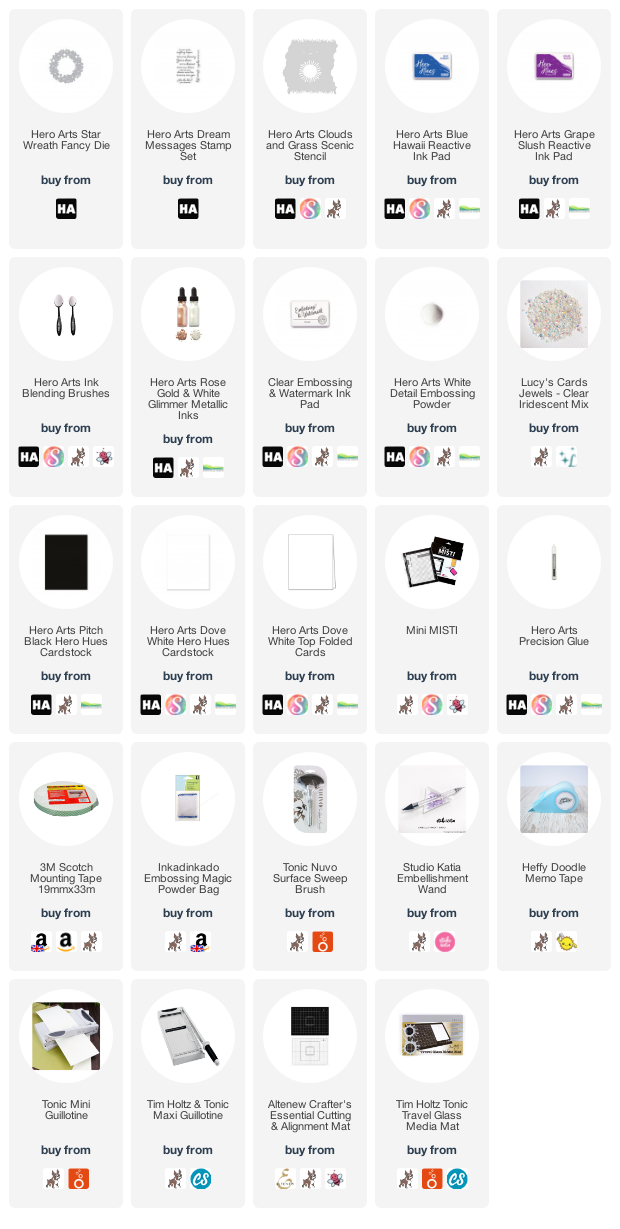
I first created a cloudy night sky using the Hero Arts Clouds and Grass Scenic Stencil and Hero Arts Blue Hawaii and Grape Slush Reactive Inks I splattered on Hero Arts White Glimmer Ink to complete the background. The Hero Arts Star Wreath Fancy Die was die cut three times for dimension. I finished the card off with a sentiment from the Hero Arts Dream Messages Stamp Set. 

SUPPLIES:


Here are the links to what I have used on the project. Affiliate links are used on some products. This means that if you make a purchase after clicking on my link, I receive a small commission with no extra cost to you. I truly appreciate your support when using these links. Please click on the logo below the product to shop at your favourite store. All products were personally purchased except those from Clearly Besotted, Hero Arts or those marked with an asterisk (*) which were kindly sent to me to use. You can read my full disclosure here.


For more information on how I made the card, please head over to the Hero Arts Blog Post. Thanks so much for stopping by, see you later for a another post. 

8 February 2022

Reverse Confetti | Bee Mine

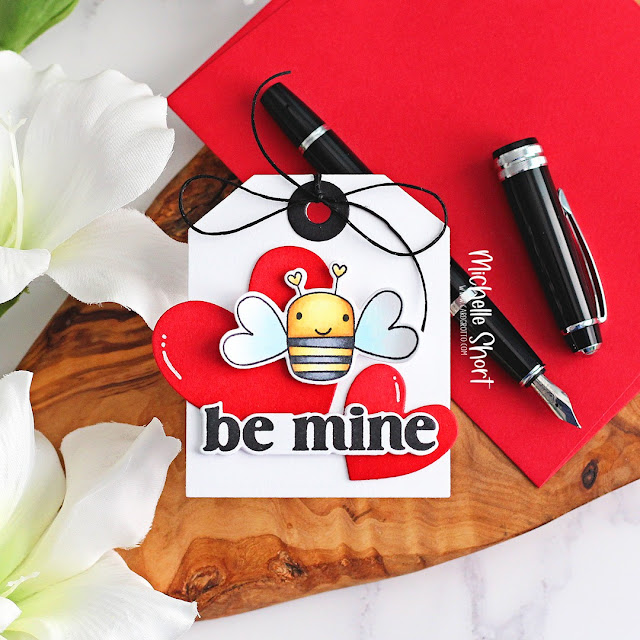
Hello there, today I have a tag to share with you using some products from the fabulous January release from Reverse Confetti. A lot of the products work perfectly together so for today, I thought I would create a Valentine's tag with three different sets. You can see my first projects using the release here. 

PLEASE NOTE: This post contains affiliate links. Please see below for my full disclosure.


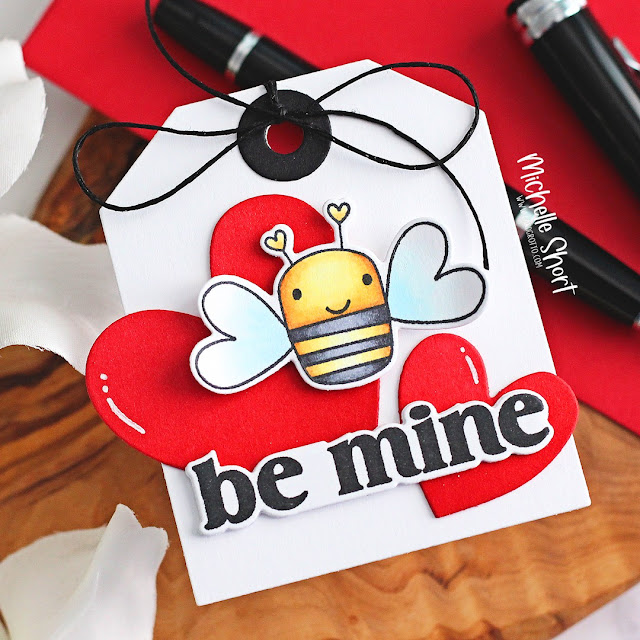
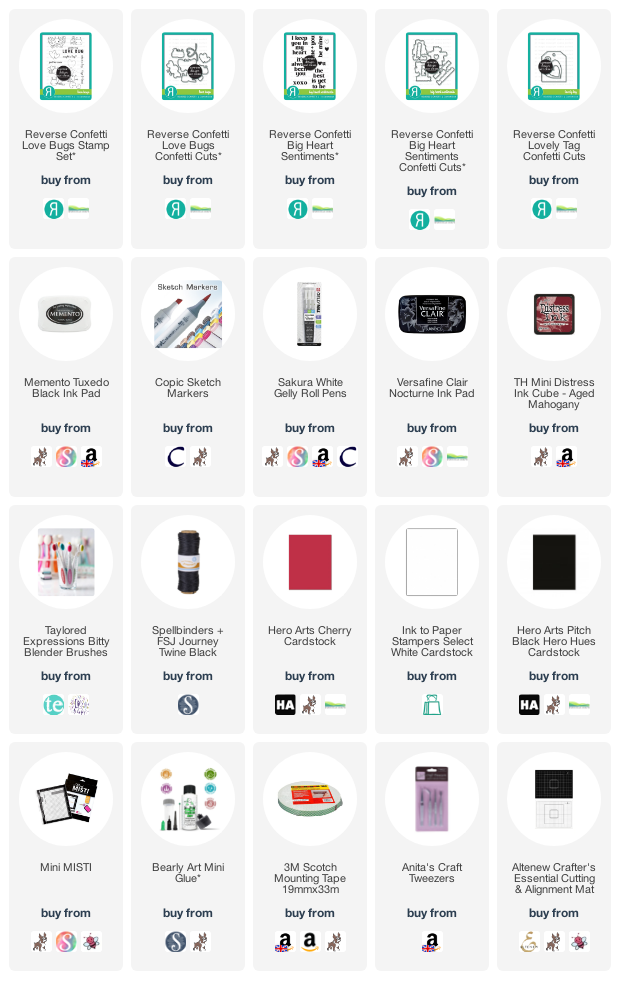
For my tag, I started off by die cutting the Reverse Confetti Lovely Tag Die from white cardstock and the hole reinforcer from black cardstock. In the set, you also get two heart dies. I cut these from Hero Arts Cherry Cardstock and then added some ink blending to them using Tim Holtz Aged Mahogany Distress Ink. Its pretty subtle but in real-life, I think it makes a difference!


I layered up the hearts so that they were two die cuts high and adhered them on to the tag. I then stamped the sentiment from the Reverse Confetti Big Heart Sentiments Stamp Set using Versafine Clair Nocturne Ink. It was die cut using the Reverse Confetti Big Heart Sentiments Confetti Cuts. I also die cut more of the die so that I could stack it up also, for added dimension, before adhering to the tag. 


I took the adorable bee from the Reverse Confetti Love Bugs Stamp Set and stamped it on to white cardstock with Memento Tuxedo Black Ink. I coloured him with Copic Markers (the colours that I used are listed below the supplies area) and die cut out using the Reverse Confetti Love Bug Confetti Cuts. It was adhered to the card with foam tape. To finish off, I added twine through the top of the tag and white gel pen highlights on the hearts, which is something I saw Audrey Tokach do, and loved! 

SUPPLIES:


Here are the links to what I have used on the project. Affiliate links are used on some products. This means that if you make a purchase after clicking on my link, I receive a small commission with no extra cost to you. I truly appreciate your support when using these links. Please click on the logo below the product to shop at your favourite store. All products were personally purchased except those from Clearly Besotted, Hero Arts or those marked with an asterisk (*) which were kindly sent to me to use. You can read my full disclosure here.


COPIC MARKERS: YR27, Y17, Y15, Y13, Y11/C10, C7, C6, C5/B00, B000, B0000. 

Although this was made as a Valentine project, I think it could easily be adapted for a general tag as the bee is just adorable and the hearts work for every occasion too! Thanks so much for stopping by today, I hope you have a lovely day! 

7 February 2022

Hero Arts | February 2022 My Monthly Hero Release Blog Hop + Giveaway

Hello there, today we are celebrating the release of the Hero Arts February 2022 My Monthly Hero Kit and add-ons release. The theme this month is surrealism and dreams, so you can really let your imagination run wild! I already shared one card with you using the kit, which you can see here, but today, I have another using the kit and a card using an add-on set too. This post is part of a fun blog hop, you can see more details on that below. 

PLEASE NOTE: This post contains affiliate links. Please see below for my full disclosure.


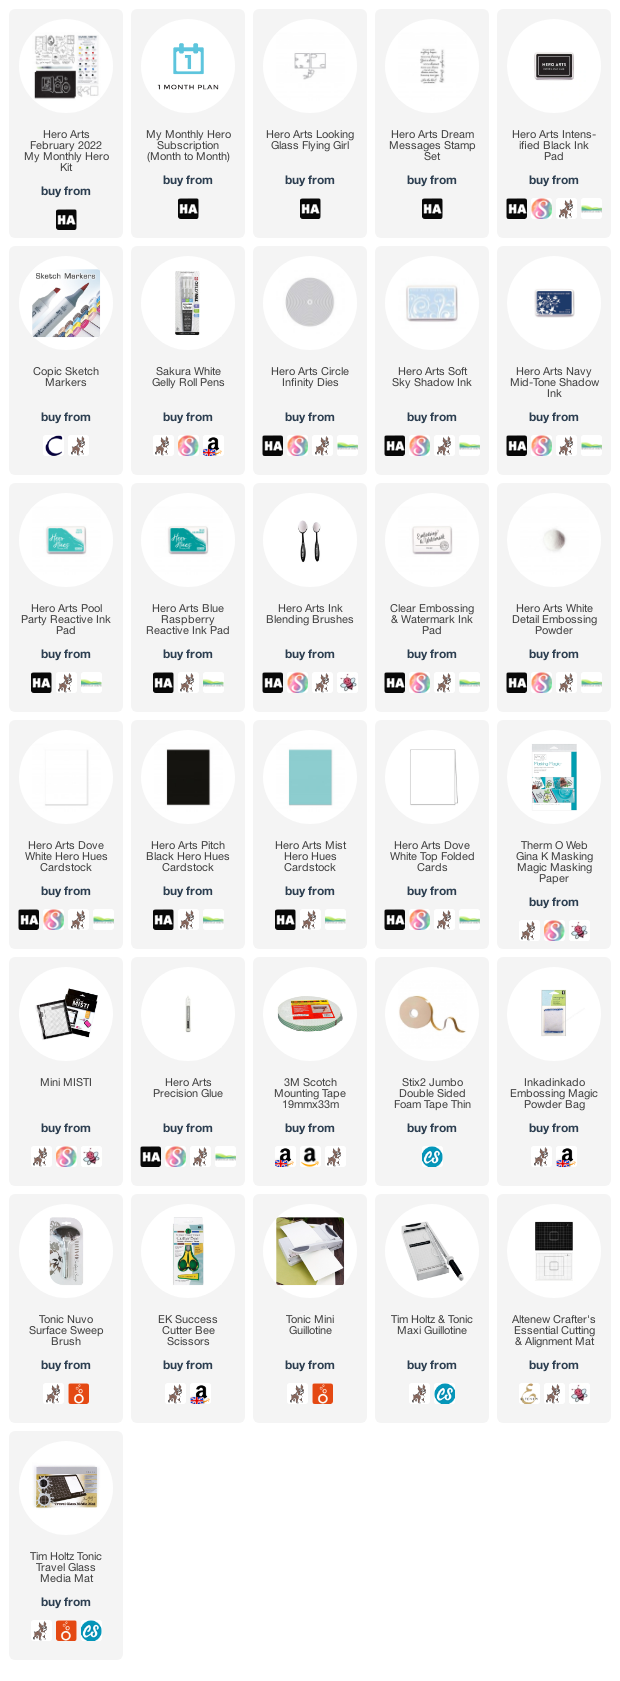
For my card using the kit, I started off with a panel of white cardstock and stamped the butterfly and frame image from the Hero Arts February 2022 My Monthly Hero Kit on top with Hero Arts Intens-ified Black Ink. I made a mask for it and then stamped the water image below, so that it looked like it was all one image. 


The sentiment from the set was stamped beside. The mask was removed and the images coloured using Copic Markers. I coloured the water first, using lines to show the flow of water and then coloured the moon, stars, butterflies and frame (the colours that I used are listed below the supplies area). The panel was adhered to an A2 white card base with foam tape. 


I stamped the butterfly frame image again on more white cardstock and coloured a few of the butterflies before fussy cutting out with scissors. They were then added to the card with a small amount of Hero Arts Precision Glue, just where their bodies are, so that the wings could be popped up. To finish off, I added white gel pen sparkles to the water. 


Next up is my card using one of the add-on sets. This is one of the Looking Glass collection of dies. these are so fun as you get instant dimension with just cutting the layers from cardstock. You can use as many or as few of the layers, which I think is great! I started off by die cutting the cloud layer from from the Hero Arts Looking Glass Flying Girl Die Set using white cardstock. I decided to cut the clouds off, so that it was just a square opening. 


I cut the birds layer from Hero Arts Mist Cardstock and then blended Hero Arts Pool Party and Blue Raspberry Reactive Inks on top. I took a white A2 card base and added a circle die cut, cut from masking paper, on top to create a moon. I then ink blended around it using Hero Arts Ink Blending Brushes and Hero Arts Soft Sky Shadow Ink, followed by Hero Arts Navy Mid-Tone Shadow Ink. The mask was removed and a little of the Soft Sky Ink added on top. 


I added the birds layer on to the card base with thin foam tape, followed by the white layer with another layer of thin foam tape. The girl was cut three times from Hero Arts Pitch Black Cardstock and adhered inside the window. The sentiment, from the Hero Arts Dream Messages Stamp Set, was stamped on to more Pitch Black Cardstock with Hero Arts Clear Embossing & Watermark Ink. I applied Hero Arts White Detail Embossing Powder and heat set. It was cut in to a strip and added to the card with foam tape. 

SUPPLIES:


Here are the links to what I have used on the projects. Affiliate links are used on some products. This means that if you make a purchase after clicking on my link, I receive a small commission with no extra cost to you. I truly appreciate your support when using these links. Please click on the logo below the product to shop at your favourite store. All products were personally purchased except those from Clearly Besotted, Hero Arts or those marked with an asterisk (*) which were kindly sent to me to use. You can read my full disclosure here.


COPIC MARKERS: B18, B16, B14, B12, B66, B63, BV08, BV13, BV11, BV00, BV0000, V12, B00, BG13, BG11, BG10, Y00. 

MY MONTHLY HERO KIT:


Our February My Monthly Hero release was inspired by the art of the Surrealist masters and the magical imagery of dreams. Let your imagination soar with the playful drawings as you arrange your own creative scenes. There are nine different messages to include on your card or project, and the kit is rounded out with black watercolor paper, a water brush, and a custom Daniel Smith watercolor paint palette.

KIT CONTENTS:

6" x 8" Clear Stamp Set
15 Coordinating Frame Cuts
2 Sheets of Black Watercolor Paper
Watercolor Dot Dream Palette
Water Flow Brush

The Hero Arts February 2022 My Monthly Hero Kit is valued at $75 but you can get it for $34.99 (approximately £28 depending on exchange rate, not including VAT/customs charges). The kits are exclusive to the Hero Arts store and often sell out quickly so you can subscribe here, so that you never miss a kit. Kits begin shipping Friday 11th February 2022. 

ADD-ONS:

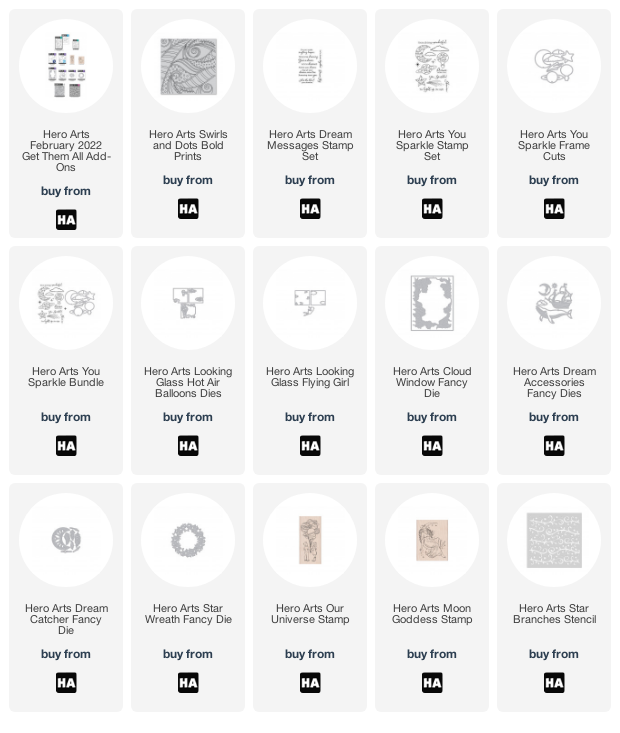
There are lots of add-on products released each month. These work alongside the kit, or work on their own too. These can be purchased from Hero Arts when you order a kit, on their own or from your favourite Hero Arts retailer (these are not exclusive and are restocked if sell out). Here is a look at them:


BLOG HOP:

As mentioned, this post is part of  a fun, inspiration filled blog hop with prizes. For the hop, you should have arrived here from the wonderful Maria, next on the hop is the fantastic Mindy. If you get lost along the way, or want to start the hop from the beginning, please head over to the Hero Arts Blog. 

GIVEAWAY:

Hero Arts are giving away a $50 gift card drawn from the comments left across all of the stops in the hop. Enter by Sunday 13th February 2022 at 11.59pm PT. The winner will be announced the following week on the Hero Arts Blog. 

This really is a fun kit, I went quite simple with my cards (as per my style!) but do check out my teamies as they have some really cool stuff to share along the surrealism theme! Thanks so much for stopping by today, I really do appreciate it. Have a great rest of the day! 
End of code