9 January 2020

Thanks, Wonderful Friend

Hello there, today I have a card to share with you using the new Simon Says Stamp Heart Garland Background stamp from the Hey Bestie release, which is out today. They kindly sent me this stamp to play with and I love it! I think it can be used for lots of different occasions but I thought a thank you card for a friend would work well.
 

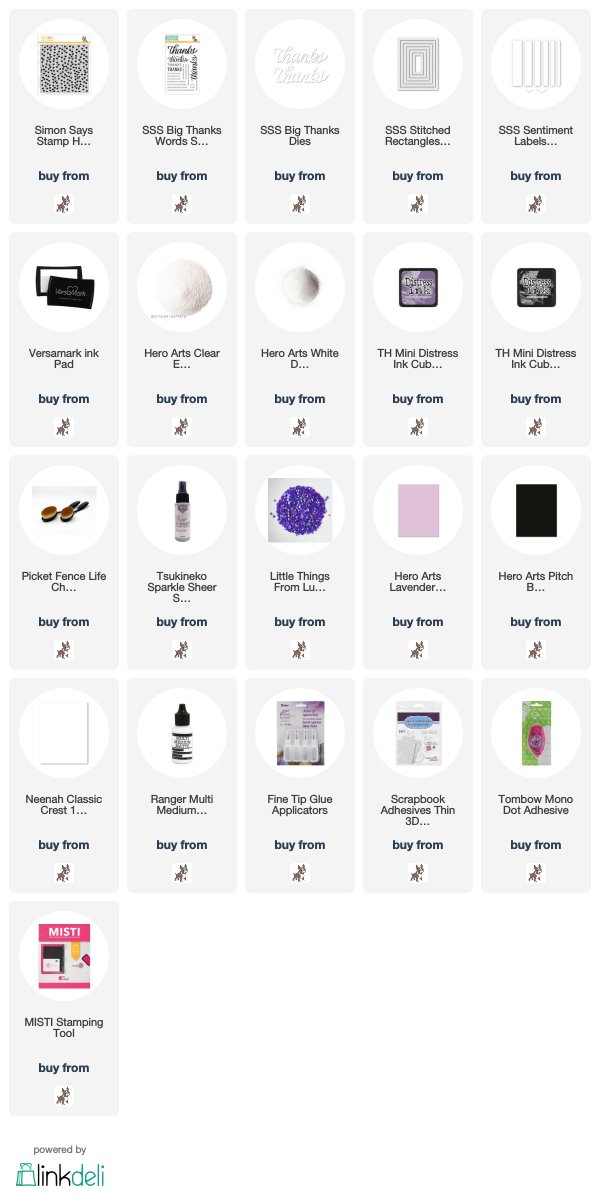
I started off by creating the background piece. I took a piece of Simon Says Stamp Lavender Cardstock and stamped the Simon Says Stamp Heart Garland Background Stamp on top using Versamark Ink. I applied Clear Embossing Powder and then heat set. It was then cut in to a rectangle using one of the Simon Says Stamp Stitched Rectangle Dies.
 
 
I took blending brushes and first blended over Dusty Concord Distress Ink, I covered the entire panel but added more to the edges. I then went in with a little Black Soot Distress Ink to darken up the edges further. I then spritzed the piece with Sparkle Sheer Shimmer Spritz and set aside to dry. I removed any excess ink off the embossing powder with a soft cloth to reveal the lighter coloured pattern. This was added to a white A2 card base with tape runner.
 
 
I took the Simon Says Stamp Big Thanks Die and cut the word three times from white cardstock. I then stacked them up on top of another using liquid glue and added to the card. I took the sentiment from the Simon Says Stamp Big Thanks Words Stamp Set and stamped it on to Hero Arts Pitch Black Cardstock with Versamark Ink. I applied White Detail Embossing Powder and heat set. It was then cut in to a strip using the Simon Says Stamp Sentiment Labels Dies and added to the card with thin foam tape. To finish off, I added a few Lucy's Blackberry Jewels.
 
SUPPLIES:

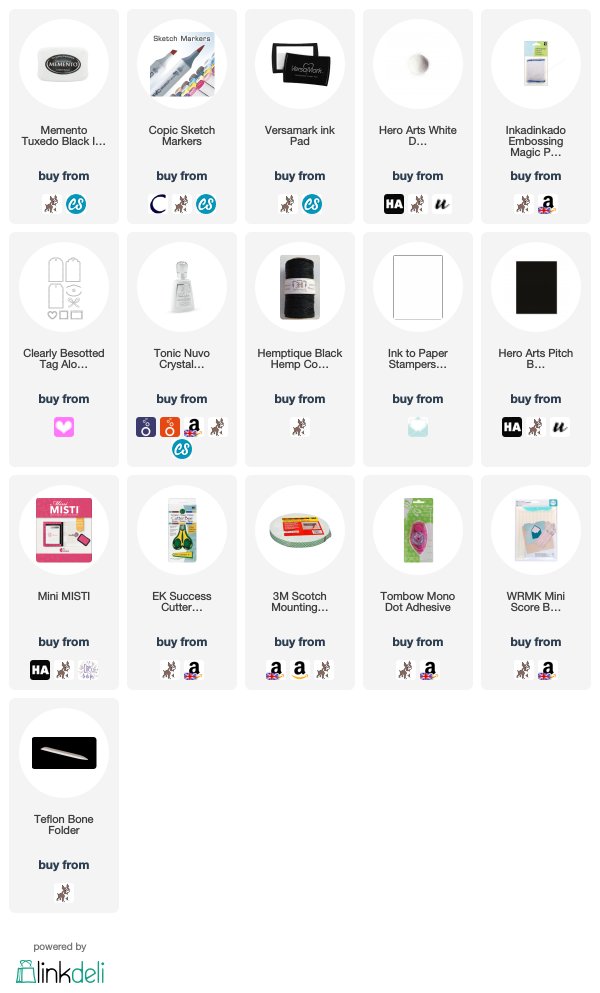
Here are the links to what I have used on the card. Affiliate links are used on some products. This means that if you make a purchase after clicking on my link, I receive a small commission with no extra cost to you. I truly appreciate your support when using these links. Please click on the logo below the product to shop at your favourite store. All products were personally purchased except those from Clearly Besotted, Hero Arts or those marked with an asterisk (*) which were kindly sent to me to use. You can read my full disclosure here.
 
 
I apologise that the photos are not great. It is so dark here at the moment. I cannot wait for the nicer light in the spring! I hope you will check out the rest of the release. Thanks so much for stopping by today, I hope you have a wonderful day!

7 January 2020

With Love

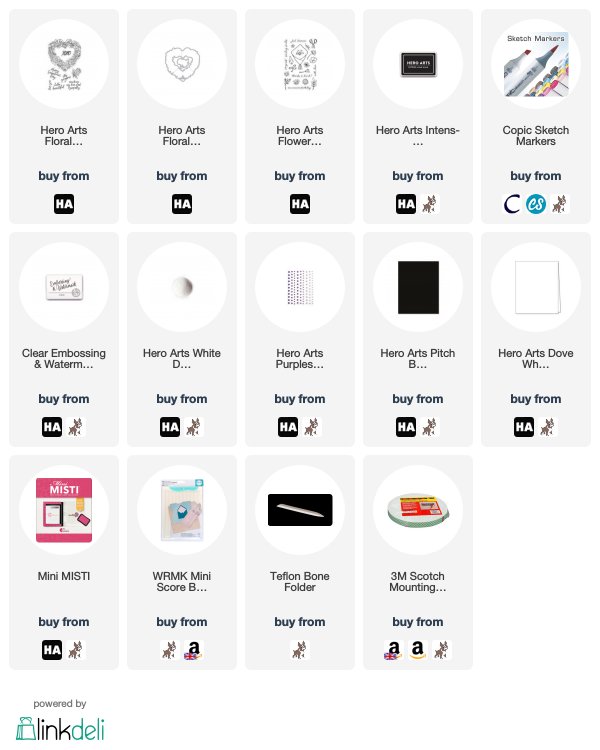
Hello there, I am over on the Hero Arts Blog today, sharing a card using the new Floral Heart Wreath set. It is such a pretty set that can be used for lots of different occasions but I thought today, I would create a simple with love card.
 
 
The wreath from the Hero Arts Floral Heart Wreath Stamp Set was stamped in Inten-sified Black Ink and coloured with Copic Markers (the colours that I used are listed below the supplies area). It was cut out using the coordinating dies and added to a scored card base using foam tape. The sentiment from the new Hero Arts Flower Bouquet Pieces Stamp Set was heat embossed in white on to back cardstock. I finished off with a few Hero Hues Purples Enamel Dots.
 
SUPPLIES:

Here are the links to what I have used on the card. Affiliate links are used on some products. This means that if you make a purchase after clicking on my link, I receive a small commission with no extra cost to you. I truly appreciate your support when using these links. Please click on the logo below the product to shop at your favourite store. All products were personally purchased except those from Clearly Besotted, Hero Arts or those marked with an asterisk (*) which were kindly sent to me to use. You can read my full disclosure here.
 
 
COPIC MARKERS: Flowers - V17, V15, V12 / B66 / R85, R83, R81. Leaves - YG17, YG25, YG03, YG01 / G46, G43, G20 / BG78, BG75.
 
For the full details on how I made the card, please head over to the Hero Arts Blog. Thank you so much for visiting me today, I really do appreciate it. I hope you have a wonderful day!

6 January 2020

Hero Arts January 2020 My Monthly Hero Kit Blog Hop + Giveaway

Hello there, today we are celebrating the release of the Hero Arts January 2020 My Monthly Hero Kit. This is such an amazing kit to start off the New Year with! I absolutely love it! If you are following along in the hop, you should have arrived here from the fabulous Lydia, but if you get lost along the way, I have the full list of participants below.

 
I thought that I would start off by sharing the card that I made for the Hero Arts blog. I love this pretty butterfly! I die cut the butterfly from Hero Hues Arctic Cardstock and then blended on some Pool Party Reactive Ink in to the centre for some dimension. It was then sprayed using White Iridescent Shimmer Spray for some sparkle and set aside while I worked on the other elements. I took an A2 white card base and scored lines on to the front using a scoring board and bone folder.
 

I then die cut the envelope die from the kit using Classic Vellum Layering Paper and added that to the card. I die cut two leaf branches from the kit using Hero Hues Kiwi Cardstock and added them to the envelope with Precision Glue. The butterfly was popped up using foam tape. The sentiment from the kit stamp set was stamped on to Hero Hues Pitch Black Cardstock, white heat embossed and cut out using the banner die in the kit. I then embellished with a few Hero Hues Blues Enamel Dots.
 
 
My next card has the same feel to it but this time using the flower dies in the kit. I started off by taking an A2 top folding card base and scoring lines on to the front panel with a scoring board and bone folder. I took the bouquet wrapper die from the kit and cut this from Classic Vellum Layering Paper. I then die cut the flowers from white cardstock and coloured them using Copic Markers (the colours that I used are listed below the supplies area).
 
 
The flowers were popped inside the bouquet (adhered with Precision Glue) and then the bouquet adhered to the card using tape runner. I took the sentiment from the kit stamp set and stamped it on to Hero Hues Pitch Black Cardstock with Clear Embossing & Watermark Ink. I applied White Detail Embossing Powder and heat set. It was then cut in to a strip using the banner die. The sentiment strip was added to the card with foam tape and then I finished of by adding a few dots on to the flowers with white gel pens and also added a few Hero Hues Purples Enamel Dots around the sentiment.
 

SUPPLIES:

Here are the links to what I have used on the card. Affiliate links are used on some products. This means that if you make a purchase after clicking on my link, I receive a small commission with no extra cost to you. I truly appreciate your support when using these links. Please click on the logo below the product to shop at your favourite store. All products were personally purchased except those from Clearly Besotted, Hero Arts or those marked with an asterisk (*) which were kindly sent to me to use. You can read my full disclosure here.
 
 
COPIC MARKERS: Flower heads/petals - V17, V15, V12, V01. Leaves and stems - YG17, YG25, YG03, YG01.
 

THE KIT:

 
the Hero Arts January 2020 My Monthly Hero Kit contains a 4" x 6" clear stamp set, 14 coordinating Fancy Dies, 8 5.5" x 8.5" sheets of cardstock, Pink Sparkle Embossing Powder, Aqua Glimmer Metallic Ink and 2 yards of pink satin ribbon. All of this values at over $76 but you can get it for $34.99 (£27 depending on exchange rate). The kits are exclusive to Hero Arts and often sell out quickly so you can subscribe here so that you never miss a kit. International subscribers will receive a discount off shipping too! Kits begin shipping 10th January 2020.
 

ADD-ONS:
 
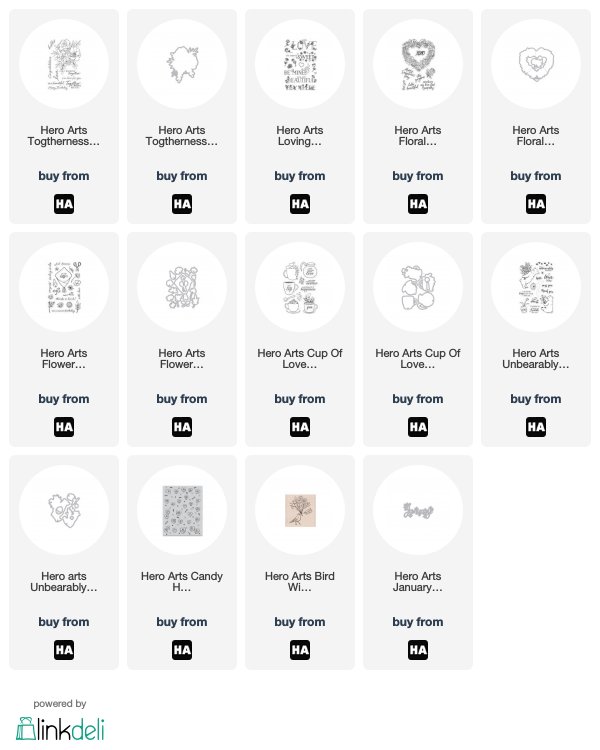
There are some wonderful add-on products available this month too. These are not limited edition and can be purchased when you purchase the kit from Hero Arts, or from your favourite Hero Arts retailer. here is a look at them:


BLOG HOP:
 
Here are all the participants in the hop today:


GIVEAWAY:
 
Hero Arts are giving away a $50 shopping spree to one lucky blog hop reader. The winner will be drawn from all of the comments left across all of the stops in the hop. The giveaway closes on 12th January 2020 and the winner will be announced the following week.
 
Next on the hop is the amazing Nichol. Thanks so much for stopping by today. I hope you have a wonderful rest of the day!

VIDEO | Clearly Besotted January 2020 Release Preview

Hello there and welcome to Clearly Besotted January 2020 release day! The new sets release tonight at 8pm GMT. There is definitely a history theme to this release and it's something different for the stamping world, so I hope that you will love them as much as I do!
 
 
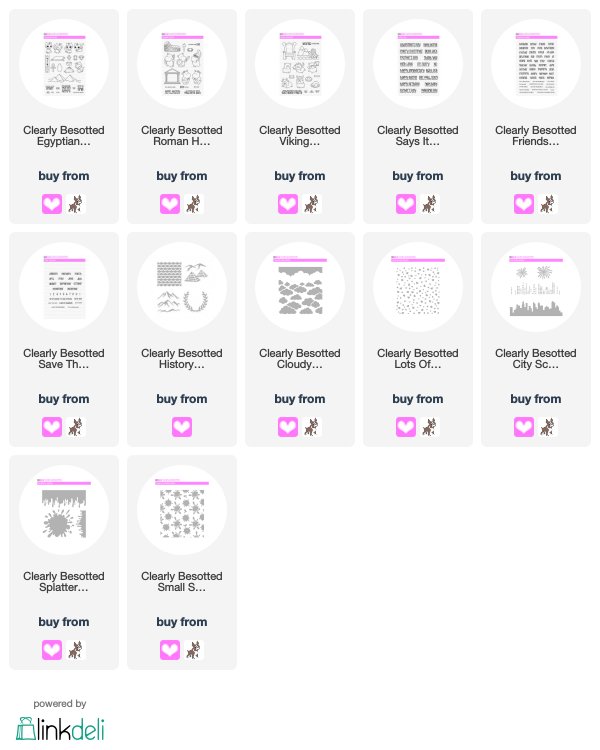
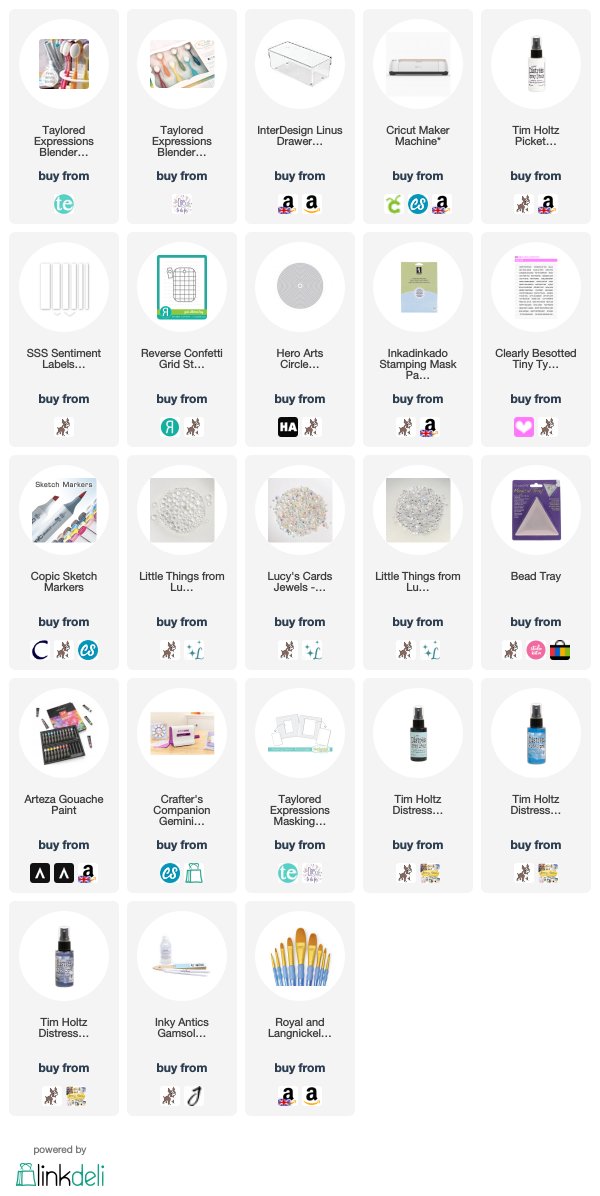
As mentioned, the new sets release tonight at 8pm GMT and can be purchased from the Clearly Besotted Shop (UK) based or now at Simon Says Stamp (US based). Here is a look at the new products, plus a few extra stencils:


If you are viewing this post via email subscription, you can watch the video HERE on YouTube.
 
SUPPLIES:

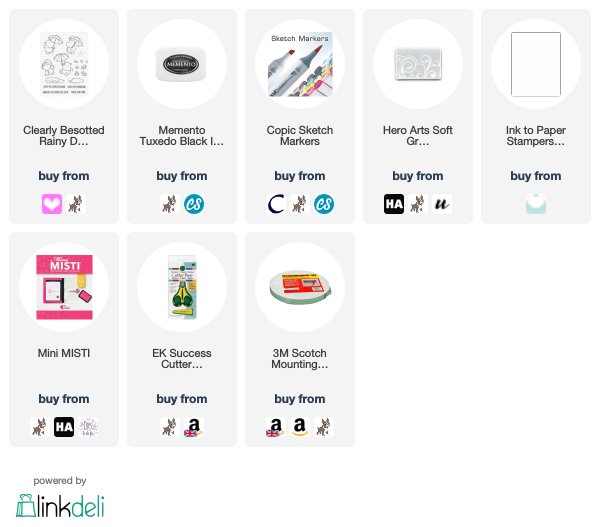
Here are the links to what I have used on the card. Affiliate links are used on some products. This means that if you make a purchase after clicking on my link, I receive a small commission with no extra cost to you. I truly appreciate your support when using these links. Please click on the logo below the product to shop at your favourite store. All products were personally purchased except those from Clearly Besotted, Hero Arts or those marked with an asterisk (*) which were kindly sent to me to use. You can read my full disclosure here.
 
 
I would love to hear your thoughts on the release if you would like to leave me a comment but for more inspiration, please do head over to the Clearly Besotted Blog and Keren has one last teaser to share with you too! Thanks so much for popping by today. See you later for the Hero Arts My Monthly Hero release.

5 January 2020

Clearly Besotted Teasers | My Hero

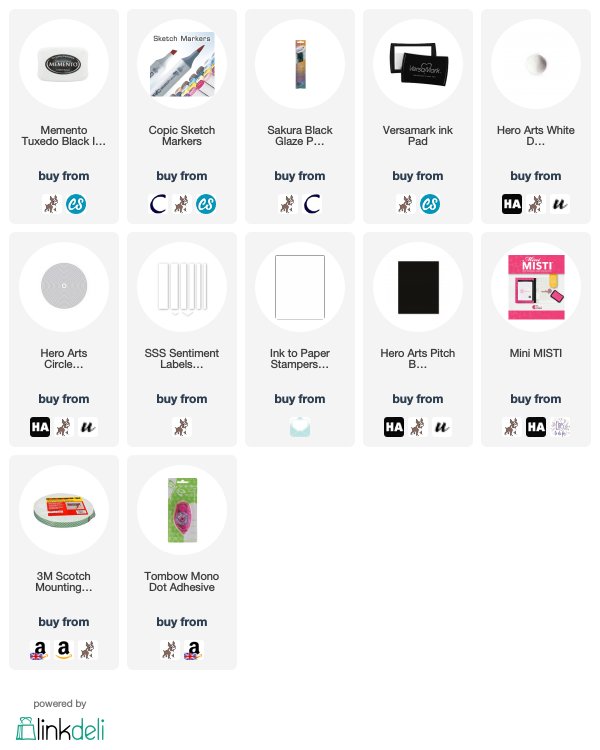
Hello there and welcome to day four of the Clearly Besotted Teasers. The new sets release tomorrow at 8pm GMT but before then, I have one last teasers to share with you. I couldn't resist using the Roman Hippos again!
 

I started off by stamping one of the hippos from the Clearly Besotted Roman Hippos Stamp Set on to white cardstock with Memento Tuxedo Black Ink. I cololured him using Copic Markers (the colours that I used are listed below the supplies area) and fussy cut him out using scissors. I then took a panel of white cardstock cut using one of the Hero Arts Nesting Circle Infinity Dies. I took The Colosseum from the Roman Hippos set and stamped it on the circle.
 
 
I coloured the piece with Copic Markers to create a sky and ground. I took a white A2 card base and embossed the larger circle from the circle die set on to the front panel. I then added the image piece on top with tape runner. The hippo was then added with foam tape. I took the sentiment from the Roman Hippos set and stamped it on to black cardstock with Versamark Ink. I applied white detail embossing powder and heat set. It was cut in to a strip and added to the card with more foam tape.
 
SUPPLIES:

Here are the links to what I have used on the card. Affiliate links are used on some products. This means that if you make a purchase after clicking on my link, I receive a small commission with no extra cost to you. I truly appreciate your support when using these links. Please click on the logo below the product to shop at your favourite store. All products were personally purchased except those from Clearly Besotted, Hero Arts or those marked with an asterisk (*) which were kindly sent to me to use. You can read my full disclosure here.
 
 
COPIC MARKERS: Hippo - W7, W6, W5, W3, W2, W1. Sword - E57, E55, C5, C3, C1. Shield - E99, Y28, Y26, Y13. The Colosseum & ground - E44, E43, E42, E41. Sky - B06, B04, B02, B00, B000.
 
I hope you have enjoyed seeing my teasers. There are two sentiment sets that I have not used, plus a stencil. I will share them in my release video tomorrow. In the mean time, please head over to the Clearly Besotted Blog, Keren and Lisa for more inspiration. Thank you so much for visiting me today. See you tomorrow for release day. Have a wonderful day!

4 January 2020

Clearly Besotted Teasers | You're Pawsome

Hello there and welcome to day three of the Clearly Besotted Teasers. Not long to wait now, the new sets release on the 6th January. For today's card, I am using the new Viking Pooches set. It is so cute featuring lots of pooches in Viking outfits!
 

I started off by stamping one of the dogs from the Clearly Besotted Viking Pooches Stamp Set on to white cardstock using Memento Tuxedo Black Ink. I coloured him using Copic Markers (the colours that I used are listed below the supplies area) and fussy cut him out using scissors. I then set him aside while I worked on the background.
 
 
I took one of the tags from the Clearly Besotted Tag Along Die Set and cut it from white cardstock. I took the mountains and ship image from the Viking Pooches set and stamped it on to the tag using more black ink. I then coloured the tag using Copic Markers. I took the sentiment from the set and stamped it on to black cardstock using Versamark Ink. I applied white embossing powder and heat set.
 
 
I then cut the sentiment down using the tag die for the bottom and cut along the top. It was added to the tag with tape runner. I added the dog on top with foam tape. I die cut the tag hole from black cardstock and added that with liquid glue before tying on some Hemp Twine. I took a white A2 card base and added scoring lines on to it before adding the tag using tape runner. To finish off, I added Nuvo Crystal Glaze to the horns on the hat.
 
SUPPLIES:

Here are the links to what I have used on the card. Affiliate links are used on some products. This means that if you make a purchase after clicking on my link, I receive a small commission with no extra cost to you. I truly appreciate your support when using these links. Please click on the logo below the product to shop at your favourite store. All products were personally purchased except those from Clearly Besotted, Hero Arts or those marked with an asterisk (*) which were kindly sent to me to use. You can read my full disclosure here.
 
 
COPIC MARKERS: Dog - E57, E55, E53, E51. Hat - C8, C6, C5, C3. Sea - B18, B16, B12. Mountains - W5, W3, W1, W0. Sky - B02, B00, B000, B0000. Ship - E59, E57, E55, R89, R39, R27, R24.
 
How fun is this set? There are lots of other dogs in the set, as well as accessories and sentiments. For more inspiration using the new release, please head over to the Clearly Besotted Blog, Keren and Lisa. Thanks so much for popping by today, see you tomorrow for day four. Have a great day!

3 January 2020

Clearly Besotted Teasers | Hippo Anniversary

Hello there and welcome to day two of the Clearly Besotted January 2020 Teasers. Today I am using the new Roman Hippos set. This is such a fun set. I am not sure I have seen many Roman stamp sets, especially in hippo form!
 

I started off by stamping two of the Roman hippos from the Clearly Besotted Roman Hippos Stamp Set on to white cardstock with Memento Tuxedo Black Ink. I then coloured them using Copic Markers (the colours that I used are listed below the supplies section) and then fussy cut out using scissors.
 
 
I took an A2 white card base and stamped the building on to it using Hero Arts Soft Granite Shadow Ink. I then took the sentiment from the new Clearly Besotted Says It All Stamp Set and stamped that in black ink below. The hippos were added on top with foam tape. I then stamped, coloured and cut out a heart from the Clearly Besotted Rainy Day Play Stamp Set and added that between the two hippos.
 
SUPPLIES:

Here are the links to what I have used on the card. Affiliate links are used on some products. This means that if you make a purchase after clicking on my link, I receive a small commission with no extra cost to you. I truly appreciate your support when using these links. Please click on the logo below the product to shop at your favourite store. All products were personally purchased except those from Clearly Besotted, Hero Arts or those marked with an asterisk (*) which were kindly sent to me to use. You can read my full disclosure here.
 
 
COPIC MARKERS: Hippos - W5, W3, W2, W1. YG17, YG25, YG01. BG72, BG70, BG10. R83, R81, R000.
 
The female Roman probably wore slightly more clothing back in the day but since hippos don't usually wear clothing, I hope that she isn't flashing too much! Haha! For more inspiration using the new release, please head over to the Clearly Besotted Blog, Keren and Lisa. Thanks so much for popping by, I really do appreciate it. See you tomorrow for day three. Have a wonderful day!

2 January 2020

Clearly Besotted Teasers | Sphinx You're Great

Hello there and welcome to day one of the Clearly Besotted January 2020 Teasers. We are a little bit later this month due to the holiday season, but for the next few days, we will be sharing teasers with you using the new sets. They will then release on the 6th January. This release is something a little different, I think, so I am excited to share my cards with you!

For my card today, I am using the new Clearly Besotted Egyptian Feline Stamp Set. This set is perfect for the cat lovers in your life! I first took a panel of white cardstock and stamped one of the sphinx cats from the set on to it using Memento Tuxedo Black Ink. I made a mask for her and then stamped the pyramids in the background.

I also stamped the sentiment from the set to the left. I then coloured the panel using Copic Markers (the colours that I used are listed below the supplies area). I coloured the sky first to create a sunset, followed by the pyramids and sand. Finally, I coloured the cat. The panel was then simply adhered to an A2 white card base with foam tape. To finish off, I added a few highlights to the cat using a white gel pen.
SUPPLIES:

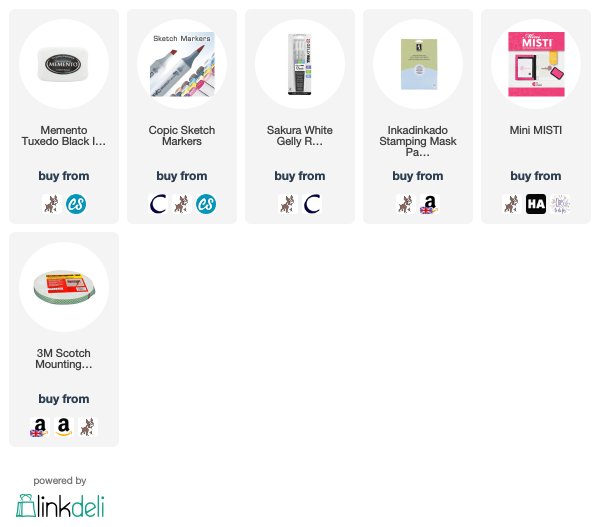
Here are the links to what I have used on the card. Affiliate links are used on some products. This means that if you make a purchase after clicking on my link, I receive a small commission with no extra cost to you. I truly appreciate your support when using these links. Please click on the logo below the product to shop at your favourite store. All products were personally purchased except those from Clearly Besotted, Hero Arts or those marked with an asterisk (*) which were kindly sent to me to use. You can read my full disclosure here.
 
COPIC MARKERS: Sky - R24, YR18, YR16, YR15, Y17, Y15, Y13, Y11. Pyramids/Sand - E44, E43, E42, E41, E40. Cat - N8, N6, N5, N4, N3, E99, Y28, Y26, Y15.
There are a lot of different cats in the set, as well as accessories and sentiments - so cute! For more inspiration using the new release, please head over to the Clearly Besotted Blog, Keren and Lisa. Thanks so much for stopping by to see me today. See you tomorrow for day two. Have a great day!

31 December 2019

VIDEO | Five New, Old & Potential Craft Favourites

Hello there and happy New Year's Eve to you! Today I am back with my last video of the year and decade, sharing five of my favourite craft products of 2019, five of my favourite older craft products and five of my potential craft favourites for 2020.
 
 
I thought it would be fun to have a look at five products that came out or that I discovered in 2019. Then look at five craft products that I have used throughout the last few years but continued to love in 2019. Last but not least, I thought I would share five products (actually, one is a technique) that I am looking forward to using in 2020. Here is the video showing the products:


If you are viewing this post via email subscription, you can watch the video HERE on YouTube.
 
SUPPLIES:

Here are the links to what I have used on the card. Affiliate links are used on some products. This means that if you make a purchase after clicking on my link, I receive a small commission with no extra cost to you. I truly appreciate your support when using these links. Please click on the logo below the product to shop at your favourite store. All products were personally purchased except those from Clearly Besotted, Hero Arts or those marked with an asterisk (*) which were kindly sent to me to use. You can read my full disclosure here.
 
 
I hope that you enjoyed hearing about my favourite products. I would love to hear what yours are! Thank you so much for your support this year, it really does mean a lot to me. Here's to a wonderful 2020!

28 December 2019

Merry Everything & Happy Always

Hello there, today I have my last Christmas card of the season to share with you. I actually did create  a few more that I haven't shared, but didn't manage to get photographs of them all. I couldn't get a great photograph of this one but as I love the image so much, I had to share!
 

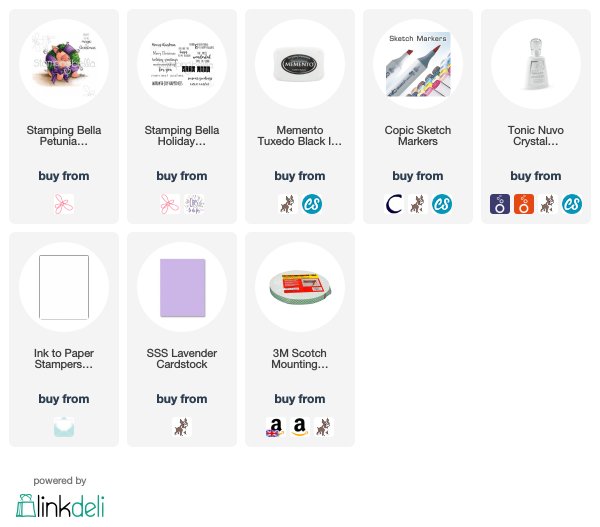
I started off by taking a 4" x 5.25" panel of white cardstock and stamped Stamping Bella Petunia Loves Christmas on to the top portion. I then stamped the sentiment from the Stamping Bella Winter Holiday Sentiment Set below. I coloured Petunia and the wreath with Copic Markers (the colours that I used are listed below the supplies area) and then added shadow beneath her for the ground.
 
 
The panel was added to a 5" x 7" card base made from SSS Lavender Cardstock with foam tape. To finish off, I added Nuvo Crystal Glaze to the berries on Petunia's head.
 
SUPPLIES:
 
Here are the links to what I have used on the card. Affiliate links are used on some products. This means that if you make a purchase after clicking on my link, I receive a small commission with no extra cost to you. I truly appreciate your support when using these links. Please click on the logo below the product to shop at your favourite store. All products were personally purchased except those from Clearly Besotted, Hero Arts or those marked with an asterisk (*) which were kindly sent to me to use. You can read my full disclosure here.
 
 
COPIC MARKERS: Petunia - R32, R30, R00, R000. Bow - V09, V17, V15, V12, V01. Wreath & Holly - G46, YG67, YG17, YG25, YG03. Berries - R89, R37, R27, R24. Ground - W5, W3, W1.
 
Right! Now time to move on to New Year cards :) Thanks so much for visiting me today, I really do appreciate it. I hope you have a fantastic weekend!

27 December 2019

Christmas Selfies

Hello there, today I have a Christmas card to share that I made for my brother and his family. One of my favourite sets this year has been the MFT Christmas Selfies set and I thought it would be cute to use two of the image with the polaroid frame.
 
 
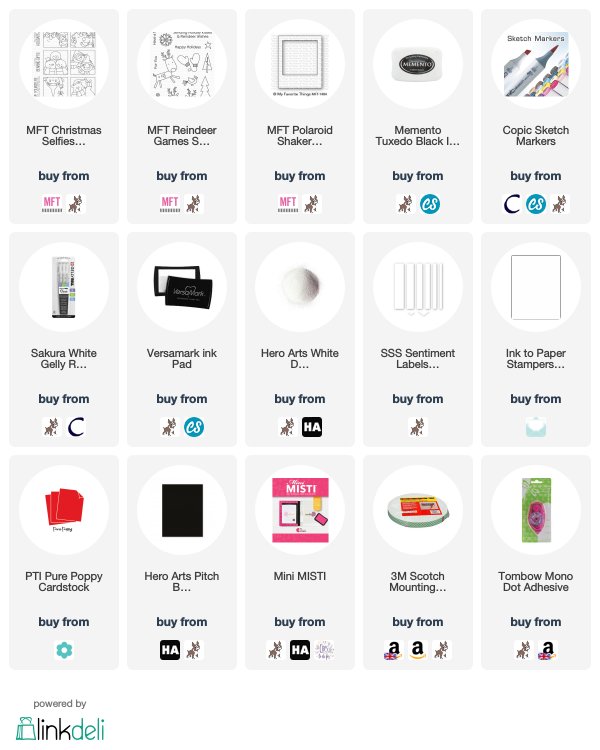
I started off by stamping two of the images from the MFT Christmas Selfies Stamp Set on to white cardstock with Memento Tuxedo Black Ink. I then coloured them using Copic Markers (the colours that I used are listed below the supplies area) and cut around the images with scissors. I took the MFT Polaroid Shaker Frame Die-namics and cut this four times - twice from white cardstock and twice from black cardstock.
 
 
I adhered the image piece behind the window on the white polaroid frames and then added the black ones behind to create the shadow. I then added white gel pen to the images for snow. I took a red A2 card base and stamped snowflakes on to it from the MFT Reindeer Games Stamp Set. I used Versamark Ink for tone-on-tone look. The polaroid's were then added on top with tape runner. 
 

I took the sentiment from the MFT Christmas Selfies Stamp Set and stamped it on to black cardstock with Versamark Ink. I applied White Detail Embossing Powder and heat set. It was then cut in to a strip using the SSS Sentiment Labels Dies and added to the card with foam tape.
 
SUPPLIES:

Here are the links to what I have used on the card. Affiliate links are used on some products. This means that if you make a purchase after clicking on my link, I receive a small commission with no extra cost to you. I truly appreciate your support when using these links. Please click on the logo below the product to shop at your favourite store. All products were personally purchased except those from Clearly Besotted, Hero Arts or those marked with an asterisk (*) which were kindly sent to me to use. You can read my full disclosure here.
 
 
COPIC MARKERS: Sky - B18, B16, B12. Snowmen - BG11, BG000, YR18, YR15, YR12. hat - C10, C8, C6, C5. Scarves - R89, R39, R27, R24. Santa skin - E13, E11, E000, R20. Hair - W3, W1, W0. Outfit - R89, R39, R29, R27, R24, C1. Rudolph - E59, E57, E55, E53, E50. Nose - R89, R39, R27, R24. Collar - E59, E57, Y28, Y26, YR31.
 
Since I had the photos hanging off the side of the card, I did create a handmade envelope for this card but it would have fitted in a standard square envelope too. Thank you so much for visiting me today. I hope you have a wonderful day!
25 December 2019

MFT Sketch Chellenge | Magical Friends

Hello there and welcome to the last MFT Sketch Challenge of the year, I am delighted to be taking part again this week as a guest designer. We are on to sketch 469 and I thought it worked perfectly with the BB Magical Friends Set.
 

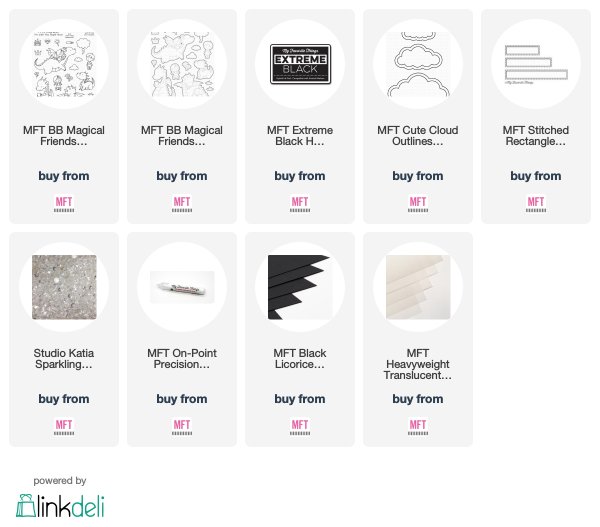
I started off my card by stamping the dragon with the girl from the MFT BB Magical Friends Stamp Set on to white cardstock with MFT Extreme Black Ink. I then coloured them using Copic Markers (the colours that I used are listed below the supplies area) and cut out using the MFT BB Magical Friends Die-namics. I then embellished the dragon using white gel pen dots and set them aside while I worked on my background.
 
 
I took a panel of watercolour paper and blended Distress Inks on to it. I used Seedless Preserves at the top, followed by Chipped Sapphire, Blueprint Sketch, Mermaid Lagoon and then Peacock Feathers at the bottom. The panel was spritzed with water and then set aside to dry. Once dry, it was adhered flat to an A2 white card base with tape runner. I die cut three clouds using the MFT Cute Cloud Outlines Die-namics from white cardstock and adhered these on to vellum. I then fussy cut them out using scissors.
 
 
I ran them through my Xyron machine (so that the adhesive completely covers the back) and adhered them to my card. I took the sentiment from the BB Magical Friends set and stamped it on to MFT Black Licorice Cardstock using Versamark Ink. I applied white embossing powder and heat set. It was then cut in to a strip using the MFT Stitched Word Window Die-namics (the stitching gets removed but it was a perfect size for the sentiment). I added it to the card with foam tape and then added the dragon and girl on top. To finish off, I added a few Sparkling Crystals.
 
SUPPLIES:

Here are the links to what I have used on the card. Affiliate links are used on some products. This means that if you make a purchase after clicking on my link, I receive a small commission with no extra cost to you. I truly appreciate your support when using these links. Please click on the logo below the product to shop at your favourite store. All products were personally purchased except those from Clearly Besotted, Hero Arts or those marked with an asterisk (*) which were kindly sent to me to use. You can read my full disclosure here.
 
 
COPIC MARKERS: Dragon - V09, V17, V15, V12, V01, V000, BG49, BG15, BG11, W5, W3. Girl skin - E13, E11, E00, E000, E50. Hair - E49, E27, E25, E23. Dress - B18, B16, B12.
 
SKETCH CHALLENGE:
 
Here is sketch 469. Create and share a card using it and you could be in with a chance of winning a $50 gift certificate to the MFT Boutique. For more information, please visit the MFT Blog.
 
A big thank you goes to Stephanie and MFT for having me guest with them this month. It has been so much fun! Thank you also for stopping by today, I really do appreciate it and if you celebrate Christmas, I wish you a very Merry Christmas or if not, a wonderful day!
End of code