Showing posts with label Your Next Stamp. Show all posts

28 October 2017

Captain America

Hello there, this is one of my scheduled posts while I am taking some time off. It was my nephew's birthday this week, he is a big fan of super heroes, so I decided to theme his card around Captain America's shield.
 
 
I started off by cutting lots of circles for the shield using the Hero Arts Circle Infinity Dies. I wanted to inlay the design so I first cut a large circle from red cardstock. I then cut this using a smaller circle die to create a frame. I die cut a white circle which would fit inside and repeated the steps to create a frame and then another red circle frame inside. The middle piece is a blue circle which I cut a Nestabilities star from. I then cut the star from white so that I could inlay them together. I went around the edges of the shapes with Distress Ink and an ink blending tool to create a bit of depth. It doesn't look like much in the photos but it does make a difference in real-life!
 
 
I took the seven number from the PTI Block Alphabet Numbers Die Collection and cut this five times from black cardstock. I took a white 5.5" x 5.5" square card base and adhered the shield pieces to it using tape runner. I then added the seven on to the star using liquid glue. I took the sentiment from the YNS Tag Banner Sentiments set and stamped this on to black cardstock with Versamark Ink. I applied white embossing powder and heat set. This was cut in to a strip and added to the card with foam tape. I then took the letters for my nephew's name from the Doodlebug Teensy Type Stickers set, added foam tape on to the back and added these to the card also.
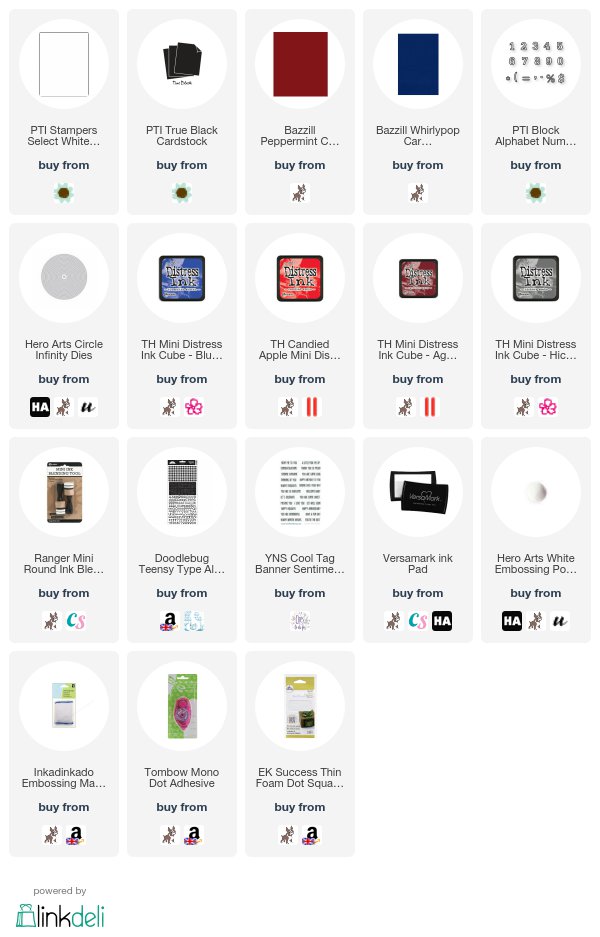
 
SUPPLIES:
Here are the links to what I have used on the card. Affiliate links are used on some products. This means that if you make a purchase after clicking on my link, I receive a small commission with no extra cost to you. I truly appreciate your support when using these links. Please click on the logo below the product to shop at your favourite store. Products marked with an asterisk (*) were kindly sent to me to use.
 
 
It was a lot of fun creating this card. I really like trying to tailor the cards I make for my niece and nephews to their interests. Last year I made my nephew a Lego card, so I am hoping he will like this Captain America one! Thanks so much for visiting me today. I hope you are well and have a fabulous rest of the day!

11 October 2016

Owliver Loves To Celebrate

Hello there, it was my mum's birthday last week and as soon as I saw this Stamping Bella image, I thought it would be perfect for her card. Owliver is so cute!
 

I started off by taking a panel of white cardstock. I stamped Owliver on to it using Memento Tuxedo Black Ink. I then coloured him using Copic Markers. I created a background by flicking in some grass, making some clouds in the sky and then a ground for him to stand on. All of this was coloured with Copic Marker also.
 
 
The sentiment, from the Your Next Stamp Cool Tag Banner Sentiment set, was stamped in the top right corner using the same Memento ink. The panel was adhered to a 5" x 5" white card base with foam tape. I then added some clear Wink of Stella to his hat and then added Glossy Accents to his glasses.
 
SUPPLIES:
Here are the links to what I have used on the card. Please click on the picture or wording to be taken to where I purchased it. Affiliate links are used on some products. This means that if you make a purchase after clicking on my link, I receive a small commission with no extra cost to you. I truly appreciate your support when using these links.
 
COPIC MARKERS: Owliver - E29, E27, E25, E23, E21, E50, YR24, Y15, Y13, Y11. Glasses & Hat - V09, V06, V04, V01. Ground - E44, E43, E42, E41, E40. Grass - YG67, YG17, YG23, YG03, YG01. Sky - B00, B000, B0000. Clouds - C1, C0, C00.
 
A very simple background for Owliver to stand in but I did enjoy creating it. Thank you so much for visiting me today. I hope you have a great day!

24 August 2016

VIDEO | Birthday Chickies + Giveaway

Hello there, today I have the pleasure of being the Special Video Guest over at Your Next Stamp as part of their birthday celebrations. Today I am sharing  a peek a boo birthday and card and matching tag.
 
 
For the card, I started off with a panel of white cardstock. I die cut the larger of the two dies from the Peek a Boo Trio Doors Die Set on to this. I then took the Birthday Chickies stamp set and stamped three chicks on to the front of the doors using black ink. I masked these off using post it notes. The sentiment was then stamped below.
 

I took a craft knife and cut around the little tabs on the side of the windows, I then opened these up slightly. I took another panel of white cardstock the same size and placed this behind. I then drew a faint line with a pencil inside of the open windows. The whole of the chick images were then stamped on this panel and coloured with Copic Markers (as well as the partial ones on the front panel).
 
 
The bottom panel was adhered to a yellow card base and then the top piece added on top with foam tape. I think the from panel being popped up helps the windows to open better.
 
SUPPLIES:
Here are the links to what I have used on the card. Please click on the picture or wording to be taken to where I purchased it. Affiliate links are used on some products. This means that if you make a purchase after clicking on my link, I receive a small commission with no extra cost to you. I truly appreciate your support when using these links.


COPIC MARKERS - Chicks: Y17, Y15, Y13, Y11, Y38. Pink Skirt & Bow: R85, R83, R81, R000. Purple Cupcake Wrapper: V04, V01, V00. Aqua Bow: GB13, BG11. Grass: YG17, YG23, YG03, YG01. Sky & Blue Shadow: B000, B0000, 0.
 
For the tag, I took a piece of white cardstock and cut the tag from the Cool Tag Three Die set. I then cut the Puffy Cloud dies from masking paper. I adhered the mask to the tag and used my Copic Airbrush to create a cloud/sky background. I moved the mask as I went down the tag. The sentiment, from the Cool Tag Banner Sentiments set was stamped at the bottom.
 
 
I took the chick from the Birthday Chickies set and stamped this in black on to more white cardstock. The image was then coloured with Copics. I used the matching die to then cut him out. He was adhered to the tag with foam tape. To finish off, I added some Doodlebug Twine to the top of the tag.
 
SUPPLIES:
Here are the links to what I have used on the card. Please click on the picture or wording to be taken to where I purchased it. Affiliate links are used on some products. This means that if you make a purchase after clicking on my link, I receive a small commission with no extra cost to you. I truly appreciate your support when using these links.
COPIC MARKERS - Chick: Y17, Y15, Y13, Y11, Y38. Hat: YG07, YG01. Egg: E31, E30, E50. Banner & Cup: R24, R14, YR15, YR12, Y15, Y13, YG07, YG06, YG01, B02, B00.
 

VIDEO:

Here is the video showing how I made the card and tag:


GIVEAWAY:

Your Next Stamp have kindly given me another Birthday Chickies stamp set to giveaway. To be in with a chance of winning it, all you have to do is leave me a comment on this post by the 31st August 2016 at 14.00 BST. I will then pick a winner shortly afterwards.
 
** THE GIVEAWAY IS NOW CLOSED **
 
Thanks so much for visiting me today. I hope you are having a great week!

12 August 2016

Remnant Rub Resist

Hello there, during Creative Chemistry 103, Tim Holtz showed a technique using Remnant Rubs with a resist technique. I do not have the stains he used, but I thought it would work well with Distress Inks and I am really happy to say that it did!
 

I started off with a Manila tag and cut the bottom off of it to make it shorter. I applied the number remnant rubs on to it using a rub-on tool. I then applied Distress Inks in Salty Ocean, Chipped Sapphire, Stormy Sky and Peacock Feathers. The rub-ons resisted the ink like if it were heat embossed. I splattered over some water using the Distress Sprayer and then I added some splatters of Chipped Sapphire using the Splatter Brush.
 
 
I took the banner die from the YNS Cool Tag Three Die Set and cut this from black cardstock. I then stamped the sentiment, from the YNS Cool Tag Banner Sentiments Set, on to it using Versamark ink. I applied white embossing powder and then heat set it. This was added to the tag with foam tape. The tag was then added to an A2 black card base using more foam tape. To finish off, I added a few Doodlebug Sprinkles.
 

SUPPLIES:

Here are the links to what I have used on the card. Please click on the picture or wording to be taken to where I purchased it. Affiliate links are used on some products. This means that if you make a purchase after clicking on my link, I receive a small commission with no extra cost to you. I truly appreciate your support when using these links.


I really enjoyed making this card and having fun with inks. I made this for my brother so I hope he likes the arty feel to it! Thanks so much for visiting me today, I hope you have a great weekend!
End of code