
Hello there, I was over on the Spellbinders Blog last week sharing a look at the From the Vault Collection. The collection features shape dies that were released previously and then discontinued. Anyone else remember Nestabilities dies? I pretty much collected them all I think! Some of them have been re-released and I am so happy about it! I always love nesting shape dies, they are so versatile. In my post I shared a few different ways to use them and one way was to create frames.
I inspired myself to create a card using of the frames I created for that post, so I thought I would share it with you today.
PLEASE
NOTE: This post contains affiliate links. Please see below for my full
disclosure.

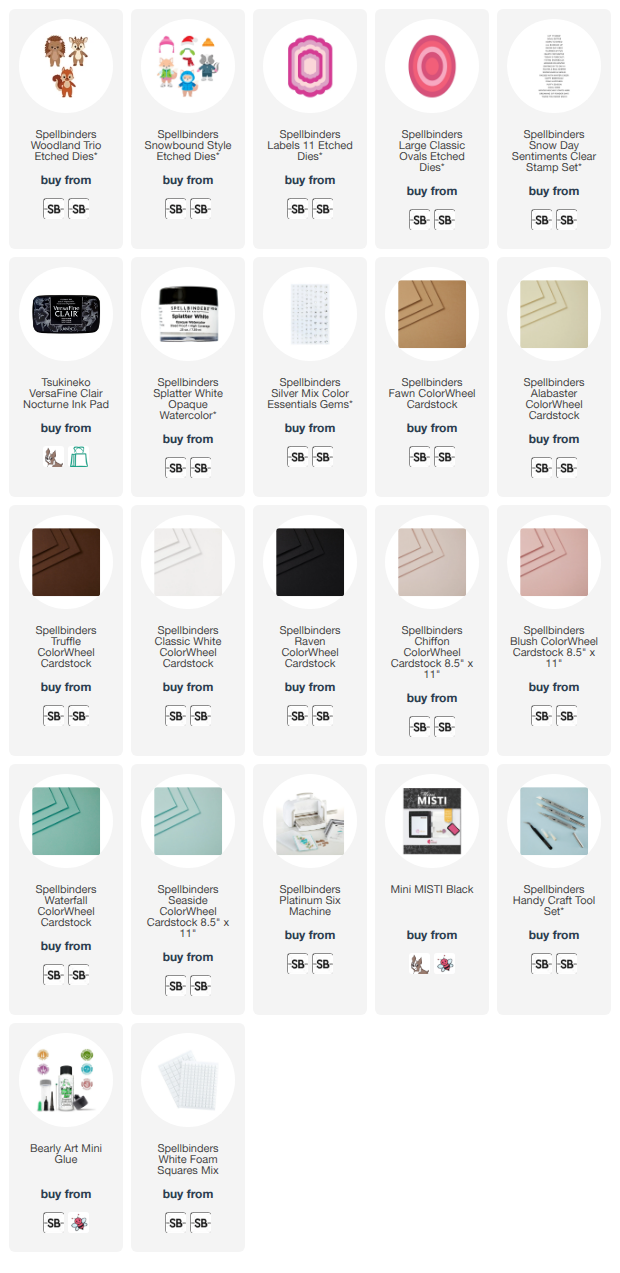
I started off by die cutting a panel of Spellbinders Waterfall ColorWheel Cardstock into a frame using the largest of the Spellbinders Labels 11 Etched Dies and the second largest of the Spellbinders Large Classic Oval Etched Dies (the oval inside the label die). I cut the frame twice and adhered them one on top of another. I then die cut another of the Label 11 Etched Dies from Spellbinders Seaside ColorWheel Cardstock and splattered Spellbinders Splatter White Opaque Watercolor (mixed with a little water) on top to use as a background.

I then die cut the deer from the Spellbinders Woodland Trio Etched Dies from Spellbinders Fawn, Alabaster, Truffle, Classic White and Raven ColorWheel Cardstock. I die cut the hat and scarf from the Spellbinders Snowbound Style Etched Dies from Chiffon and Blush ColorWheel Cardstock. The deer was assembled and adhered using liquid glue.

I placed the deer's legs behind the bottom of the frame but kept her arm and ear overlapping the edge. I held her in place with low tack tape and then added liquid glue around the frame and bottom part of the deer, and thin foam squares at the top of the deer, before adhering to the background panel. The whole thing was then adhered to a US A2 sized white card base and the tape removed.

I stamped a sentiment from the Spellbinders Snow Day Sentiments Clear Stamp Set onto a panel of white cardstock and die cut it out using the smallest of the Spellbinders Labels 11 Etched Dies. I cut the die again from white cardstock and adhered it behind the stamped one for added dimension, before adhering to the card. To finish, I embellished with Spellbinders Silver Mix Color Essentials Gems.
SUPPLIES:
Here are the links to
what I have used on the project. Affiliate
links are used on some products. This means that if you make a purchase after
clicking on my link, I receive a small commission with no extra cost to you. I
truly appreciate your support when using these links. Please click on the logo below
the product to shop at your favourite store. All products were personally
purchased except marked with an asterisk (*) which were kindly sent to me to
use. You can read my full disclosure here.
I think the deer looks so cute popping out from behind the frame! Thanks so much for stopping by today, I really do appreciate it. I hope you have a great day!

No comments:
Post a Comment
Thank you for visiting my blog today! Please feel free to leave me a comment. I really appreciate receiving them. Please note that if you comment as unknown on a hop, you will not be entered into the prize draw unless you leave your email address in the comment. Please see my Privacy Policy for details on how your data is used when leaving me a comment. Thank you so much :)