Hello there, today I have two cards to share with you using the Spellbinders 12 Says of Stitchmas 2024 Advent Calendar. If you do not want to see what is behind door number four, please do not scroll down any further!
PLEASE
NOTE: This post contains affiliate links. Please see below for my full
disclosure.
So what is behind door four of the
Spellbinders 12 Days of Stitchmas 2024 Advent Calendar? Santa! The dies consist of different layers to create Santa - his hat, fluffy parts of the hat, face, beard (2 layers) and facial features. I love that the beard has two dies - one with stitching and one without. This way, if you didn't want to stitch it, you didn't have to! I felt that the size of the Santa worked perfectly for mini slimline cards (I made mine 6.25" x 3.25").
Alongside the Advent Calendar, I am also using the
Spellbinders 12 Days of Stitchmas Stitch Along Add-On Kit. The kit has cardstock, a stamp set, needles, a thread minder, embellishments, thread and floss in, so perfect to work with the calendar but I also think great for anyone that loves stitching on cards too!
I used the DMC White Diamant Metallic Thread in the kit, as well as the needles, and stitched Santa's beard. I kept it very simple and just did straight stitches. I then assembled and adhered Santa using
Bearly Art Glue and a little
Spellbinders Best Ever Craft Tape (on the back). I stamped the sentiment from the Exclusive Sentiments Stamp Set in the kit using
Versafine Clair Nocturne Ink and adhered Santa to the card using foam squares.
Here is the video showing how I made the cards:
If you are viewing this blog post via email subscription, you can watch the video HERE on YouTube.
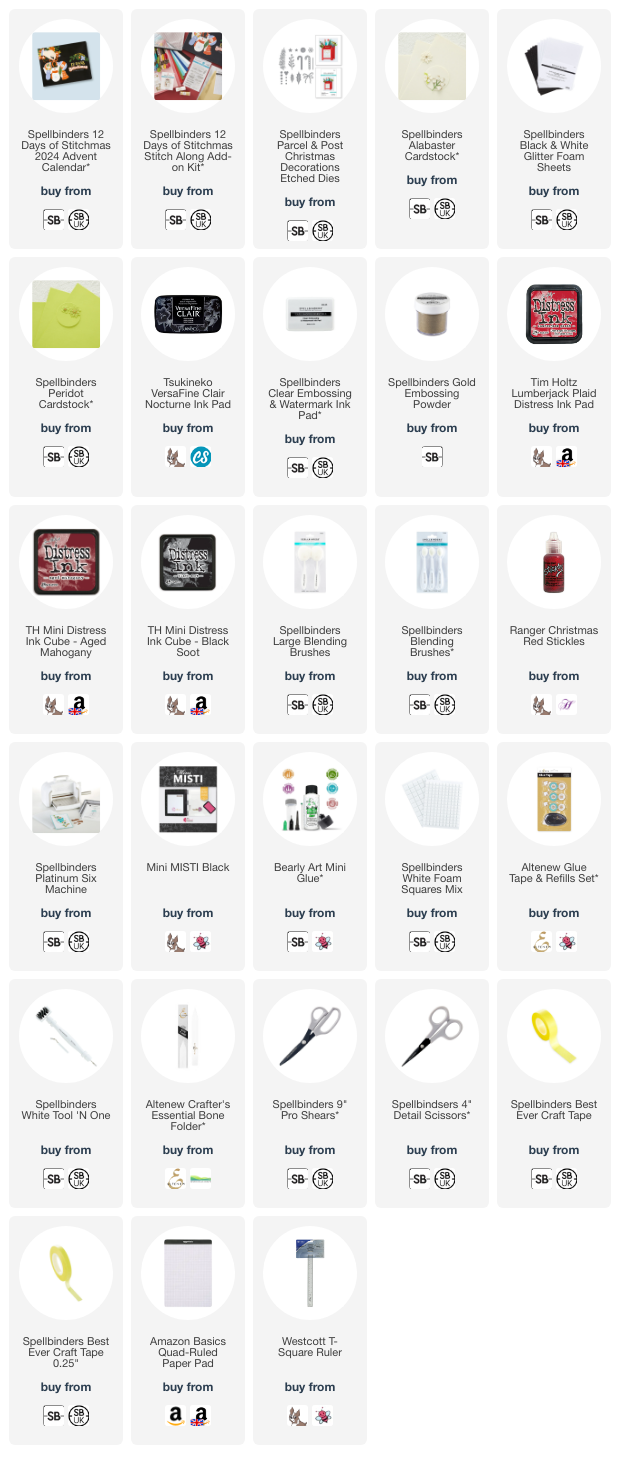
SUPPLIES:
Here are the links to
what I have used on the projects. Affiliate
links are used on some products. This means that if you make a purchase after
clicking on my link, I receive a small commission with no extra cost to you. I
truly appreciate your support when using these links. Please click on the logo below
the product to shop at your favourite store. All products were personally
purchased except those from Clearly Besotted, Hero Arts or those marked with an
asterisk (*) which were kindly sent to me to use. You can read my full
disclosure here.
Thank you so much for stopping by today, I really do appreciate it. For more inspiration using the advent calendar, please head over to the
Spellbinders Blog. Take care!


Brilliant video as always Michelle, both of the cards are fantastic! I love the addition of the holly and berries on the second card, it really adds a lovely extra pop of colour. And who doesn't love Christmas Red stickles - I love that you used them! Also that big brush - so fluffy!! xx
ReplyDelete