Here is the photo I took:
The photo is of the Japanese Camellia in my garden. It hadn't flowered for a number of years but this year we got an abundance of blooms and they were so pretty that I had to take a few photos! For the challenge, I picked the colours of light pink, dark pink and green.
PLEASE
NOTE: This post contains affiliate links. Please see below for my full
disclosure.
The flowers were assembled and adhered using liquid glue. I kept the centres of the flowers white. Although they are yellow in my photo, I wanted to stay true to the colour combo I picked so kept them white. I actually really like how they look!
For the card base, I took an A2 sized card and cut one of the corners off. I then used the cut off piece as a template so that I knew how much to cut off at the other side. This way I have a tag shaped card, which is something a little different! I added ink blending to it with
Altenew Cherry Blossom Fresh Dye Inks (all four shades) and then splattered
Altenew Titanium White Artists' Gouache on top.
I have gone very literal with my photo and created a card with camellias on but you don't have to! Use the colours as a guide and have fun creating! For more information on the challenge and to enter, Please head over to the
Altenew Blog.
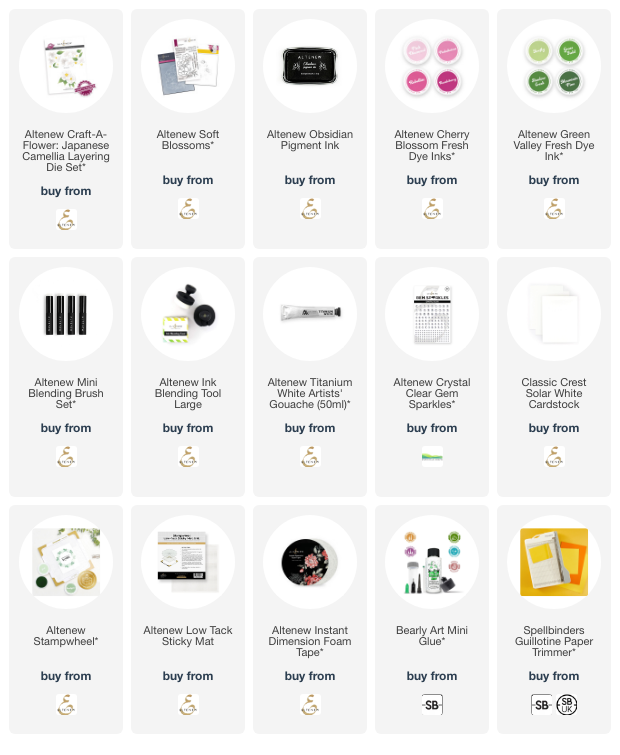
SUPPLIES:
Here are the links to
what I have used on the project. Affiliate
links are used on some products. This means that if you make a purchase after
clicking on my link, I receive a small commission with no extra cost to you. I
truly appreciate your support when using these links. Please click on the logo below
the product to shop at your favourite store. All products were personally
purchased except those from Clearly Besotted, Hero Arts or those marked with an
asterisk (*) which were kindly sent to me to use. You can read my full
disclosure here.
Thank you so much for stopping by today, I really do appreciate it. I hope you have a wonderful day!


This is fabulous! Really pretty! That pink background is stunning and the camellia flowers look great against it. Good tip about cutting the corner off. I do mine by measuring across the top and down the side but your way would be quicker! Xx
ReplyDelete