4 October 2024

Altenew | October 2024 Release Blog Hop + Giveaway

Hello there, I am delighted to be joining Altenew today to celebrate the October 2024 release. The release is full of stamps, dies, press plates, stencils, embossing folders, embellishments, inks, tools and more and I am using a few of them on my projects today. 

PLEASE NOTE: This post contains affiliate links. Please see below for my full disclosure.


CRAFT YOUR LIFE PROJECT KIT: BLOSSOMS OF ENCOURAGEMENT

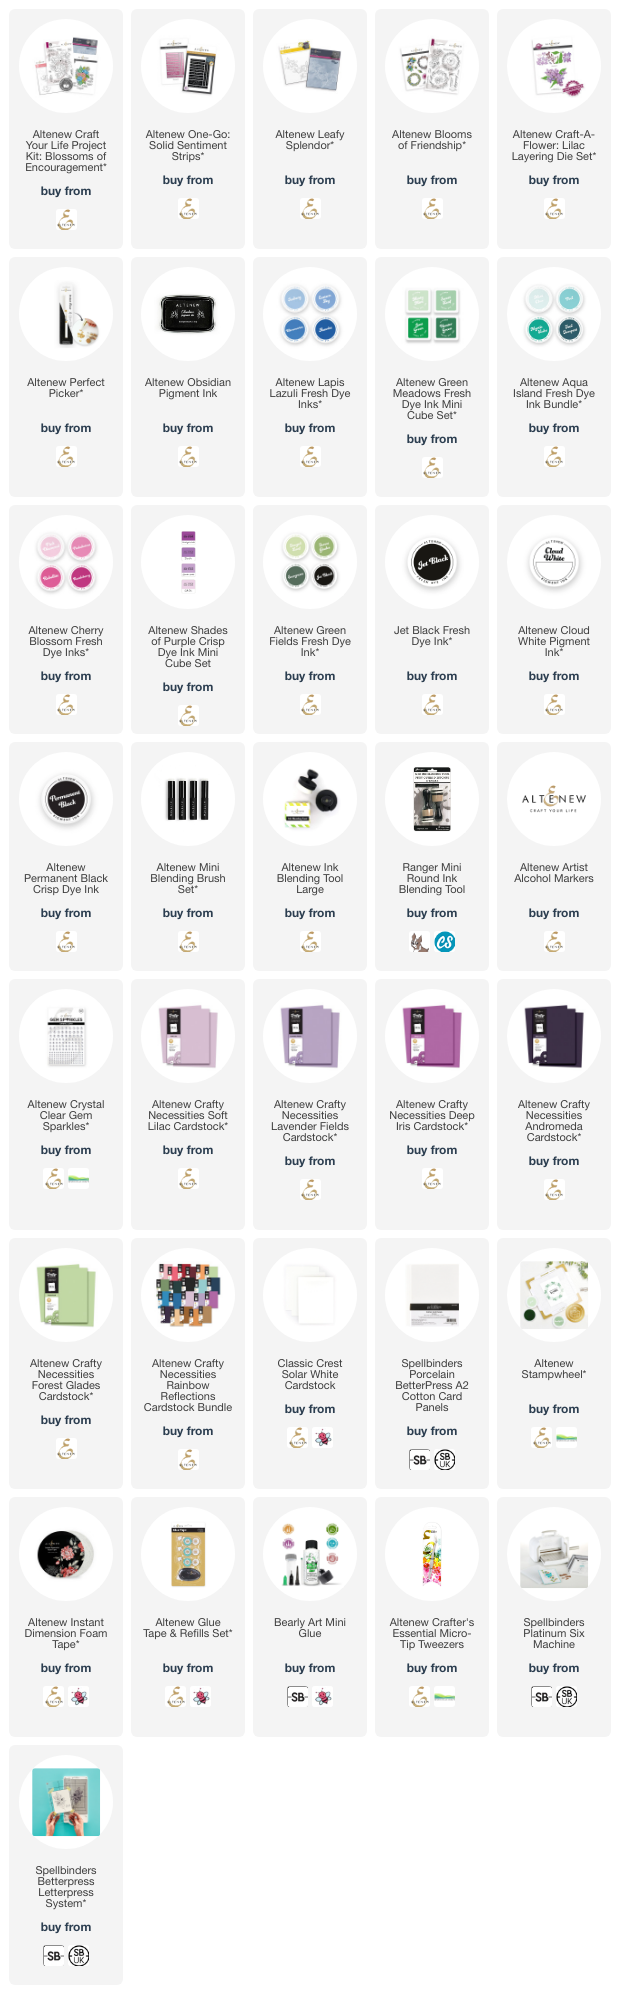
My first two cards use Altenew Craft Your Life Project Kit: Blossoms of Encouragement. The kit includes a stamp set, coordinating dies, coordinating stencils and a coordinating embossing folder. 


I started off my first card by stamping the large floral image in the set onto white cardstock using Altenew Obsidian Pigment Ink. I then placed the stencils on top, one by one, to colour the image using ink blending with blending with Mini Blending Brushes


I used Altenew Lapis Lazuli, Green Meadows and Aqua Island Fresh Dye Inks. The image was then die cut out using the coordinating die. It was adhered to a US A2 sized white card base with Altenew Instant Dimension Foam Tape. The sentiment from the set was stamped with Altenew Obsidian Pigment Ink, die cut out and adhered on top. 


My second card using the kit was made with the 3D Embossing Folder. I first added ink blending to a panel of white cardstock with Altenew Lapis Lazuli Fresh Dye Inks and an Altenew Large Blending Brush. I placed the panel inside the embossing folder and ran it through my die cutting machine. 


I then added Altenew Cloud White Pigment Ink to the raised areas using a flat topped blending tool. The panel was adhered to a US A2 sized white card base with foam tape. I then took the Altenew One-Go: Sentiment Strips Press Plate and pressed it onto a BetterPress Cotton Card Panel using Altenew Jet Black Fresh Dye Ink and the Spellbinders BetterPress Letterpress System. 


It was die cut out using the Altenew One-Go: Sentiment Strips Die and the 'happy birthday' one cut down a little further at the sides before adhering to the card with foam tape. To finish, I embellished with Altenew Crystal Clear Gem Sparkles

LEAFY SPENDOR + ONE-GO: SENTIMENT STRIPS


My next card uses the new Altenew Leafy Splendor 3D Embossing Folder. There is a coordinating stencil that works with the folder, but I just used the folder today. I simply placed a panel of white cardstock inside the folder and ran it through my die cutting machine. 


It was adhered to a US A2 sized white card base with Altenew Glue Tape. I then pressed the Altenew One-Go: Sentiment Strips Press Plate onto Classic Crest 110lb Solar White Cardstock three times using Altenew Cherry Blossom Fresh Dye Inks (Pinkalicious, Rubellite & Razzleberry). They were then cut out and adhered to the card using Altenew Instant Dimension Foam Tape

BLOOMS OF FRIENDSHIP


My next card uses the Altenew Blooms of Friendship Stamp Set + Blooms of Friendship Die Set. I started off my card by stamping one of the wreath's from the set, as well as the floral image, onto white cardstock using Altenew Permanent Black Ink


The images were then coloured using Altenew Artist Alcohol Markers before die cutting out using the coordinating dies. I cut another of the wreath die from white cardstock and adhered behind the stamped one for added dimension. It was then adhered to a US A2 sized white card base with liquid glue. The flowers were adhered on top with foam tape (just in the places were it does not overlap the wreath). 


I took the sentiment that was pressed when making the second card (using Altenew One-Go: Sentiment Strips with Jet Black Ink), cut the sides down and adhered it to the card with thin foam tape. To finish, I embellished with Altenew Crystal Clear Gem Sparkles

CRAFTY NECESSITIES CARDSTOCK


Releasing this month are 21 new colours of Altenew Crafty Necessities Cardstock. If you are not familiar with it, the cardstock colours match the existing colour family colours that match the inks, embellishments etc. The 8.5" x 11" cardstock is released in packs of 10 and are between 80lb - 90lb in weight depending on colour. 

CRAFT-A-FLOWER: LILAC


My last card today uses the new Altenew Craft-A-Flower: Lilac Layering Die Set. I cut the flowers from Altenew Crafty Necessities Cardstock in Soft Lilac, Lavender Fields, Deep Iris and Andromeda. I then added a little ink blending on top with Altenew Shades of Purple Crisp Dye Inks


The branch and leaves were cut from Altenew Crafty Necessities Frayed Leaf Cardstock. I added ink blending with Altenew Green Fields Fresh Dye Inks. The flowers were assembled and adhered to the branch using liquid glue and thin foam tape.


The branch was then adhered to a US A2 sized white card base, popping the leaves behind. I stamped a sentiment from the Altenew Blooms of Friendship Stamp Set onto white cardstock using Obsidian Pigment Ink. It was die cut out and adhered to the card. To finish, I embellished with Altenew Crystal Clear Gem Sparkles

BLOG HOP:

This post is part of a fun, inspirational blog hop with prizes. Please click on the other participants below to visit their blogs. 

You are invited to the Inlinkz link party!

Click here to enter

GIVEAWAY:

$300 in total prizes! To celebrate this release, Altenew is giving away a $100 gift certificate to 1 lucky winner and a $50 gift certificate to 4 winners! Please leave a comment on the Altenew Card Blog and/or each designer’s blog post on the blog hop list below by October 10th 2024 for a chance to win. Altenew will draw 5 random winners from the comments left on each stop of this blog hop and announce the winners on the Altenew Winners Page on October 12th, 2024. The winner of the $100 gift certificate will be chosen from comments left on the Altenew blog. 


SUPPLIES:


Here are the links to what I have used on the projects. Affiliate links are used on some products. This means that if you make a purchase after clicking on my link, I receive a small commission with no extra cost to you. I truly appreciate your support when using these links. Please click on the logo below the product to shop at your favourite store. All products were personally purchased except those from Clearly Besotted, Hero Arts or those marked with an asterisk (*) which were kindly sent to me to use. You can read my full disclosure here.


Thank you so much for stopping by today, I really do appreciate it. I hope I have given you some inspiration today and I hope you have a wonderful rest of the day! 

1 October 2024

Spellbinders | Birthday Flowers

Hello there, happy October to you! I hope you are well. Today I have a card to share using the Spellbinders Out & About Collection. I have really loved creating with this collection and this is my last card using it for the time being. For my card today I am using the Little Blooms and Happy Birthday Wishes sets, both of which I think will work perfectly with lots of other sets too! 

PLEASE NOTE: This post contains affiliate links. Please see below for my full disclosure.


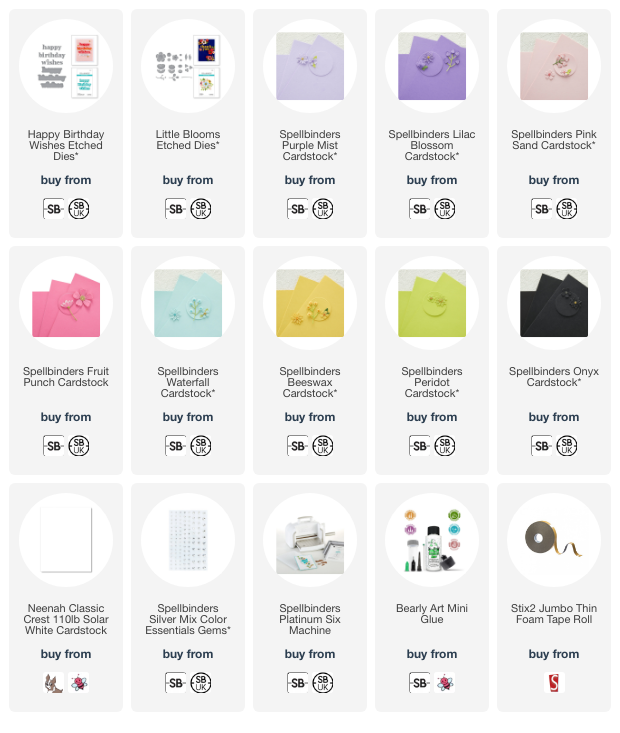
I started off my card by die cutting the happy birthday from the Spellbinders Happy Birthday Wishes Etched Dies. I cut the shadow from white cardstock and the letters from Spellbinders Onyx Cardstock twice. They were layered up and adhered to the shadow piece. 


I then die cut the flowers and leaves from the Spellbinders Little Blooms Etched Dies. I cut the flowers from Spellbinders Purple Mist, Lilac Blossom, Pink Sand, Fruit Punch and Waterfall Cardstock. The flower centres were cut from Spellbinders Beeswax Cardstock and the leaves from Spellbinders Peridot Cardstock


The flowers were assembled and adhered first using Bearly Art Glue. I then adhered them to a US A2 sized white card base along with the leaves. The sentiment was adhered on top using thin foam tape. To finish, I embellished with Spellbinders Silver Color Essentials Gems

SUPPLIES:


Here are the links to what I have used on the project. Affiliate links are used on some products. This means that if you make a purchase after clicking on my link, I receive a small commission with no extra cost to you. I truly appreciate your support when using these links. Please click on the logo below the product to shop at your favourite store. All products were personally purchased except those from Clearly Besotted, Hero Arts or those marked with an asterisk (*) which were kindly sent to me to use. You can read my full disclosure here.


Those flowers are so pretty and a really nice size too, not too little (even though the name suggests it!). Thank you so much for stopping by today, I really do appreciate it. I hope you have a wonderful day! 

25 September 2024

Spellbinders | Not Your Ordinary Card

Hello there, today I have a gift card holder to share with you using the Spellbinders Not Your Ordinary Card Collection by Wendy Vecchi. This envelope die isn't made to be a gift card holder, there is another die that you can cut to make a card to go inside it, but I thought it would be fun to turn it into a gift card holder today. 

PLEASE NOTE: This post contains affiliate links. Please see below for my full disclosure.


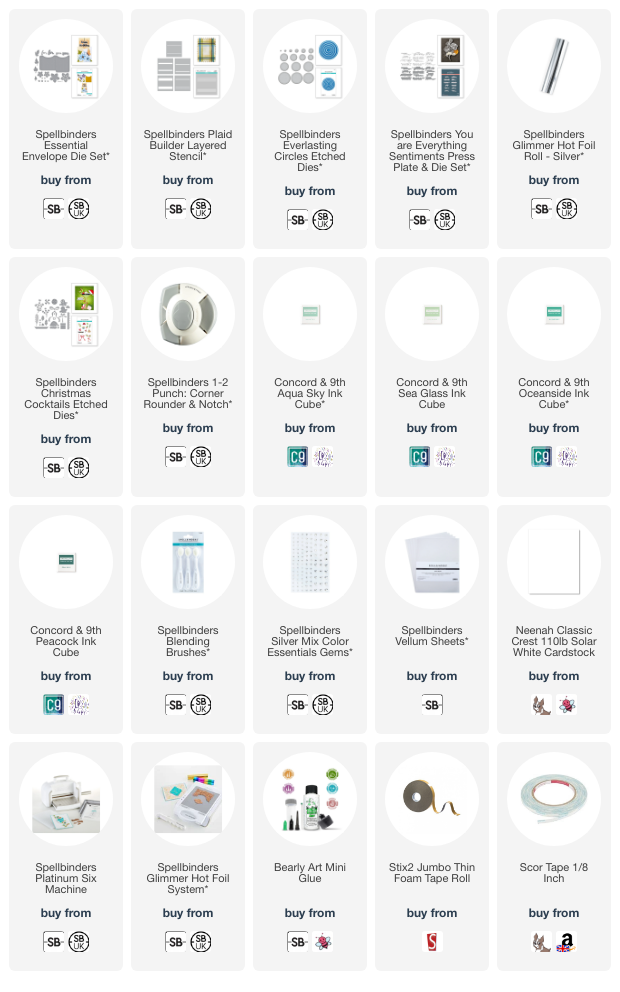
I started off by creating the envelope. I cut the envelope die from the Spellbinders Essential Envelope Die Set from white cardstock. I then placed the Spellbinders Plaid Builder Layered Stencil on top, one by one, and added ink blending to create the plaid pattern. Instead of making a full plaid pattern, I decided to focus the pattern towards the left and bottom of the envelope. I used Concord & 9th Ink Cubes in Aqua Sky, Sea Glass, Oceanside and Peacock


I cut the flower and leaves from the Spellbinders Essential Envelope Die Set using white cardstock for the flower, and vellum for the leaves. I also cut flower centres using the Spellbinders Everlasting Circles Etched Dies set. I added ink blending to these with the same colours that I used for the plaid. I assembled and adhered the envelope and then adhered the leaves on top, followed by the flower, using thin foam tape. 


I hot foiled a sentiment from the Spellbinders You Are Everything Sentiments Press Plate & Die Set using Spellbinders Silver Foil. It was cut out and adhered to the envelope. To finish, I embellished with Spellbinders Silver Mix Color Essentials Gems. For the gift card part, I cut a panel of white cardstock to fit inside the envelope and rounded the corners with the Spellbinders 1-2 Punch. I die cut the bow from the Spellbinders Christmas Cocktails Etched Dies and adhered it to the top. The gift card was then adhered on top using temporary adhesive. 

SUPPLIES:


Here are the links to what I have used on the project. Affiliate links are used on some products. This means that if you make a purchase after clicking on my link, I receive a small commission with no extra cost to you. I truly appreciate your support when using these links. Please click on the logo below the product to shop at your favourite store. All products were personally purchased except those from Clearly Besotted, Hero Arts or those marked with an asterisk (*) which were kindly sent to me to use. You can read my full disclosure here.


As I say, this isn't how this die is meant to be used but that's the great thing with card making, you can change things to suit your needs! Thank you so much for stopping by today, I really do appreciate it. I hope you have a wonderful day! 

24 September 2024

Simon Says Stamp + Altenew STAMPtember 2024 Collaboration

Hello there, I hope you are well. Today I have a card to share using the Simon Says Stamp + Altenew STAMPtember 2024 collaboration set. I was kindly sent the Azalea Bunch Stamp Set to play with but there is a bundle with the stamp set, die set and stencils too, if colouring and fussy cutting is not your thing!

PLEASE NOTE: This post contains affiliate links. Please see below for my full disclosure.


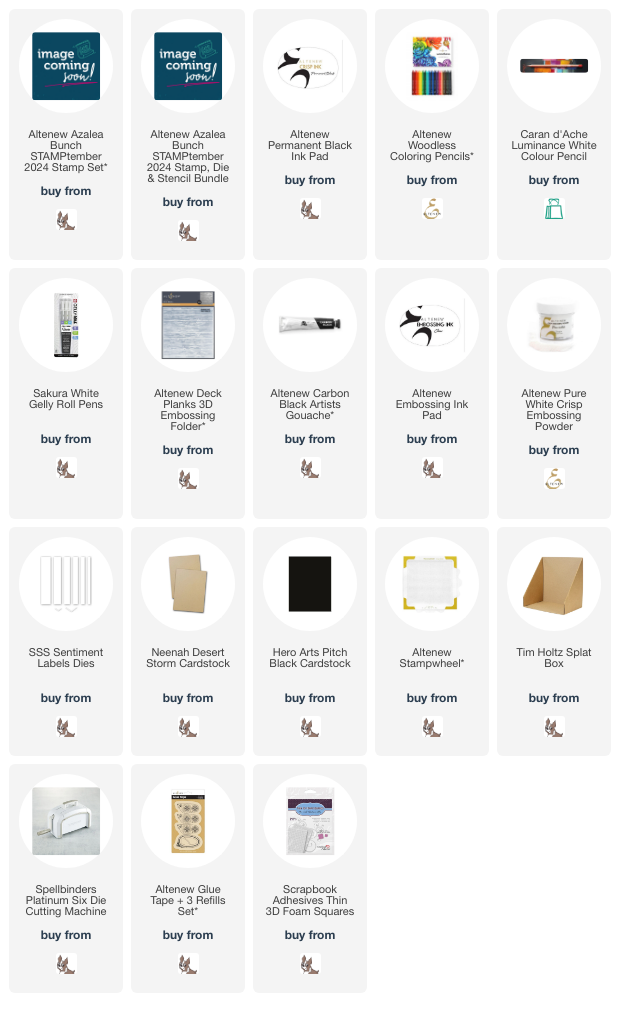
I started off by stamping the main image from the Simon Says Stamp + Altenew Azalea Bunch Stamp Set onto Neenah Desert Storm Cardstock using Altenew Permanent Black Ink. I then coloured it using Altenew Woodless Coloring Pencils (Jet Black, Moon Rock and White). I did then go in with a little Luminance White Pencil, as this is very bright white, just on the edges of the flowers and leaves. 


I fussy cut the image out using scissors. I then took another panel of Desert Storm Cardstock and placed it inside the Altenew Deck Planks 3D Embossing Folder and ran it through my die cutting machine. I mixed a little Altenew Carbon Black Artists Gouache with water and splattered it onto the panel. Once dry, it was adhered to a US A2 sized card base (made from the same cardstock) using tape runner adhesive.


The image was then adhered on top with thin foam squares. I stamped a sentiment from the set onto black cardstock using Altenew Embossing Ink. I applied Pure White Crisp Embossing Powder and heat set. It was cut into a strip and adhered to the card using more thin foam squares. To finish, I added a few white gel pen (0.5 size) dots on the flowers. 

SUPPLIES:


Here are the links to what I have used on the project. Affiliate links are used on some products. This means that if you make a purchase after clicking on my link, I receive a small commission with no extra cost to you. I truly appreciate your support when using these links. Please click on the logo below the product to shop at your favourite store. All products were personally purchased except those from Clearly Besotted, Hero Arts or those marked with an asterisk (*) which were kindly sent to me to use. You can read my full disclosure here.


This set is exclusive to Simon Says Stamp and once it is sold out is gone for good, so if you like it, grab it while you can! Whilst I love ink blending images these days, it was so nice to get the pencils out and enjoy colouring (even if it was in monochrome!). Thank you so much for stopping by today, I really appreciate it. I hope you have a wonderful day! 

23 September 2024

Spellbinders | Birthday Bird

Hello there, today I have a card to share with you using the super cute Spellbinders Love Note Bird die set from the Out & About Collection. As you can see, the bird is pretty big in size so it does take centre stage on a card which is nice! 

PLEASE NOTE: This post contains affiliate links. Please see below for my full disclosure.


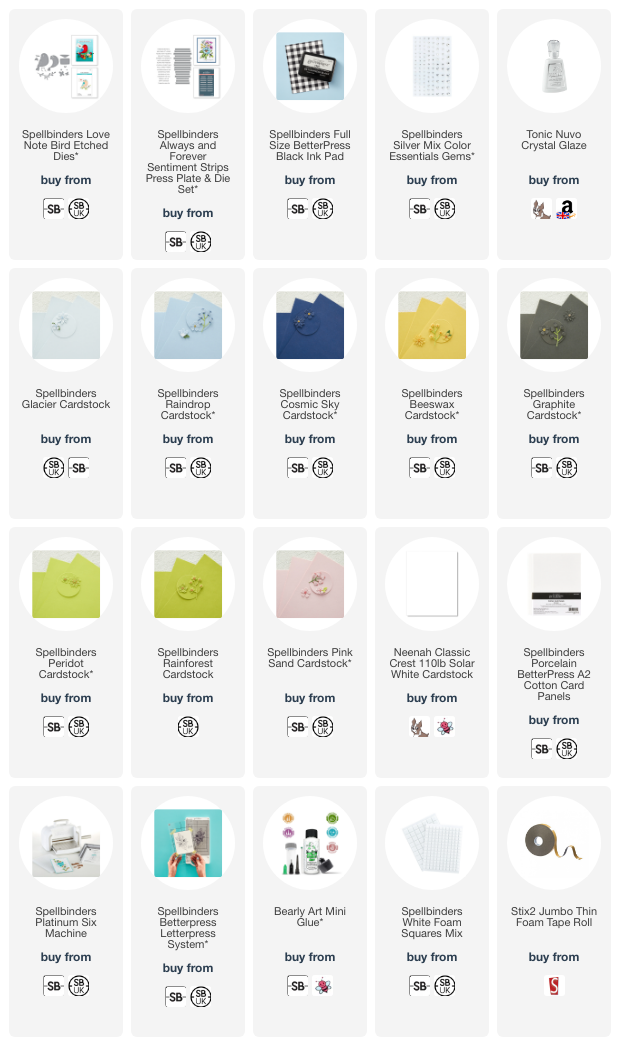
I started off by die cutting the bird from the Spellbinders Love Note Bird Etched Dies from Spellbinders Glacier, Raindrop and Cosmic Sky Cardstock. The legs were cut from Spellbinders Graphite Cardstock and the beak from Spellbinders Beeswax Cardstock. The layers were adhered using Bearly Art Glue


I cut the foliage from Spellbinders Peridot and Rainforest Cardstock and the flowers from Spellbinders Pink Sand Cardstock. The envelope was cut from white cardstock and the heart from Spellbinders Pink Sand Cardstock (twice for added dimension). 


I adhered the foliage first to a US A2 sized white card base using Bearly Art Glue. I then adhered the bird using foam squares and the envelope using thin foam tape. The flowers were shaped and adhered using Bearly Art Glue. 


I pressed the sentiment from the Spellbinders Always & Forever Press Plate & Die Set onto Spellbinders Porcelain BetterPress Cotton Card using Spellbinders BetterPress Black Ink and the Spellbinders BetterPress Letterpress System. The sides were cut down and the sentiment adhered to the card with foam tape. To finish, I embellished with Spellbinders Silver Color Essentials Gems and added Nuvo Crystal Glaze to the heart. 

SUPPLIES:


Here are the links to what I have used on the project. Affiliate links are used on some products. This means that if you make a purchase after clicking on my link, I receive a small commission with no extra cost to you. I truly appreciate your support when using these links. Please click on the logo below the product to shop at your favourite store. All products were personally purchased except those from Clearly Besotted, Hero Arts or those marked with an asterisk (*) which were kindly sent to me to use. You can read my full disclosure here.


Thank you so much for stopping by today, I really do appreciate it. Wishing you a wonderful week ahead! 

20 September 2024

VIDEO | Make 3D Embossing Shine!

Hello there, today I have a fun technique to share - making 3D embossing shine with one metallic ink pad! I shared a similar technique of using the back of embossing folders with black ink in the past (you can see that HERE) but this time, I thought I would use metallic ink to add lots of shine. 

PLEASE NOTE: This post contains affiliate links. Please see below for my full disclosure.


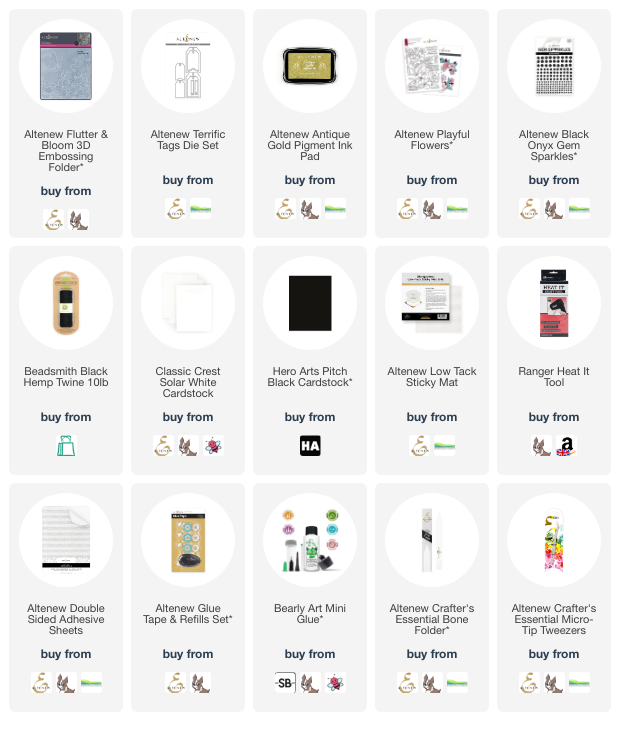
I started off my tags by die cutting two using the Altenew Terrific Tags Die Set - one from white cardstock and one from black cardstock. I placed them inside the Altenew Flutter & Bloom 3D Embossing Folder but made sure to face the front of the tag to the back of the embossing folder, since it is the back we are using today. 

I placed the tags on an Altenew Sticky Mat and then using Altenew Antique Gold Metallic Ink, I swiped it on top of the tag. Anywhere there is raised area (in this case, the outside edges) the ink will go. Since this is a 3D embossing folder, there are different levels of embossing/debossing so some of the ink goes inside the images (butterfly and flowers) but most of it is on the raised areas which is the outside. 

For the tag made from white cardstock, I wanted the outside raised areas to be opaque with the ink so using the corner of the ink pad, I went over these areas multiple times until no white cardstock was showing through. On the tag made with the black cardstock, I wanted some of the cardstock to show through (kind of like an engraved look), so I didn't press too hard. I then dried both with a heat tool (this did take a long time since there are multiple layers of ink!). 

I die cut the 'hello' die from the Altenew Playful Flowers Die Set from both white cardstock and black cardstock. I added Altenew Double-Sided Adhesive Sheet to the back of the cardstock before die cutting them three times. They were layered up one on top of another, so that the words are three die cut layers high.

I cut the tags again from sold cardstock and adhered them to the back of the embossed/debossed tags. This covers the embossing on the back and gives me somewhere to write a personal message. The sentiments were then adhered on top. I added twine through the top of the tags and tied in bows and then to finish, embellished with Altenew Onyx Black Gem Sparkles

VIDEO:

Here is the video showing how I made the tags:

If you are viewing this blog post via email subscription, you can watch the video HERE on YouTube. 

SUPPLIES:


Here are the links to what I have used on the projects. Affiliate links are used on some products. This means that if you make a purchase after clicking on my link, I receive a small commission with no extra cost to you. I truly appreciate your support when using these links. Please click on the logo below the product to shop at your favourite store. All products were personally purchased except those from Clearly Besotted, Hero Arts or those marked with an asterisk (*) which were kindly sent to me to use. You can read my full disclosure here.


I hope you will give the technique a try, it is a fun one and doesn't require many supplies! Thank you so much for stopping by today, I really appreciate it. I hope you have a wonderful day! 

18 September 2024

Spellbinders | Sealed Pretty Christmas 3D

Hello there, I am delighted to be over on the Spellbinders Blog today sharing some pretty packaging using the Sealed Pretty Christmas 3D Collection. I created lots of boxes, envelopes and tags. You can see them all over there but I wanted to share a little peek of one here too ...

PLEASE NOTE: This post contains affiliate links. Please see below for my full disclosure.


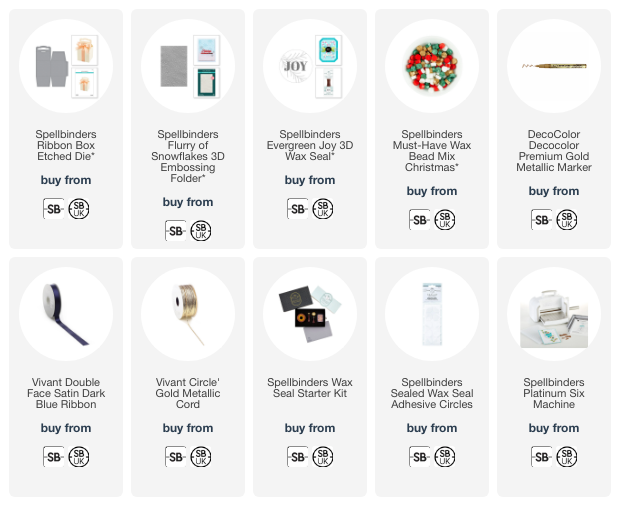
This box was made by die cutting the Spellbinders Ribbon Box Etched Die from white cardstock (you cut it twice as each piece cuts two sides of the box) and then it was run through my Platinum Six inside the Spellbinders Flurry of Snowflakes 3D Embossing Folder. The box was assembled and then tied with ribbon and gold cord. I created a wax seal using the Spellbinders Evergreen Joy 3D Wax Seal and Pearl White Wax. I added  a little Decocolor Gold Pen on top of the joy word to help it pop. 

SUPPLIES:


Here are the links to what I have used on the project. Affiliate links are used on some products. This means that if you make a purchase after clicking on my link, I receive a small commission with no extra cost to you. I truly appreciate your support when using these links. Please click on the logo below the product to shop at your favourite store. All products were personally purchased except those from Clearly Besotted, Hero Arts or those marked with an asterisk (*) which were kindly sent to me to use. You can read my full disclosure here.


For more details on how I made the box, as well as the other projects I created, please head over to the Spellbinders blog post. Thank you so much for stopping by, I hope you have a great day! 

16 September 2024

Spellbinders | Luna the Seahorse

Hello there, today I have a card to share using the cutest seahorse there ever was - Luna the Seahorse! Isn't she adorable? She is from the Spellbinders Out & About Collection. I paired her with the fab Tunnel Scapes Collection, which as you can see, work perfectly with her! 

PLEASE NOTE: This post contains affiliate links. Please see below for my full disclosure.


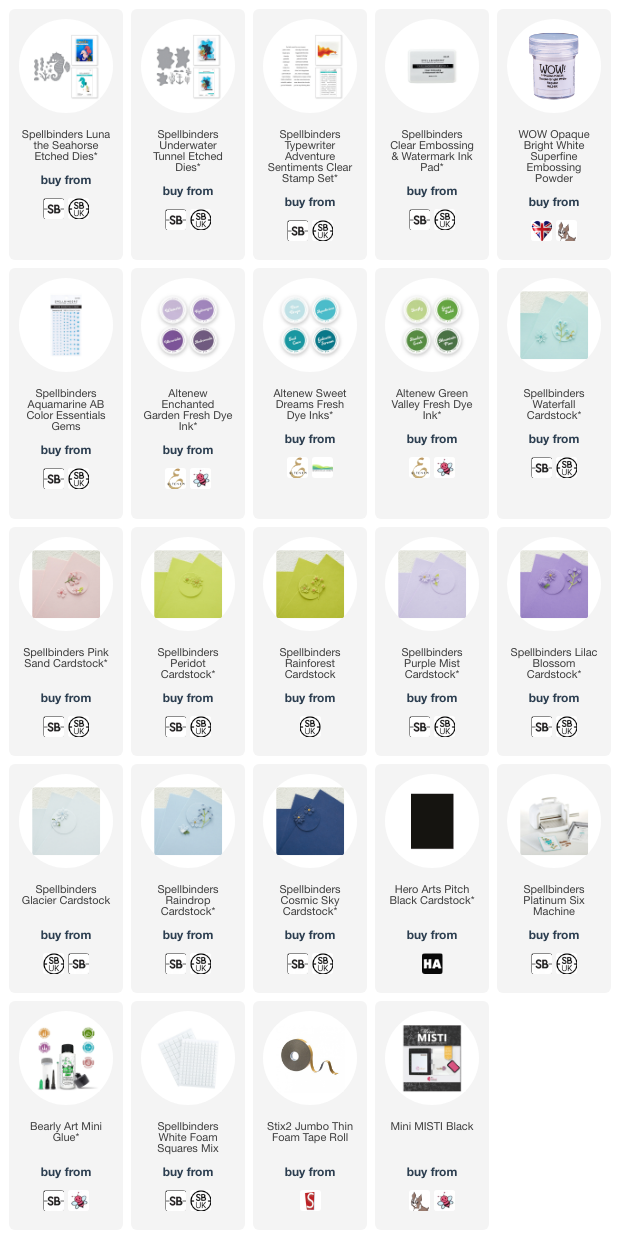
I started off my card by creating the background. I took the Spellbinders Underwater Tunnel Etched Dies and cut the front layer from white cardstock, the second layer from Spellbinders Glacier Cardstock, the third layer from Spellbinders Raindrop Cardstock and the fourth layer is Spellbinders Cosmic Sky Cardstock adhered to the back. 

The blue layers were adhered flat to a US A2 sized white card base and the white layer adhered using thin foam tape. I then die cut the seaweed from the Spellbinders Underwater Tunnel Etched Dies, as well as the Spellbinders Luna the Seahorse Etched Dies from Spellbinders Peridot, Rainforest, Purple Mist and Lilac Blossom Cardstock. The starfish were cut from the same purple cardstocks. 

I die cut Luna the Seahorse from Spellbinders Waterfall Cardstock. I cut her eye from black cardstock and her cheek blush from Spellbinders Pink Sand Cardstock. I added ink blending to her using Altenew Enchanted Garden and Sweet Dreams Fresh Dye Inks. I also added some ink blending to the seaweed using the same purples, as well as Altenew Green Valley Fresh Dye Inks

I adhered the seaweed to the card first, popping the bottom of them behind the white layer. Luna was then adhered using foam squares. I stamped a sentiment from the Spellbinders Typewriter Adventure Sentiments Stamp Set using Spellbinders Clear Embossing & Watermark Ink. I applied white embossing powder and heat set. It was cut into a strip and adhered to the card with foam tape. To finish, I embellished with Spellbinders Aquamarine Color Essentials Gems

SUPPLIES:


Here are the links to what I have used on the project. Affiliate links are used on some products. This means that if you make a purchase after clicking on my link, I receive a small commission with no extra cost to you. I truly appreciate your support when using these links. Please click on the logo below the product to shop at your favourite store. All products were personally purchased except those from Clearly Besotted, Hero Arts or those marked with an asterisk (*) which were kindly sent to me to use. You can read my full disclosure here.


Thank you so much for stopping by today, I really do appreciate it. I hope you have a wonderful day and a great week ahead!

15 September 2024

Simon Says Stamp + Hero Arts STAMPtember 2024 Collaboration

Hello there, today I have two tags to share with you that I made using the Simon Says Stamp + Hero Arts STAMPtember 2024 collaboration set called Celebrate. There are lots of ways you can purchase this set - the stamp set on it's own, the stamp set plus both sets of dies, the stamp set + floral dies and the stamp set + sentiment dies. 

PLEASE NOTE: This post contains affiliate links. Please see below for my full disclosure.


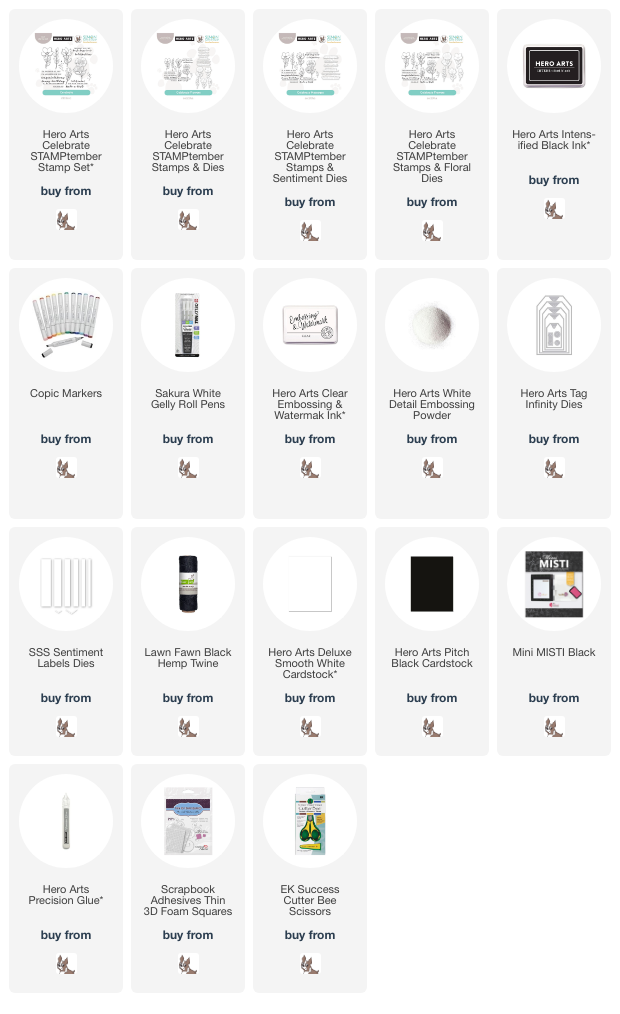
I started off my tags by stamping two of the floral images from the Simon Says Stamp + Hero Arts STAMPtember Celebrate Stamp Set onto Hero Arts Deluxe Smooth White Cardstock using Hero Arts Intens-ified Black Ink. I then coloured them using Copic Markers (the colours that I used are listed below the supplies section for reference).


I then fussy cut them out using scissors (but as I say, there are coordinating dies if you wanted to purchase them). I stamped the sentiments (made from longer sentiments in the set) onto Hero Arts Pitch Black Cardstock using Hero Arts Clear Embossing & Watermark Ink. I applied Hero Arts White Detail Embossing Powder and heat set. They were then cut into strips using Simon Says Stamp Sentiment Labels Dies


I die cut two Hero Arts Nesting Tag Infinity Dies from white cardstock and cut the eyelet/hole reinforcer from Hero Arts Pitch Black Cardstock. It was adhered on top using Hero Arts Precision Glue. On one of the tags, I stamped the splatter images in the set using black ink. The flower images and sentiments were then adhered on top using thin foam squares. To finish, I added twine through the top of the tags and tied in a bow. 

SUPPLIES:


Here are the links to what I have used on the projects. Affiliate links are used on some products. This means that if you make a purchase after clicking on my link, I receive a small commission with no extra cost to you. I truly appreciate your support when using these links. Please click on the logo below the product to shop at your favourite store. All products were personally purchased except those from Clearly Besotted, Hero Arts or those marked with an asterisk (*) which were kindly sent to me to use. You can read my full disclosure here.


COPIC MARKERS: Purple - V09, V17, V15, V01. Black - 110, C8, C6, C5. Pink - RV69, RV66, RV55, RV55. Green - G29, YG17, YG23, YG01. 

There are lots of other pretty flowers in the set, as well as more wonderful sentiments. This set is exclusive to Simon Says Stamp and once it is sold out, it is not coming back, so if you like it, grab it while you can! Thank you so much for stopping by today, I hope you have a wonderful Sunday! Take care! 

14 September 2024

Spellbinders | Merry & Bright

Hello there, I was over on the Spellbinders Blog yesterday, sharing three projects using the Essential Holiday Collection by Lisa Horton. As the name suggests, this collections is filled with essentials/basics like backgrounds, tags, frame dies etc. and a lot can be used all year round. 

PLEASE NOTE: This post contains affiliate links. Please see below for my full disclosure.


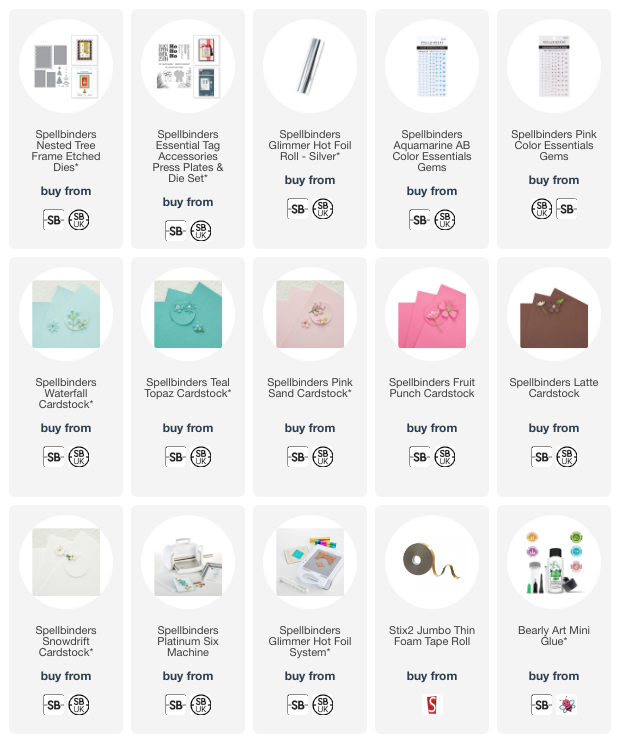
The little peek above shows one of the cards I made using the collection. I cut the tree dies from the Spellbinders Nested Tree Frame Etched Dies (love it!) and cut it from pink and aqua cardstock before adding the snow layers on top (there are also baubles/ornaments and a star too!). The sentiment is from the Spellbinders Essential Tag Accessories Press Plates & Die Set, which I hot foiled. 

SUPPLIES:


Here are the links to what I have used on the project. Affiliate links are used on some products. This means that if you make a purchase after clicking on my link, I receive a small commission with no extra cost to you. I truly appreciate your support when using these links. Please click on the logo below the product to shop at your favourite store. All products were personally purchased except those from Clearly Besotted, Hero Arts or those marked with an asterisk (*) which were kindly sent to me to use. You can read my full disclosure here.


For more information on how I made the card, as well as the other projects I made using the collection, please head over to the Spellbinders blog post

Thank you so much for stopping by today, I really do appreciate you! I hope you have a wonderful weekend! 
End of code