15 May 2023

VIDEO | Wisteria HeroScape Window

Hello there, today I have a card to share that I created for the Hero Arts YouTube channel and blog back in February. I created an acetate window card using the beautiful Wisteria HeroScape Bundle. 

PLEASE NOTE: This post contains affiliate links. Please see below for my full disclosure.


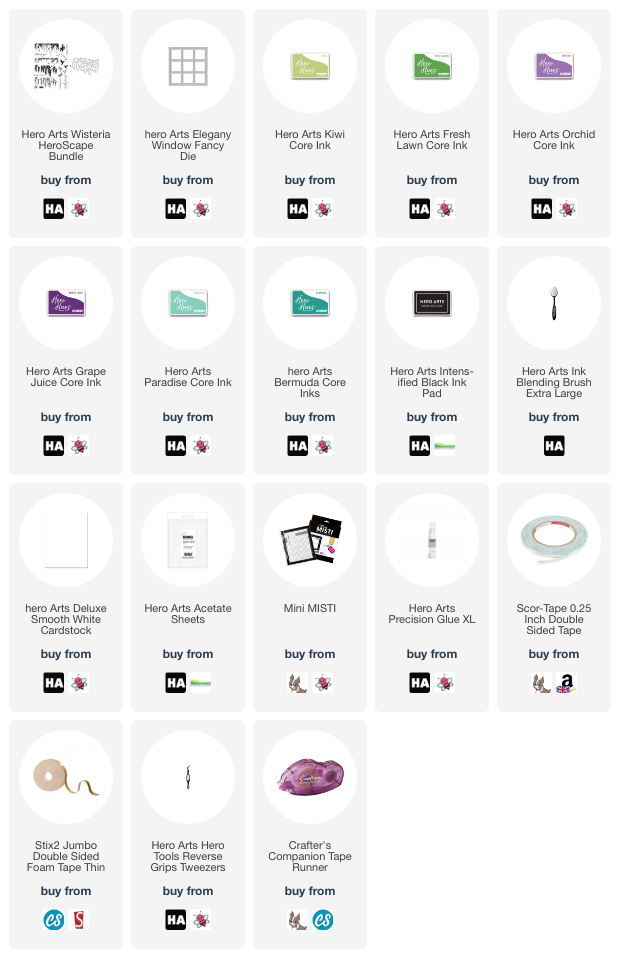
I started off the card by stamping the wisteria from the Hero Arts Wisteria HeroScape Bundle. I stamped the base layer of the leaves first using Hero Arts Kiwi Core Ink, followed by the second layer of leaves using Hero Arts Fresh Lawn Core Ink. For the petals I used Hero Arts Orchid and Grape Juice Core Inks. The piece was die cut out using the coordinating frame cut. 


On to more white cardstock, I stamped the two hummingbirds from the set. I stamped the base layer in Hero Arts Paradise Core Ink and the detail top layer using Hero Arts Bermuda Core Ink. I then stamped the sentiment using Hero Arts Intens-ified Black Ink and die cut them all out using the coordinating dies. 


I took a US A2 sized white card base and die cut the Hero Arts Elegant Window Fancy Die from the front. On the back (inside of the card), I added double-sided tape before adhering a panel of acetate. I then cut another panel using the same window and placed that on top to hide the adhesive. 


The wisteria was adhered to the top of the card with thin foam tape, as well as the hummingbirds. The sentiment was adhered with Hero Arts Precision Glue XL. I then die cut another of the two hummingbirds to add the die cuts to the inside of the card to hide the adhesive. To finish off, I blended Hero Arts Paradise Core Ink to panel of white cardstock and added this to the inside of the card. 

VIDEO:

Here is the video showing how I made the card:


If you are viewing this post via email subscription, you can watch the video HERE on YouTube. 

SUPPLIES:


Here are the links to what I have used on the project and in the video. Affiliate links are used on some products. This means that if you make a purchase after clicking on my link, I receive a small commission with no extra cost to you. I truly appreciate your support when using these links. Please click on the logo below the product to shop at your favourite store. All products were personally purchased except those from Clearly Besotted, Hero Arts or those marked with an asterisk (*) which were kindly sent to me to use. You can read my full disclosure here.

Although the card took quite a few steps, I do like the finished result. The wisteria is beautiful and I really like those hummingbirds too! Thank you so much for stopping by, I really do appreciate it. I hope you have a great day and a wonderful week ahead! 

11 May 2023

VIDEO | Unforgettable Birthday

Hello there, I am over on the My Favorite Things YouTube channel today, sharing a card using the Unforgettable Birthday set. This is such a sweet set, I love those elephants! 

PLEASE NOTE: This post contains affiliate links. Please see below for my full disclosure.


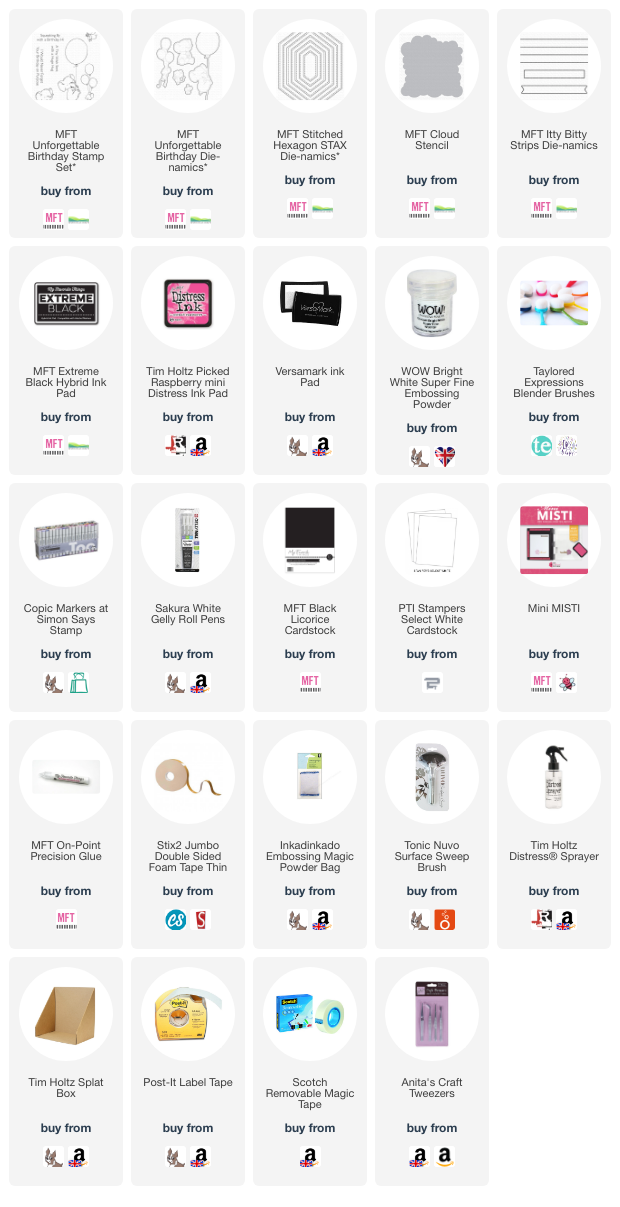
I started off my card by stamping the elephant holding the balloon from the MFT Unforgettable Birthday Stamp Set on to white cardstock using MFT Extreme Black Ink. I then coloured it using Copic Markers (the colours that I used are listed below the supplies area) before die cutting out using the MFT Unforgettable Birthday Die-namics Set


I die cut a panel of white cardstock using one of the MFT Stitched Hexagon STAX Die-namics. I placed the MFT Cloud Stencil over the top, securing with Post-It Tape. Using a blending brush and Tim Holtz Picked Raspberry Distress Ink, I blended ink on to the panel to create clouds. I moved the stencil down as I went to cover the shape. 


It was adhered to a US A2 sized white card base with thin foam tape and then the elephant adhered on top. I stamped a sentiment from the set on to MFT Black Licorice Cardstock using Versamark Ink. I applied white embossing powder and heat set. It was cut into a strips using MFT Itty Bitty Strips Die-namics and then adhered to the card. To finish off, I added a couple of white gel pen highlights. 

VIDEO:

Here is the video showing how I made the card:


If you are viewing this post via email subscription, you can watch the video HERE on YouTube. 

SUPPLIES:


Here are the links to what I have used on the project and in the video. Affiliate links are used on some products. This means that if you make a purchase after clicking on my link, I receive a small commission with no extra cost to you. I truly appreciate your support when using these links. Please click on the logo below the product to shop at your favourite store. All products were personally purchased except those from Clearly Besotted, Hero Arts or those marked with an asterisk (*) which were kindly sent to me to use. You can read my full disclosure here.


COPIC MARKERS: Elephant - W7, W5, W3, W1, W0, RV55, RV52. Balloon - RV69, RV19, RV66, RV55, RV52. 

Thank you so much for stopping by today, I really do appreciate it. I hope you have a wonderful day! 

10 May 2023

Spellbinders | Country Road

Hello there and happy Wednesday to you! Today I have a card to share with you using the new Country Road Collection from Spellbinders and Annie Williams. As the name suggests, there is a country garden feel to this collection and I am using two new sets on my card today. 

PLEASE NOTE: This post contains affiliate links. Please see below for my full disclosure.


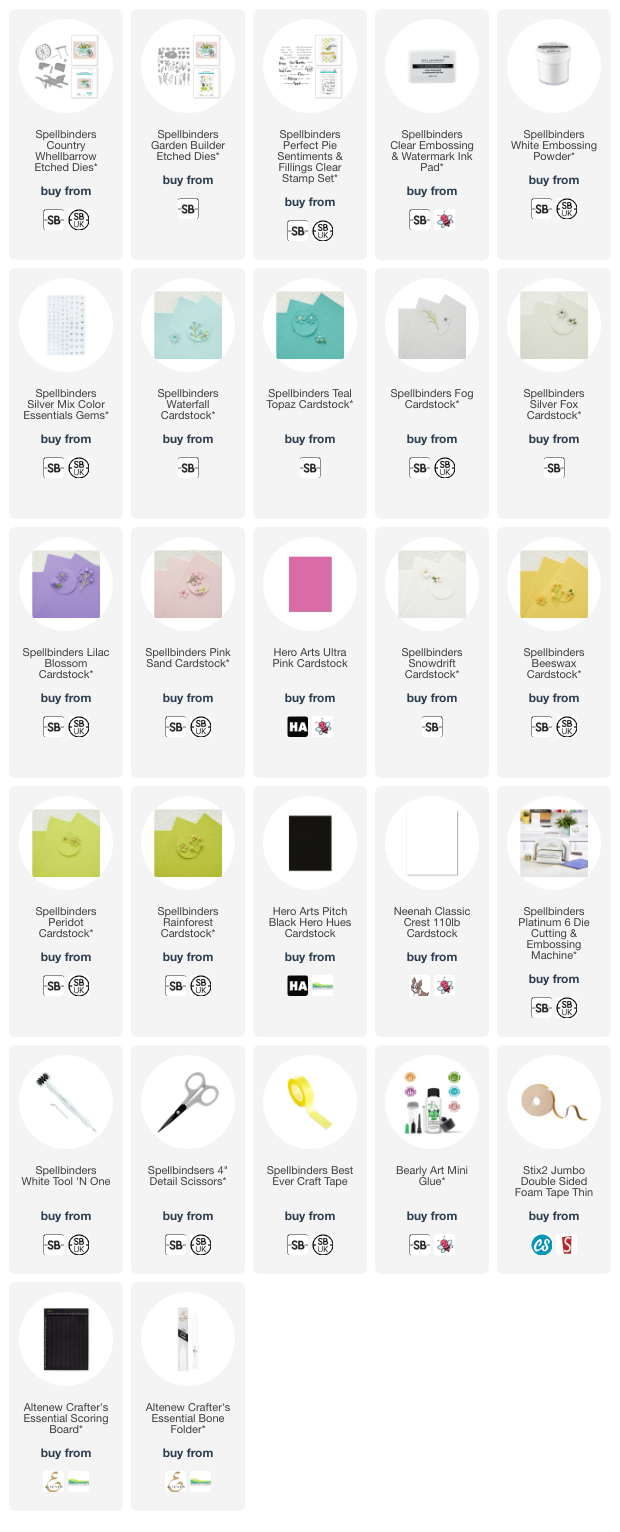
I started off by die cutting the Spellbinders Country Wheelbarrow Etched Dies using Spellbinders cardstock. I cut the main wheelbarrow from Waterfall and the trim from Teal Topaz. The wheel was cut from Silver Fox and Fog. The wheelbarrow was assembled and adhered using Bearly Art Glue


I took a white US A2 sized white card base and added horizontal score lines to it (this helps to ground the image) and then adhered the wheelbarrow on top using thin foam tape. I die cut the leaves and flowers from the Spellbinders Garden Builder Etched Dies from more cardstock. I cut the foliage from Peridot and Rainforest cardstock, the tulips from Lilac Blossom, the daises from Snowdrift and Beeswax cardstock and the pink flowers from Pink Sand and Hero Arts Ultra Pink


I placed the foliage and flowers inside to the wheelbarrow, adhering them down as I went with Bearly Art Glue. I did add some of the flower heads using thin foam tape. I die cut the cat from black cardstock and adhered him/her on to the card with thin foam tape. 


I stamped the sentiment from Spellbinders Perfect Pie Sentiments & Fillings Stamp Set on to black cardstock using Spellbinders Clear Embossing & Watermark Ink. I applied Spellbinders White Embossing Powder, heat set and cut into a strip. It was adhered to the card with foam tape and then the card embellished with Spellbinders Silver Mix Color Essentials Gems

SUPPLIES:


Here are the links to what I have used on the project. Affiliate links are used on some products. This means that if you make a purchase after clicking on my link, I receive a small commission with no extra cost to you. I truly appreciate your support when using these links. Please click on the logo below the product to shop at your favourite store. All products were personally purchased except those from Clearly Besotted, Hero Arts or those marked with an asterisk (*) which were kindly sent to me to use. You can read my full disclosure here.


I do have the wheelbarrow handle hanging off the side of the card base, I just liked it that way, so I'll have to make a custom sized envelope for this card! I hope you will check out the release and all of the other collections releasing from Spellbinders today too (I will share more on those later in the month). Thank you so much for stopping by, I hope you have a great day!  

9 May 2023

VIDEO | Layered Lily with Tag Aperture

Hello there, today I have a card and video to share with you that I created for Altenew as part of my Terrific Tags with Michelle series. It uses the gorgeous CAF Peruvian Lily set, which is one of my favourites and I thought I would create an aperture for it, so that it can look like it is bursting out of the card!

PLEASE NOTE: This post contains affiliate links. Please see below for my full disclosure.


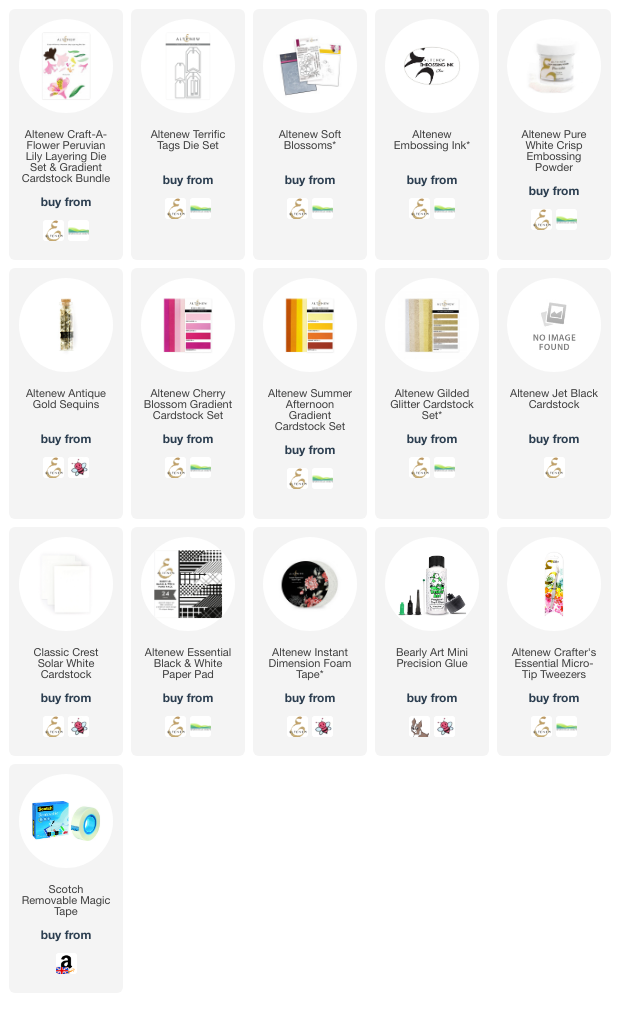
I started off by die cutting the Altenew Craft-A-Flower: Peruvian Lily Layering Die Set from cardstock. I used Altenew Jet Black for the bottom layer and the leaves, and Altenew Gradient Cardstock Sets for the other flower layers. I used Pink Diamond, Pinkalicious and Razzleberry from the Altenew Cherry Blossom Gradient Cardstock Set, Warm Sunshine from the Altenew Summer Afternoon Gradient Cardstock Set and I cut the stamens from Brushed Gold from the Altenew Gilded Glitter Cardstock Set.


The pieces were assembled and adhered using liquid glue. I took a 4.25" x 5.5" panel of white cardstock and cut an Altenew Terrific Tag Die from it. This will create my aperture. I took a US A2 sized white card base and adhered a panel of Altenew Essential Black & White Paper on top. I then adhered the aperture panel on top, using Altenew Instant Dimension Foam Tape


The flower was adhered in place when I added the panel (check the video to see how I did it!) and then I adhered the leaves with more liquid glue. I stamped the sentiment from Altenew Soft Blossoms Stamp Set on to black cardstock using Altenew Embossing Ink


I applied Altenew Pure White Crisp Embossing Powder and heat set. It was cut into a strip and adhered to the card with more foam tape. To finish off, I added a few Altenew Antique Gold Sequins

VIDEO:

Here is the video showing how I made the card:


If you are viewing this post via email subscription, you can watch the video HERE on YouTube. 

SUPPLIES:


Here are the links to what I have used on the project. Affiliate links are used on some products. This means that if you make a purchase after clicking on my link, I receive a small commission with no extra cost to you. I truly appreciate your support when using these links. Please click on the logo below the product to shop at your favourite store. All products were personally purchased except those from Clearly Besotted, Hero Arts or those marked with an asterisk (*) which were kindly sent to me to use. You can read my full disclosure here.


Thank you so much for stopping by today, I really do appreciate it. I hope you have a wonderful day! 

6 May 2023

Spellbinders | Balloons & Birthday Wishes

Hello there, today I have a card to share with you using the Spellbinders May 2023 Large Die of the Month Club Kit. It is called "Balloons & Birthday Wishes" and features balloons, flowers, a wonderful banner that you can use in different ways and lots of different sentiments to add to the banners. 

PLEASE NOTE: This post contains affiliate links. Please see below for my full disclosure.


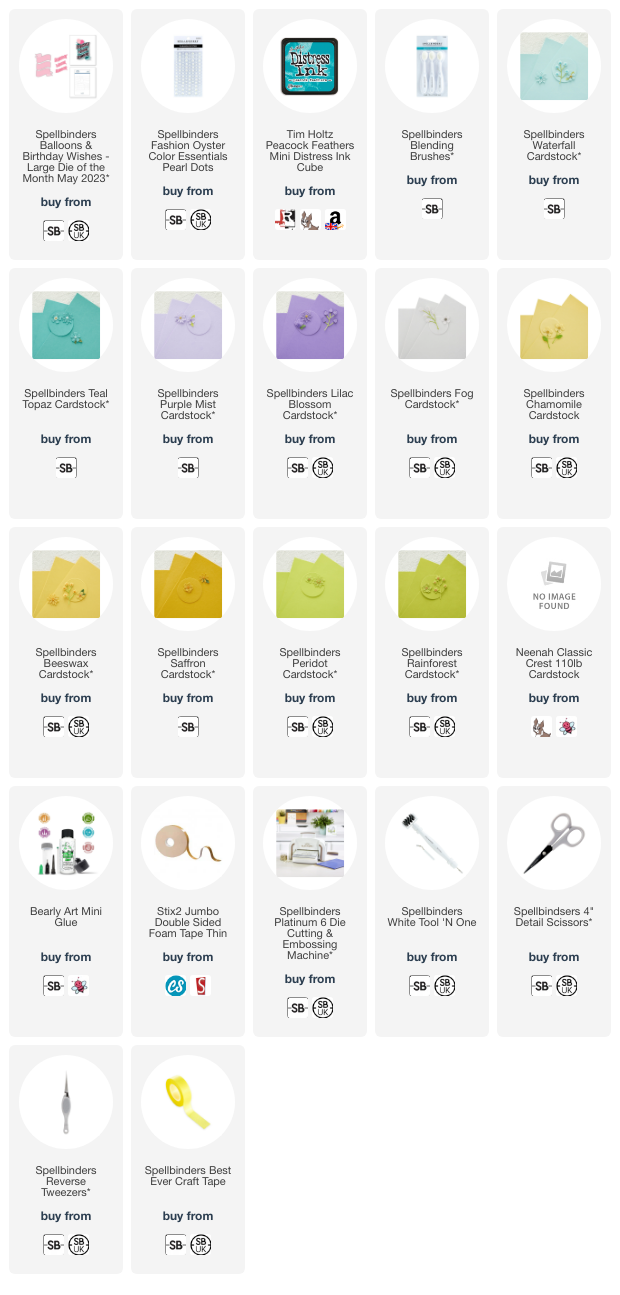
I started off by die cutting the banner pieces from the Spellbinders May 2023 Large Die of the Month Club Kit using Spellbinders Waterfall and Teal Topaz Cardstock. I added a little ink blending on them using Tim Holtz Peacock Feathers Distress Ink for some added dimension. I cut the words from white cardstock twice and layered them up. 


The banner was assembled and adhered using Bearly Art Glue and adhered to a US A2 sized white card base using thin foam tape. I then die cut lots of flowers from Spellbinders Chamomile, Beeswax and Saffron Cardstock. The leaves were cut from Spellbinders Peridot and Rainforest Cardstock. I also die cut the balloons from Spellbinders Purple Mist and Lilac Blossom Cardstock and the strings from Spellbinders Fog Cardstock


The balloons were adhered to the card first, popping them around the banner. I then adhered the flowers on top, some flat with Bearly Art Glue and some with thin foam tape. To finish off, I added Spellbinders Fashion Oyster Pearls

SUPPLIES:


Here are the links to what I have used on the project. Affiliate links are used on some products. This means that if you make a purchase after clicking on my link, I receive a small commission with no extra cost to you. I truly appreciate your support when using these links. Please click on the logo below the product to shop at your favourite store. All products were personally purchased except those from Clearly Besotted, Hero Arts or those marked with an asterisk (*) which were kindly sent to me to use. You can read my full disclosure here.


SPELLBINDERS CLUB KITS

I hope that you will check out the Spellbinders Club Kits. It is a wonderful monthly subscription where you receive the kit each month. Designers like myself share inspiration using the kit at the beginning of the month to show you lots of different ways that you can use it. 

There are also lots of other club kits too, like the Small Die of the Month, Clear Stamp & Die of the Month, Embossing Folder of the Month (plus lots more!), so there is something for everyone! If you do subscribe, you will get other benefits from Spellbinders too. Please see here for more information. You can also buy older kits here too. 

To buy the kit - if you are a current subscriber to the Large Die of the Month Club Kit (or any kit), you do not need to do anything. You will be charged as normal on the 5th of the month and your kit will be shipped to you. If you are a new subscriber, you can purchase the kit from the 6th - 27th of May 2023. Members can cancel their membership at any time.

Thank you so much for stopping by today, I really do appreciate it. I hope you have a wonderful day and a great weekend!

1 May 2023

Hero Arts | My Monthly Hero May 2023 Release Blog Hop + Giveaway

Hello there and welcome as we celebrate the release of the Hero Arts May 2023 My Monthly Hero Kit and add-on products. This month is all about nostalgia and childhood. 

PLEASE NOTE: This post contains affiliate links. Please see below for my full disclosure.


My first card today uses the Hero Arts May 2023 My Monthly Hero Classic Kit. I started off by stamping the bike from the main kit stamp set on to Hero Arts Deluxe Smooth White Cardstock using Hero Arts Intensified Black Ink. This image has two pieces, so that you can stamp them in different colours (the frame is one stamp and the wheels another) but I decided to go all black today! 


I also stamped the letter and envelope and small heart with the same black ink. They were all die cut out using the coordinating dies in the kit. I took the sentiment from the set and stamped it on to Hero Arts Pitch Black Cardstock using Hero Arts Clear Embossing & Watermark Ink. I applied Hero Arts White Embossing Powder and heat set. 


It was cut into a strip and set aside while I worked on the background. I took the flower stencil in the kit and ran it through my die cutting machine to emboss it on to a panel of white cardstock. It was adhered to a US A2 sized white card base with thin foam tape. I then added the envelopes on top, followed by the bike and heart, that are three die cuts high, using Hero Arts Precision Glue. The sentiment was adhered using thin foam tape. 


For my countdown card, I used the Hero Arts May 2023 My Monthly Hero Premium Kit. This includes the fun tri-fold die that I used on my card (although only used one layer!). You can find more details on the card HERE


My last card today uses the Hero Arts You're Dynamite Stamp & Die Bundle. These skates are so fun and remind me of playing around on them when I was a child! I stamped the roller skates and bows on to white cardstock using Hero Arts Intens-ified Black Ink


The skates were then coloured using Copic Markers and die cut out using the coordinating dies. I also stamped the sentiment from the set and cut that with the coordinating die too. I took a US A2 sized white card base and added a strip of black and white paper to the left hand side. 


I then adhered a white panel on top with thin foam tape. The skates, bows and sentiment were adhered with thin foam tape also. To finish off, I added Hero Arts Neutrals Enamel Dots

SUPPLIES:


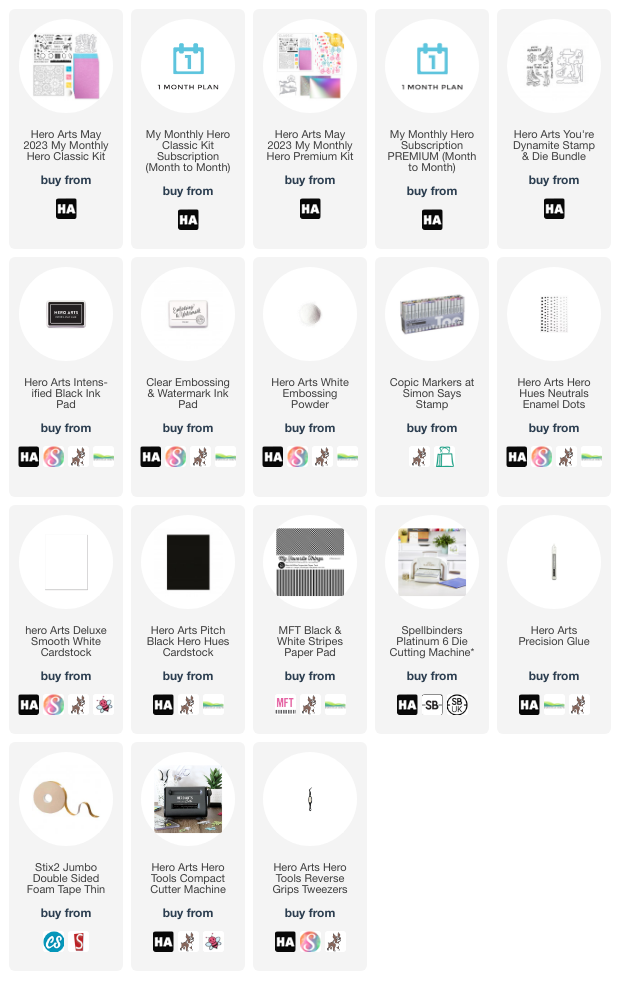
Here are the links to what I have used on the projects. Affiliate links are used on some products. This means that if you make a purchase after clicking on my link, I receive a small commission with no extra cost to you. I truly appreciate your support when using these links. Please click on the logo below the product to shop at your favourite store. All products were personally purchased except those from Clearly Besotted, Hero Arts or those marked with an asterisk (*) which were kindly sent to me to use. You can read my full disclosure here.


MY MONTHLY HERO KIT:


6" x 8" Clear Stamp Set
20 Coordinating Dies
6" x 6" Flower Stencil
3 Sheets of each Glitter Paper in Rose Gold & Aqua
3 Pigment Ink Cubes (Teal, Pink & Yellow)
Clear Embossing Powder

The kit is valued at $71 but you can get it for $36.99 ($34.99 if you are a monthly subscriber, $32.99 if you subscribe for 6 months). 


6" x 8" Clear Stamp Set
20 Coordinating Dies
6" x 6" Flower Stencil
3 Sheets of each Glitter Paper in Rose Gold & Aqua
3 Pigment Ink Cubes (Teal, Pink & Yellow)
Clear Embossing Powder
Tri-Fold Fancy Dies
4 Sheets of Bicycle Hero Transfers
2 Sheets of Holographic Paper

The kit is valued at $101 but you can get it for $49.99 ($47.99 if you are monthly subscriber, $45.99 if you subscribe for 6 months). 

ADD-ONS:

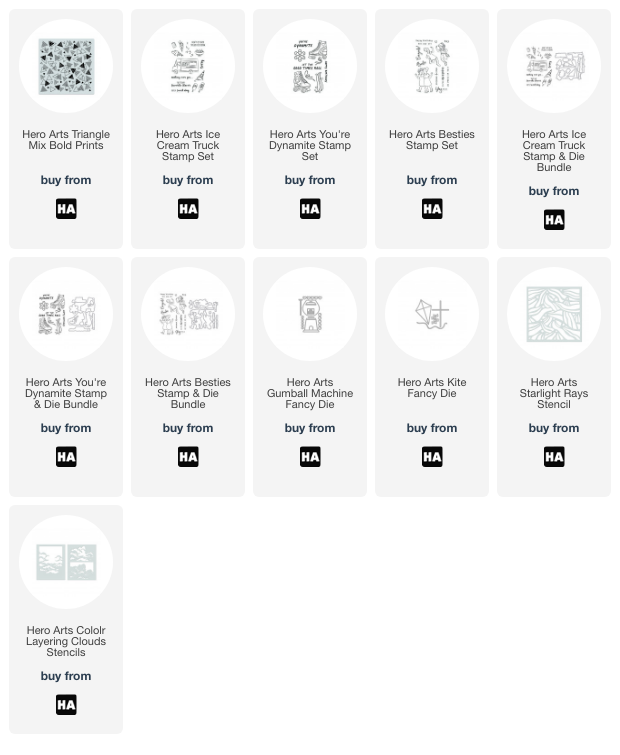
There are lots of add-on products released each month. These work alongside the kit, or work on their own too. These can be purchased from Hero Arts when you order a kit, on their own or from your favourite Hero Arts retailer (these are not exclusive (unlike the kit) and are restocked if sold out). Here is a look at them:

BLOG HOP:

This post is part of a fun, inspirational blog hop with prizes. For the hop, you should have arrived here from the fantastic Lydia. Next on the hop is the amazing Mindy. If you get lost along the hop, or want to start it from the beginning, please head over to the Hero Arts Blog

GIVEAWAY:

Hero Arts are giving away a $50 gift card to the Hero Store, drawn from the comments left across all the stops in the hop. Enter by Sunday 7th May 2023 at 11.59pm PT. The winner will be announced on the Hero Arts Blog the following week. 

Thank you so much for stopping by today, I really appreciate it. I hope you have a great rest of the day! 

VIDEO | Clearly Besotted May 2023 Release Preview

Hello there and happy Clearly Besotted release day! There are six new sets releasing today all perfect for lots of different occasions but have a fun fairytale/books/nursery rhymes theme to them. 

PLEASE NOTE: This post contains affiliate links. Please see below for my full disclosure.


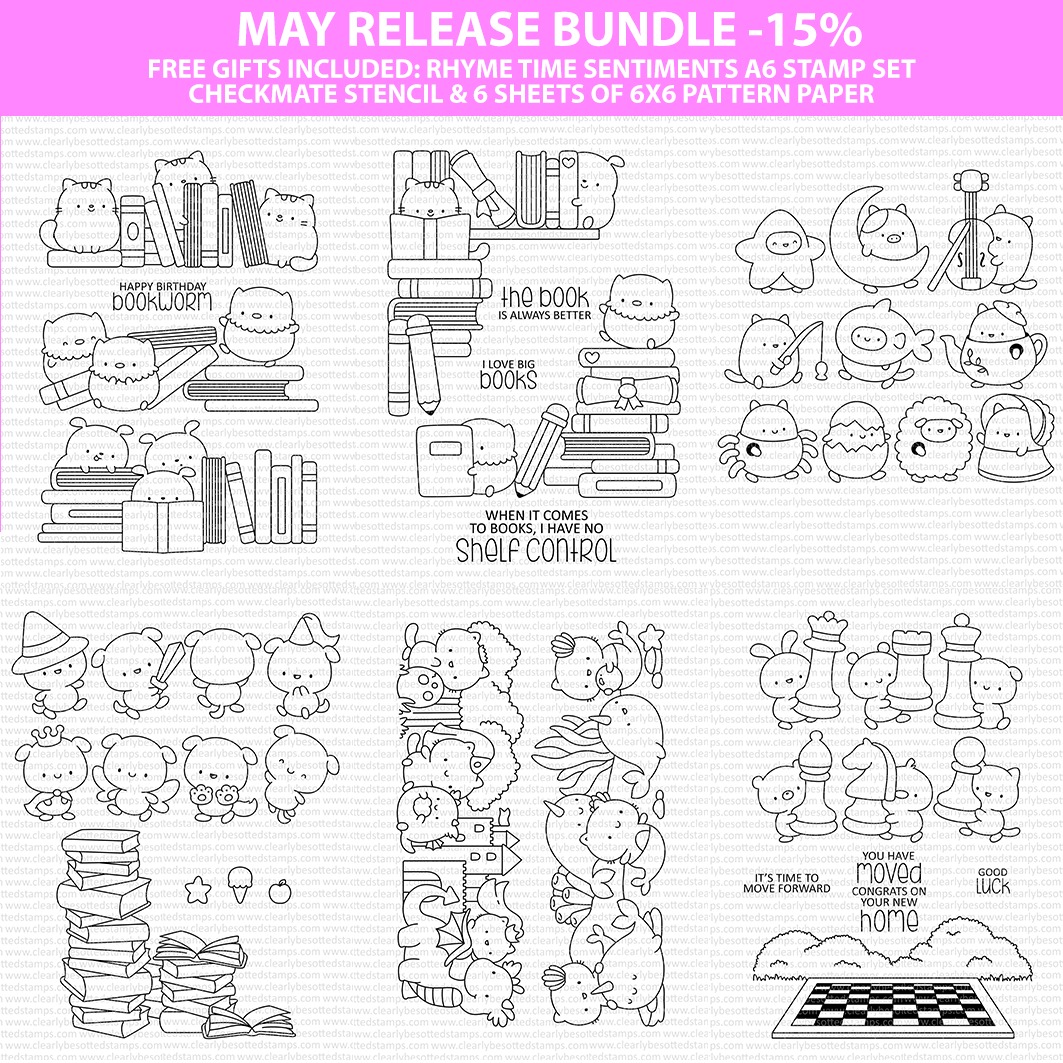
The six new sets release tonight at 8pm BST (UK time). You can purchase them as one big bundle, exclusively from Clearly Besotted. If you buy the bundle, you receive a 15% saving compared to purchasing the sets separately, plus free gifts of a sentiment stamp set, a stencil and 6 sheets of patterned paper.  Here is a look at the bundle:


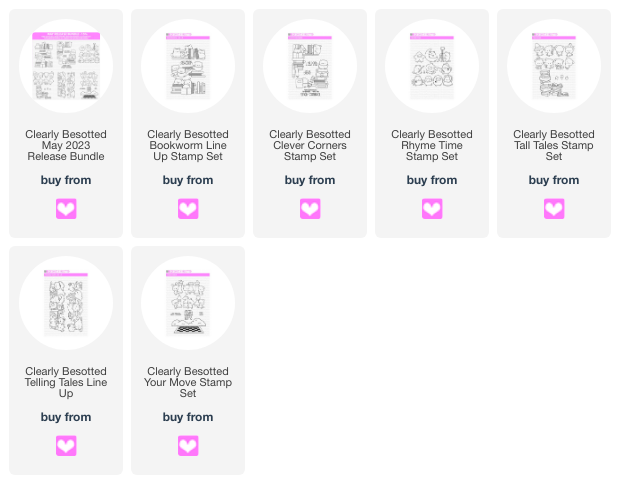
You can also purchase the sets individually from the Clearly Besotted Shop (UK based), Simon Says Stamp (US based), Butterfly Reflections Ink (US based), Artcreatiu (based in Spain), Cloud9 Crafts (Netherlands), Card Nouveau (Belgium) and Kreativbunt (Germany). Here is a look at all of the sets up close and a recap of my projects:


If you are viewing this blog post via email subscription, you can watch the video HERE on YouTube. 

SUPPLIES:


Here are the links to what I have shared in the video. Affiliate links are used on some products. This means that if you make a purchase after clicking on my link, I receive a small commission with no extra cost to you. I truly appreciate your support when using these links. Please click on the logo below the product to shop at your favourite store. All products were personally purchased except those from Clearly Besotted, Hero Arts or those marked with an asterisk (*) which were kindly sent to me to use. You can read my full disclosure here.

For more inspiration using the new sets, please head over to the Clearly Besotted Blog and my amazing teamie Keren. We also have the fabulous KittyFrancine and Alberto joining us too, so please do check out what they have been up to as well. Thank you so much for stopping by today, I really do appreciate it. I will be back later with another post but in the mean-time, I hope you have a great week ahead!

30 April 2023

Clearly Besotted Teasers | The Cow Jumped Over the Moon

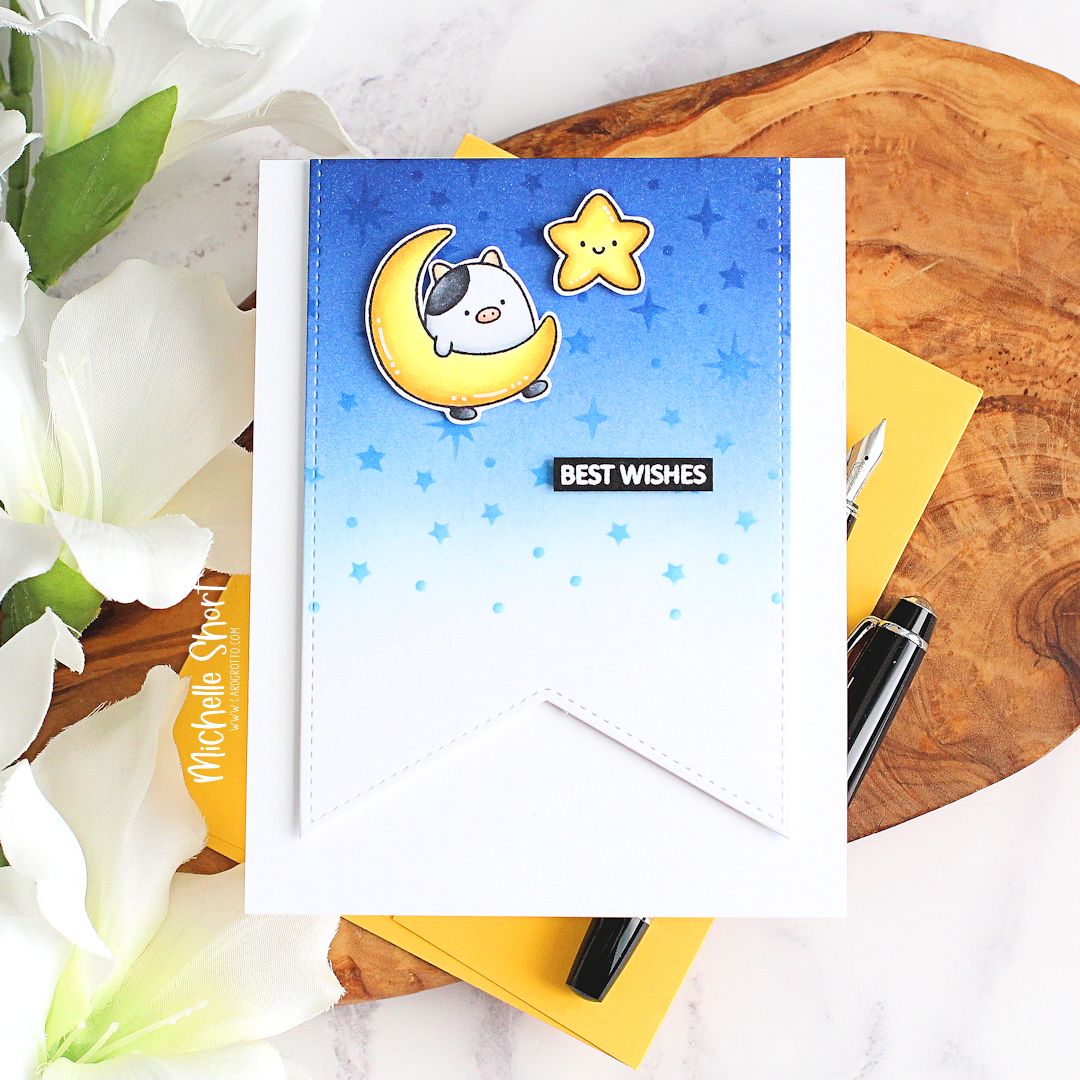
Hello there and welcome to day four of the Clearly Besotted May 2023 Release Teasers. Only one more sleep until release day tomorrow, 1st May 2023. Today I am using the super cute Rhyme Time set. This is so fun because the images represent characters/lines in nursery rhymes. Like the cow jumped over the moon! 

PLEASE NOTE: This post contains affiliate links. Please see below for my full disclosure.


I started off my card by stamping the cow/moon and star images from the Clearly Besotted Rhyme Time Stamp Set on to white cardstock with Memento Tuxedo Black Ink. They were coloured using Copic Markers (the colours that I used are listed below the supplies area for reference) and then fussy cut out with scissors. 


I took a panel of white cardstock and cut it using one of the Sunny Studio Stamps Slimline Pennants Dies. I blended Tim Holtz Distress Inks on top with blending brushes, fading to white at the bottom. I used (top to bottom) Villainous Potion, Prize Ribbon and Mermaid Lagoon. I then placed the Clearly Besotted Sprinkled Stars Stencil on top and using the residual ink on the brushes, blended through the stencil to apply stars to the panel. 


The panel was adhered to a US A2 sized white card base with thin foam tape, the images were then adhered on top. I took the sentiment from the Clearly Besotted Tiny Type Stamp Set and stamped it on to black cardstock with Versamark Ink. I applied white embossing powder and heat set. It was cut into a strip and added to the card. To finish off, I added a few white gel pen highlights to the images. 

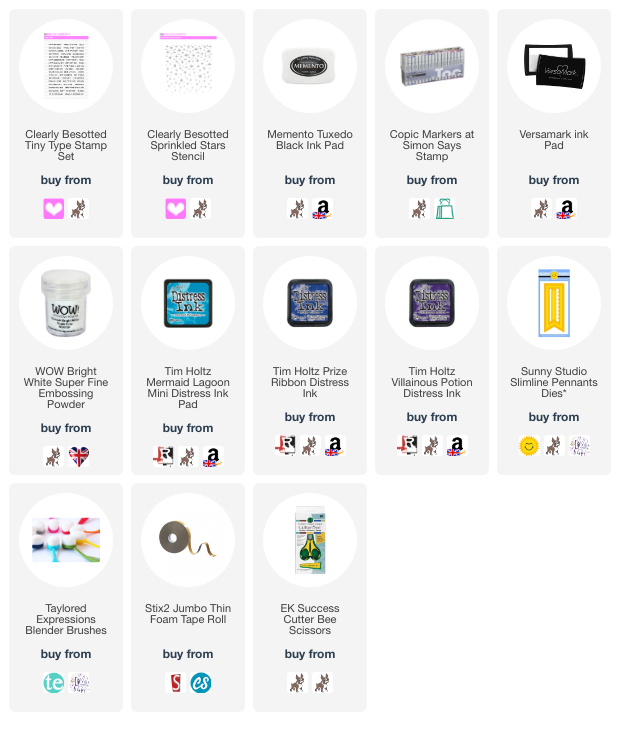
SUPPLIES:


Here are the links to what I have used on the project. Affiliate links are used on some products. This means that if you make a purchase after clicking on my link, I receive a small commission with no extra cost to you. I truly appreciate your support when using these links. Please click on the logo below the product to shop at your favourite store. All products were personally purchased except those from Clearly Besotted, Hero Arts or those marked with an asterisk (*) which were kindly sent to me to use. You can read my full disclosure here.


COPIC MARKERS: Cow - C10, C7, C5, C3, C1/E53, E51/R02, R01. Moon and star - YR24, Y17, Y15, Y08, Y04, Y02. 

That is all from me for this release. I will share a look at the two sets that I haven't used tomorrow in my release video. Until then, please do visit the Clearly Besotted Blog, Keren, Kitty, Francine and Alberto for more inspiration. Thank you so much for stopping by, I hope you have a lovely rest of the weekend! 
29 April 2023

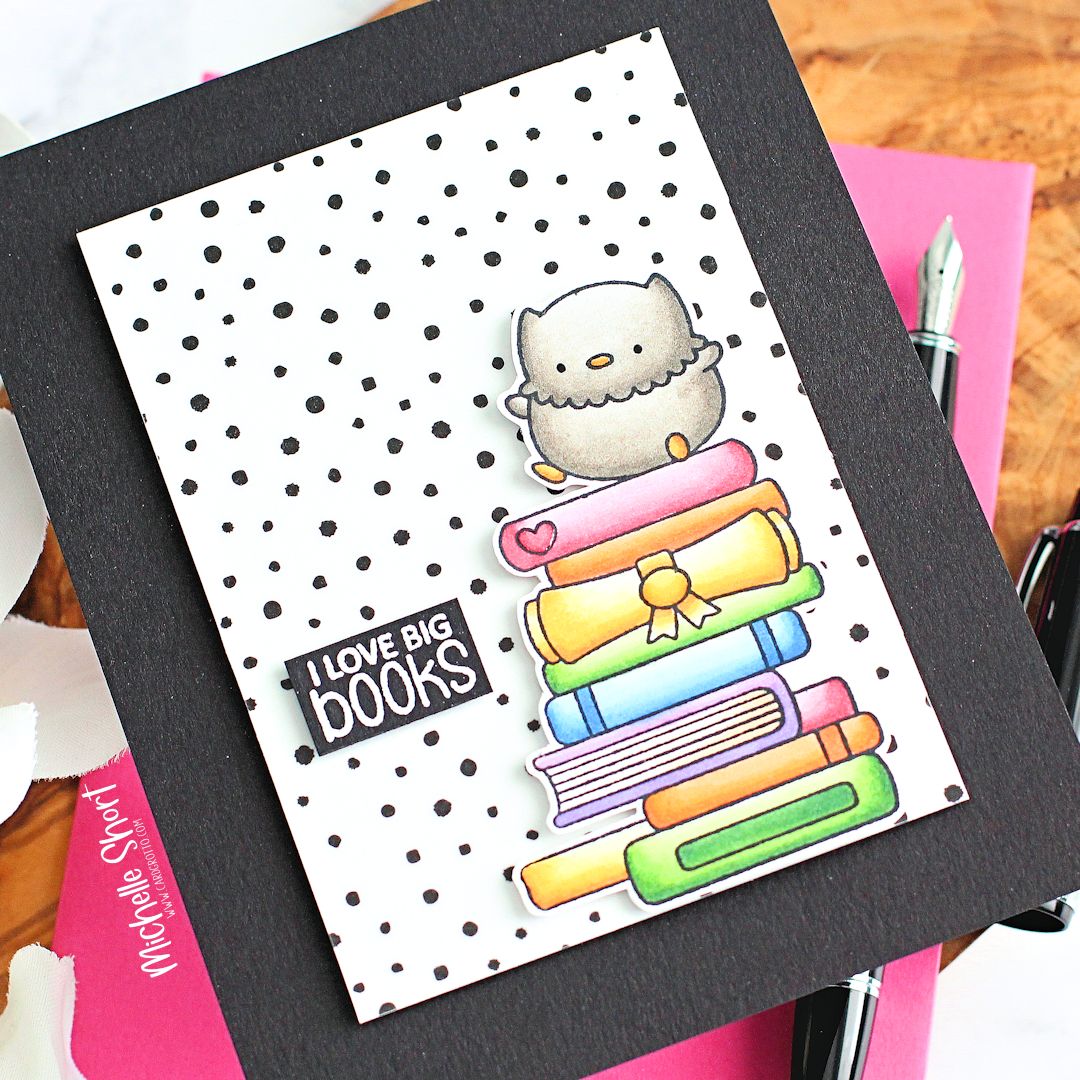
Clearly Besotted Teasers | I Love Big Books

Hello there and welcome to day three of the Clearly Besotted May 2023 Release Teasers. Release day is Monday, 1st May 2023, so not long to wait now! Continuing with the book theme, my card today uses the Clever Corners set. This set has two corner images in it but as you can see, I modified one to make it a non-corner image!

PLEASE NOTE: This post contains affiliate links. Please see below for my full disclosure.


I started off by stamping the image from the Clearly Besotted Clever Corners Stamp Set on to white cardstock using Memento Tuxedo Black Ink. Since the image is larger, before stamping I masked off the images to the left. It only meets the books in two places, so was not difficult to mask with a bit of post-it tape. The image was coloured using Copic Markers (the colours that I used are listed below the supplies area for reference). 


I then fussy cut the image out using scissors. I took a panel of white cardstock and added Altenew Dotted Washi Tape to it, before trimming off the edges. The panel was adhered to a US A2 sized black card base with thin foam tape. I then adhered the image on top with more thin foam tape. 


I stamped the sentiment from the set on to black cardstock using Versamark Ink. I applied white embossing powder and heat set. It was cut into a strip and then adhered to the card. To finish off, I added Nuvo Crystal Glaze to the owl's beak and also to some areas on the books. 

SUPPLIES:


Here are the links to what I have used on the project. Affiliate links are used on some products. This means that if you make a purchase after clicking on my link, I receive a small commission with no extra cost to you. I truly appreciate your support when using these links. Please click on the logo below the product to shop at your favourite store. All products were personally purchased except those from Clearly Besotted, Hero Arts or those marked with an asterisk (*) which were kindly sent to me to use. You can read my full disclosure here.


COPIC MARKERS: Owl/bird/chick - W7, W5, W4, W3, W1, YR24, Y17. Books - R39, R85, R83, R81/YR18, YR16, YR15, YR12/YR27, Y17, Y15, Y13, Y11/G29, YG17, YG23, YG01/B18, B16, B12/V17, V15, V12/E53, E51, E50. 

Although I have made this into a generic card, I think it would be great as a graduation/congratulations on exams type card too! For more inspiration using the new sets, please head over to the Clearly Besotted Blog, Keren, Kitty, Francine and Alberto. Thank you so much for stopping by today, I very much appreciate it. See you tomorrow for day four. Have a great Saturday!

28 April 2023

Hero Arts | May 2023 My Monthly Hero Countdown to Creativity

Hello there and welcome as we countdown to the release of the Hero Arts May 2023 My Monthly Hero Kit. The kits release on Monday, 1st May 2023. We are sharing inspiration all weekend long, so do head over to the Hero Arts Blog for more inspiration. 

PLEASE NOTE: This post contains affiliate links. Please see below for my full disclosure.


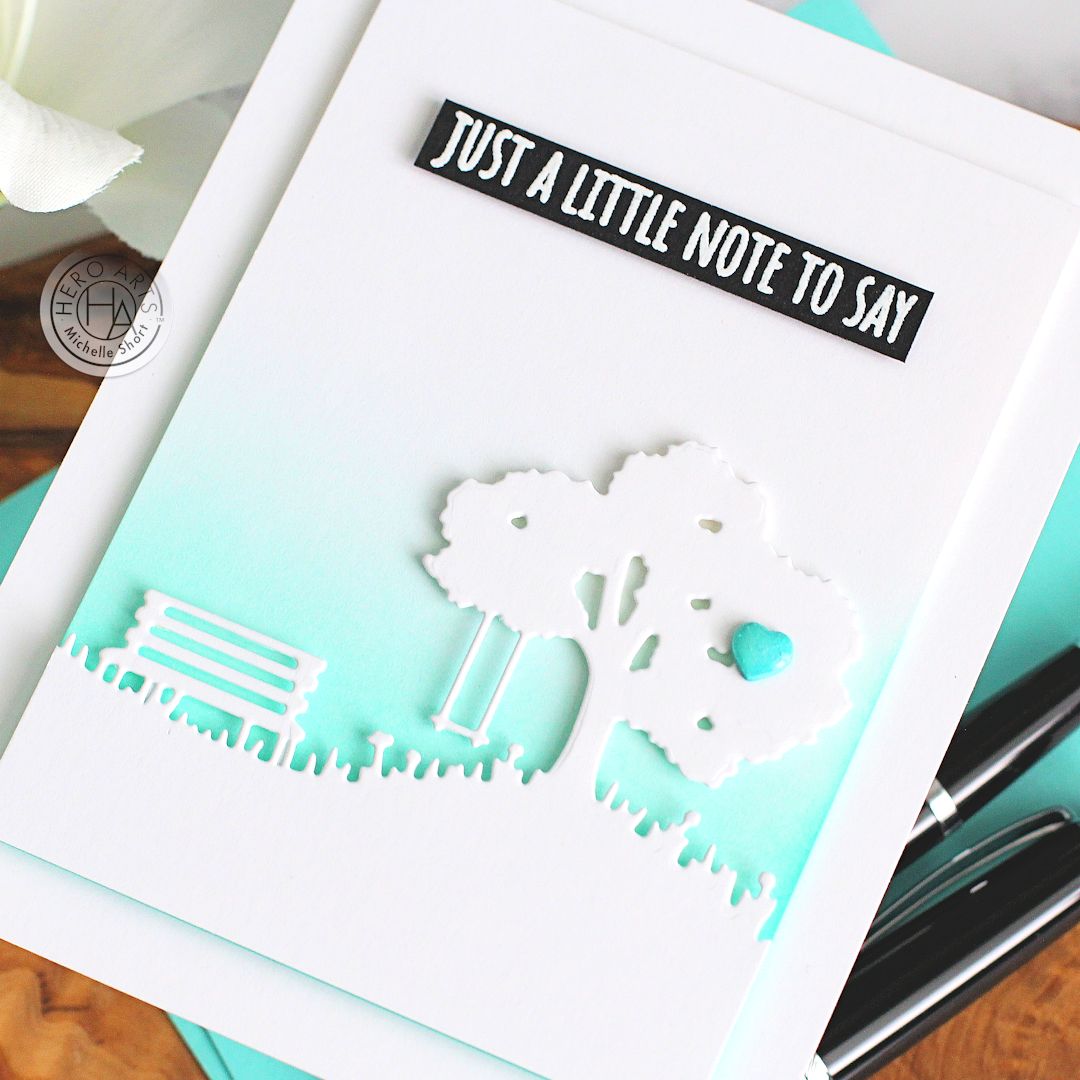
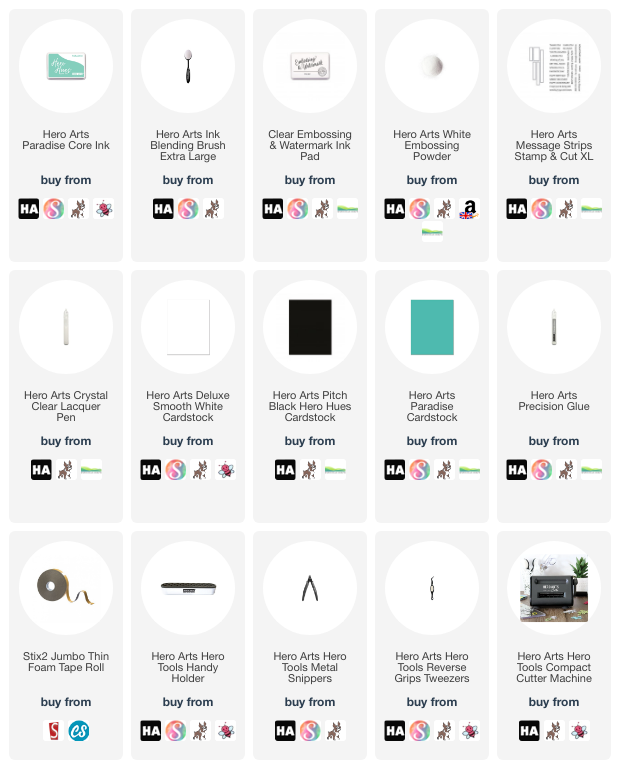
My card today uses elements from the Premium Kit. I started off by die cutting one of the Tri-Fold Fancy Dies from the kit from Hero Arts Deluxe White Cardstock. These dies are meant to create a tri-fold design, but I decided to cut just one for my card today. 


I then took a 3.5" x 4.75" panel of white cardstock and added ink blending towards the bottom. Using a Hero Arts Extra Large Ink Blending Brush, I blended on Hero Arts Paradise Core Ink, fading to white at the top. The die cut was then adhered on top with thin foam tape, followed by the panel being adhered to a US A2 sized white card base with more thin foam tape. 


I stamped the sentiment from the kit stamp set (in both the Classic and Premium Kit) on to Hero Arts Pitch Black Cardstock using Hero Arts Clear Embossing & Watermark Ink. I applied Hero Arts White Embossing Powder and heat set. It was cut into a strip using a sentiment strip die from the Hero Arts Message Strips Stamp & Cut XL Set


It was adhered to the card with more thin foam tape. To finish off, I die cut the heart from the coordinating die set (in both the Classic & Premium Kit) from Hero Arts Paradise Cardstock three times. They were layered up one on top of another and adhered to the tree using Hero Arts Precision Glue. I then applied Hero Arts Clear Lacquer Pen on top for some added shine. 

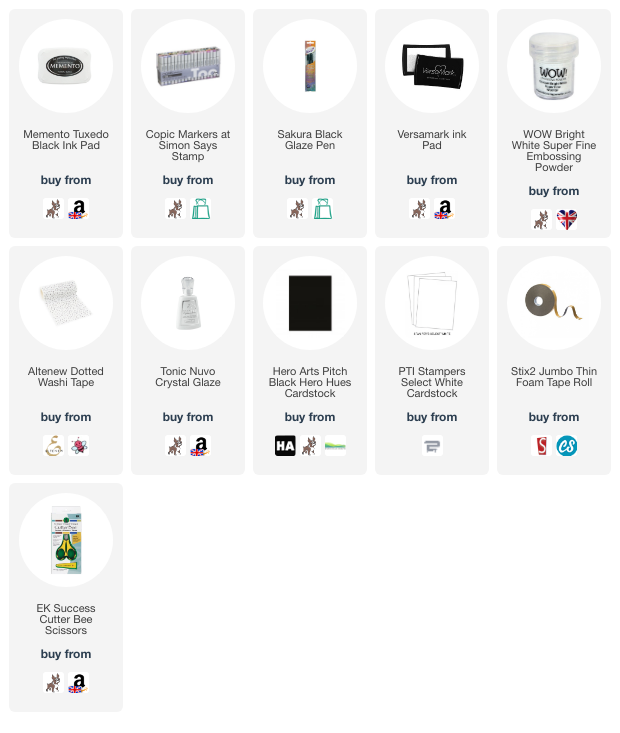
SUPPLIES:


Here are the links to what I have used on the project. Affiliate links are used on some products. This means that if you make a purchase after clicking on my link, I receive a small commission with no extra cost to you. I truly appreciate your support when using these links. Please click on the logo below the product to shop at your favourite store. All products were personally purchased except those from Clearly Besotted, Hero Arts or those marked with an asterisk (*) which were kindly sent to me to use. You can read my full disclosure here.


When I know what occasion I am sending the card for, I will stamp an accompanying sentiment inside to finish off the sentiment. For example 'just a little note to say ... thank you'. For more inspiration using the kit, please head over to the Hero Arts Blog. Also, be sure to leave a comment over there for a chance to win a kit! Thank you so much for stopping by today, I really appreciate it. I hope you have a great rest of the day! 

Clearly Besotted Teasers | Happy Birthday, Bookworm

Hello there and welcome to day two of the Clearly Besotted May 2023 Release Teasers. Release day is 1st May 2023 and we are sharing sharing teasers until then using the new sets. My card today uses the Bookworm Line Up set. Perfect for the bookworms in your life! 

PLEASE NOTE: This post contains affiliate links. Please see below for my full disclosure.


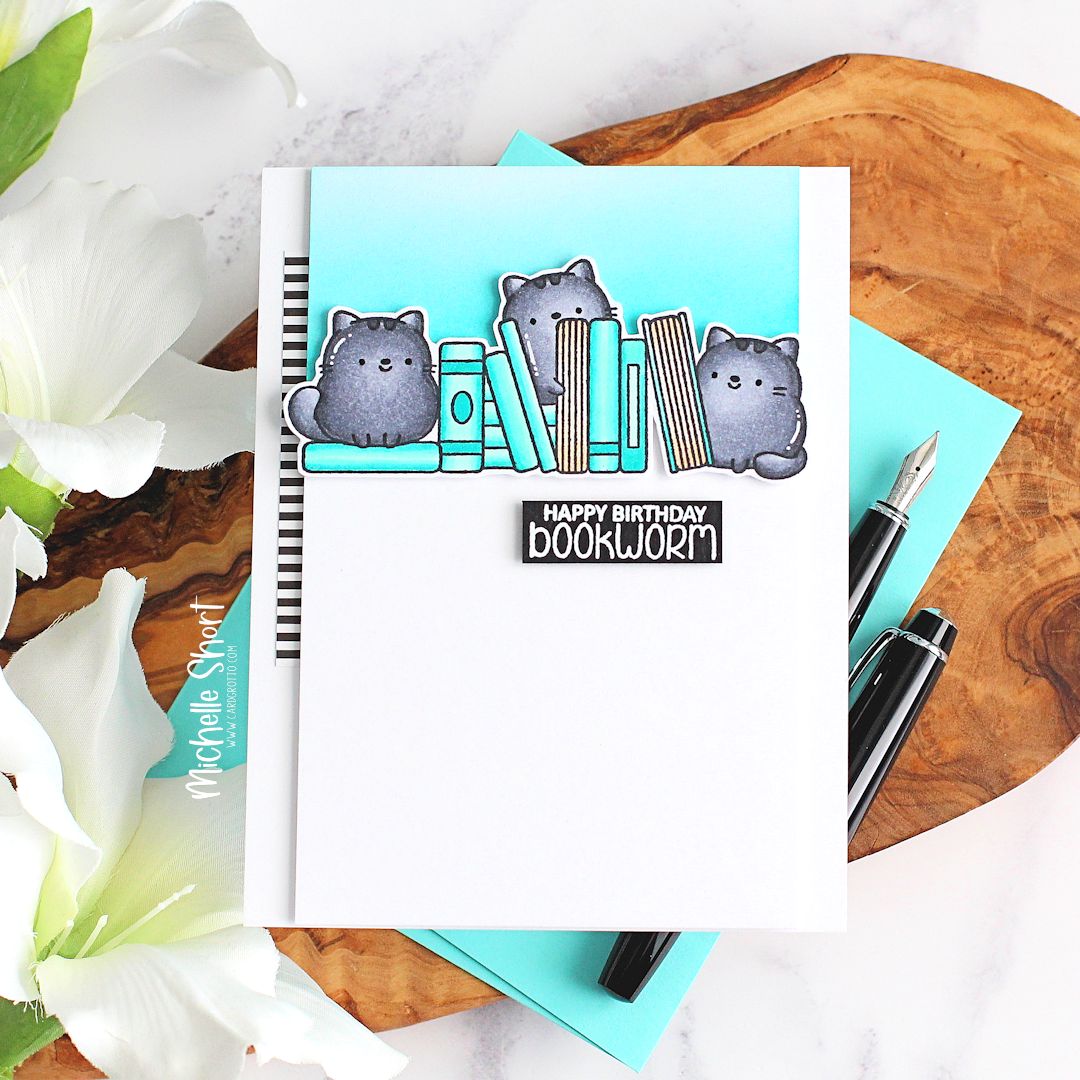
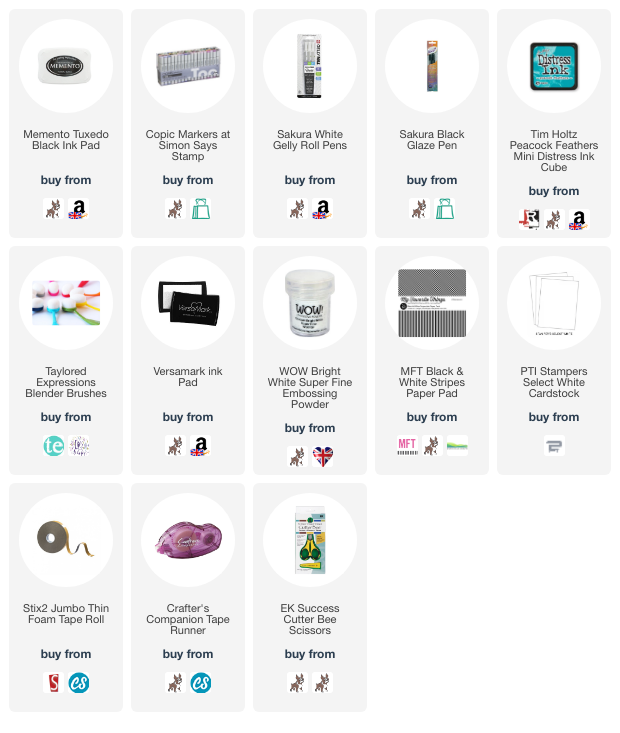
I started off my card by stamping the cats and books image from the Clearly Besotted Bookworm Line Up Stamp Set on to white cardstock using Memento Tuxedo Black Ink. I then coloured it using Copic Markers (the colours that I used are listed below the supplies area for reference). It was fussy cut out with scissors and set aside while I worked on my background. 


I took a panel of white cardstock and added ink blending to the top with Tim Holtz Peacock Feathers Distress Ink and an ink blending brush. The image was adhered on top with thin foam tape. I added a strip of MFT Black & White Stripes Paper Pad to the side of a US A2 sized white card base and then adhered the panel on top with more thin foam tape. 


I took the sentiment from the set and stamped it on to black cardstock using Versamark ink. I applied white embossing powder and heat set. It was cut into a strip and adhered to the card with thin foam tape. To finish off, I added white gel pen highlights to the images and black glaze pen to the cat's eyes. 

SUPPLIES:


Here are the links to what I have used on the project. Affiliate links are used on some products. This means that if you make a purchase after clicking on my link, I receive a small commission with no extra cost to you. I truly appreciate your support when using these links. Please click on the logo below the product to shop at your favourite store. All products were personally purchased except those from Clearly Besotted, Hero Arts or those marked with an asterisk (*) which were kindly sent to me to use. You can read my full disclosure here.


COPIC MARKERS: Cats - C10, C8, C6, C4, C2. Books - BG49, BG15, BG13, BG11, BG10/E53, E51, E50. 

Although I have used the image on a card, I think these images would work great for bookmarks too! For more inspiration using the new sets, please head over to the Clearly Besotted Blog, Keren, Kitty, Francine and Alberto. Thank you so much for stopping by today, I really do appreciate it. I hope you have a wonderful day and I hope to see you tomorrow for day three! 
End of code