18 August 2021

Hero Arts Holiday 2021 Release Blog Hop + Giveaway

Hello there, today we are celebrating the Hero Arts Holiday 2021 Release. It is a pretty big release with lots of new stamps, dies, stencils, ink pads and paper. I am using a few new products on my projects today, but for the full look, please head over to the Hero Arts Store. We are celebrating the release with a fun blog hop, more information on that below. 

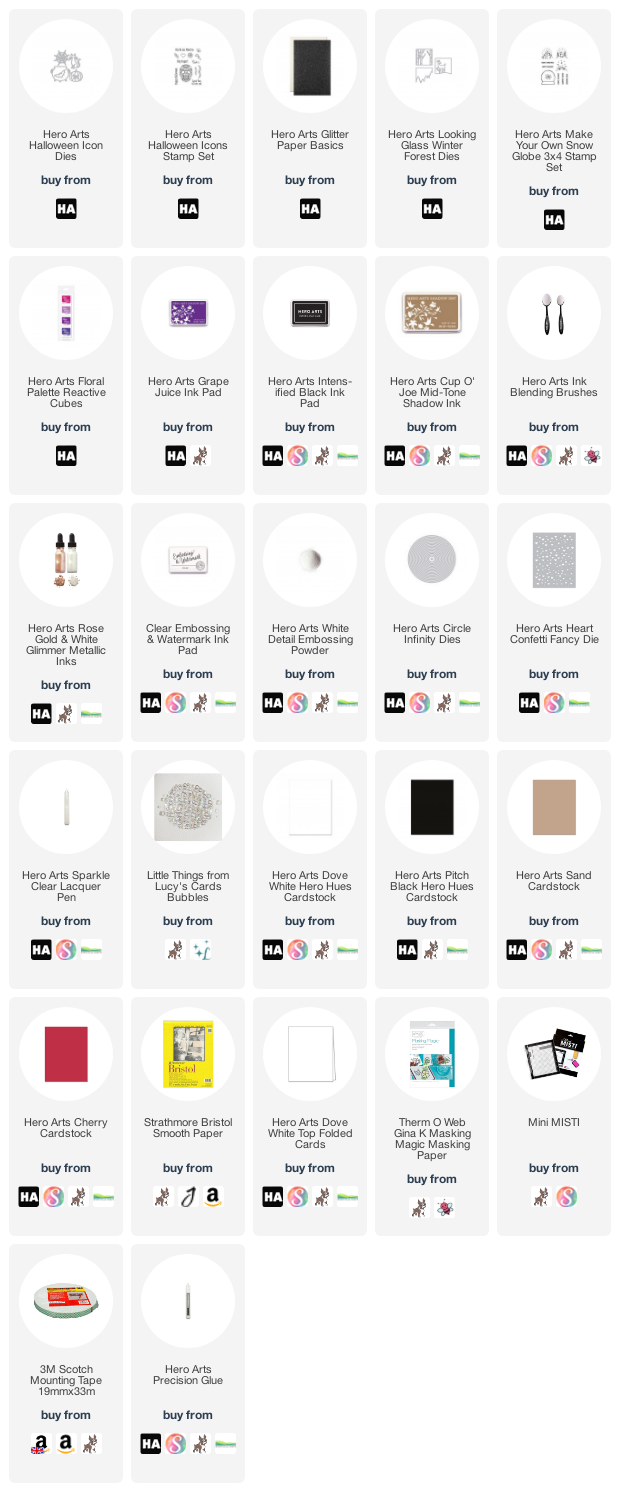
I started off my Halloween card by die cutting a Hero Arts Nesting Circle Infinity Die from masking paper. I then placed this in the top centre of a panel of Bristol Smooth Cardstock. Using Ink Blending Brushes, I blended on Hero Arts Thistle Reactive Ink, followed by Hero Arts Grape Juice Mid-Tone Shadow InkHero Arts Purple Galaxy Reactive Ink and then Hero Arts Intensified Black Ink to darken up the edges even more. 

With the mask still in place, I splattered on some Hero Arts White Glimmer Metallic Ink. The mask was removed and the panel set aside to dry. Once dry, I coloured the moon using Copic Markers (E51 & E50) and then adhered the panel on to an A2  top folding card base. I took the sentiment from the new Hero Arts Halloween Icons Stamp Set and stamped it on to Hero Arts Pitch Black Cardstock with Hero Arts Clear Embossing & Watermark Ink

I applied Hero Arts White Detail Embossing Powder and heat set. It was cut in to a strip and added to the card with foam tape. I then took the new Hero Arts Halloween Icon Dies and die cut the bats from the new black glitter paper in the Hero Arts Glitter Paper Basics set. They were adhered to the card with more foam tape. To finish off, I added a few Lucy's Bubbles. 

My second card uses one of the new Looking Glass Dies for a Christmas card. I started off by taking the first layer of the Hero Arts Looking Glass Winter Forest Die Set (the deer layer) and cut it from a 4" x 5.25" panel of white cardstock. I also cut it from Hero Arts Sand Cardstock and cut the deer off so that I could add it on top for some colour. 

I cut the second layer (birch trees) from more white cardstock. There is another tree layer but I didn't use that for my card today. I took an A2 white top folding card base and ink blended Hero Arts Grape Slush Reactive Ink (which can now be purchased in cubes) on to it for the sky. The birch tree panel was added on top flat and then the deer panel added with foam tape. I blended a little Hero Arts Cup O' Joe Mid-Tone Reactive Ink on to the deer and then adhered him on top of the white panel. 

I took the sentiment from the new Hero Arts Make Your Own Snow Globe 3x4 Stamp Set and heat embossed it on to black cardstock (the same process as the first card's sentiment), cut it out and added to to the card with foam tape. To finish off, I die cut a tiny heart from the Hero Arts Heart Confetti Fancy Die with Hero Arts Cherry Cardstock. I adhered it to the deer and then added Hero Arts Sparkle Clear Lacquer Pen on top for some shine. 

SUPPLIES:


Here are the links to what I have used on the project. Affiliate links are used on some products. This means that if you make a purchase after clicking on my link, I receive a small commission with no extra cost to you. I truly appreciate your support when using these links. Please click on the logo below the product to shop at your favourite store. All products were personally purchased except those from Clearly Besotted, Hero Arts or those marked with an asterisk (*) which were kindly sent to me to use. You can read my full disclosure here.

BLOG HOP:

As mentioned, this post is part of  a fun, inspiration filled blog hop with prizes (see below). You should have arrived here from the fantastic Maria. Next on the hop is the wonderful Mindy. If you get lost along the way or want to start the hop from the beginning, please head over to the Hero Arts Blog

GIVEAWAY:

Hero Arts are giving away three $50 gift card, drawn from the comments left across the hop. Enter by 29th August 2021 at 11.59pm PT. The winners will be announced on the Hero Arts Blog the following week. Good luck!

FREE CATALOGUE:


If you make an order in the Hero Store for $50 or more, you will automatically receive a free printed copy of the new Holiday 2021 Catalogue, or catalog if you are not in the UK ;) The offer is valid until the end of the month or until supplies last. You can also purchase the catalogue separately, or view it digitally in the store too. 

HOLIDAY STAMP-ALONG:

Before I go, I also wanted to share a super fun event with you. The Hero Arts Holiday Stamp-Along. Join us for a day of live card classes, hosted in out private Facebook group. During this virtual event, you will have the opportunity to create ten beautiful cards from start to finish, learning tips and tricks from some of your favorite cardmakers. The event will take place in a private Facebook group - you must use Facebook to participate. You can watch everything live as it happens and “stamp-along”, or you can choose to view when it is convenient for you. There will be giveaways throughout the event - everyone who registers will be eligible for the drawings, you need not be present to win.

The event will take place over two days. Saturday, September 18 and Sunday, September 19, 2021 (all times are EST). Once you purchase this event, you will be sent an email with details regarding how to join our private event Facebook group. 

Also included in the class:
  • Downloadable project sheet with step-by-step instructions.
  • Supplies listed per card so you can plan your day.
  • Images of all the cards, including detailed shots.
  • A short list of homework to prep prior to the event.
  • Did we mention giveaways??
  • Class Supplies

For more information, please head over to the Hero Arts Store here

Thank you so much for stopping by to see me today. I hope that you will check out the rest of the release and have a wonderful time on the rest of the hop. Have a great rest of the day too. Take care!

16 August 2021

Spellbinders | Tis The Season

Hello there, today I have a card to share with you using new products from the Spellbinders Tis The Season Release. This is such a wonderful release! I fell in love with the Christmas Blooms dies, that poinsettia is so pretty! 

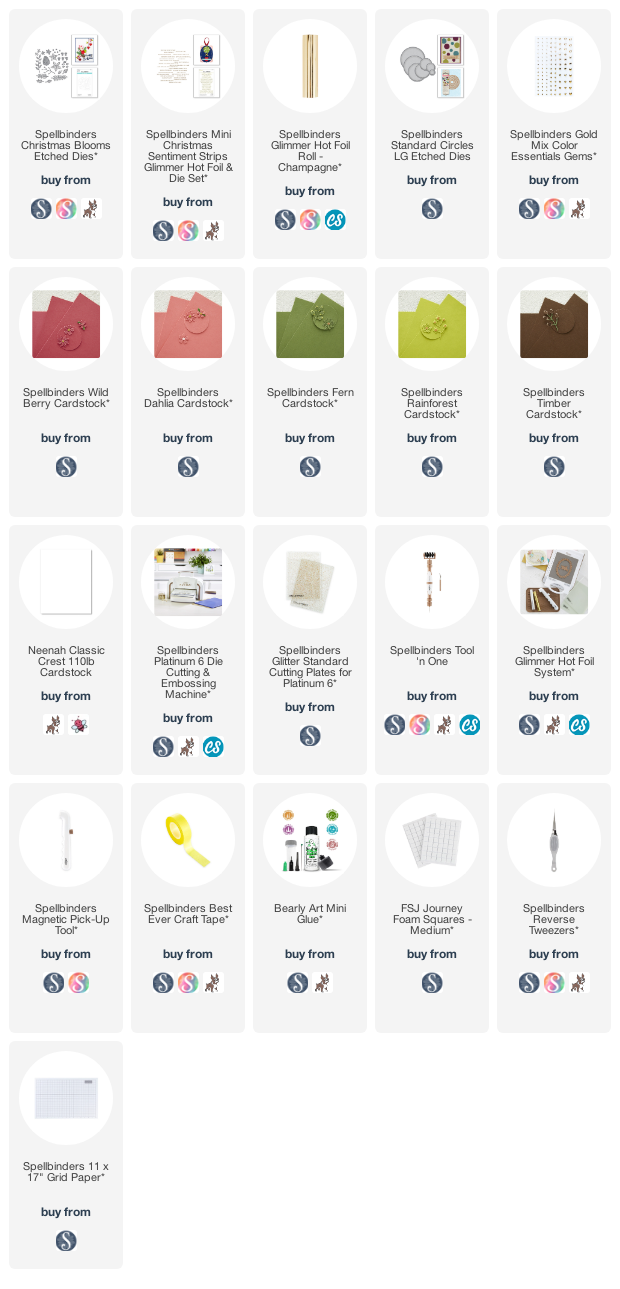
I started off my card by die cutting a circle frame to use as a wreath, you know the ones that you get that just have flowers on part of it and the rest is intertwined twigs/branches. Using Spellbinders Standard Circles LG Etched Dies, I cut two of the circles from Spellbinders Timber Cardstock. It was simply adhered flat to an A2 white card base. 

I took the Spellbinders Christmas Blooms Etched Dies and die cut the holly leaves from Spellbinders Rainforest Cardstock, the pine branches from Spellbinders Fern Cardstock and the poinsettia from Spellbinders Wild Berry and Dahlia Cardstock. The branches and holly leaves were simply adhered to the wreath with Bearly Art Glue. The poinsettia was layered up and adhered with foam squares. 

I took the new Spellbinders Mini Christmas Sentiment Strips Glimmer Hot Foil Plates & Die Set and foiled the Merry Christmas sentiment on to white cardstock with Spellbinders Champagne Foil using the Spellbinders Glimmer Hot Foil System. It was then cut out using the die in the set. It was adhered to the wreath with foam squares and then to finish off, I added Spellbinders Gold Mix Color Essentials Gems

SUPPLIES:


Here are the links to what I have used on the project. Affiliate links are used on some products. This means that if you make a purchase after clicking on my link, I receive a small commission with no extra cost to you. I truly appreciate your support when using these links. Please click on the logo below the product to shop at your favourite store. All products were personally purchased except those from Clearly Besotted, Hero Arts or those marked with an asterisk (*) which were kindly sent to me to use. You can read my full disclosure here.


There are other blooms in the Christmas Blooms set too - pine cones, small flowers etc. but as I say, I love that poinsettia and I have used it again on another card which I will share tomorrow. Thank you so much for stopping by today, I really do appreciate it, I hope you have a wonderful day and a great week ahead! 

14 August 2021

Sunny Studio | Poppies & Bees

Hello there, I am delighted to be back guest designing with Sunny Studio today. I love that they have so much variety to their products - cute, beautiful, fun, useful ... something for everyone! My projects today use the Poppy Fields set, as well as the Chloe Alphabet set, as I fell in love with them when I used them the first time


My first projects use the Poppy Fields stamps and dies. These poppies are so pretty! I love how realistic they look when they are all stamped up. I think they look great stamped in the traditional red, but for my projects, I went with pink and blue for something a little different.


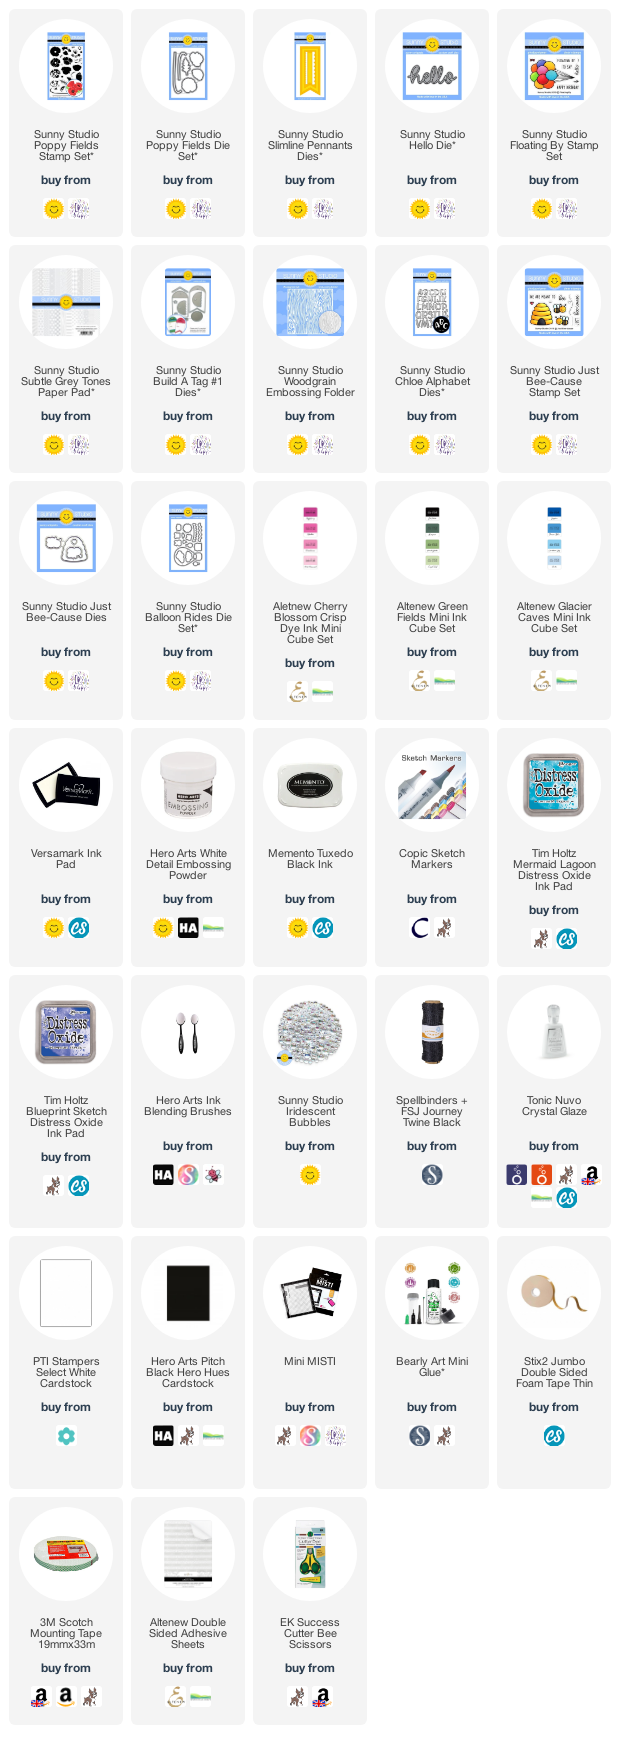
I started off the card by stamping the Sunny Studio Poppy Fields Stamp Set poppies and leaves using four shades of pink ink (Altenew Cherry Blossom Inks) for the poppies and two shades of green for the leaves (Altenew Green Fields Inks). I used black and greys for the middles. They were die cut out using the Sunny Studio Poppy Fields Dies and then set aside while I worked on my background. 


I took one of the Sunny Studio Slimline Pennants Dies and die cut it from Sunny Studio Subtle Grey Tones Paper. It was cut down and adhered to an A2 white card base with thin foam tape. I then adhered the poppies and leaves on top with liquid glue.
 
 
I took the Sunny Studio Hello Word Die and die cut it three times from white cardstock with adhesive sheet on the back. They were layered up and adhered to the card. I wanted an accompanying sentiment, so I stamped the ‘happy birthday’ from the Sunny Studio Floating By Stamp Set on to black cardstock with Versamark Ink and heat embossed with Detail White Embossing Powder. It was cut into a strip and added to the card with thin foam tape. To finish off the card, I added a few Iridescent Bubbles.

 
I thought it would be fun to create a little tag too! I stamped the poppies in four shades of blue (Altenew Glacier Caves Inks) and die cut them out. I cut a tag using the Sunny Studio Build A Tag 1 Die Set from white cardstock and then ran it through my die cutting machine with the Sunny Studio Woodgrain EmbossingFolder. The poppies, stems and leaves were adhered on top, and I simply finished off with a twine bow and a few Iridescent Bubbles
 

For my final project, I started off by die cutting a panel of white cardstock using a Sunny Studio Slimline Pennants Die and added ink blending to it using Distress Oxide Inks (Mermaid Lagoon and Blueprint Sketch). I then cut the clouds from the Sunny Studio Balloon Rides Dies and adhered them on top, cutting the excess off the sides with scissors. The panel was adhered to an A2 white card base with foam tape.
 

I took the Sunny Studio Chloe Alphabet Dies and die cut the letters from black cardstock three times for each letter so that I could stack them up for some dimension. They were adhered to the card with liquid glue. I then stamped the bees and hearts from the Sunny Studio Just Bee-Cause Stamp Set with Memento Tuxedo Black Ink on to white cardstock. 


They were coloured with Copic Markers and die cut out with the coordinating dies. I adhered the bees to the card with foam tape and the hearts with liquid glue. To finish off, I added Nuvo Crystal Glaze to the hearts for some shine.
 

SUPPLIES:


Here are the links to what I have used on the project. Affiliate links are used on some products. This means that if you make a purchase after clicking on my link, I receive a small commission with no extra cost to you. I truly appreciate your support when using these links. Please click on the logo below the product to shop at your favourite store. All products were personally purchased except those from Clearly Besotted, Hero Arts or those marked with an asterisk (*) which were kindly sent to me to use. You can read my full disclosure here.


A big thank you goes to Mendi and her team for having me back guesting with them. It is always a pleasure! Thank you so much for stopping by to see me today. I really do appreciate it. I hope you have a great rest of the day and weekend! Take care!

12 August 2021

Altenew | Craft Your Life Project Kit: Lush Garden Release Blog Hop + Giveaway

Hello there, I am delighted to be joining Altenew today for the release of their second monthly Craft Your Life Kit. This month is Lush Garden and let me tell you, it really is lush! It's so pretty! The kit is a monthly kit that can be purchased on it's own or as part of a subscription, so that you never miss a kit. More details on the hop and the kit below. 


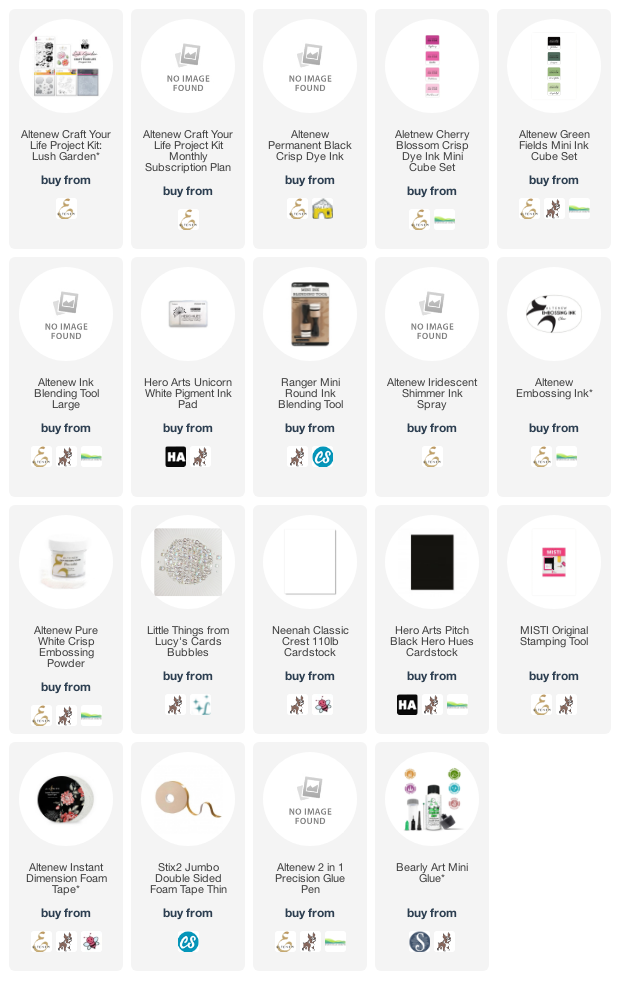
For my first card, I started off by stamping the flowers from the Lush Garden stamp set in the Altenew Craft Your Life Lush Garden Project Kit. I stamped the outlines in Altenew Permanent Black Ink and the layers in Altenew Cherry Blossom Crisp Dye Inks. The leaves were stamped with Altenew Green Fields Crisp Dye Inks


They were die cut out with the Lush Garden Dies that also come in the kit. I took an A2 white card base and using an Altenew Ink Blending Tool, blended Cherry Blossom Inks on to it, focusing most of the colour in the top right hand corner. The flowers were then added on top with thin foam tape and the leaves with Altenew 2 in 1 Precision Glue Pen


I took the sentiment from the set and stamped it on to black cardstock with Altenew Embossing Ink. I applied Altenew Pure White Crisp Embossing Powder and heat set. It was cut in to a strip and added to the card with more thin foam tape. To finish off, I added a few Lucy's Bubbles. Since the flowers are hanging off the side of the card, I will create a custom sized envelope for this card. 


My second card uses the beautiful embossing folder that comes in the kit. I took a panel of white cardstock and blended Altenew Cherry Blossom Crisp Dye Inks on to it using an Ink Blending Tool. I then ran the piece through my die cutting machine with the Lush Garden 3D Embossing Folder. 


I took Hero Arts Unicorn White Pigment Ink and ran this over the raised areas of the embossing to highlight them. I then spritzed the panel with Altenew Iridescent Shimmer Spray and set it aside to dry. Sadly, you cannot see the shimmer in the photos but it is lovely and sparkly in real life!


Once dry, the panel was adhered to an A2 white card base with Altenew Instant Dimension Foam Tape. I took the same sentiment that I used on the card and stamped and heat embossed it again. It was cut out and added to the card with thin foam tape. To finish off, I added a few Lucy's Bubbles. 

SUPPLIES:


Here are the links to what I have used on the project. Affiliate links are used on some products. This means that if you make a purchase after clicking on my link, I receive a small commission with no extra cost to you. I truly appreciate your support when using these links. Please click on the logo below the product to shop at your favourite store. All products were personally purchased except those from Clearly Besotted, Hero Arts or those marked with an asterisk (*) which were kindly sent to me to use. You can read my full disclosure here.


CRAFT YOUR LIFE KIT: LUSH GARDEN

Enjoy our Craft Your Life Project Kit, an exciting monthly package that is sure to get the creative juices flowing! Featuring a 6x8 stamp set, coordinating die set, as well as a stencil and embossing folder to fit the theme, this project kit has almost everything you need to start crafting. Just add ink and cardstock, and you'll be good to go!
 
This project kit contains the following exclusive products:
  • one 6" x 8" clear stamp set containing 24 stamps made in the USA from high-quality photopolymer
  • four coordinating dies
  • one simple coloring and layering stencil which coordinates with the stamp set 
  • one 6" x 6" 3D embossing folder
  • one simple coloring stencil set (3 stencils) which coordinates with the embossing folder
 Note: These products are NOT sold separately.

BLOG HOP:


As mentioned, this post is part of a fun, inspiration filled blog hop with prizes (see below). For the hop, you should have arrived here from the wonderful Tenia Nelson. Next on the hop is the fabulous Nathalie DeSousa. If you get lost along the way, or would like to start the hop from the beginning, please head over to the Altenew Blog

GIVEAWAY:

$300 in total prizes! To celebrate this release, Altenew is giving away a $50 gift certificate to 2 lucky winners and a $ 25 gift certificate to 8 winners! Please leave a comment on the Altenew Card Blog and/or each designer’s blog post on the blog hop list below by 18th August 2021 for a chance to win. Altenew will draw 10 random winners from the comments left on each stop of this blog hop and announce the winners on the Altenew Winners Page on 20th August 2021.

Thank you so much for stopping by today. I really do appreciate it. I hope you are keeping well and still staying safe. I hope you have a great time on the rest of the hop and a wonderful rest of the day! 

11 August 2021

Reverse Confetti | Thanks For Being You

Hello there, today I have a card to share with yuo using the Reverse Confetti Tropical Leaves set, along with the Lovely Day Sentiments set that were part of their July release. I love that the sentiments in the set are really big and bold so you do not need much to accompany them. I thought the leaves would work well with one of them.


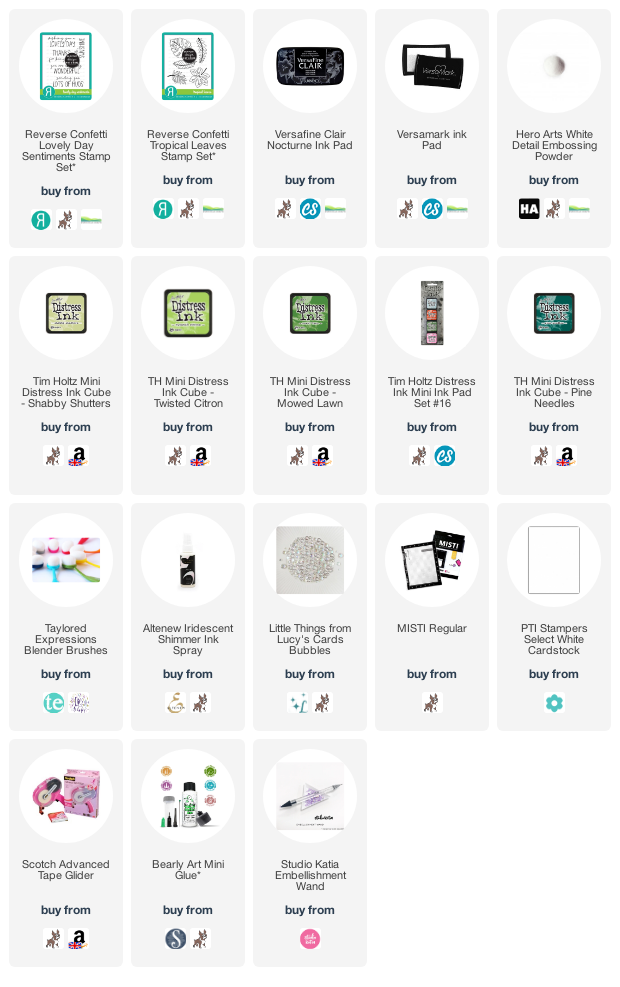
I started off by taking a panel of white cardstock and stamping the sentiment from the Reverse Confetti Lovely Day Sentiments Stamp Set on to the top middle using Versafine Clair Nocturne Ink. I let it dry for a few minutes and then stamped the leaves from the Reverse Confetti Tropical Leaves Stamp Set at the top. 


They were stamped one by one on to the panel using Versamark Ink. I applied Hero Arts White Detail Embossing Powder and heat set before moving on the next one so that the top part of the panel was stamped. Using ink blending brushes, I blended on Tim Holtz Distress Inks. 


I used Shabby Shutters, Twisted Citron, Mowed Lawn, Rustic Wilderness and Pine Needles. I then splattered on a little water, followed by Altenew Iridescent Shimmer Spray. It was set aside to dry and once dry, adhered flat to an A2 white card base with tape runner. To finish off, I added a few Lucy's Cards Bubbles. 

SUPPLIES:


Here are the links to what I have used on the project. Affiliate links are used on some products. This means that if you make a purchase after clicking on my link, I receive a small commission with no extra cost to you. I truly appreciate your support when using these links. Please click on the logo below the product to shop at your favourite store. All products were personally purchased except those from Clearly Besotted, Hero Arts or those marked with an asterisk (*) which were kindly sent to me to use. You can read my full disclosure here.


Green isn't a colour that I use that often but I really like how it turned out on this card! Thank you so much for stopping by today, I really do appreciate it. I hope you have a wonderful day! 

9 August 2021

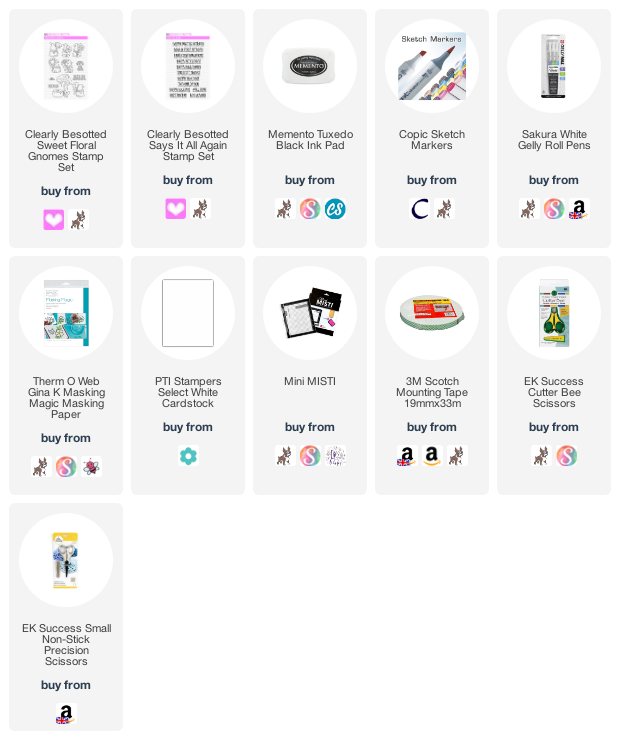
Clearly Besotted | Sweet Floral Gnomes

Hello there, today I have a card to share with you using the Clearly Besotted Sweet Floral Gnomes set. I fell in love with it as soon as I saw it but didn't get a chance to use it before the release. So I had to rectify that and colour it up!


I started off with a 5.25" x 4" white panel of cardstock and stamped the gnome from the Clearly Besotted Sweet Floral Gnomes Stamp Set on top with Memento Tuxedo Black Ink. I made a mask for him from masking paper, fussy cut it out and adhered it on top. 


I then stamped the background image so that the gnome would be sitting on the tree stump. The mask was removed to reveal him sitting on the stump. I love doing little masking like this to create scenes, but I also love that the background image is all one so no masking involved for that part! I then took the sentiment from the Clearly Besotted Says It All Again Stamp Set and stamped it below the images with more Memento Tuxedo Black Ink. 


The images were coloured using Copic Markers (the colours that I used are listed below the supplies area for reference) and added a light blue shadow for the sky and dot details for the grass. The panel was adhered to an A2 white card base with foam tape and then to finish off, I added white gel pen highlights to the images. 

SUPPLIES:


Here are the links to what I have used on the project. Affiliate links are used on some products. This means that if you make a purchase after clicking on my link, I receive a small commission with no extra cost to you. I truly appreciate your support when using these links. Please click on the logo below the product to shop at your favourite store. All products were personally purchased except those from Clearly Besotted, Hero Arts or those marked with an asterisk (*) which were kindly sent to me to use. You can read my full disclosure here.


COPIC MARKERS: Gnome skin - E13, E11, E00. Gnome beard - W5, W3, W1. Gnome hat and shoes - B39, B18, B16, B12. Flower - V09, V17, V15, V12. Stem, leaves and grass - G29, YG17, YG23, YG03, YG01. Tree stump - E49, E59, E57, E55. Mushroom - E79, E77, E74, E71, E70, R89, R39, R37, R35, R32, E41, E40. Sky - B00, B000, 0. 

Thank you so much for stopping by to see me today, I really do appreciate it. I hope you have a wonderful day. Stay safe!

7 August 2021

Altenew | Create-A-Flower California Giants Release Blog Hop + Giveaway

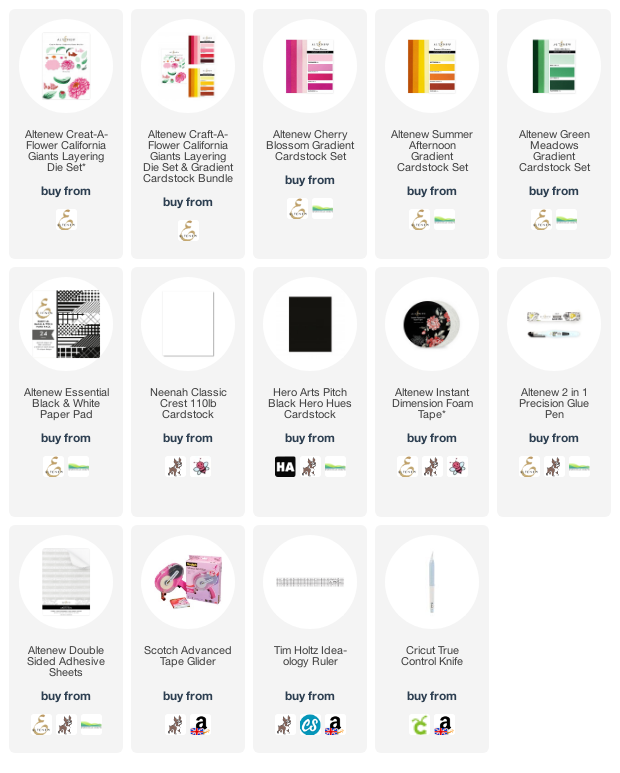
Hello there, I am delighted to be joining Altenew today to celebrate the release of the new Craft-A-Flower California Giants Layering Die Set. If you have followed me at all this year then you will know that I love these sets! They are so fun to layer up. I have to admit though, I hadn't heard of California Giants, but I did a little research and found that they are a variety of Zinnia that can grow as tall as four feet and have 5" blooms! 

I started off my card by die cutting the Altenew Craft-A-Flower California Giants Layering Die Set from Altenew Cherry Blossom Gradient Cardstock for the main flower, with the centre being cut from Altenew Summer Afternoon Gradient Cardstock. I used Altenew Green Meadows Gradient Cardstock for the leaf and stem. The layers were adhered together using Altenew Precision 2 in 1 Glue Pen

I then took a panel of white cardstock and adhered a sheet of Altenew Essential Black & White Paper Pad on top, towards the bottom. Using a craft knife and ruler, I then cut the bottom part in to a fishtail banner. The I also added a strip of black cardstock where the paper ended to cover the seam. It was adhered on to an A2 white card base with Altenew Instant Dimension Foam Tape

I then added the flower, stem and leaves on top with tape runner. I took the hello die from the set and cut it three times from white cardstock with Altenew Double Sided Adhesive Sheet on the back. They were adhered together, one on top of another and added to the card. 

SUPPLIES:


Here are the links to what I have used on the project. Affiliate links are used on some products. This means that if you make a purchase after clicking on my link, I receive a small commission with no extra cost to you. I truly appreciate your support when using these links. Please click on the logo below the product to shop at your favourite store. All products were personally purchased except those from Clearly Besotted, Hero Arts or those marked with an asterisk (*) which were kindly sent to me to use. You can read my full disclosure here.


BLOG HOP:

This blog post is part of a fun, inspiration filled blog hop with prizes too (see below for details). For the hop, you should have arrived here from the amazing Erum Tasneem. Next on the hop is the wonderful Virginia Lu. If you get lost or want to start the hop from the beginning, please head over to the Altenew Blog

GIVEAWAY:

$200 in total prizes! To celebrate this release, Altenew is giving away a $50 gift certificate to 2 lucky winners and a $20 gift certificate to 5 winners! Please leave a comment on the Altenew Card Blog and/or each designer’s blog post on the blog hop list below by 13th August 2021 for a chance to win. Altenew will draw 7 random winners from the comments left on each stop of this blog hop and announce the winners on the AltenewWinners Page on 15th August 2021.

The California Giants Layering Die Set can be purchased on it's own or as part of a bundle with Gradient Cardstock. Thank you so much for stopping by today, I really do appreciate it. I hope you have a wonderful time on the rest of the hop and a fabulous day! Take care! 

End of code