5 October 2020

VIDEO | Hero Arts October 2020 My Monthly Hero Kit Blog Hop + Giveaway

Hello there and welcome as the celebrate the release of the Hero Arts October 2020 My Monthly Hero Kit and add-on sets. The release has definitely got a winter/Christmas/holiday feel to it this month. I have already made a card using the kit, which you can see here. That card focused mainly on the frame cuts in the kit so for this one, I am using a stamped image.


I thought that I would create a wintry night sky using the Santa, sleigh and reindeer image in the main kit stamp set for my card. So I started off by stamping the image on to Hero Arts Dove White Cardstock using Hero Arts Intens-ified Black Ink. I then die cut it out using the coordinating frame cut and set it aside. I also stamped the sentiment from the set on to Hero Arts Pitch Black Cardstock with Clear Embossing & Watermark Ink (you get a little cube of this in the kit). I applied Hero Arts White Detail Embossing Powder and heat set. It was cut in to a strip and again set aside while I worked on my background.


I first die cut a Hero Arts Nesting Circle Infinity Die from mask paper and adhered this in to the top middle of a panel of Tim Holtz Distress Watercolor Cardstock. Using ink blending brushes, I then blended on Hero Arts Reactive Inks for the night sky. I used Thistle, Grape Slush and Blue Hawaii. I then also blended on a little Intens-ified Black to darken up the edges.


Keeping the mask in place, I then splattered on some Hero Arts White Iridescent Shimmer Spray, using this as a binder, I took the White Sparkle Embossing Powder that comes in the kit and sprinkled this on top. I then heat set it. I then added more splatter to the right hand side of the panel. For this I dabbed on some water with a paintbrush to use as the binder. Sprinkled on more powder and heat set. The mask was then removed and I used an E50 Copic Marker, along with the Colourless Blender to colour in the moon.


The panel was run through my die cutting machine (without dies) to help flatten it and then it was adhered to an A2 white card base with foam tape. The sentiment and image were also added with foam tape. To finish off, I added Lucy's Iridescent Jewels around the sentiment, adhering in place with Hero Arts Precision Glue.

VIDEO:

Here is the video showing how I made the card:


If you are viewing this blog post via email subscription, you can watch the video HERE on YouTube.

SUPPLIES:

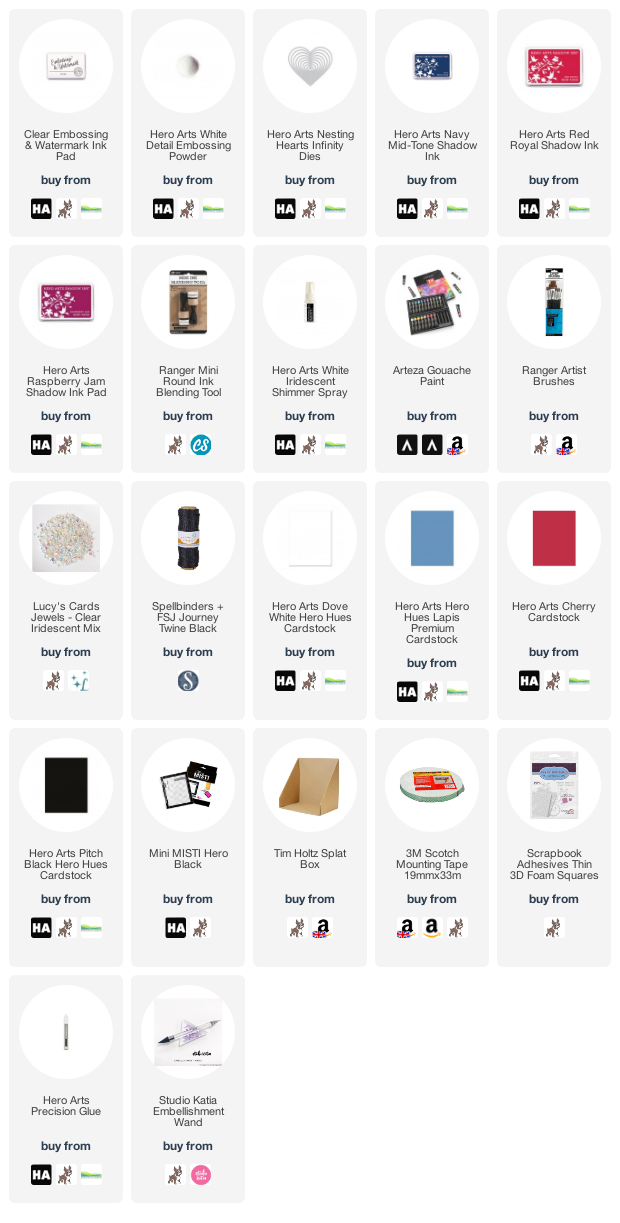
Here are the links to what I have used on the card. Affiliate links are used on some products. This means that if you make a purchase after clicking on my link, I receive a small commission with no extra cost to you. I truly appreciate your support when using these links. Please click on the logo below the product to shop at your favourite store. All products were personally purchased except those from Clearly Besotted, Hero Arts or those marked with an asterisk (*) which were kindly sent to me to use. You can read my full disclosure here.
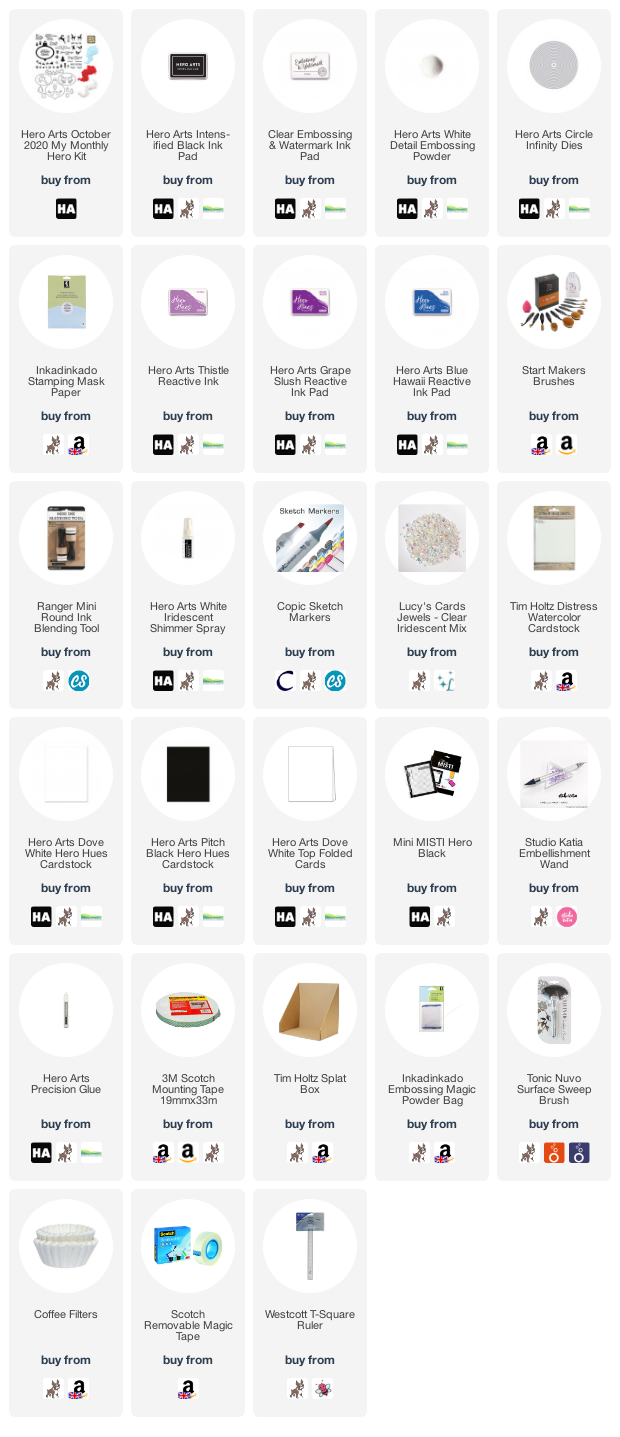

THE KIT:


The Hero Arts October 2020 My Monthly Hero Kit contains a 6" x 8" Clear Stamp Set, 12 Coordinating Frame Cuts, 1 Ornament Shape Die, 2 Inner Ornament Dies, 3 Embossing Powders (Red, Glacier Blue, White Sparkle) and 1 Watermark & Embossing Ink Cube.

The kit is valued at $76 but you can get it for $34.99 (approximately £28 depending on exchange rate). The kits are limited edition and often sell out quickly. You can subscribe here so that you never miss a kit. International kit subscribers get a discount off shipping too! Kits begin shipping on 11th October 2020.

ADD-ONS:

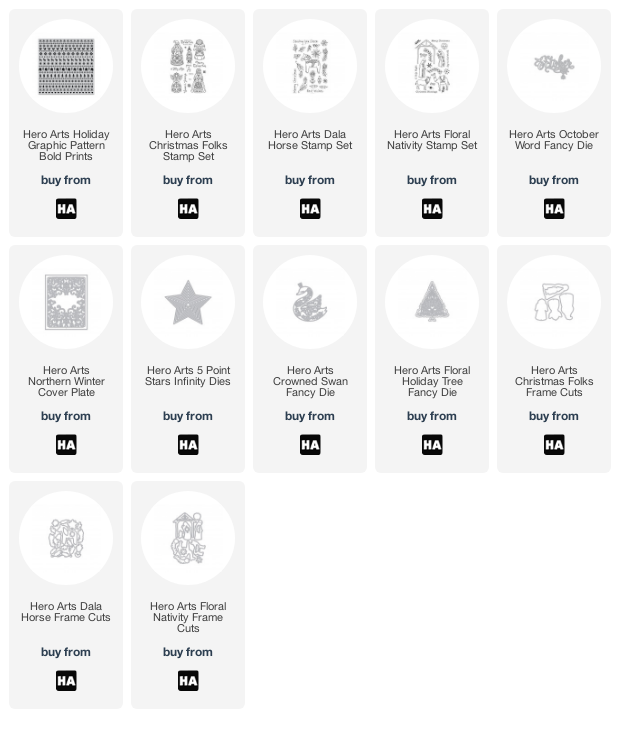
There are lots of fabulous add-on products this month. These products are not limited edition and can be purchased alongside the kit from Hero Arts, or from your favourite retailer. Here is a look at them:

BLOG HOP:

For the blog hop, you should have arrived here from the fabulous Maria. Next on the hop is the wonderful Mindy. If you get lost along the way, you can see the full list of participants over on the Hero Arts Blog

GIVEAWAY:

Hero arts are giving away a $50 shopping spree to one luck blog hop reader. To enter, leave a comment on the stops in the hop. The more you comment, the more chances to win. The giveaway closes Sunday 11th October 2020 at 11.59pm PT and the winner will be announced the following week over on the Hero Arts Blog. Good luck!

Next on the hop is the blog of Mindy. Thank you so much for stopping by to see me today. I really do appreciate it. I hope you have a lovely time on the hop and a great rest of the day! Take care. 

4 October 2020

Hero Arts | My Monthly Hero October 2020 Countdown

Hello there and welcome as we countdown to the release of the Hero Arts October 2020 My Monthly Hero Kit. Release day is 5th October 2020 at 1pm ET/10 am PT/6pm BST. We are sharing inspiration all week long so do head over to the Hero Arts Blog where there will be links to all the designers sharing. 


For my card today, I am using the main kit stamp set and dies to create an ornament scene. I started off by die cutting the ornament from the kit using Dove White Cardstock. I then took a Nesting Hearts Infinity Die and cut this in to the centre of the ornament to create a window. I die cut the two birds in the kit from Lapis Cardstock and then blended on Navy Mid-Tone Shadow Ink for some added dimension.


The sentiment from the main kit stamp set, was stamped on to Pitch Black Cardstock using Clear Embossing & Watermark Ink (a little pad comes in the kit). I applied White Detail Embossing Powder and heat set. It was cut in to a strip and ribbon ends cut. I then set these aside while I worked on my background. I took a panel of Cherry Cardstock and blended Red Royal Mid-Tone Shadow Ink around the edges, followed by Raspberry Jam Mid-Tone Shadow Ink, to darken it further. 


I then added the panel in to my splat box before splattering it with White Iridescent Shimmer Spray and white gouache. Once the panel was dry, It was adhered on to a Cherry A2 card base with tape runner. The ornament was added on top with foam tape, followed by the sentiment and birds. To finish off, I added a twine bow to the top of the ornament and gemstones to the birds. 

SUPPLIES:

Here are the links to what I have used on the card. Affiliate links are used on some products. This means that if you make a purchase after clicking on my link, I receive a small commission with no extra cost to you. I truly appreciate your support when using these links. Please click on the logo below the product to shop at your favourite store. All products were personally purchased except those from Clearly Besotted, Hero Arts or those marked with an asterisk (*) which were kindly sent to me to use. You can read my full disclosure here.


Make sure to head over the Hero Arts blog post and leave a comment over there for a chance to win a kit. Thank you so much for stopping by today, I really do appreciate it. I hope you have a lovely day! 

1 October 2020

VIDEO | Clearly Besotted October 2020 Release Preview

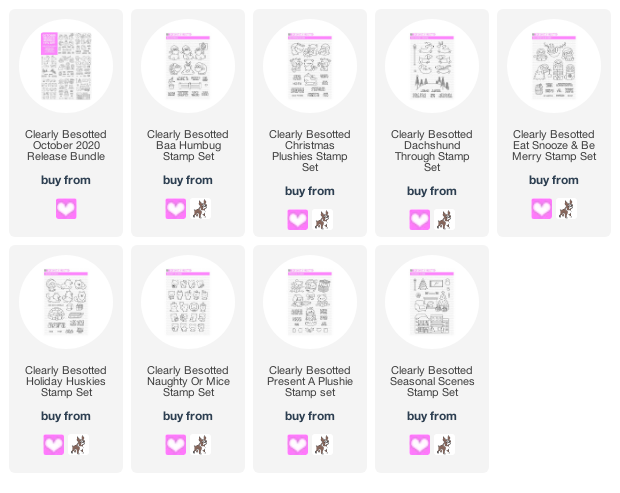
Hello there, I am back to share a look at the whole Clearly Besotted October 2020 Release. There are eight new stamp sets releasing this month that can be purchased as a bundle (with free gifts and a discount off price) or individually. The sets this month mainly have a winter/Christmas/holiday feel to them but there are a few that can be used all year round too. 


The sets release tonight at 8pm BST. You can purchase the individual sets over at Clearly Besotted or at Simon Says Stamp but the bundle is exclusive to the Clearly Besotted store. Here is a look at all of the sets plus a recap of the cards that I have made for the release:


If you are viewing this post via email subscription, you can watch the video HERE on YouTube. 

SUPPLIES:

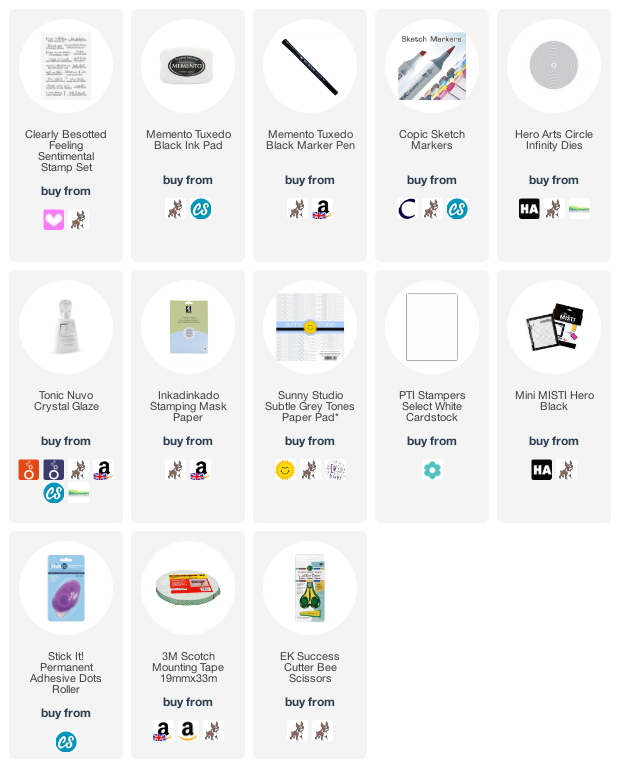
Here are the links to what I have used on the card. Affiliate links are used on some products. This means that if you make a purchase after clicking on my link, I receive a small commission with no extra cost to you. I truly appreciate your support when using these links. Please click on the logo below the product to shop at your favourite store. All products were personally purchased except those from Clearly Besotted, Hero Arts or those marked with an asterisk (*) which were kindly sent to me to use. You can read my full disclosure here.


What do you think of the sets? Super cute, right? For more inspiration using the sets, please head over to the Clearly Besotted Blog. Thanks so much for joining me this last week for the release. I hope you have a wonderful day! 

Clearly Besotted Teasers | From Our Home To Yours

Hello there and happy Clearly Besotted release day! I have one last teaser to share with you this morning before taking a look at the whole release a little later. My card today uses two new sets - Naughty or Mice and Seasonal Scenes. Although these sets both work great on their own, I couldn't resist combining them! 


I started off by stamping two of the mice from the Clearly Besotted Naughty or Mice Stamp Set on to white cardstock with Memento Tuxedo Black. I then stamped the snow globe and the garland from the Clearly Besotted Seasonal Scenes Stamp Set. I created masks for these and then stamped the inside house scene on top with more black ink. 


The masks were removed and the images coloured using Copic Markers (the colours that I used are listed below the supplies area). I then fussy cut the image as a whole out using scissors and went around the edges with a Memento Tuxedo Black Pen. I then took two pieces of paper from the Sunny Studio Subtle Grey Tones Paper Pad (one for the wallpaper and one for the floor) and cut them using a Hero Arts Nesting Circle Infinity Die


I also cut two larger circles from white cardstock to use as the card base. I scored the top of one piece and adhered the circles back to back to make the card. I took the sentiment from the Clearly Besotted Feeling Sentimental Stamp Set and stamped it on to the floor patterned paper piece and then adhered them both on to the front of the card. The image was added on top with foam tape. To finish off, I added Tonic Nuvo Crystal Glaze on to the star and ornaments on the tree. 


SUPPLIES:

Here are the links to what I have used on the card. Affiliate links are used on some products. This means that if you make a purchase after clicking on my link, I receive a small commission with no extra cost to you. I truly appreciate your support when using these links. Please click on the logo below the product to shop at your favourite store. All products were personally purchased except those from Clearly Besotted, Hero Arts or those marked with an asterisk (*) which were kindly sent to me to use. You can read my full disclosure here.


COPIC MARKERS: Mice - W5, W3, W2, W1, R00. Fire glow - Y11, Y00, Y0000. Tree - G29, YG17, YG25, YG03, YG01. Ornaments, cracker & garland - R89, R37, R24. Star - Y17, Y15, Y13, Y11. Presents & holly - R89, R37, R24, G29, YG17, YG03, YG01. Chair and presents - B18, B26, B24, B12. Snow globe - E55, E53, E50, B000, YG17, YG03, BG10. Fireplace - C10, C8, C6, C5, E55, E53, E51, YR16, Y17, Y15, Y13, Y11, Y00. 

For more inspiration using the new release, please head over to the Clearly Besotted BlogKerenLisa and our fabulous guests Caly and Francine. Thank you so much for stopping by today, see you tomorrow for day two! have a lovely day! 

30 September 2020

Clearly Besotted Teasers | Rudolph The Red Nosed Reindeer

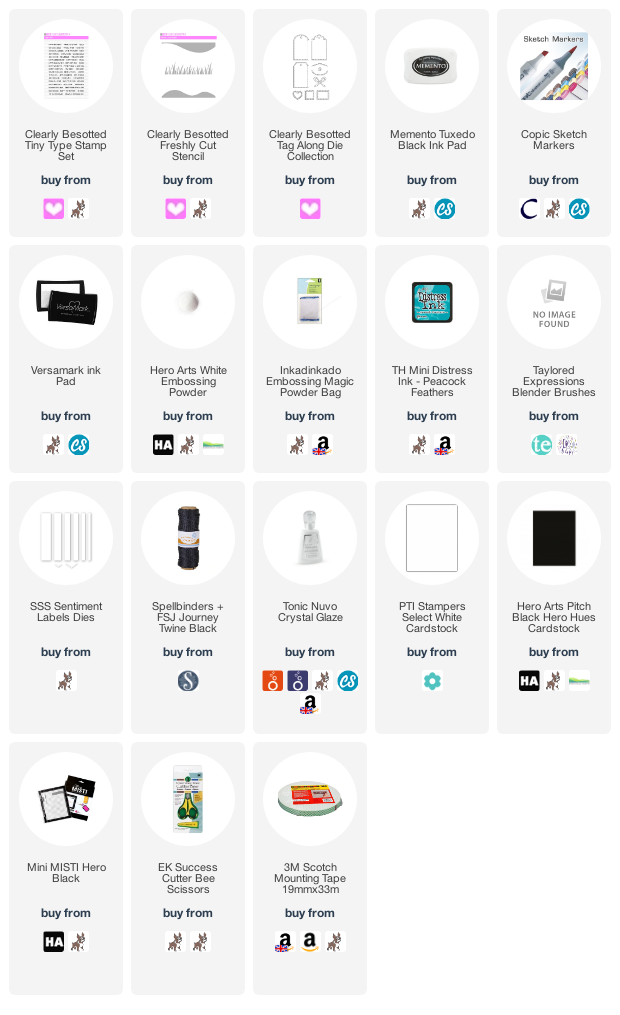
Hello there and welcome to day four of the Clearly Besotted October 2020 Teasers. Only one more sleep to go now before the new sets release tomorrow! For my card today I am using the super cute Christmas Plushies set. If you are familiar with Clearly Besotted sets, you will know all about the adorable plushies sets and this is no exception! There are penguins, reindeer and bears in this set, all geared up for Christmas. 


I started off by stamping one of the reindeer from the Clearly Besotted Christmas Plushies Stamp Set on to white cardstock with Memento Tuxedo Black Ink. He was coloured using Copic Markers (the colours that I used are listed below the supplies area) and fussy cut out with scissors. He was then set aside while I worked on the background. 


I first die cut the rounded tag from the Clearly Besotted Tag Along Die Collection from white cardstock. I then placed this on top of an A2 white card base for placement. I placed the Clearly Besotted Freshly Cut Stencil on top and then removed the tag. I then blended on Tim Holtz Peacock Feathers Distress Ink to create the sky. I then lined up the stencil on the tag so that it would line up and blended ink on to that too. 


I added twine through the top of the tag and then adhered it on to the card base with foam tape. Rudolph was then added on top with foam tape also. I took the sentiment from the Clearly Besotted Tiny Type Stamp Set and stamped it on to black cardstock using Versamark Ink I applied white embossing powder and heat set. It was cut in to strips and added to the card with more foam tape. To finish off, I added Tonic Nuvo Crystal Glaze to Rudolph's nose.

SUPPLIES:

Here are the links to what I have used on the card. Affiliate links are used on some products. This means that if you make a purchase after clicking on my link, I receive a small commission with no extra cost to you. I truly appreciate your support when using these links. Please click on the logo below the product to shop at your favourite store. All products were personally purchased except those from Clearly Besotted, Hero Arts or those marked with an asterisk (*) which were kindly sent to me to use. You can read my full disclosure here.


COPIC MARKERS: Reindeer - E59, E57, E55, E53, E51, E50, R02, R01, R000. Candy Cane - R89, R37, R24, C2, C00. 

I do have one more teaser to share with you tomorrow morning before I share my release video so I hope you will join me for that. For more inspiration using the new release, please head over to the Clearly Besotted BlogKerenLisa and our fabulous guests Caly and Francine. Thank you so much for stopping by today, see you tomorrow for release day! I hope you have a lovely day! 

29 September 2020

VIDEO | Adding Layers to Clean & Simple Cards

Hello there, today I have three projects to share with you where I have added layers to clean and simple cards. I think most people think that you can't add multiple layers to clean and simple cards as then they will no longer be clean and simple. Let me show you today that you can!


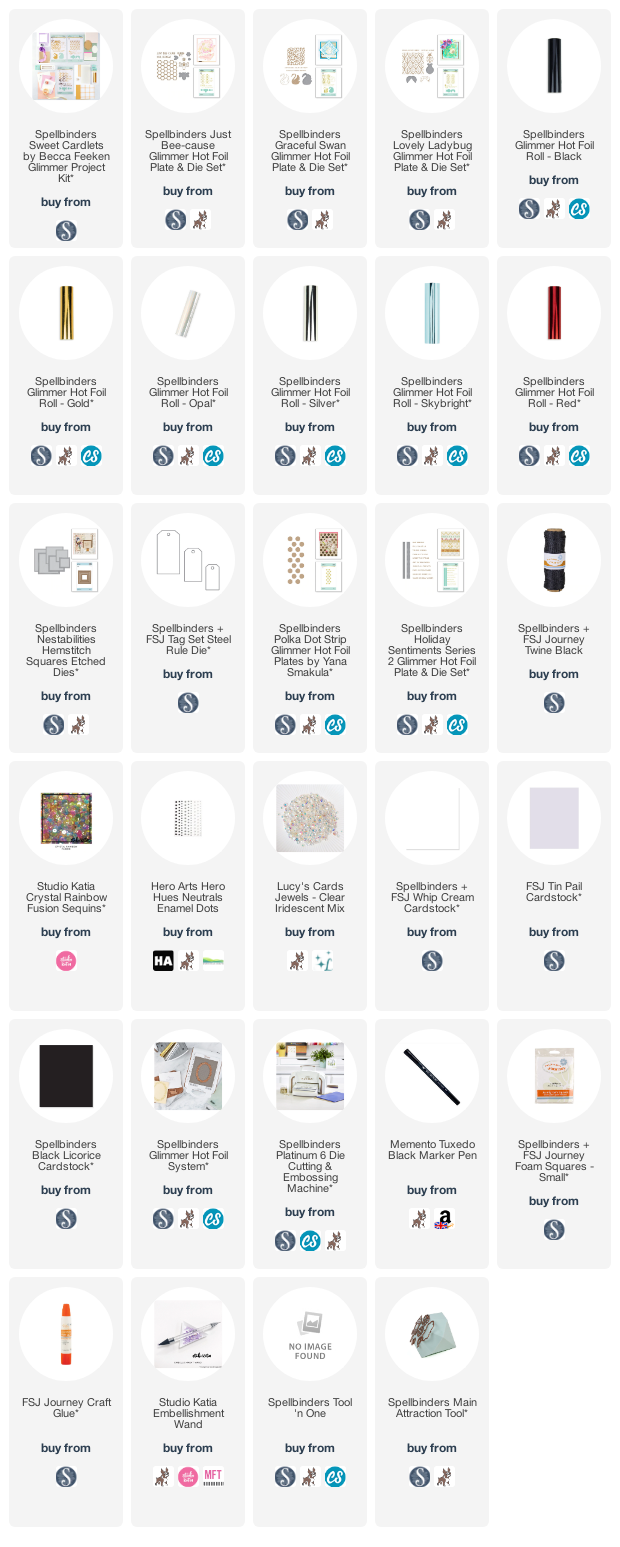
All my cards today feature the Spellbinders Becca Feeken Sweet Cardlets Glimmer Project Kit. For the foiling I used the Spellbinders Glimmer Hot Foil System, along with the Spellbinders Platinum 6 Die Cutting Machine. The sets that I am sharing with you today will be available to purchase separately from the 10th October 2020, but can be purchased now in the kit (which comes with foil, supplies and everything you need to get started).


My first card uses the new Spellbinders Just Bee-Cause Sweet Cardlets Glimmer Hot Foil Plate & Die Set. I started off by foiling the bee from the set on to white cardstock using Spellbinders Black Foil. I then die cut it using the coordinating die. I foiled the sentiment on to FSJ Black Licorice Cardstock using Spellbinders Gold Foil (included in the kit). I then cut the sentiment using the sentiment strip die from the Spellbinders Holiday Sentiments Series 2 Glimmer Hot Foil Plate & Die Set.


I took a panel of white cardstock and foiled the honeycomb background on to it using more Spellbinders Gold Foil. This panel was added to an A2 white card base with foam tape. I then added the bee and sentiment strips with foam tape also. To finish off, I added a gold sequin, as well as black enamel dots.


My next card uses the Spellbinders Graceful Swan Sweet Cardlets Glimmer Hot Foil Plate & Die Set. I started off by foiling the background pattern on to FSJ Tin Pail Cardstock using Spellbinders Opal Foil (included in the kit). This was cut down using a square die from the Spellbinders Hemstitch Squares Etched Dies Set. It was added to a 5" x 5" white card base with foam tape.


I then foiled the outline swan (there is a solid and outline in the set) on to white cardstock using Spellbinders Silver Foil. It was cut out using the coordinating die and added to the card with foam squares. I then foiled the sentiment from the set on to white cardstock using Spellbinders Skybright Foil. It was cut down using the sentiment strip I used on the bee card. It was added to the card with more foam squares. To finish off, I added a few Iridescent Jewels.


My final card for today uses the Spellbinders Lovely Ladybug Sweet Cardlets Glimmer Hot Foil Plate & Die Set. I started off by foiling the body and the wings of the ladybug on to white cardstock using Spellbinders Black Foil. I cut the body out using the coordinating die. I then coloured the wings using Copic Markers (I used R89, R37, R27, R24, R14) before fussy cutting out with scissors. The wings were then added to the body with foam squares.


I took an older FSJ Steel Rule Tag Die and cut it from white cardstock. I foiled the Spellbinders Polka Dot Strip Glimmer Hot Foil Plate on to it using Spellbinders Red Foil. I added Spellbinders Black Twine through the top of the tag and then it was adhered to an A2 white card base with foam tape. The ladybug wad added on top with more foam tape. I then foiled the sentiment in the set on to FSJ Black Licorice Cardstock using Spellbinders Red Foil. It was cut in to a strip and added to the card with more foam tape.
VIDEO:

Here is the video showing how I made the cards:


If you are viewing this post via email subscription, you can watch the video HERE on YouTube.

SUPPLIES:

Here are the links to what I have used on the card. Affiliate links are used on some products. This means that if you make a purchase after clicking on my link, I receive a small commission with no extra cost to you. I truly appreciate your support when using these links. Please click on the logo below the product to shop at your favourite store. All products were personally purchased except those from Clearly Besotted, Hero Arts or those marked with an asterisk (*) which were kindly sent to me to use. You can read my full disclosure here.


As you can see, you can definitely add layers to cards whilst still keeping them clean and simple. Thank you so much for stopping by today, I really do appreciate it. I hope you have a wonderful day!

Clearly Besotted Teasers | Dachshund Through The Snow

Hello there and welcome to day three of the Clearly Besotted October 2020 Teasers. I hope you are enjoying the teasers so far. The new sets release on Thursday 1st October. For my card today I am using the new Dachshund Through set. As the name suggests, this is filled with adorable dachshunds! 


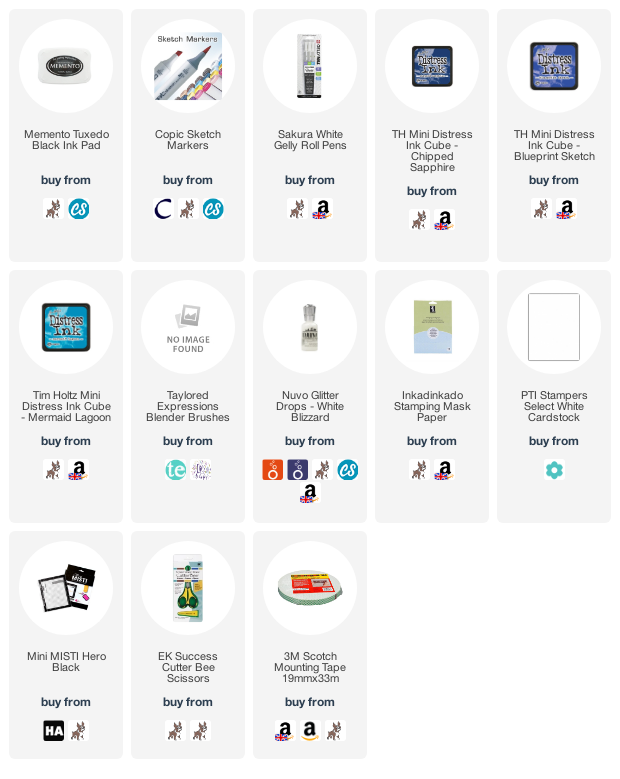
I started off by stamping the tree background from the Clearly Besotted Dachshund Stamp Set on to a panel of white cardstock with Memento Tuxedo Black Ink. I then made a mask for it to mask off the bottom of the panel to ink blend the sky above. I used Chipped SapphireBlueprint Sketch and Mermaid Lagoon Distress Inks. 

The mask was removed and the stars on top of the trees coloured using Copic Markers. I took the sentiment from the set and stamped it below the trees using more black ink. The panel was then adhered to an A2 white card base with foam tape. I took a white gel pen and added snow to the sky. 


On a separate piece of cardstock I stamped one of the dachshunds and coloured him using Copic Markers (the colours that I used are listed below the supplies area) and fussy cut him out using scissors. He was added to the card with more foam tape. To finish off, I added Tonic White Blizzard Nuvo Drops to the hat and the stars. 


SUPPLIES:

Here are the links to what I have used on the card. Affiliate links are used on some products. This means that if you make a purchase after clicking on my link, I receive a small commission with no extra cost to you. I truly appreciate your support when using these links. Please click on the logo below the product to shop at your favourite store. All products were personally purchased except those from Clearly Besotted, Hero Arts or those marked with an asterisk (*) which were kindly sent to me to use. You can read my full disclosure here.

COPIC MARKERS: Dachshund - E57, E55, E53. Hat - R89, R37, R35, C1. Stars - Y26, YR31. 

This is another great set for building scenes. There are lots of different dachshunds in the set in different poses. I thought the one jumping would look cute with then snowy backdrop. For more inspiration using the new release, please head over to the Clearly Besotted BlogKerenLisa and our fabulous guests Caly and Francine. Thank you so much for stopping by today, see you tomorrow for day four! Have a lovely day! 

28 September 2020

VIDEO | MFT Colour Matching Backgrounds with Images

Hello there, I am over on the MFTv YouTube Channel today, sharing a clean and simple card using the new Present Time stamp set. This set is so cute! I love both the snowmen and the trees, as well as the fabulous sentiments. 

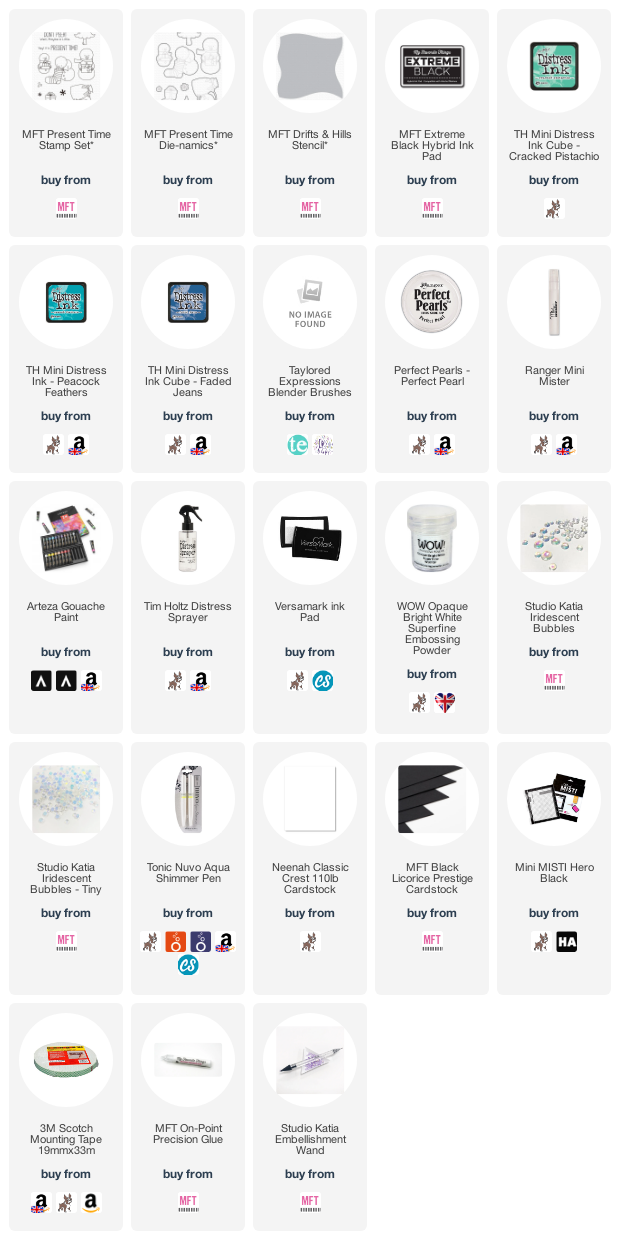
For my card, I started off by stamping the snowman and two trees from the MFT Present Time Stamp Set. They were coloured using Copic Markers (the colours that I used are listed below the supplies area) and die-cut out using the MFT Present Time Die-namics. I then set them aside while I worked on my background. 

I took a panel of white cardstock and placed the MFT Drifts & Hills Stencil at the bottom to mask off a snowbank. Using Distress Ink, I then blended in a sky above. I used Cracked Pistachio, Peacock Feathers and Faded Jeans. With the stencil still in place, I then splattered on a solution of Perfect Pearls and water, as well as Arteza White Titanium Gouache. It was then left to dry. 

I stamped the sentiment from the set on to Black Licorice Cardstock using Versamark Ink and heat embossed it in white before cutting it in to a strip. Once dry, the background was added to an A2 white card base with foam tape. I then added the images on top with more foam tape, as well as the sentiment. To finish off, I added Studio Katia Bubbles around the sentiment and Tonic Nuvo Aqua Shimmer Pen on the snowman's scarf and present. 

VIDEO:

Here is the video showing how I made the card and how I rectified some mistakes!

If you are viewing this blog post via email subscription, you can watch the video on the MFT YouTube channel HERE

SUPPLIES:

Here are the links to what I have used on the card. Affiliate links are used on some products. This means that if you make a purchase after clicking on my link, I receive a small commission with no extra cost to you. I truly appreciate your support when using these links. Please click on the logo below the product to shop at your favourite store. All products were personally purchased except those from Clearly Besotted, Hero Arts or those marked with an asterisk (*) which were kindly sent to me to use. You can read my full disclosure here.


COPIC MARKERS: Trees - G29, YG17, YG25, YG03, YG01, E59, E57, E55. Snowman - BG11, BG10, BG0000, YR18, YR15. Button - C8, C6. Scarf - B18, B16, B12. Present - B18, B16, B12, BG57, BG53.

Thank you so much for stopping by today. I apologise it has been so busy, the end of the month is usually my busiest time! Wishing you a wonderful rest of the day! 

Spellbinders | September 2020 Clubs Blog Hop Winner

Hello there, I am back today to announce the winner of my giveaway for the Spellbinders September 2020 Clubs Blog Hop


I got Random.org to pick a winner for the $25 gift certificate to the Spellbinders store and the winner is ...


Melissa can you please email me using the button on my sidebar (or leave me a comment on this post) by 2nd October 2020 and I will arrange to get your prize to you. Thank you!

Thank you so much to all that left me lovely comments, I really do appreciate them all! I will be back later with an MFT video. See you soon! :) 

Clearly Besotted Teasers | Pawsome Christmas

Hello there and welcome to day two of the Clearly Besotted October 2020 Teasers. Today I am using the adorable new Holiday Huskies set. This is such a cute set that is perfect for making scenes. I kept mine very simple but you could definitely make it more detailed if you wanted to as there are lots of images in the set. 


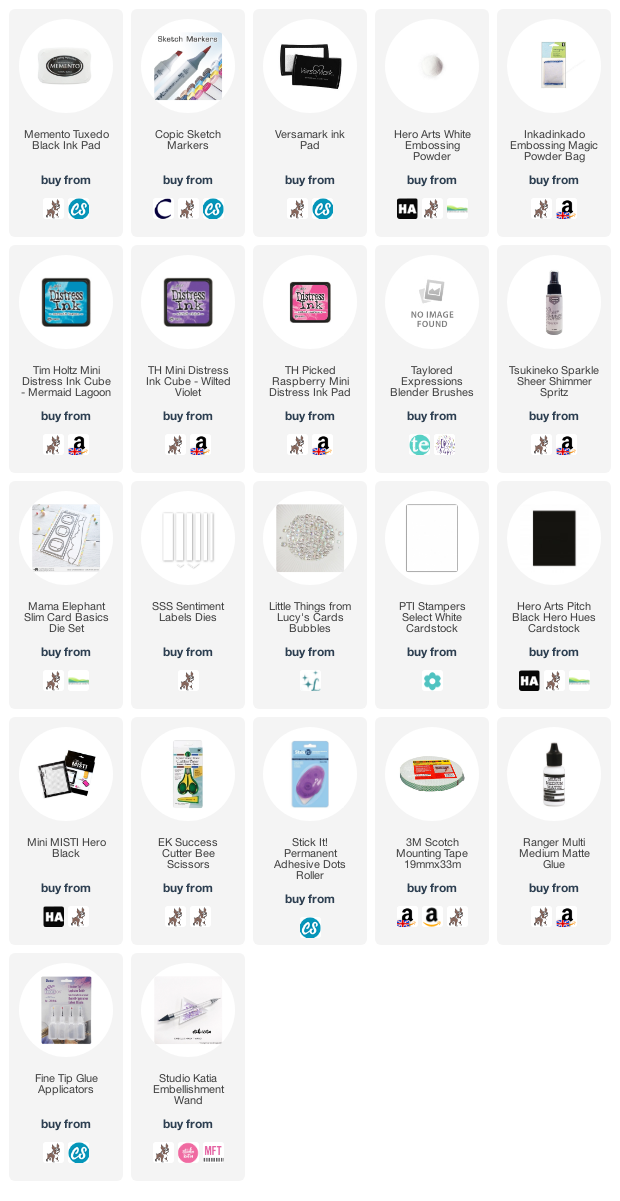
I started off by stamping the igloo and two of the huskies from the Clearly Besotted Holiday Huskies Stamp Set on to white cardstock with Memento Tuxedo Black Ink. I coloured them with Copic Markers (the colours that I used are listed below the supplies area for reference) and then fussy cut them out with scissors. 


I took a panel of cardstock and cut it using the main rectangle die from the Mama Elephant Slim Card Basics Die Set. I die cut another and then cut it further using the landscape die to create a snow bank. With the solid rectangle piece, I blended on Distress Inks to create a sky a little like the northern lights. I used Mermaid Lagoon at the top, followed by Wilted Violet and then Picked Raspberry at the bottom. It was heavily spritzed with Tsuekineko Sparkle Sheer Shimmer Spritz and set aside to dry. 


The panel was adhered on to a 8.5" x 3.5" white card base with foam tape. I then added the snow bank on top using tape runner. The igloo and huskies were added with more foam tape. I took the sentiment from the set and stamped it on to black cardstock using Versamark Ink and applied white embossing powder. It was heat set and cut in to a strip before adding to the card with foam tape. To finish off, I added a few Lucy's Bubbles around the sentiment. 

SUPPLIES:

Here are the links to what I have used on the card. Affiliate links are used on some products. This means that if you make a purchase after clicking on my link, I receive a small commission with no extra cost to you. I truly appreciate your support when using these links. Please click on the logo below the product to shop at your favourite store. All products were personally purchased except those from Clearly Besotted, Hero Arts or those marked with an asterisk (*) which were kindly sent to me to use. You can read my full disclosure here.


COPIC MARKERS: Igloo - B16, B04, B02, B00, B000, B0000. Huskies - E51, E50, R02, R01, R000. 


Not a traditional colour for the huskies but I wanted to keep them light since the background is so colourful. For more inspiration using the new release, please head over to the Clearly Besotted BlogKerenLisa and our fabulous guests Caly and Francine. Thank you so much for stopping by today, see you tomorrow for day three! I hope you have a fabulous day! 

27 September 2020

Clearly Besotted Teasers | Sloth Like Christmas

Hello there and welcome to day one of the Clearly Besotted October 2020 Teasers. The new sets release on the 1st October 2020 and from now until then we will be sharing teasers using the new sets. For my card today, I am using the new Eat Snooze & Be Merry set. This is such a fun set with sloths in different poses for winter and Christmas. 


I started off by stamping the sloth hanging from the decorations from the Clearly Besotted Eat Snooze & Be Merry Stamp Set on to white cardstock with Memento Tuxedo Black Ink. I coloured him using Copic Markers (the colours that I used are listed below the supplies list) and then fussy him out using scissors. 


I took a panel of white cardstock and placed the Taylored Expressions Rectangle Masking Stencil on top. Using the Clearly Besotted Cloudy Day Stencil, I then blended on clouds with Distress Inks. I used Seedless Preserves at the top, followed by Picked Raspberry and Dried Marigold at the bottom. With the stencil in place, I splattered on some water and then a mixture of Perfect Pearls and water. I then splattered on Arteza White Titanium Gouache. I removed the stencil and let it sit to dry. 


Once dry, the panel was added to an A2 white card base with tape runner. I then added the sloth at the top with foam tape. I took the sentiment from the set and stamped it on to black cardstock using Versamark Ink. I applied white embossing powder and heat set. It was cut in to a strip and added to the card with foam tape. To finish off, I added Tonic Nuvo Crystal Glaze to the decorations and then Lucy's Pink Moonshine Sequins around the sentiment. 

SUPPLIES:

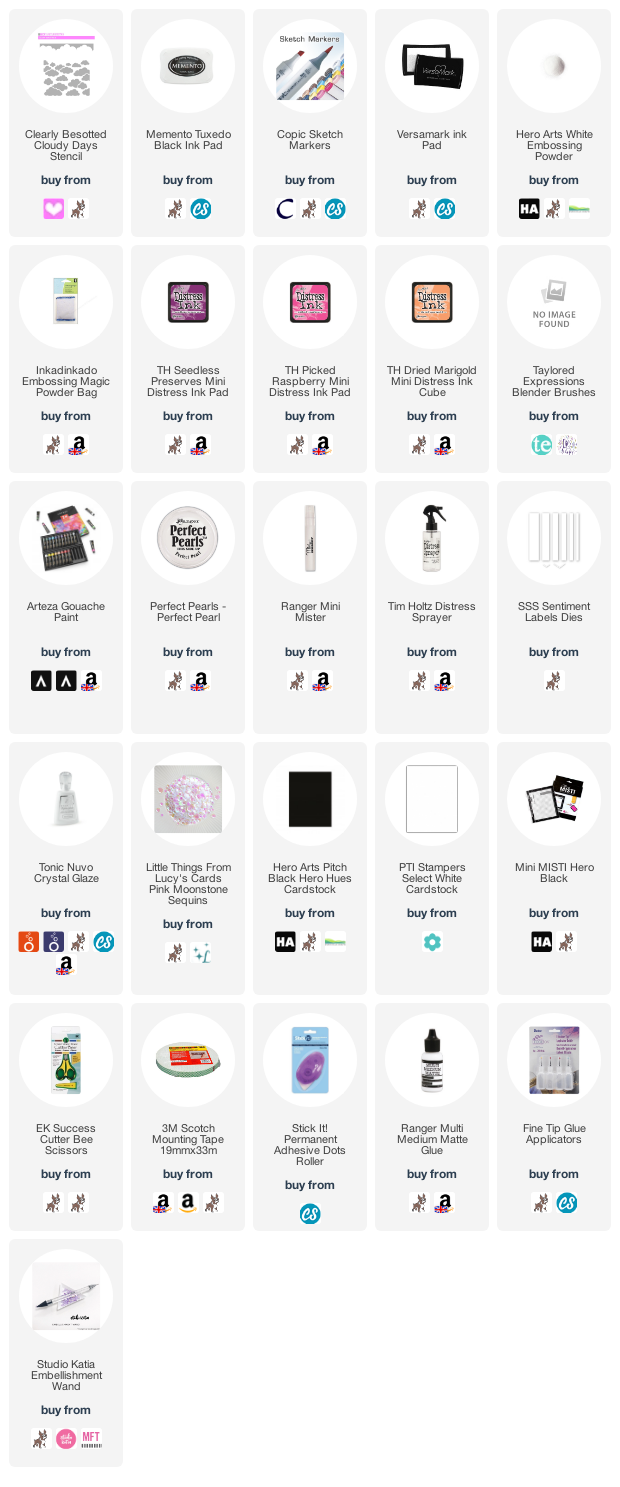
Here are the links to what I have used on the card. Affiliate links are used on some products. This means that if you make a purchase after clicking on my link, I receive a small commission with no extra cost to you. I truly appreciate your support when using these links. Please click on the logo below the product to shop at your favourite store. All products were personally purchased except those from Clearly Besotted, Hero Arts or those marked with an asterisk (*) which were kindly sent to me to use. You can read my full disclosure here.


Sloth - W7, W5, W3, W1, W0, W00. Antlers - E57, E55, E53. Decorations - V09, V06, V05, V01/R85, R83, R81/YR68, YR65, YR61. 

The colour combination is a little unconventional for a Christmas card but I used it recently and really loved it. I thought it would make a fun background for the sloth. For more inspiration using the new release, please head over to the Clearly Besotted Blog, Keren, Lisa and our fabulous guests Caly and Francine. Thank you so much for stopping by today, see you tomorrow for day two! Have a lovely day! 

26 September 2020

Reverse Confetti | Wishing You Joy

Hello there, today I have a card to share with you using the new Reverse Confetti Wreath Of Joy Confetti Cuts. This set is so beautiful and comes with different layers so that you can use as many or as little as you want. 


I started off by taking an A2 white card base and embossed it using the PTI Linen Impression Plate. I then took the Reverse Confetti Wreath Of Joy Confetti Cuts and die cut the main portion from white cardstock and the layered J and Y from black cardstock, these were added to the white layer with glue. I then cut the leaves from Simon Says Stamp Copper Glitter Cardstock


I just added glue along the spine of the leaves so that I could still have some dimension to them. The whole piece was added to the card base with foam tape. I then stamped the sentiment from the Reverse Confetti Joyful Holiday Wishes Stamp Set (I just masked off a section of a larger sentiment) on to black cardstock with Versamark Ink. I applied white embossing powder and heat set. It was cut in to a strip and added to the card with more foam tape. 

SUPPLIES:

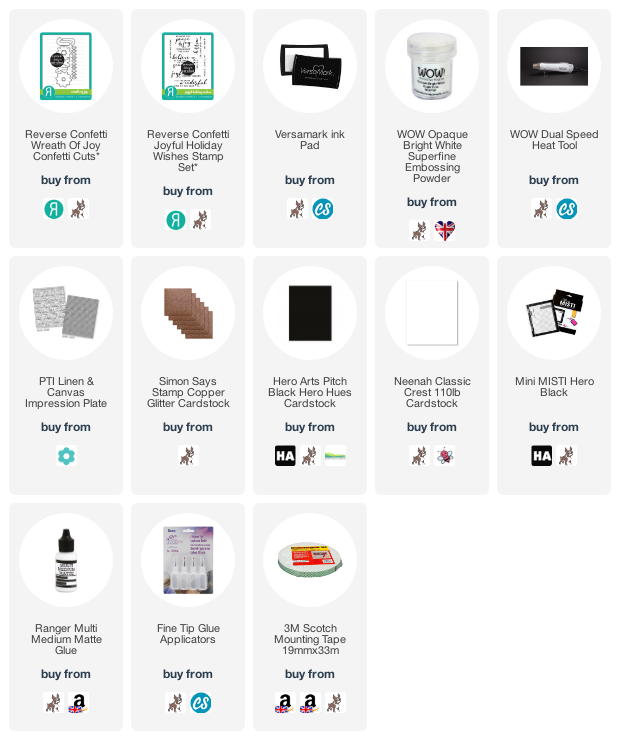
Here are the links to what I have used on the card. Affiliate links are used on some products. This means that if you make a purchase after clicking on my link, I receive a small commission with no extra cost to you. I truly appreciate your support when using these links. Please click on the logo below the product to shop at your favourite store. All products were personally purchased except those from Clearly Besotted, Hero Arts or those marked with an asterisk (*) which were kindly sent to me to use. You can read my full disclosure here.


Although black is not a colour usually associated with Christmas, I really love the combination of black and copper together and I think they work well for a CAS Christmas card. Thank you so much for visiting me today. I really do appreciate it. I hope you have a lovely day and a great weekend! 
End of code