8 March 2019

Reverse Confetti March 2019 Blog Hop

Hello there, today we are celebrating the March 2019 release from Reverse Confetti. It is a wonderful release and I have two projects to share with you today, using two new sets and the new paper pad. If you are following along in the hop, you should have arrived here from the fantastic Kathy but if you get lost along the way, I have the full list of participants below.
 
For both of my projects today, I am using the adorable new Spring Pals set, along with the fantastic Word Up set. The Spring Pals set consists of lots of spring critters, as well as fabulous sentiments. The Word Up set is made to combine with word dies but as you can see, you can use it alone with lots of other stamp sets too.
 

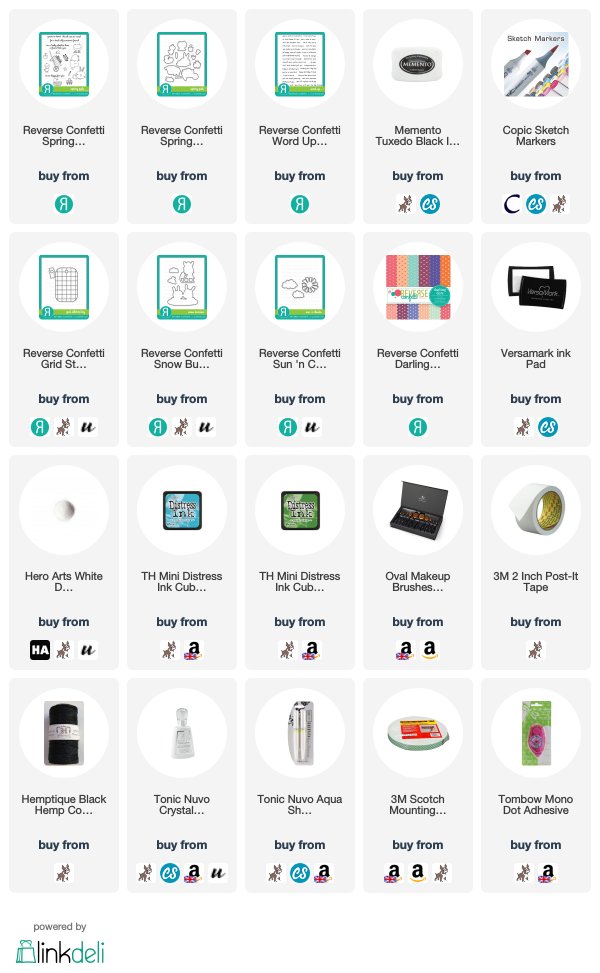
For my card, I started off by stamping the duck, little chick and wheelbarrow images on to white cardstock with Memento Tuxedo Black Ink. I then coloured them with Copic Markers (the colours that I used are listed below the supplies area), adding shimmer to the flowers with an Aqua Shimmer Pen. They were then cut out using the Spring Pals Confetti Cuts and set aside.
 
 
I took a panel of white cardstock and masked off the bottom portion. I blended Broken China Distress Ink on to the top portion. I then removed the mask and placed this above the line where I had blended the blue ink. I then blended Mowed Lawn Distress Ink below to create grass and sky. I removed the mask and stamped the sentiment from the Word Up set below, with black ink. The panel was added to an A2 white card base with foam tape. I then added the wheelbarrow, duck and chick on top with more foam tape. To finish off, I added Crystal Glaze to the duck's beak.
 
 
My next project uses the frog/toad image from the Spring Pals set. He was stamped on to white cardstock with Memento Tuxedo Black Ink, coloured with Copic Markers and cut out with the Spring Pals Confetti Cuts. I then took the Grid Stitched Tag Die and cut this from white cardstock, as well as the cloud image from the Snow Bunnies Confetti Cuts set twice and the sun from the Sun 'n Clouds Confetti Cuts set.
 
 
I took a piece of paper from the new Darling Dots Paper Pad and cut this using the Grid Stitched Tag Die. I cut the top portion in to a hill and then added this on to the white tag with tape runner. I then added the frog on top with foam tape. I took the sun die cut and coloured this with Copic Markers before adhering it to the tag with tape runner. The clouds were then added on top. I took the sentiment from the Word Up set and stamped this on to black cardstock with Versamark Ink. I applied white embossing powder and heat set. This was cut in to a strip and added to the tag with more foam tape. To finish off, I added hemp twine through the top of the tag and tied in a bow.


SUPPLIES:

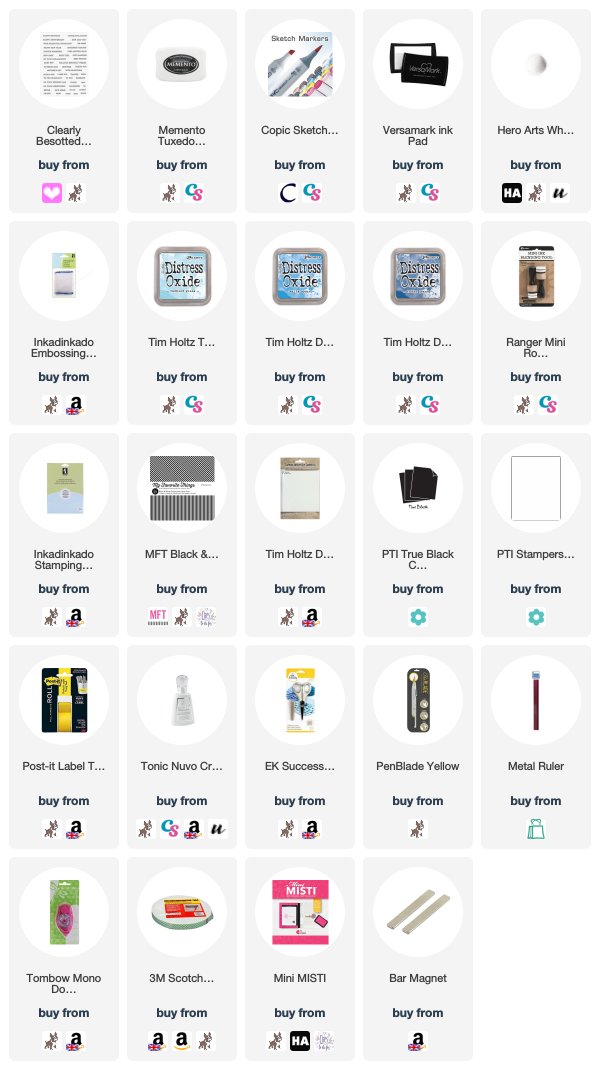
Here are the links to what I have used on the card. Affiliate links are used on some products. This means that if you make a purchase after clicking on my link, I receive a small commission with no extra cost to you. I truly appreciate your support when using these links. Please click on the logo below the product to shop at your favourite store. All products were personally purchased except those from Clearly Besotted, Hero Arts or those marked with an asterisk (*) which were kindly sent to me to use. You can read my full disclosure here.
 

COPIC MARKERS: Duck & chick - Y17, Y15, Y13, Y11, YR16, YR15, YR12. Wheelbarrow - E59, E57, E55. Purple flowers - V17, V15, V12. Leaves - YG17, YG01. Peach flowers - YR65, YR61. Pink flowers - R85, R83, R81. Frog - G07, YG45, YG41. Sun - Y17, Y15, Y13, Y11, Y00.


BLOG HOP:

Here is the full list of participants in the hop today:

Michelle Short - you are here!
 
I loved playing with these new products, they are so cute but if you are not into cute, there are some lovely elegant sets in the release too. I hope you will check it out. Next on the hop is the fantastic Audrey. Thanks so much for popping by today, I really do appreciate it. Have a great day!

7 March 2019

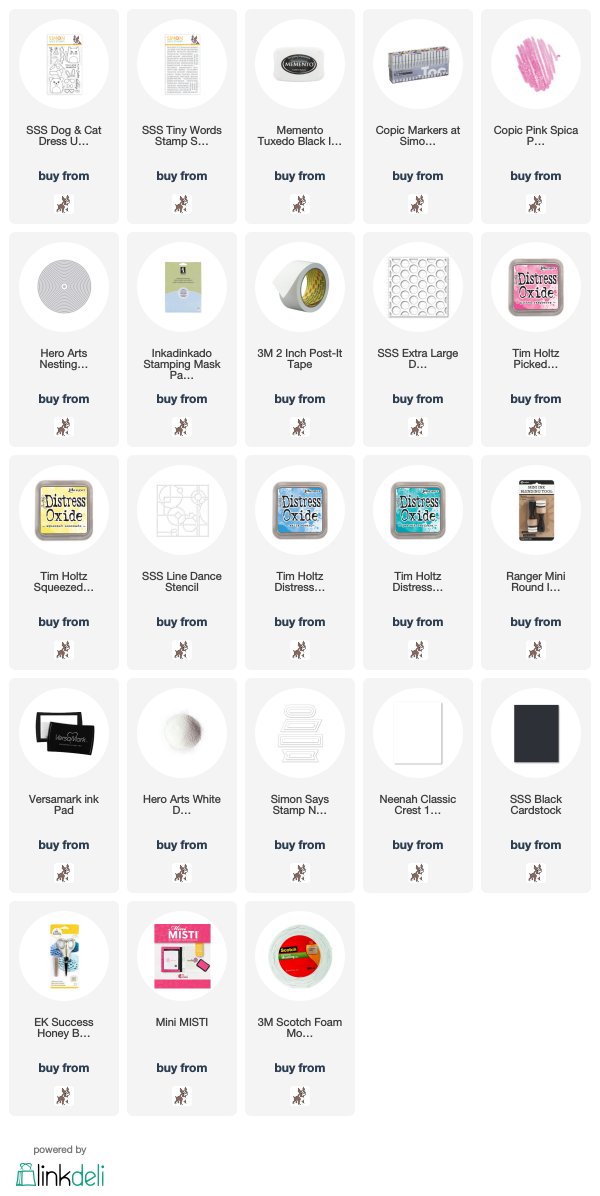
Simon Says Stamp | Dog & Cat Dress Up

Hello there, today we are celebrating the release of the new Fresh Bloom collection form Simon Says Stamp. What a wonderful release! Today I am using the new Dog & Cat Dress Up stamp set. It is such a fun set where as the name suggests, you can dress up a cat and dog with all different accessories and there is some fab sentiments in there too!
 

My first card uses the cat from the Dog & Cat Dress Up set. I first stamped the bunny ears and tutu from the set on to white cardstock with Memento Tuxedo Black Ink. I masked these off and then stamped the cat image on top. I removed the masks and it looks like the cat is wearing the bunny ears and tutu - so cute! I coloured the cat using Copic Markers (the colours that I used are listed below the supplies section) and then added some dots to her tutu with a Copic Spica pen for some added sparkle. She was then fussy cut out with scissors and set aside.
 
 
I took a sheet of mask paper and die cut one of the Hero Arts Nesting Circle Infinity Dies from it to create a window. This was added to the front of an A2 white card base. I then masked off the bottom portion of the circle with Post-It Tape. I blended Distress Oxide Inks in to the window with a light hand at first. I used Picked Raspberry and Squeezed Lemonade. I blended them together to create a peach colour. I placed the Extra Large Dots Stencil on top and then blended on more ink. I removed all of the masks and stamped the sentiment from the set below the window area. I then added the cat on top with foam tape.
 
 
My next card uses the same design but with the dog this time. I first stamped the shirt collar and tie image from the set, as well as the party hat and masked these off. I then stamped the dog on top and removed the masks. He was coloured with Copic Markers (again, the colours are listed below) and fussy cut out.
 
 
I used the same mask as the cat card but this time used Peacock Feathers and Salty Ocean Distress Oxide Inks for the blending. I placed the Line Dance Stencil over the top and blended on more of the ink to get a tone-on-tone look. The masks were removed and the dog added on top with foam tape. For the sentiment, I stamped the 'happy birthday' from the Tiny Words set on to black cardstock with Versamak Ink. I applied white embossing powder and heat set. These were then cut down using the Nested Banners Dies and added to the card with more foam tape.
 

SUPPLIES:

Here are the links to what I have used on the card. Affiliate links are used on some products. This means that if you make a purchase after clicking on my link, I receive a small commission with no extra cost to you. I truly appreciate your support when using these links. Please click on the logo below the product to shop at your favourite store. All products were personally purchased except those from Clearly Besotted, Hero Arts or those marked with an asterisk (*) which were kindly sent to me to use. You can read my full disclosure here.
 
 
COPIC MARKERS: Cat - E33, E31, E30, E97. Tutu - R85, R83, R81. Bunny ears - N3, N2, N1, N0, R12, R01, R00, R000. Dog - E59, E57, E55, E53, E51, E50. Collar - C3, C0. Tie - B06, B04, B01. Hat - B06, B04, B01, BG49, BG13, BG11.
 
I hope you will check out the rest of the release. Thanks so much for visiting me today, I really do appreciate it. Have a great day!

4 March 2019

Hero Arts March 2019 My Monthly Hero Kit Blog Hop + Giveaway

Hello there, today we are celebrating the release of the March 2019 My Monthly Hero Kit for Hero Arts. What a wonderful kit! It has an underwater theme to it and I love it! If you are following along in the hop, you should have arrived here from the fantastic Nichol but if you get lost along the way, I have the full list of participants below.


My first card is the card that I shared over on the Hero Arts blog yesterday. I created an underwater scene as if looking through a window. I started off by blending two of the Reactive Inks from the kit - Sea Glass and Blue Water on to a panel of watercolour paper. I then splattered on some water and let the reaction happen. Once the panel was dry, I started stamping the images on top. I used Navy Mid-Tone Shadow Ink for the items that would be closest and Pool Mid-Tone Shadow Ink for the ones further away. I did also stamp some more seaweed using Soft Pool Shadow Ink but sadly these are not showing up in the photos.


I then stamped the sentiment from the stamp set on top with Intense Black Ink. This panel was then added to the front of an A2 white card base with tape runner. I took a panel of white cardstock and die cut a circle from it using one of the Nesting Circle Infinity Dies. The panel was then added to the card base with foam tape.


My next card uses some ink smooshing to create a background. I took a panel of watercolour paper and a plastic sheet. I smooshed the Sea Glass and Blue Water Reactive Inks on to it, one by one and misted with water. I then picked the plastic sheet up and pounced it on to the watercolour paper. This gives a nice organic feel, I think. I then splattered on some more water to create more interest, as well as splatters of the ink pads. I splattered on some of the Sea Salt ink (which is white) too and set aside to dry.


Once the panel was dry, I stamped the two turtle images from the kit with Navy Mid-Tone Shadow Ink. I took the sentiment from the set and stamped this on to Pitch Black Cardstock with Versamark Ink. I applied white embossing powder and heat set. This was cut in to a banner. I added a strip of black and white striped paper, as well as silver glitter and then added the sentiment banner on top with foam tape. The panel was then added to an A2 white card base with tape runner. The idea for this card was inspired by the turtles that ride the waves in Finding Nemo. I can imagine them having a lot of fun doing it!


SUPPLIES:

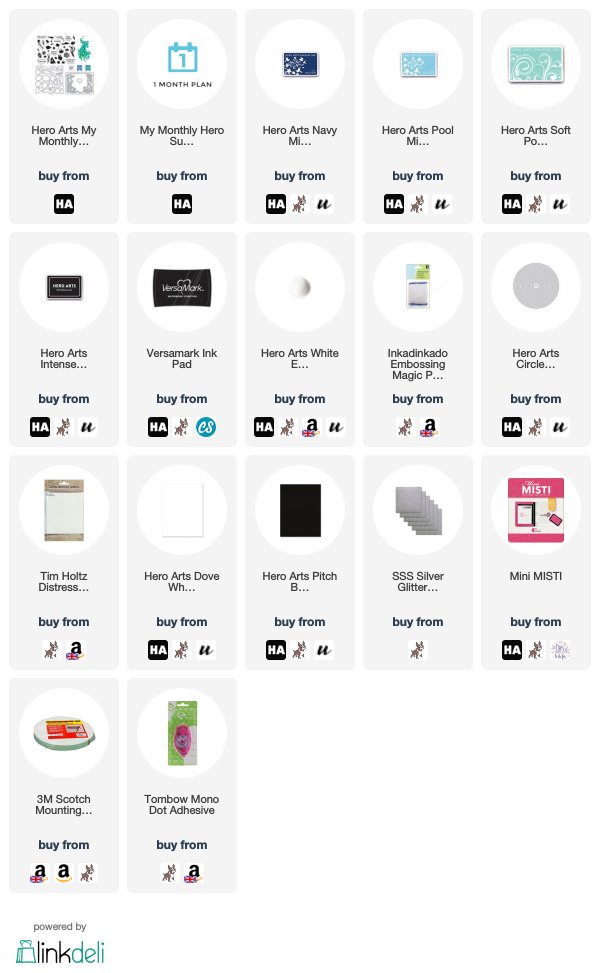
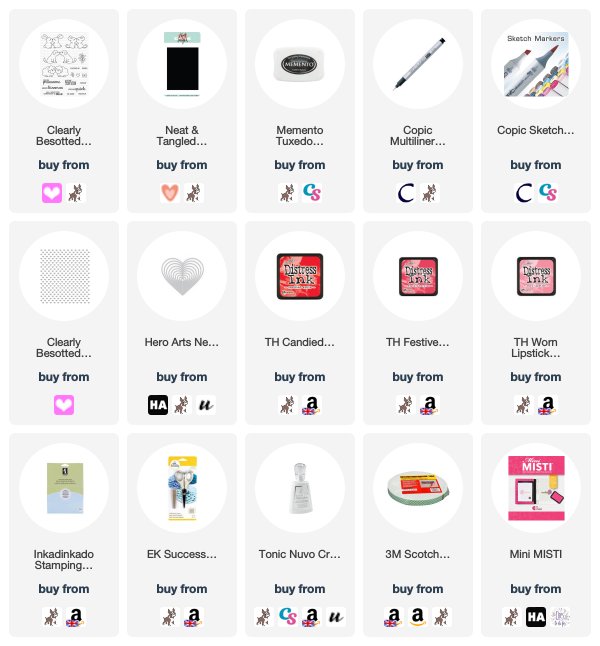
Here are the links to what I have used on the card. Affiliate links are used on some products. This means that if you make a purchase after clicking on my link, I receive a small commission with no extra cost to you. I truly appreciate your support when using these links. Please click on the logo below the product to shop at your favourite store. All products were personally purchased except those from Clearly Besotted, Hero Arts or those marked with an asterisk (*) which were kindly sent to me to use. You can read my full disclosure here.
 

THE KIT:

The March 2019 My Monthly Hero Kit contains a 6" x 8" clear stamp set, 27 coordinating Frame Cuts, 4.25" x 5.5" Aquarium Fancy Die, 3 water reactive ink cubes (Sea Salt, Sea Glass and Blue water) plus green and blue droplets. All of this is valued at $75.99 but you can get it for $34.99 (approximately £28, depending on exchange rate). The kits are limited and often sell out quickly. You can subscribe so that you never miss a kit. International subscribers also receive a discount off shipping.

ADD-ONS:

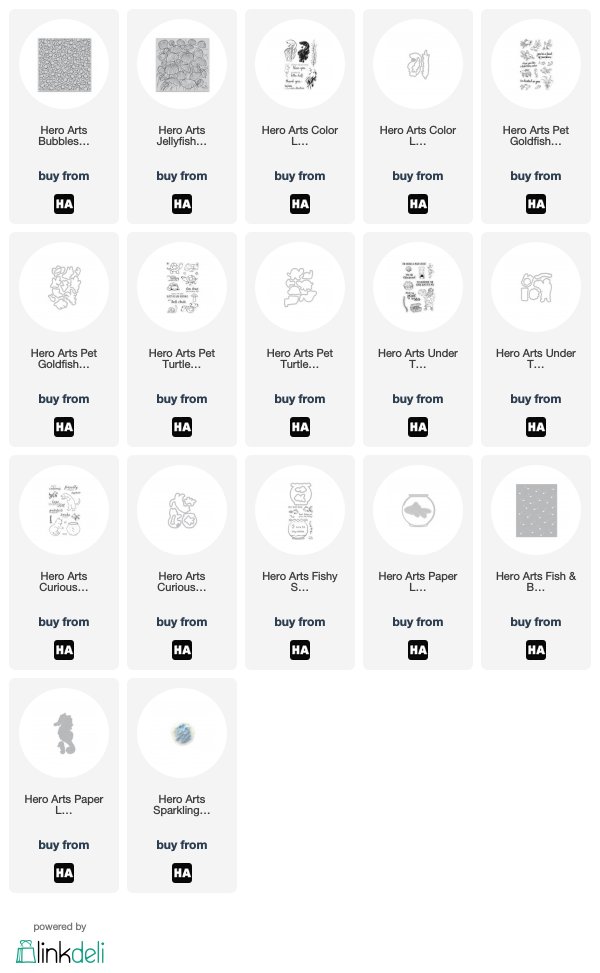
There are also some amazing add-on products this month, to go along with the underwater theme. These are not limited edition and can be purchased from the Hero Arts Store, as well as your local Hero Arts retailer. Here is a look at them:


BLOG HOP:

Here is the full list of participants in the hop today:


GIVEAWAY:

Hero Arts are giving away one kit to one lucky blog hop reader. The winner will be selected from all of the comments left across all of the blogs in the hop, so the more you comment, the more chances  you have to win! The giveaway closes on March 10th at 11.59pm. The winner will be announced the following week on the Hero Arts blog. Good luck!

Next on the hop is the fantastic Jessica. Thank you so much for stopping by today, I hope you have a great time on the rest of the hop!

1 March 2019

VIDEO | Clearly Besotted March 2019 Release Preview

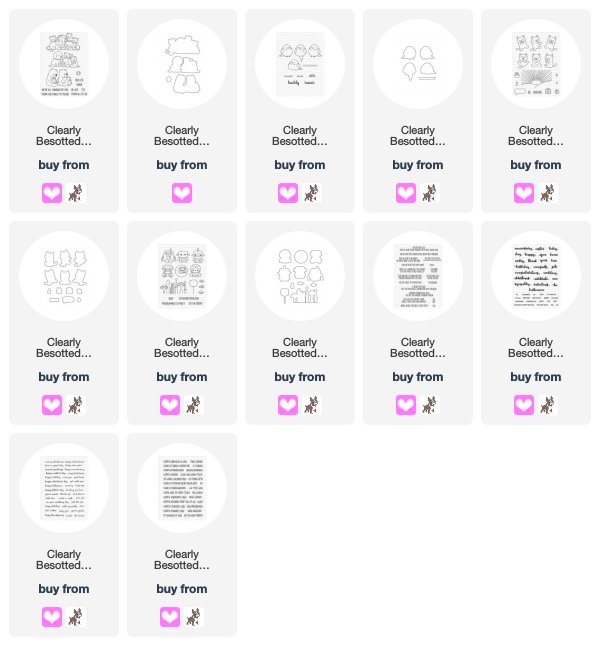
Hello there, today is THE day! The new products from Clearly Besotted release tonight at 8pm GMT. What a wonderful release! It is filled with cute critters, fun images and sentiments and great all round sentiments too.
 
 
The new products will be available to purchase from the Clearly Besotted shop (UK based, ships almost worldwide) and Simon Says Stamp (US based, ships worldwide). Here is a look at the new sets:


If you are viewing this post via email subscription, you can watch the video HERE on YouTube.
 

SUPPLIES:

Here are the links to what I have used on the card. Affiliate links are used on some products. This means that if you make a purchase after clicking on my link, I receive a small commission with no extra cost to you. I truly appreciate your support when using these links. Please click on the logo below the product to shop at your favourite store. All products were personally purchased except those from Clearly Besotted, Hero Arts or those marked with an asterisk (*) which were kindly sent to me to use. You can read my full disclosure here.
 
 
For more inspiration using the new sets, please do head over to the Clearly Besotted Blog, as well as Keren and Lisa. Thanks so much for popping by today, I really do appreciate it. Have a great day!

28 February 2019

Clearly Besotted Teasers | Birthday Wishes

Hello there and welcome to day four of the March 2019 Clearly Besotted Teasers. The new sets release tomorrow at 8pm GMT. I have one last teaser to share with you today, using the new Robot Plushies set.
 

I started off by stamping one of the robots from the Robot Plushies set on to white cardstock with Memento Tuxedo Black Ink. I masked him off and then stamped the balloons so that it looked like he is holding them. I coloured the image with Copic Markers (I am so sorry but I do not have a list of colours that I used for this card, I forgot to write them down, sadly) and fussy cut out with scissors (but there are dies available).
 
 
I then took a panel of watercolour paper and masked off the bottom section. On the top part, I blended on Distress Oxide Ink. I used Faded Jeans and Salty Ocean. I then stamped the background image from the set on top with Tumbled Glass Distress Oxide Ink. I did have to stamp this a few times to get the saturation I wanted. Once dry, the panel was added to a white A2 card base with tape runner.
 
 
I added a strip of MFT Black & White Stripes Paper underneath the inked portion and then added the robot on top with foam tape. I took the sentiment from the Miniature Type set and stamped this on to black cardstock with Versamark Ink. I applied white embossing powder and heat set. This was cut in to a strip and added to the card with foam tape. To finish off, I added Crystal Glaze to the balloons and the heart on the robot.
 
SUPPLIES:

Here are the links to what I have used on the card. Affiliate links are used on some products. This means that if you make a purchase after clicking on my link, I receive a small commission with no extra cost to you. I truly appreciate your support when using these links. Please click on the logo below the product to shop at your favourite store. All products were personally purchased except those from Clearly Besotted, Hero Arts or those marked with an asterisk (*) which were kindly sent to me to use. You can read my full disclosure here.
 
 
There are three other sets that I haven't shared this month, they are all sentiment sets and I will share them in my release video tomorrow. For more inspiration using the new sets, please head over to the Clearly Besotted Blog, as well as Keren and Lisa. Thanks so much for stopping by today, have a great day!

27 February 2019

Clearly Besotted Teasers | Just A Note

Hello there and welcome to day three of the Clearly Besotted March 2019 Teasers. Not long to wait now, all the new products will be available to purchase on Friday. Today I am using a new mini set called Budgie Buddies. Now, my scene doesn't really work for a budgie as they are usually in cages, rather than perching on branches outside but never mind! ;)
 

I started off by taking the branch image from the Cheeky Monkey set and stamping it on to white cardstock with Memento Tuxedo Black Ink. I then stamped one of the birds from the Budgie Buddies set so that he was standing on it. I extended the branch slightly with a black Copic Multiliner and then coloured the image with Copic Markers (the colours that I used are listed below the supplies area). I then fussy cut the image out with scissors (but there is a coordinating die set for the birds).
 
 
I took a sheet of mask paper and die cut a Hero Arts Nesting Infinity Heart die from it. This was placed on to the front of an A2 white card base. Using the MFT Mini Cloud Edges Stencil, I blended Tumbled Glass Distress Oxide Ink on top to create a sky. The mask was removed and the sentiment from the Tiny Type set stamped with black ink. I then added the image on top with foam tape.
 
SUPPLIES:

Here are the links to what I have used on the card. Affiliate links are used on some products. This means that if you make a purchase after clicking on my link, I receive a small commission with no extra cost to you. I truly appreciate your support when using these links. Please click on the logo below the product to shop at your favourite store. All products were personally purchased except those from Clearly Besotted, Hero Arts or those marked with an asterisk (*) which were kindly sent to me to use. You can read my full disclosure here.
 
 
COPIC MARKERS: Bird - B26, B24, B21, Y17, Y15. Branch - E59, E57, E55, YG67, YG17, YG23, YG03, YG01.
 
Like I say, the scene doesn't technically work for a budgie, but I like how the card came out none the less! Thank you so much for popping by today. For more inspiration, please check out my CB teamies Stephanie, Keren and Lisa. See you tomorrow for day four. Have a great day!

26 February 2019

Clearly Besotted Teasers | From All Of Us

Hello there and welcome to day two of the Clearly Besotted March 2019 Teasers. Today I am using the new Baby Love stamp set. It is so cute, it has three families of animals in it and I went with the bears for my card today.
 

I started off by stamping the bears from the Baby Love set on to a panel of white cardstock with Memento Tuxedo Black Ink. I then created a scene for them to be in, using Copic Markers. I did the background first and then coloured the bears (the colours that I used are listed below the supplies section).
 

I stamped the sentiment from the same set below the bears. The panel was then simply adhered to an A2 white card base with foam tape.
 
SUPPLIES:

Here are the links to what I have used on the card. Affiliate links are used on some products. This means that if you make a purchase after clicking on my link, I receive a small commission with no extra cost to you. I truly appreciate your support when using these links. Please click on the logo below the product to shop at your favourite store. All products were personally purchased except those from Clearly Besotted, Hero Arts or those marked with an asterisk (*) which were kindly sent to me to use. You can read my full disclosure here.
 

COPIC MARKERS: Bears - E47, E44, E43, E42, E41. Grass - YG67, YG17, YG23, YG03, YG01. Trees - G46, G29, G28, G24, YG23. Sky - B00, B000, B0000.
 
These images are perfect for simple scenes like this. For more inspiration using the new sets, please head over to my teamies Stephanie, Keren and Lisa. Thank you for visiting me today, see you tomorrow for day three. Have a great day!
25 February 2019

Clearly Besotted Teasers | Anniversary Kitties

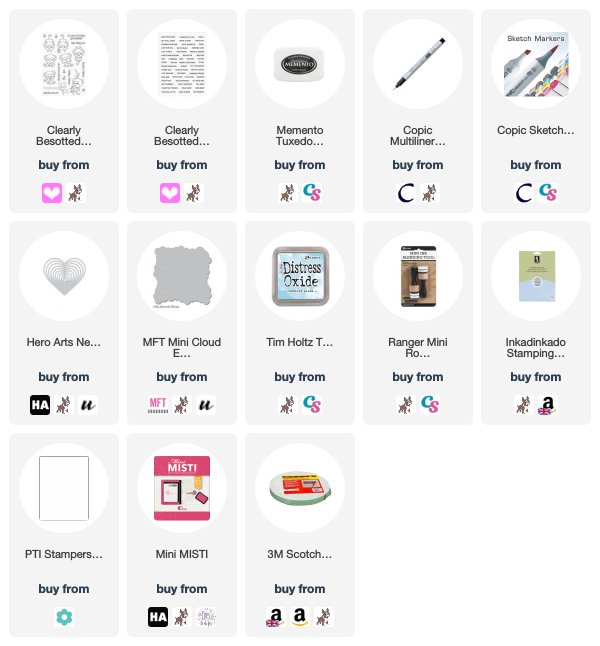
Hello there and welcome to day one of the Clearly Besotted Teasers for the March 2019 release. The new products will be available to purchase in the shop on the 1st March and until then, myself and the rest of the Design Team are sharing teasers with you. My card today uses two new sets - Cheeky Chappy and Mini Calligraphy.
 

I started off my card by stamping the cats from the new Cheeky Chappy set. The cat on the right is the original image. I stamped it once and then stamped it again using the mirror stamping technique. I didn't get a perfect impression so I went around the outline with a black Copic Multiliner. The images were then coloured with Copic Markers (the colours I used are listed below the supplies area) and then fussy cut out (but there are coordinating dies available).
 
 
I took an A2 white card base and added a mask sheet over the top that I had cut with one of the Hero Arts Nesting Hearts Infinity Dies to make a window. I then blended Distress Ink inside. I used Worn Lipstick, Festive Berries and Candied Apple. Keeping the mask in place, I placed the Heart Confetti Stencil over the top and blended over Candied Apple Distress Ink to create the heart pattern. The mask was then removed and the sentiment from the new Mini Calligraphy stamp set stamped below with black ink.
 
 
I adhered the cats on top of the heart with foam tape and then stamped, coloured and cut out a heart from the Kiss Me Quick set to add between the cats. To finish off, I added Crystal Glaze to the heart.
 
SUPPLIES:

Here are the links to what I have used on the card. Affiliate links are used on some products. This means that if you make a purchase after clicking on my link, I receive a small commission with no extra cost to you. I truly appreciate your support when using these links. Please click on the logo below the product to shop at your favourite store. All products were personally purchased except those from Clearly Besotted, Hero Arts or those marked with an asterisk (*) which were kindly sent to me to use. You can read my full disclosure here.
 
 
COPIC MARKERS: Cats - T10, T8, T7, T6, T5, T4, T3, R12, R000. Heart - R89, R37, R27, R24.
 
There are lots of cats in different poses in this set and I think it can be used for lots of different occasions. I love the new Mini Calligraphy set too, you can mix and match sentiments to your heart's content! Please do head over to see what my teamies Stephanie, Keren and Lisa have been up to. Thanks so much for popping by today, I really do appreciate it. I hope you have a great day!

20 February 2019

Just For You

Hello there, today I have a card to share using the new Hero Florals Arum Lily stamp set. I love Arum and Calla lilies, they are my favourite flower. This one is coloured more like a Calla lily than an Arum lily but never mind! :)
 

I started off by stamping the head of the lily on to white cardstock with Intense Black Ink. I stamped the leaf on the right hand side next and masked these both off. I then stamped the stem, masked this off a well and stamped the last leaf on the left. The masks were removed and the lily coloured with Copic Markers. There are dies for this set but because I made up the image myself, I needed to fussy cut it out with scissors.
 
 
I took an A2 white card base and stamped the sentiment from the new Sending Smiles set, again with Intense Black Ink. I added the Arum lily with foam tape beside and then finished off with a few Ice Cube Jewels.


SUPPLIES:

Here are the links to what I have used on the card. Affiliate links are used on some products. This means that if you make a purchase after clicking on my link, I receive a small commission with no extra cost to you. I truly appreciate your support when using these links. Please click on the logo below the product to shop at your favourite store. All products were personally purchased except those from Clearly Besotted, Hero Arts or those marked with an asterisk (*) which were kindly sent to me to use. You can read my full disclosure here.
 
 
COPIC MARKERS: Flower head - V09, V06, V05, V04, V01, YR24. Leaves & stem - YG67, YG17, YG23, YG03, YG01.
 
Does this card look familiar? I CASE'd one of my own cards as I loved the purples against the white card base. Thank you so much for visiting me today, I hope you have a wonderful day!
18 February 2019

Hello Bear

Hello there, today I have a very CAS card to share with you. I coloured this adorable bear as part of The Daily Marker 30 Day Colouring Challenge and I thought he would look nice with just a simple background behind.
 

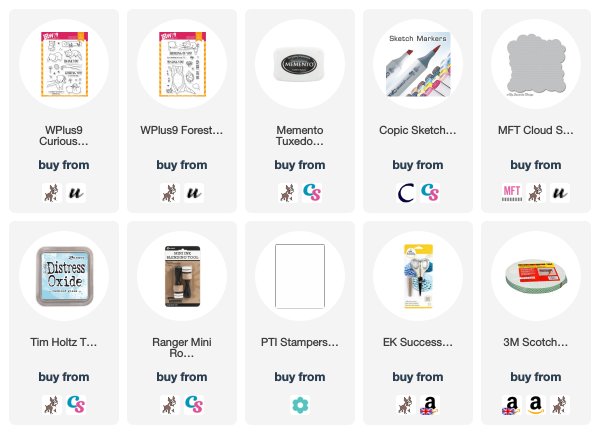
I started off by stamping the bear image from the WPlus9 Curious Forest Friends stamp set on to white cardstock with Memento Tuxedo Black Ink. I coloured him with Copic Markers (the colours that I used are listed below the supplies section) and then fussy cut out with scissors.
 
 
I took an A2 white card base and the MFT Cloud Stencil and blended Tumbled Glass Distress Oxide ink over to create the cloud background. The sentiment from the WPlus9 Forest Friends set was stamped on to the card base and then the bear image added with foam tape.
 
SUPPLIES:

Here are the links to what I have used on the card. Affiliate links are used on some products. This means that if you make a purchase after clicking on my link, I receive a small commission with no extra cost to you. I truly appreciate your support when using these links. Please click on the logo below the product to shop at your favourite store. All products were personally purchased except those from Clearly Besotted, Hero Arts or those marked with an asterisk (*) which were kindly sent to me to use. You can read my full disclosure here.
 
 
COPIC MARKERS: Bear - E44, E43, E42, E41. Branch - E59, E57, E55, YG17, YG01.
 
I love that little bear! He is so cute! I apologise for the photo's though, winter light and photography do not seem to work well together for me it seems. Thank you so much for stopping by to see me today, I really do appreciate it. I hope you have a great Monday and a fantastic week!

15 February 2019

Hero Arts 2019 Catalogue Blog Hop + Giveaway

Hello there and welcome to the Hero Arts 2019 Catalogue Blog Hop. Today we are celebrating the release of the new products going in to the Hero Arts store. What a fantastic release! There are so many amazing new products and I am using a few today, including the fantastic new heavyweight cardstock. 

If you are following along in the hop, you should have arrived here from the amazing Jessica, but if you get lost along the way, I have the full list of participants below.


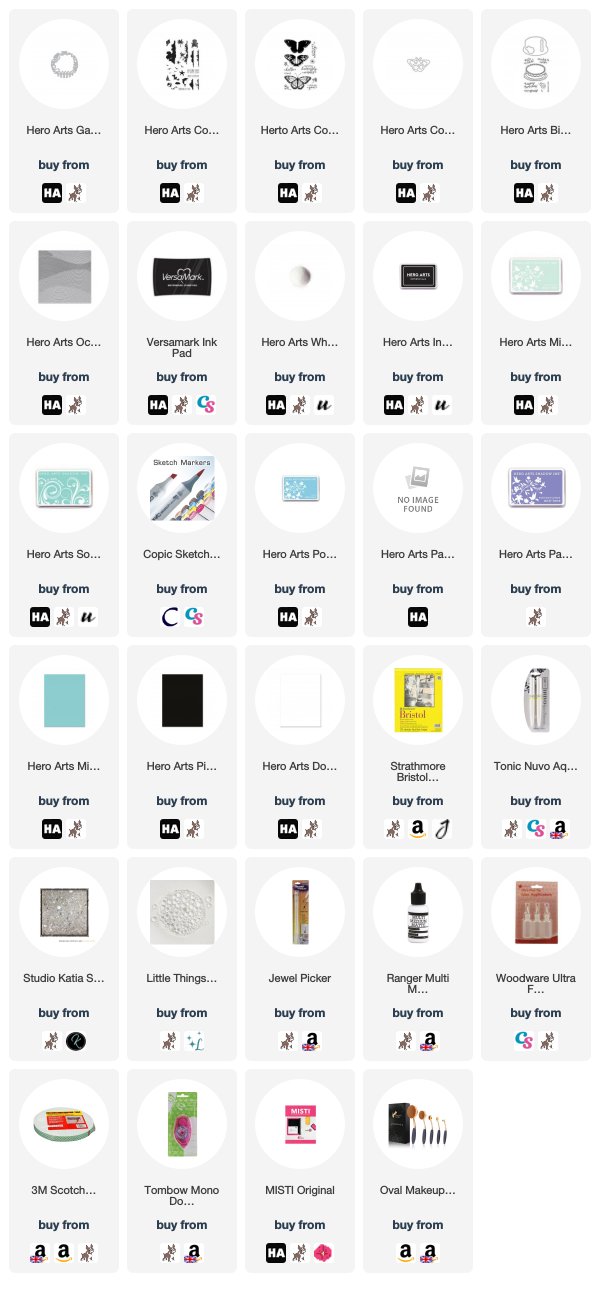
My first card uses the new Garden Fancy Die. I adore these dies for creating simple scenes on cards. I started off by taking a panel of the new Dove White Hero Hues Cardstock and die cut the die from it. This piece was then set aside. I took a panel of Bristol Smooth cardstock and blended inks on to it using oval makeup brushes (I wanted a soft blend). I used Mint Julep, Soft Pool, Pool and Passion Flower inks.

 
I added the piece to the front of an A2 white card base and then added the die cut panel on top with foam tape. I took the sentiment from the Color Layering Sea & Sky stamp set and stamped this on to Hero Hues Pitch Black Cardstock with Versamark Ink. I applied White Detail Embossing Powder and heat set. This was cut in to a strip and added to the card with foam tape and tape runner. To finish off, I added a few Raindrops.
 

My next card uses the gorgeous new Color Layering Monarch Butterfly set. I stamped the outline layer on to white cardstock with Intense Black Ink. I then coloured the butterfly with Copic Markers. This is a layering set, however, so if you do not like colouring, you can add the other layers in with stamping. I love that you can use it in different ways, though! It was then cut out with the Color Layering Monarch Butterfly Frame Cuts.

 
I took a piece of the new Hero Hues Mist Cardstock (what a beautiful colour!) and stamped the Ocean Waves Bold Prints on to it using Versamark ink. The ink does take a while to dry so I set it aside before cutting it down in to a panel. I took the sentiment from the Birthday Cake Stamp & Cut set and stamped this on to the panel with Intense Black Ink. The panel was then added to a 4" x 5.5" card base with foam tape. I made the card smaller so that the butterfly could hang off the edge but still fit in a standard envelope.

 
I added the butterfly on top with tape runner just on it's centre so that I could bend the wings to give it some movement. To finish off, I added Aqua Shimmer Pen to the butterfly and I also added a few Sparkling Crystals around the card.


SUPPLIES:

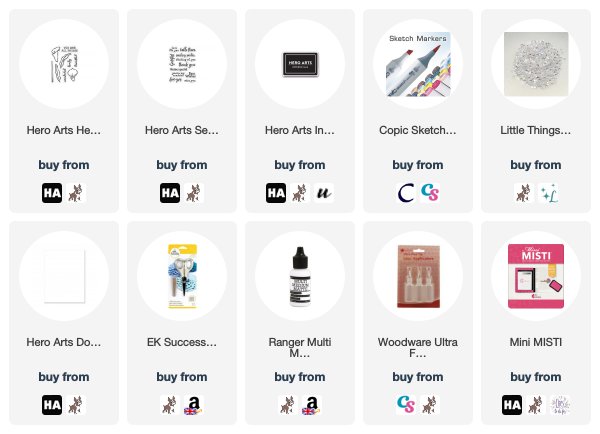
Here are the links to what I have used on the card. Affiliate links are used on some products. This means that if you make a purchase after clicking on my link, I receive a small commission with no extra cost to you. I truly appreciate your support when using these links. Please click on the logo below the product to shop at your favourite store. All products were personally purchased except those from Clearly Besotted, Hero Arts or those marked with an asterisk (*) which were kindly sent to me to use. You can read my full disclosure here.


BLOG HOP:


Here is the full list of participants in the hop today:
 
The Hero Arts Blog
Ilina Crouse
Jessica Frost-Ballas
Michelle Short - you are here!
Debi Adams
Kathy Racoosin
Laurie Willison

GIVEAWAY:

Hero Arts are giving away four $50 shipping sprees! The winners will be drawn from all of the comments left across all of the stops in the hop. The more you comment, the more chances to win! Entries close on Sunday 17th February 2019 at 23.59 hrs PST. The winners will be announced on the Hero Arts blog the following week. Good luck!

Next on the hop is the fantastic Nichol. Thanks so much for stopping by today, have a great time on the rest of the hop and a wonderful day!

12 February 2019

This Little Piggy Says ...

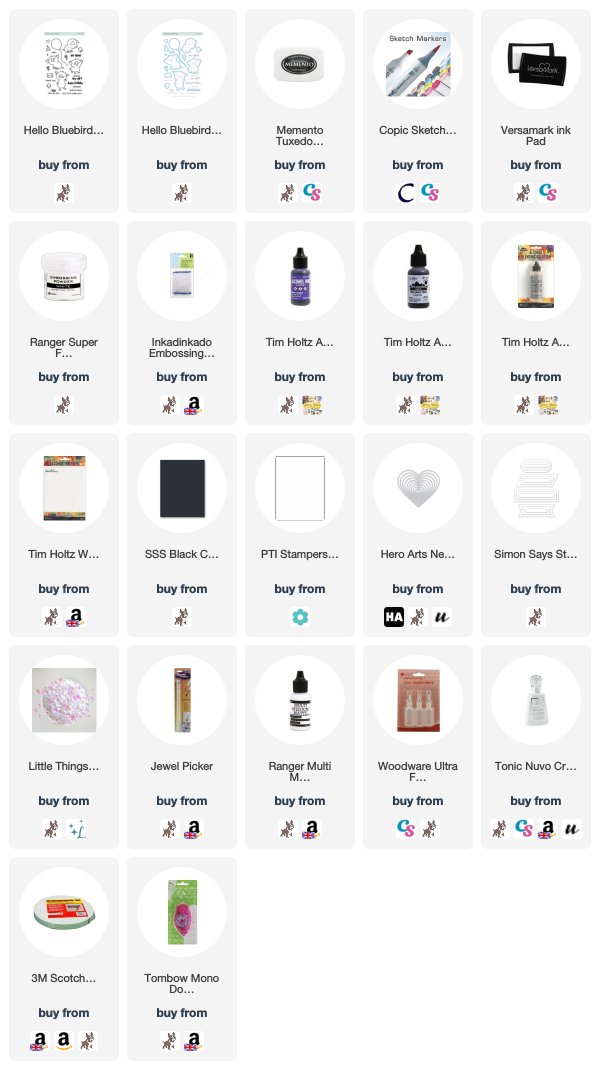
Hello there, today I have a card to share using the adorable Pig Day stamp set and dies from Hello Bluebird. I kindly received these as a gift from a friend and of course, I love them! I coloured the pig as part of The Daily Marker 30 Day Challenge, I am sharing my progress with that over on Instagram, if you are interested.
 

I started off by stamping the pig from the Pig Day set onto white cardstock with black ink. I coloured it with Copic Markers and cut out with the coordinating die. He was then set aside while I worked on the background. I took a piece of Yupo paper and first added some Alcohol ink Blending Solution to it. I then added drops of Amethyst and Cool Peri alcohol inks, followed by more blending solution. This was then set aside to dry.

 
Once dry, I die cut the alcohol piece using a Hero Arts Nesting Hearts Infinity Die and added this to an A2 white card base with tape runner. I cut off the part hanging off the card and then took the sentiments from the Pig Day set and stamped them on to black cardstock with Versamark Ink. I applied super fine embossing powder and heat set. These were then cut in to strips using the SSS Nesting Banners Dies and added to the card with foam tape. I added the pig on top with more foam tape. To finish off, I added a few Pink Moonstone Sequins and then Crystal Glaze on the pig's nose.
 
SUPPLIES:

Here are the links to what I have used on the card. Affiliate links are used on some products. This means that if you make a purchase after clicking on my link, I receive a small commission with no extra cost to you. I truly appreciate your support when using these links. Please click on the logo below the product to shop at your favourite store. All products were personally purchased except those from Clearly Besotted, Hero Arts or those marked with an asterisk (*) which were kindly sent to me to use. You can read my full disclosure here.
 
 
COPIC MARKERS: E02, E01, E00, E000, E0000.
 
I just love that little piggy! Thank you so much for visiting me today. I hope you have a wonderful day!
End of code