
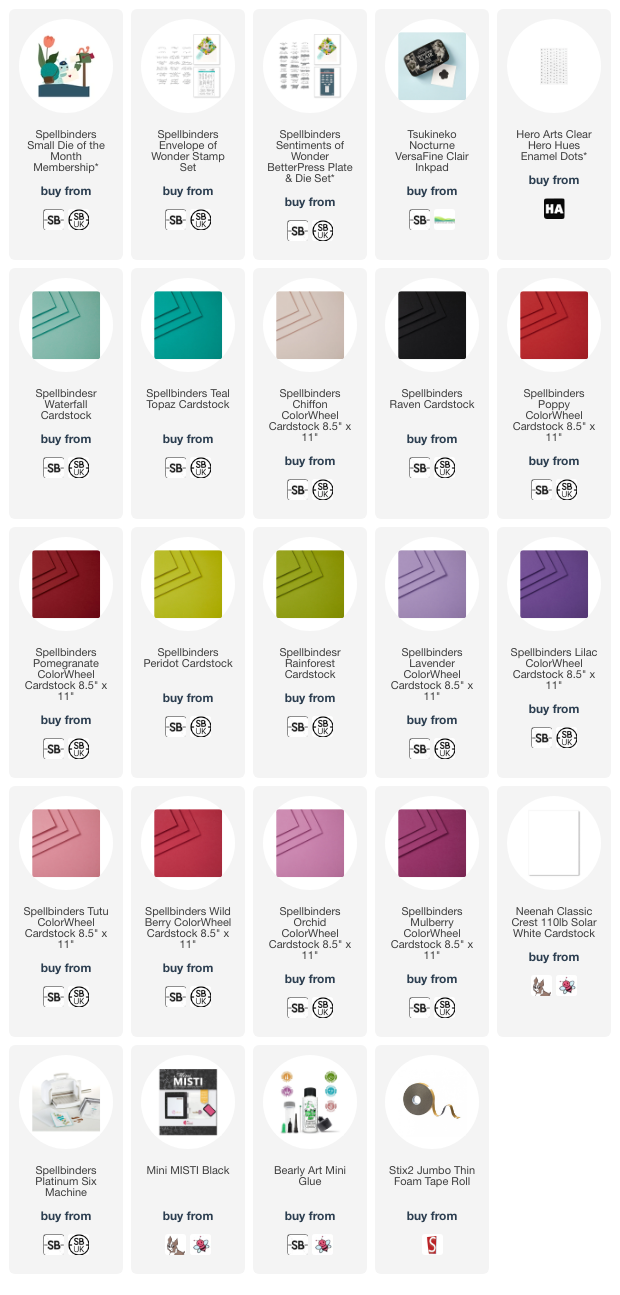
Hello there and happy Monday to you! Today I have a card to share that I made using the Spellbinders April 2025 Small Die of the Month Club Kit called "Snail Mail Post". The set features a cute snail, a mailbox (I didn't use it on my card), letters/envelopes of two sizes, flowers, leaves, worm (I did not use it on my card) and landscape piece. I love that you can mix and match the different elements however you wish!
PLEASE
NOTE: This post contains affiliate links. Please see below for my full
disclosure.

I started off my card by die cutting the snail from the Spellbinders April 2025 Small Die of the Month Club Kit from Spellbinders Waterfall, Teal Topaz, Raven and Chiffon ColorWheel Cardstock. I assembled and adhered the pieces together using Bearly Art Glue. I then die cut the hat and bag from Spellbinders Poppy and Pomegranate ColorWheel Cardstock. I assembled them and adhered them to the snail.

I then die cut the grass from Spellbinders Peridot ColorWheel Cardstock and adhered it to the bottom of a US A2 sized white card base, leaving the top part without glue, so that I could pop the leaves and stems behind. I cut the leaves (and stems) from Spellbinders Rainforest ColorWheel Cardstock and adhered them to the card with more liquid glue.

I die cut the flower heads from (left to right) Spellbinders Lavender & Lilac, Tutu & Wild Berry, and Orchid & Mulberry ColorWheel Cardstock. They were assembled with liquid glue and adhered to the card with thin foam tape. I adhere the snail with thin foam tape also and then die cut the envelope from white cardstock and adhered that on top, followed by the snail's arm. I die cut the little heart for the envelope from Spellbinders Lilac ColorWheel Cardstock.

I took the sentiment from the Spellbinders Envelope of Wonder Stamp Set and stamped it onto white cardstock using Versafine Clair Nocturne Ink. Once dry, it was die cut using the coordinating dies (that come in the BetterPress set). I die cut another three of the die and adhered them behind the stamped one for added dimension, before adhering to the card. To finish, I embellished with Hero Arts Clear Enamel Dots.
SUPPLIES:
Here are the links to
what I have used on the project. Affiliate
links are used on some products. This means that if you make a purchase after
clicking on my link, I receive a small commission with no extra cost to you. I
truly appreciate your support when using these links. Please click on the logo below
the product to shop at your favourite store. All products were personally
purchased except marked with an asterisk (*) which were kindly sent to me to
use. You can read my full disclosure here.
That snail is just so cute, he really does puts a smile on my face! Thank you so much for stopping by today, I really do appreciate it. I hope you have a wonderful day and a great week ahead!
Terrific Michelle! I love it!
ReplyDelete