
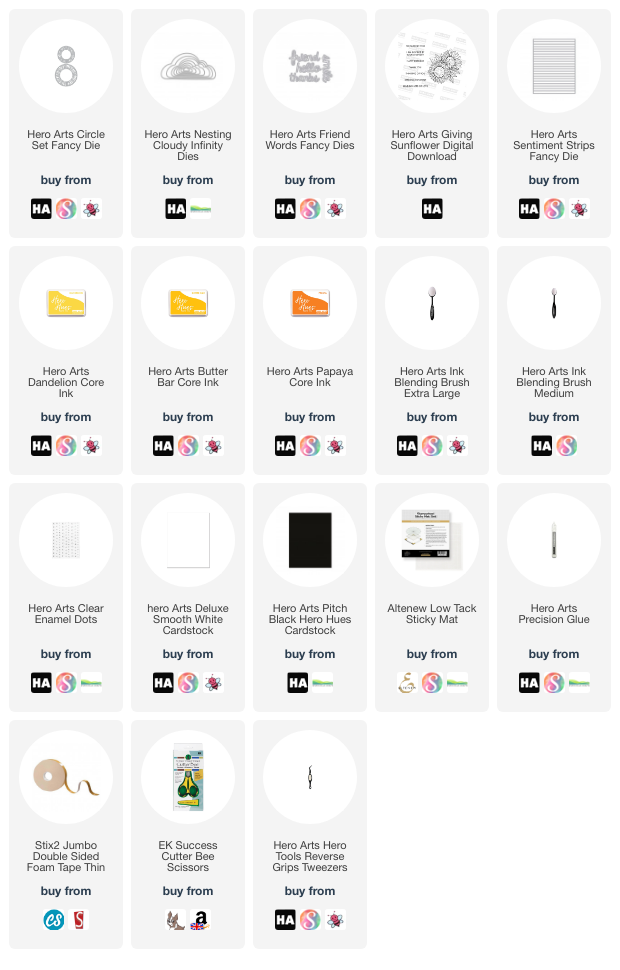
Hello there, today I have a video and card sharing how to change the look of die-cuts to suit your needs. The Hero Arts Circle Set Fancy Die is a really great die set. It has two circle dies in it that you can do lots with as is, but for my card today, I thought it would be fun to cut the edge off and have the circle be a sun.
PLEASE
NOTE: This post contains affiliate links. Please see below for my full
disclosure.

I started off by die cutting the largest Hero Arts Circle Set Fancy Die from Hero Arts Deluxe Smooth White Cardstock. I then cut around the outside edge with scissors to create a sun. I added ink blending to it using Hero Arts Core Inks in Dandelion, Butter Bar and Papaya. I then cut another two layers of the die from white cardstock and adhered them to the back, cutting off the edge pieces as I went. I found it easier to cut one layer at a time. This just gives more dimension and stability to the sun.

Whilst die cutting, I die cut two of the smaller clouds from the Hero Arts Nesting Cloudy Infinity Dies set (each one twice) from white cardstock. I also cut the friend word from the Hero Arts Friends Words Fancy Dies set three times from Hero Arts Pitch Black Cardstock. They were layered up (adhering with Precision Glue) so that the clouds are two layers high and the word three layers high.

I printed the Hero Arts Giving Sunflower Digital Download from my PC on to a sheet of Hero Arts Deluxe Smooth White Cardstock but when I was printing, I changed the size to (UK) A5, so that the sentiment would print out smaller in size. I then cut the 'sending sunshine' sentiment into a strip using the Hero Arts Sentiments Strip Fancy Die.

I adhered the sun first on to a US A2 sized white card base with Precision Glue, followed by the clouds. I added a little foam tape to the bottom of the 'd' on the friend word and adhered that on top. The sentiment strip was adhered below with thin foam tape. To finish off, I added a few Hero Arts Clear Hero Hues Enamel Dots.
VIDEO:
Here is the video showing how I made the card:
If you are viewing this blog post via email subscription, you can watch the video HERE on YouTube.
SUPPLIES:
Here are the links to
what I have used on the project. Affiliate
links are used on some products. This means that if you make a purchase after
clicking on my link, I receive a small commission with no extra cost to you. I
truly appreciate your support when using these links. Please click on the logo below
the product to shop at your favourite store. All products were personally
purchased except those from Clearly Besotted, Hero Arts or those marked with an
asterisk (*) which were kindly sent to me to use. You can read my full
disclosure here.
Thank you so much for stopping by today, I really do appreciate it. I hope you have a wonderful weekend!
Great way to change up a die quite easily, thank you for the idea. Sorry not seen much of your previous work lately, been ill. x
ReplyDeleteLove how you changed the circle die Michelle, it looks amazing as a sun! And what a beautiful combination of other elements, the clouds, dots and sentiments work so well together. It's perfect!❤
ReplyDelete