
Hello there, today I am over on the Tonic Studios Craft Room Blog today sharing three techniques using Nuvo Glacier Paste. If you haven't used Glacier Paste before, it is an embossing/texture paste filled with tons of mica flakes which give a lovey metallic/pearlescent finish.

I am sharing lots of information about the pastes over on the blog post but I also wanted to share the techniques over here on my blog too. Here is the video showing the techniques:
If you are viewing this post via email subscription, you can watch the video HERE on YouTube.
NUVO GLACIER PASTE WITH STENCILS

My first technique is a simple one, using Glacier Paste with stencils. Because Glacier Paste is different than other pastes, it does give a different look depending on what surface you add it to. In the video, I show an example on black cardstock. You get a completely different look!

For this tag, I used Nuvo Frostbite Glacier Paste with the Tonic Studios Linking Rings Stencil on white cardstock. As you can see, it gives a lovely metallic finish. I took the small peony from the Tonic Studios Peony Blooms Stamp Set, stamped it in black and coloured it using markers and pencils. I then fussy cut out and added it to the tag with foam tape.

The sentiment from the Tonic Studios Celebrate Sentiments Stamp Set was heat embossed in white on to black cardstock. To finish off, I added Diamond sequins from the Nuvo Golden Years Pure Sheen Sequins Collection.
NUVO GLACIER PASTE WITH INK BLENDING

The next technique also uses stencils but can be used without too. It can also be used without ink blending too, you can see that in the video above. The technique is to apply the Glacier Paste with a Blending Dauber. You cannot see much of the colour with this application, but those mica flakes really shine!

For the card, I first added a layer of Laguna Bay ink from the Nuvo Sea Siren Diamond Hybrid Ink Pads collection using a Nuvo Blending Dauber, through the Tonic Studios Petal Patten Stencil. Using the same dauber sponge, I applied Nuvo Sea Sprite Glacier Paste. Once the panel was dry it was added to an A2 white card base with foam tape.

DIE CUTTING WITH NUVO GLACIER PASTE

You can also paint Glacier Paste on to surfaces to give a different look. This works really well if you want to add Glacier Paste to die cuts. I found the best way to do it was to add a layer first, let it dry (or heat set it) and then add another on top. You do need to leave it for 24 hours to properly dry but then it die cuts beautifully!

For this card, I added two layers of Nuvo Golden Era Glacier Paste to white cardstock using a Nuvo Paint Brush. I then die cut it out using the two inside layers of the Tonic Studios Delicate Butterfly Silhouettes Die Set. This was simply added to a white card base, with scoring lines on, with small dabs of Nuvo Deluxe Adhesive.

The sentiment from the Tonic Studios Celebrate Sentiments Stamp Set was heat embossed in white on to black cardstock and added to the card with foam tape. To finish off, I added Nuvo Ebony Black Crystal Drops.
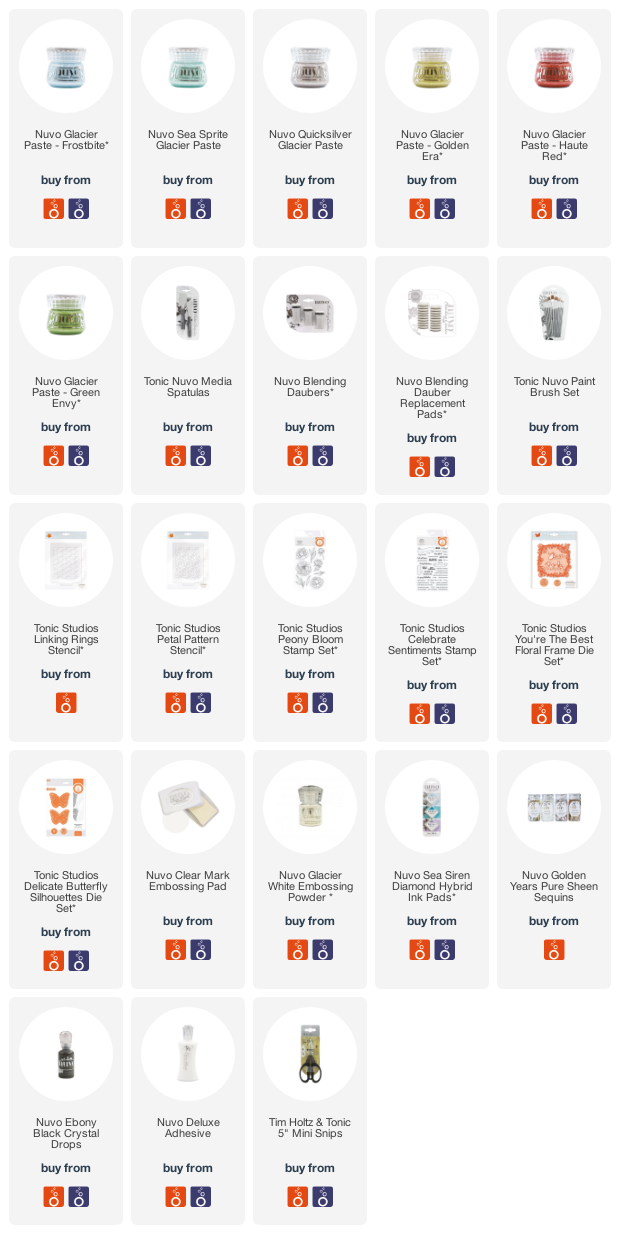
SUPPLIES:
Here are the links to what I have used on the card. Affiliate links are used on some products. This means that if you make
a purchase after clicking on my link, I receive a small commission with no
extra cost to you. I truly appreciate your support when using these links.
Please click on the logo below the product to shop at your favourite store. All
products were personally purchased except those from Clearly Besotted, Hero
Arts or those marked with an asterisk (*) which were kindly sent to me to use.
You can read my full disclosure here.
Nuvo Glacier paste is currently part of the weekend saver bundle over at Tonic Studios. You can purchase the bundles here in the UK and here in the US.
Thank you so much for visiting me today. I hope you will check out the new Tonic Studios Craft Room Blog, it is full of information and inspiration! Have a wonderful day!
Thank you so much for visiting me today. I hope you will check out the new Tonic Studios Craft Room Blog, it is full of information and inspiration! Have a wonderful day!
Fantastic ideas my favourite is the Gold Era, I'm going to pull mine out and try the die cutting technique. Thanks Michelle x
ReplyDelete