2 December 2022

Hero Arts | December 2022 My Monthly Hero Countdown to Creativity

Hello there and welcome as we countdown to the release of the Hero Arts December 2022 My Monthly Hero Kit and add-ons. This month is called Celestial Floral Fantasy and is all things celestial and space. The products release on Monday, 5th December 2022 but we will be sharing inspiration all weekend long using the new kit. 

PLEASE NOTE: This post contains affiliate links. Please see below for my full disclosure.


For my card today, I am focusing on the cling background stamp that comes in the kit. This stamp is what I would call a reverse image. So, the bulk of the background/solid part stamps and leaves the outlines/images without stamping. There are lots of different ways to use stamps like this, but for today, I wanted the lines to be colourful and the background part to be black. 

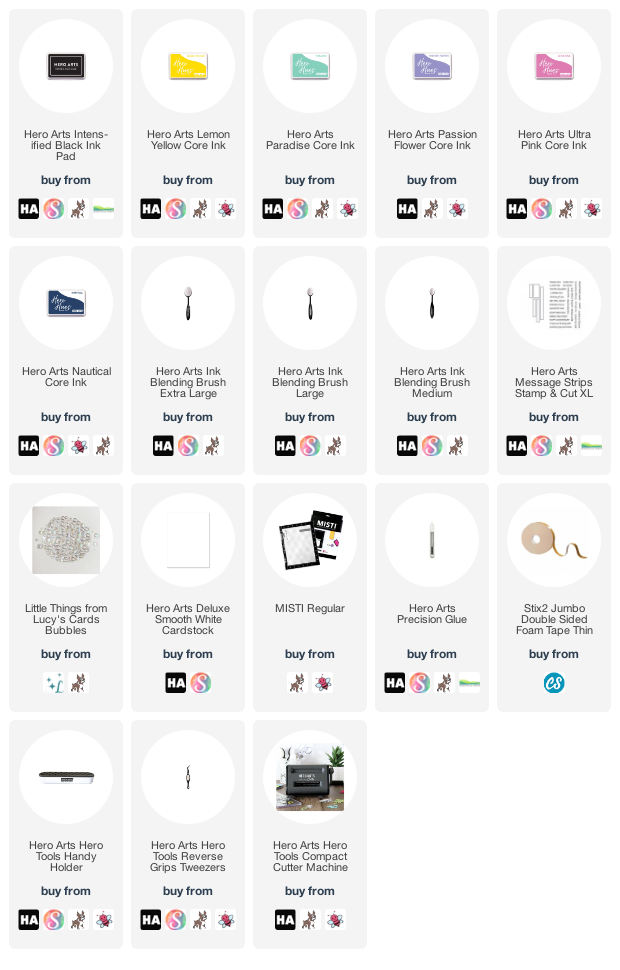
I started off by adding ink blending to a panel of Hero Arts Deluxe Smooth White Cardstock using Ink Blending Brushes and Hero Arts Core Inks. I used Lemon Yellow, Paradise, Passion Flower, Ultra Pink and Nautical. Since I knew that I was going to stamp on top of them with the black ink, I wanted to use the dye formulations of the inks, rather than hybrid. 

I then inked up the stamp with Hero Arts Intensified Black Ink and stamped it on top (multiple times to get solid dark stamping). The panel was cut down and adhered to a US A2 sized white card base. I took the sentiment from the clear stamp set in the kit and stamped it on to white cardstock with the same Intens-ified Black Ink. It was cut into strips and added to the card with thin foam tape. To finish off, I embellished with a few Bubbles. 

SUPPLIES:


Here are the links to what I have used on the project. Affiliate links are used on some products. This means that if you make a purchase after clicking on my link, I receive a small commission with no extra cost to you. I truly appreciate your support when using these links. Please click on the logo below the product to shop at your favourite store. All products were personally purchased except those from Clearly Besotted, Hero Arts or those marked with an asterisk (*) which were kindly sent to me to use. You can read my full disclosure here.

Apologies to my UK friends who are now singing the SClub7 song! ;) For more inspiration using the kit, please head over to the Hero Arts Blog. Be sure to leave a comment over there too, for a chance to win a kit! Thank you so much for stopping by today, I hope you have a wonderful day and a great weekend!  

1 December 2022

Simon Says Stamp | DieCember 2022

Hello there, I am back to share a card and tag with you using a new die set from Simon Says Stamp as part of their DieCember release, which is out now. I am using the fabulous Basic Trio set from CZ Design. I really love the font on these words and as well as the hugs and hello that I am using today, there is also a thanks word in the set too. 

PLEASE NOTE: This post contains affiliate links. Please see below for my full disclosure.


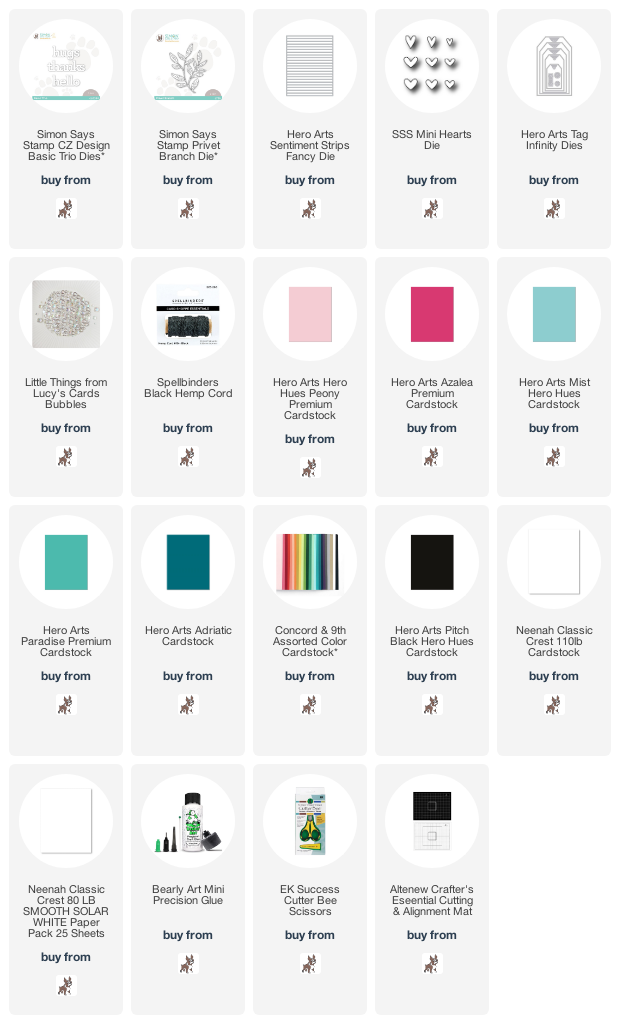
I started off my card by die cutting panels of cardstock using the Hero Arts Sentiments Strips Fancy Die. I used the following cardstock - Hero Arts Peony, Hero Arts Azalea, Concord & 9th Buttercup, Hero Arts Mist, Hero Arts Paradise and Hero Arts Adriatic


Once the strips were cut, I adhered them to a panel of Neenah 80lb White Cardstock using Bearly Art Glue. The panel was then die cut using the Simon Says Stamp Privet Brach Die. You can use the negative portion of this panel too, but I thought it was a little bit bright for my CAS taste! 


The privet branch was adhered to a US A2 sized white card base with more Bearly Art Glue. I then die cut the hugs word from the Simon Says Stamp CZ Design Basic Trio Die Set three times and layered them up one on top of each other. It was adhered to the card and then to finish off, I added a few Little Things from Lucy's Cards Bubbles


Of course, I couldn't resist making a tag too! I die cut the Hero Arts Nesting Tag Infinity Die from white cardstock and then adhered the same cardstock strips on top, at an angle, using Bearly Art Glue. I cut off the excess off of the sides and then die cut the hole reinforcer from black cardstock and adhered that on top. 


I die cut the hello word from the Simon Says Stamp CZ Design Basic Trio Die Set three times and stacked them up one on top of another, adhering with Bearly Art Glue. It was adhered to the tag. I also die cut a Simon Says Stamp Mini Heart Die twice, stacked them up and adhered above the hello. To finish off, I added a Little Things from Lucy's Cards Bubbles to the heart and then tied twine through the top of the tag. 

SUPPLIES:


Here are the links to what I have used on the projects. Affiliate links are used on some products. This means that if you make a purchase after clicking on my link, I receive a small commission with no extra cost to you. I truly appreciate your support when using these links. Please click on the logo below the product to shop at your favourite store. All products were personally purchased except those from Clearly Besotted, Hero Arts or those marked with an asterisk (*) which were kindly sent to me to use. You can read my full disclosure here.


Thank you so much for stopping by today, I really do appreciate it. I hope you will check out the rest of the release, it is a fun one! Have a great day! 

Clearly Besotted | In the Woods Teaser + Release Preview Video

Hello there and happy Clearly Besotted release day! The new sets release tonight at 8pm GMT. I have one last teaser to share with you before I share a look at the new sets. My tags today use the new In the Woods set. This set features lots of cute critters that live in the woods, as well as a woodland/mountain scene. 

PLEASE NOTE: This post contains affiliate links. Please see below for my full disclosure.


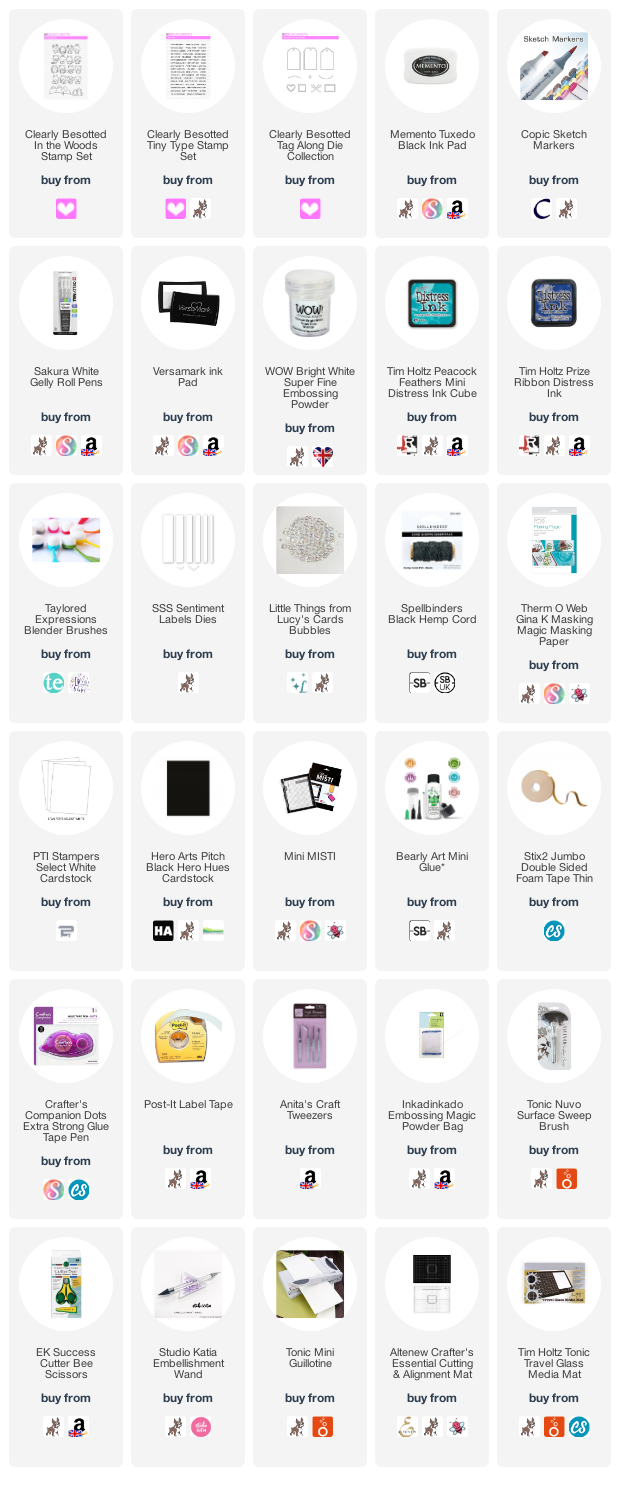
I started off my tags by die cutting the Clearly Besotted Tag Along Die Collection tag four times from white cardstock. On two of them, I stamped the scene from the Clearly Besotted In the Woods Stamp Set on top with Memento Tuxedo Black Ink. On a separate piece of cardstock, I stamped the fox and owl from the set. 


I made a mask for the scene from mask paper and placed it over the image on the tags. Using ink blending brushes, I then blended on Tim Holtz Distress Inks for the skies. I used Peacock Feathers for the owl, and Peacock Feathers and Prize Ribbon for the fox. The masks were removed and the scenes coloured using Copic Markers (as well as the fox and owl). 


I adhered the other tags to the back of the stamped ones using tape runner adhesive. The owl and fox were fussy cut out with scissors and adhered on top using thin foam tape. The sentiments from the Clearly Besotted Tiny Type Stamp Set were stamped on to black cardstock using Versamark Ink. I applied white embossing powder and heat set. They were cut into strips and added to the tags. 

To finish off, I added twine through the top of the tags, white gel pen highlights to the animals and embellished with Little Things from Lucy's Cards Bubbles

SUPPLIES:


Here are the links to what I have used on the projects. Affiliate links are used on some products. This means that if you make a purchase after clicking on my link, I receive a small commission with no extra cost to you. I truly appreciate your support when using these links. Please click on the logo below the product to shop at your favourite store. All products were personally purchased except those from Clearly Besotted, Hero Arts or those marked with an asterisk (*) which were kindly sent to me to use. You can read my full disclosure here.


COPIC MARKERS: Owl - W8, W5, W3, W1, W0/YR27, Y24. Fox - E19, E99, E97, E11. Trees and grass - G29, YG17, YG23, YG01. 

CLEARLY BESOTTED DECEMBER 2022 RELEASE:

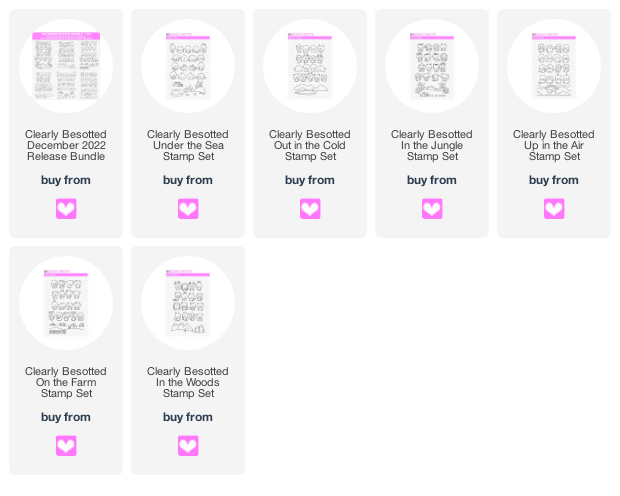
The six new sets release tonight at 8pm GMT (UK time). You can purchase the sets as a bundle, which is exclusive to Clearly Besotted, or separately from the Clearly Besotted Shop (UK based), Simon Says Stamp (US based), Butterfly Reflections Ink (US based), Artcreatiu (based in Spain), Cloud9 Crafts (Netherlands), Card Nouveau (Belgium) and Kreativbunt (Germany). 

Here is my video showing the sets close up, as well as a recap of my projects:


If you are viewing this blog post via email subscription, you can watch the video HERE on YouTube. 

SUPPLIES:


Here are the links to what I have shared in the video. Affiliate links are used on some products. This means that if you make a purchase after clicking on my link, I receive a small commission with no extra cost to you. I truly appreciate your support when using these links. Please click on the logo below the product to shop at your favourite store. All products were personally purchased except those from Clearly Besotted, Hero Arts or those marked with an asterisk (*) which were kindly sent to me to use. You can read my full disclosure here.


For more inspiration using the new sets, please head over to the Clearly Besotted Blog, Keren, Francine and Alberto. Thanks so much for stopping by today, I really do appreciate it, I will be back a little later with another post but in the meantime, I hope you have a great day! 

30 November 2022

Clearly Besotted Teasers | On the Farm

Hello there and welcome to day four of the Clearly Besotted December 2022 Teasers. Only one more sleep to go until the release tomorrow! Today I am using the super cute On the Farm set. As you may expect from the name, the set features lots of cute animals from the farm, as well as a farm/barn scene. 

PLEASE NOTE: This post contains affiliate links. Please see below for my full disclosure.


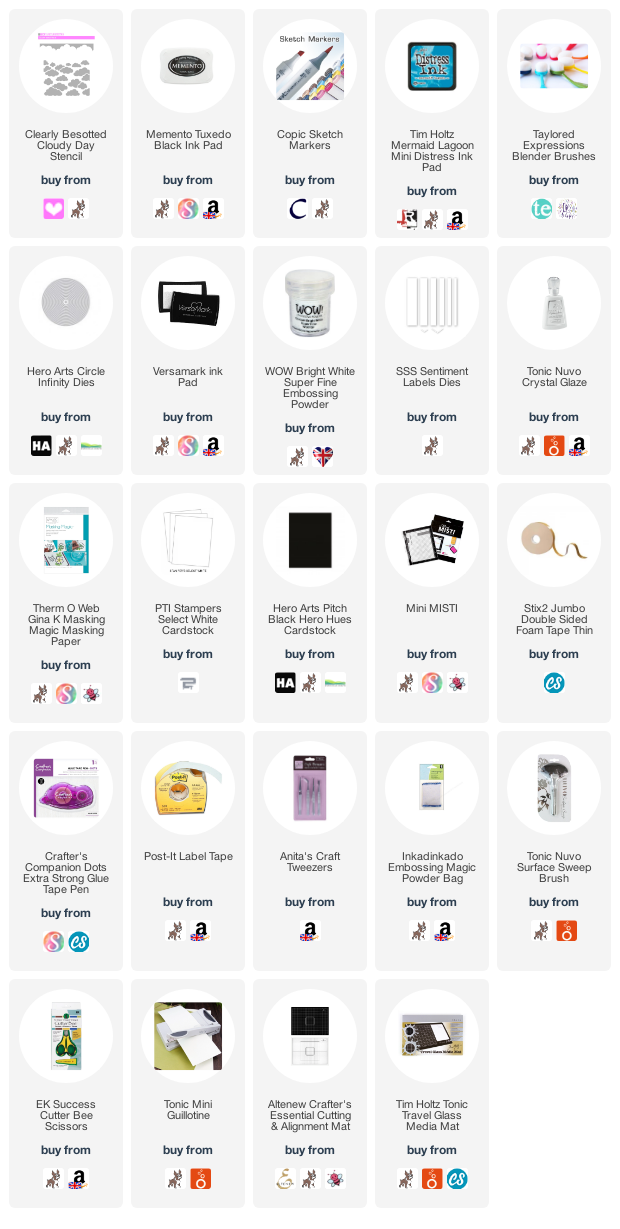
I started off my card by die cutting a panel of white cardstock into a circle using the Hero Arts Nesting Circle Infinity Dies. I then stamped the scene from the Clearly Besotted On the Farm Stamp Set on top. I also stamped the pig from the set on to a separate piece of cardstock, as well as the butterfly (twice) from the Clearly Besotted In the Jungle Stamp Set

I stamped the background scene on to mask paper and then adhered it on top of the circle panel. I placed the Clearly Besotted Cloudy Day Stencil on top and then using ink blending brushes, I blended Tim Holtz Mermaid Lagoon Distress Ink on top. I moved the stencil down as I went to cover the sky with clouds. The mask was removed and the panel coloured with Copic Markers, as well as the other images. 

The background panel was adhered to a white circle card base using thin foam tape. I then added the pig and butterflies on top. I stamped the sentiment from the Clearly Besotted On The Farm Stamp Set on to black cardstock using Versamark Ink. I applied white embossing powder and heat set. It was cut into a strip and added to the card with more thin foam tape. To finish off, I added Crystal Glaze to the pig's nose. 

SUPPLIES:


Here are the links to what I have used on the project. Affiliate links are used on some products. This means that if you make a purchase after clicking on my link, I receive a small commission with no extra cost to you. I truly appreciate your support when using these links. Please click on the logo below the product to shop at your favourite store. All products were personally purchased except those from Clearly Besotted, Hero Arts or those marked with an asterisk (*) which were kindly sent to me to use. You can read my full disclosure here.


COPIC MARKERS: Pig - R22, R21, R20, R000. Butterflies - V17, V15, V01. Grass - G29, YG17, YG23, YG01. fence - E59, E57, E55. Barn - R89, R39, R37, R35/YR31/C3, C1, C0. 

There are so many cute animals in this set but since pigs are my favourite animal, of course I had to use one of those! For more inspiration using the new release, please head over to the Clearly Besotted Blog, Keren, Francine and Alberto. Thank you so much for stopping by today, I really do appreciate it. Wishing you a lovely day!  

29 November 2022

Clearly Besotted Teasers | In the Jungle

Hello there and welcome to day three of the Clearly Besotted December 2022 Teasers. Release day is Thursday, 1st December, so not too long to wait now! Today I am using the new In the Jungle set. This set features lots of cute critters that live in the jungle/in the wild, as well as a background scene too. 

PLEASE NOTE: This post contains affiliate links. Please see below for my full disclosure.


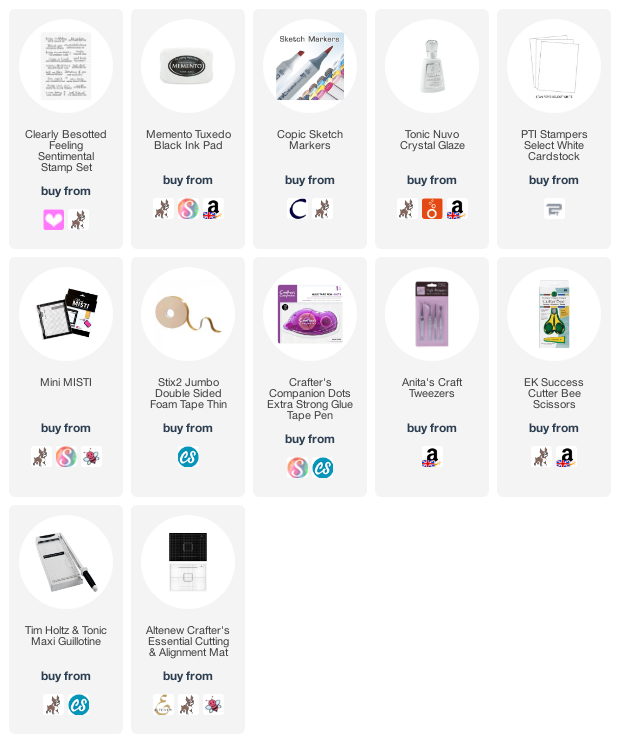
I started off my card by stamping the two giraffes from the Clearly Besotted In the Jungle Stamp Set on to white cardstock using Memento Tuxedo Black Ink. I also stamped the heart from the Clearly Besotted Up in the Air Stamp Set. They were coloured using Copic Markers before being fussy cut out with scissors. 


I took a panel of white cardstock and stamped the background image from the set on top. I coloured it using Copic Markers also (the colours that I used are listed below the supplies area). I took the sentiment from the Clearly Besotted Feeling Sentimental Stamp Set and stamped it below the image. 


The panel was adhered to a US A2 sized white card base with tape runner. I then added the giraffes and heart on top using thin foam tape. To finish off, I added Crystal Glaze to the giraffe's spots and also to the heart.

SUPPLIES:


Here are the links to what I have used on the project. Affiliate links are used on some products. This means that if you make a purchase after clicking on my link, I receive a small commission with no extra cost to you. I truly appreciate your support when using these links. Please click on the logo below the product to shop at your favourite store. All products were personally purchased except those from Clearly Besotted, Hero Arts or those marked with an asterisk (*) which were kindly sent to me to use. You can read my full disclosure here.


Giraffe - YR27, YR24, YR31, E39, E99, E97. Heart - R39, R37, R35. Trees - E59, E57, E55/G29, YG17, YG23, YG01. Other greenery - G28, G46, G82. Sky - B01, B00, B000, B0000. 

For more inspiration using the new release, please head over to the Clearly Besotted Blog, Keren, Francine and Alberto. Thank you so much for stopping by today, I really do appreciate it. See you tomorrow for day four! Have a wonderful day! 

28 November 2022

Clearly Besotted Teasers | Out in the Cold

Hello there and welcome to day two of the Clearly Besotted December 2022 Teasers. Release day is Thursday 1st December 2022. My card today uses the new Out in the Cold set. This is such a cute set filled with lots of critters that you would find in the colder temperatures, as well as an iceberg scene.

PLEASE NOTE: This post contains affiliate links. Please see below for my full disclosure.


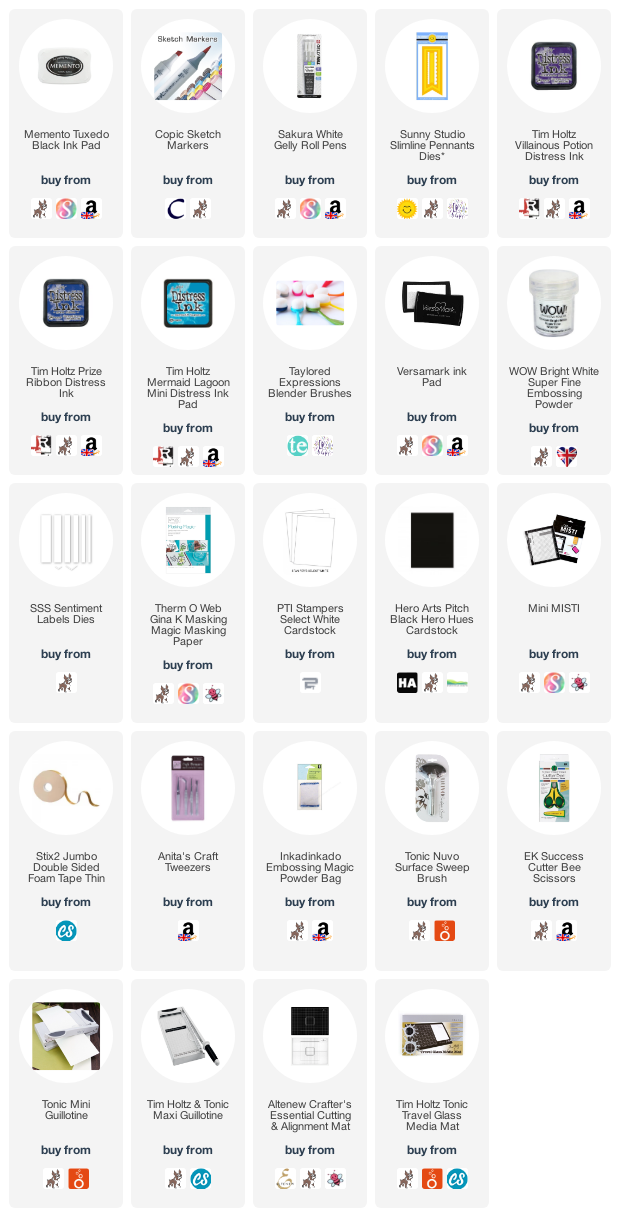
I started off my card by die cutting a panel of cardstock using the Sunny Studio Slimline Pennants Dies. I then stamped the iceberg scene from the Clearly Besotted Out in the Cold Stamp Set on top. I made a mask for it and then using Ink Blending Brushes, blended Tim Holtz Distress Ink on top for the sky. I used (top to bottom) Villainous Potion, Prize Ribbon and Mermaid Lagoon


The mask was removed and the ice and water coloured using Copic Markers (the colours that I used are listed below the supplies area). For the penguin, I first stamped the hat from the set on to white cardstock using Memento Tuxedo Black Ink. I made a mask for it, fussy cut it out and placed it on top. I then stamped the penguin. I removed the mask and now it looks like the penguin is wearing a hat. So cute! He was coloured using Copic Markers and fussy cut out. 


The background panel was adhered to a US A2 sized white card base with thin foam tape, followed by the penguin. The sentiment, from the Clearly Besotted Pop Up Psst set (I apologise as it looks like it has been discontinued), was stamped on to black cardstock with Versamark Ink. I applied white embossing powder and heat set. It was cut into a strip and added to the card with more thin foam tape. To finish off, I added white gel pen dots and stars to the sky and water. 

SUPPLIES:


Here are the links to what I have used on the project. Affiliate links are used on some products. This means that if you make a purchase after clicking on my link, I receive a small commission with no extra cost to you. I truly appreciate your support when using these links. Please click on the logo below the product to shop at your favourite store. All products were personally purchased except those from Clearly Besotted, Hero Arts or those marked with an asterisk (*) which were kindly sent to me to use. You can read my full disclosure here.


COPIC MARKERS: Penguin - BV29, BV25, BV23, C5, C3, C1, Y11, Y000, YR18, Y12. Hat - R89, R39, R37, R35, C5, C3, C1. Ice - B01, B00, B000, B0000. Water - BG49, BG13, BG11, BG10, BG0000. 

Although this set isn't Christmassy, I couldn't resist creating another Christmas card for my stash! For more inspiration using the new release, please head over to the Clearly Besotted Blog, Keren, Francine and Alberto. Thank you so much for stopping by today, I really do appreciate it. Have a wonderful day! 

27 November 2022

Clearly Besotted Teasers | Under the Sea

Hello there and welcome to the start of the Clearly Besotted December 2022 Teasers. The sets release on the 1st December 2022 and from now until then, we will be sharing teasers with you using the new sets. This month the sets are all about scene building and cute characters. Today I am using the Under the Sea set. 

PLEASE NOTE: This post contains affiliate links. Please see below for my full disclosure.


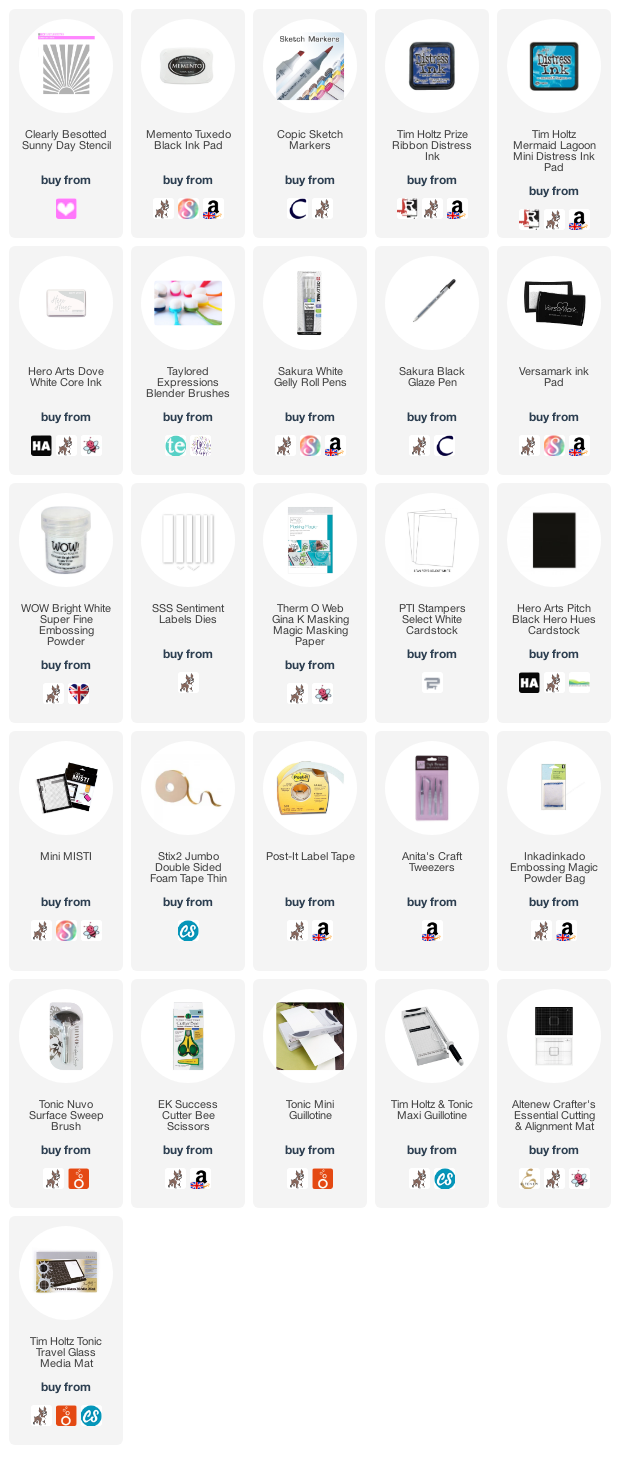
I started off my card by stamping the seabed image from the Clearly Besotted Under the Sea Stamp Set on to white cardstock using Memento Tuxedo Black Ink. I then made a mask for it from masking paper. I cut it out with scissors and placed it over the top. Using Ink Blending Brushes, I blended on Tim Holtz Distress Inks in Prize Ribbon and Mermaid Lagoon


I took the Clearly Besotted Sunny Day Stencil and using it upside down, placed it on top of the panel, securing in place with Post-It Tape. I then blended on Hero Arts Dove White Core Ink to create light rays in the water. The mask was removed and the seabed coloured using Copic Markers (the colours that I used are listed below the supplies area). 


On a separate panel of cardstock, I stamped the fish, crab, starfish and shell from the set and coloured them too, before fussy cutting out with scissors. The panel was adhered to a US A2 sized white card base with thin foam tape. The images were then added on top with more thin foam tape. 


I took the sentiment from the set and stamped it on to black cardstock with Versamark Ink. I applied white embossing powder and heat set. It was cut into a strip and added to the card. To finish off, I added white gel pen highlights, as well as black glaze pen to the fish and crab's eyes. 

SUPPLIES:


Here are the links to what I have used on the project. Affiliate links are used on some products. This means that if you make a purchase after clicking on my link, I receive a small commission with no extra cost to you. I truly appreciate your support when using these links. Please click on the logo below the product to shop at your favourite store. All products were personally purchased except those from Clearly Besotted, Hero Arts or those marked with an asterisk (*) which were kindly sent to me to use. You can read my full disclosure here.


COPIC MARKERS: Sand - E44, E43, E42, E41. Seaweed - G29, YG17, YG23, YG01. Fish - YR27, Y18, Y16, Y15, Y12/C8, C3, C1, C0. Crab - R89, R29, R24, R22, R20. Starfish - Y17, Y15, Y13, Y11. Shell - V17, V15, V01. 

This set is so cute and filled with lots of lovely sea creatures. You could really go to town and create a whole underwater scene filled with lots of creatures! For more inspiration using the new release, please head over to the Clearly Besotted Blog and my fantastic teamie Keren. We also have the amazing Francine and Alberto joining us this month too. Thank so much for stopping by today, see you tomorrow for day two! Take care! 

25 November 2022

Spellbinders | Floral Reflection Heart

Hello there, today I have another card to share with you using the Spellbinders Floral Reflection Collection but this time a little different. I decided to make a heart shaped card. I love creating shaped cards and the Essential Heart dies are perfect for them! 

PLEASE NOTE: This post contains affiliate links. Please see below for my full disclosure.


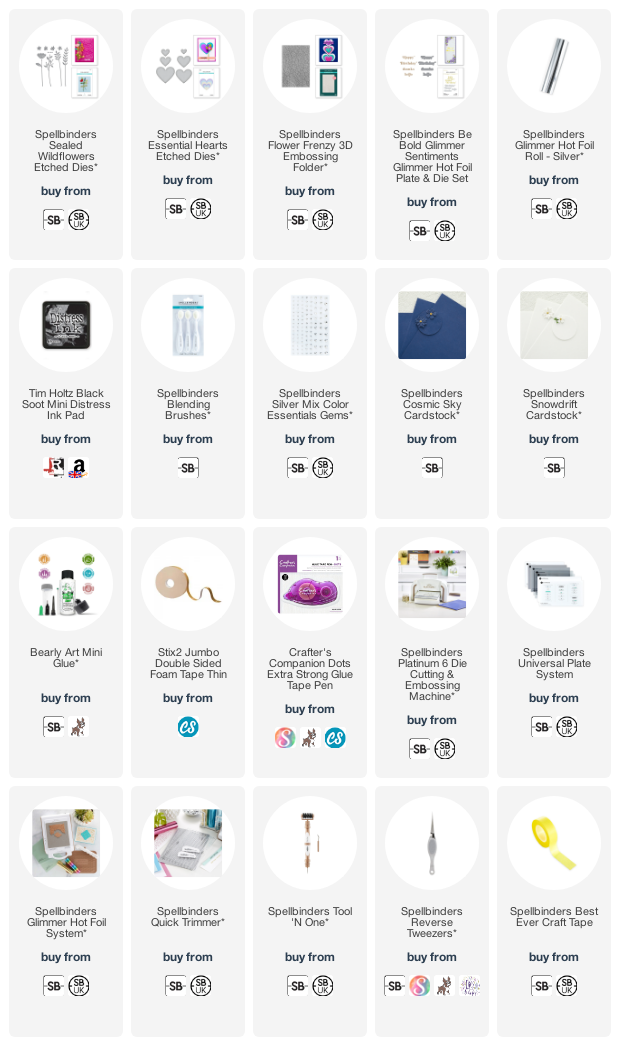
I started off by die cutting two hearts from Spellbinders Cosmic Sky Cardstock using the Spellbinders Essential Hearts Etched Dies. I placed one inside the Spellbinders Flower Frenzy 3D Embossing Folder and ran it through my die cutting machine. I then added ink blending around the edges using a blending brush and Tim Holtz Black Soot Distress Ink. 


I took the other heart and cut a little bit off of the bottom and scored the top to create a hinge. It was adhered to the front piece to create the card. I die cut the leaves from the Spellbinders Sealed Wildflowers Etched Dies Set using white cardstock. They were adhered to the card using Bearly Art Glue. 


I foiled the thanks sentiment from the Spellbinders Be Bold Sentiments Hot Foil & Die Set using Spellbinders Silver Glimmer Foil on more Cosmic Sky Cardstock. It was die cut out using the coordinating die and adhered to the card with thin foam tape. To finish off, I added a few Spellbinders Silver Mix Color Essentials Gems.

SUPPLIES:


Here are the links to what I have used on the project. Affiliate links are used on some products. This means that if you make a purchase after clicking on my link, I receive a small commission with no extra cost to you. I truly appreciate your support when using these links. Please click on the logo below the product to shop at your favourite store. All products were personally purchased except those from Clearly Besotted, Hero Arts or those marked with an asterisk (*) which were kindly sent to me to use. You can read my full disclosure here.


Although I love the embossing folder, I found that the pattern was a little too busy for my personal style. I think it works great on the darker cardstock though, it makes it a little more subtle, but you can still see the embossing well. Thank you so much for stopping by today, I really do appreciate it. I hope you have a great day and a wonderful weekend! 

22 November 2022

Cute & Cuddly Christmas

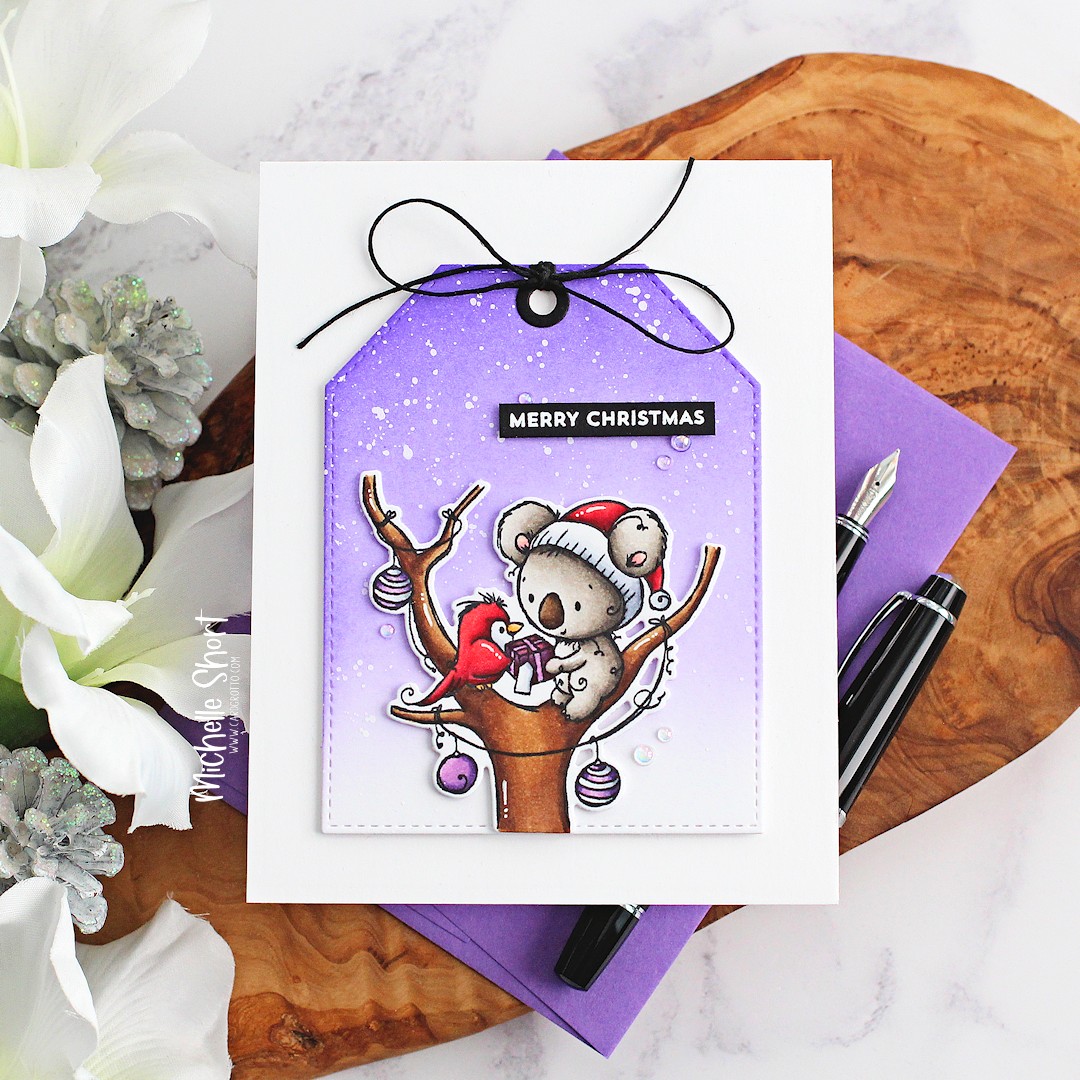
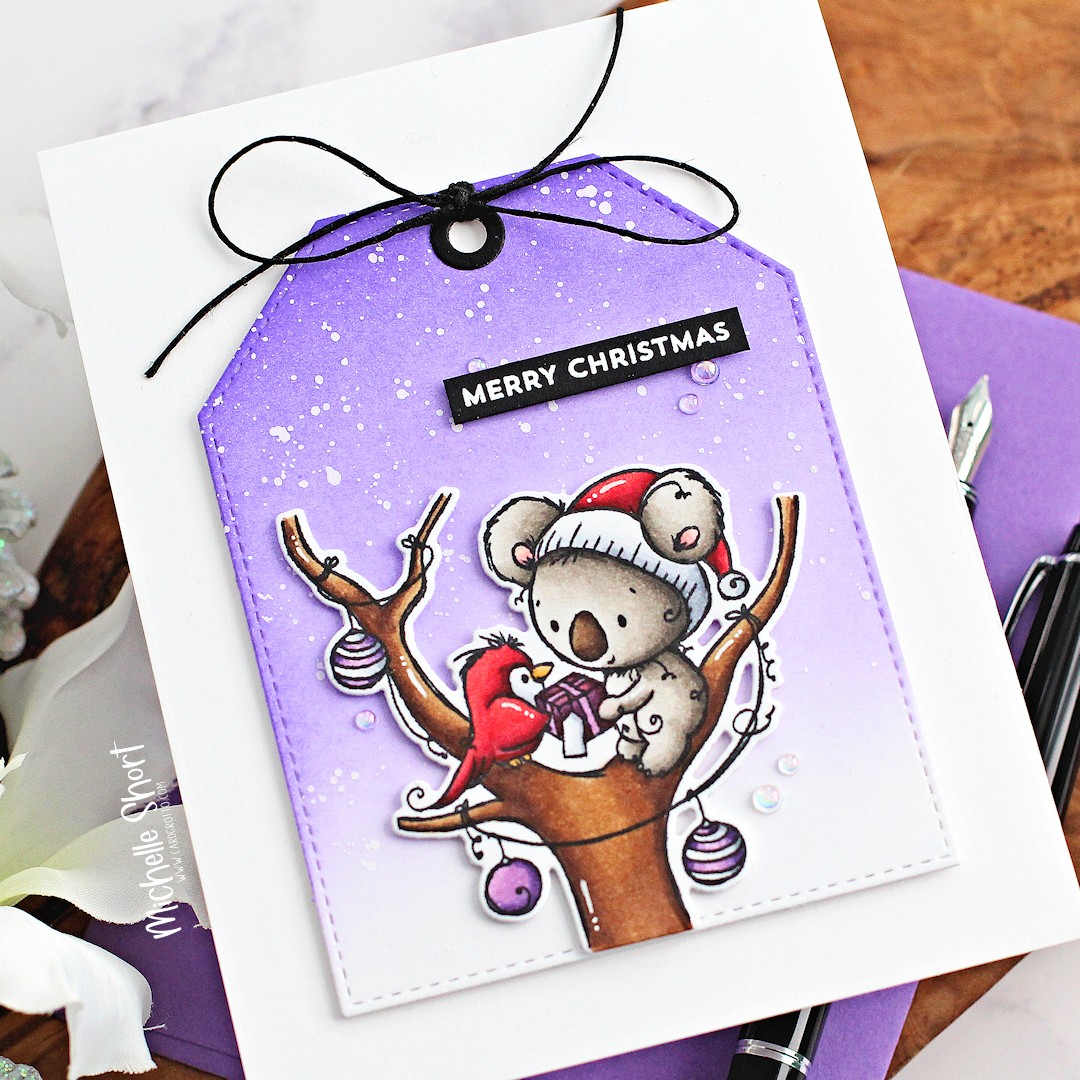
Hello there, today I have a card to share with you using the RAM Cute & Cuddly Christmas set from My Favorite Things. This is such a sweet set, isn't that koala adorable?! 

PLEASE NOTE: This post contains affiliate links. Please see below for my full disclosure.


I started off my card by stamping the MFT Cute & Cuddly Christmas Stamp Set image on to white cardstock using MFT Extreme Black Ink. I then coloured it using Copic Markers (the colours that I used are listed below the supplies area) and die cut out using the coordinating die.


I took the MFT Surprise Stitched Tag Die-namics and die cut the largest tag from white cardstock. Using an ink blending brush, I blended on Tim Holtz Wilted Violet Distress Ink, focusing most of the colour at the top of the tag and fading to white at the bottom. I splattered on Dr. Ph. Martin's Bleed Proof White Paint and set it aside to dry. 


Once dry, the image was adhered on top using thin foam tape. I stamped a sentiment from the MFT Itty Bitty Holiday Stamp Set on to black cardstock using Versamark Ink. I applied white embossing powder and heat set. It was cut into a strip and adhered to the tag using thin foam tape. 


I cut the hole reinforcer piece from black cardstock and adhered it on top with MFT On-Point Precision Glue. I added twine through the tag and tied it in a bow. The tag was then adhered to a US A2 sized white card base with thin foam tape. To finish off, I added white gel pen highlights to the images and clear glaze pen to the koala's nose and bird's beak. I also added some Little Things from Lucy's Cards Bubbles

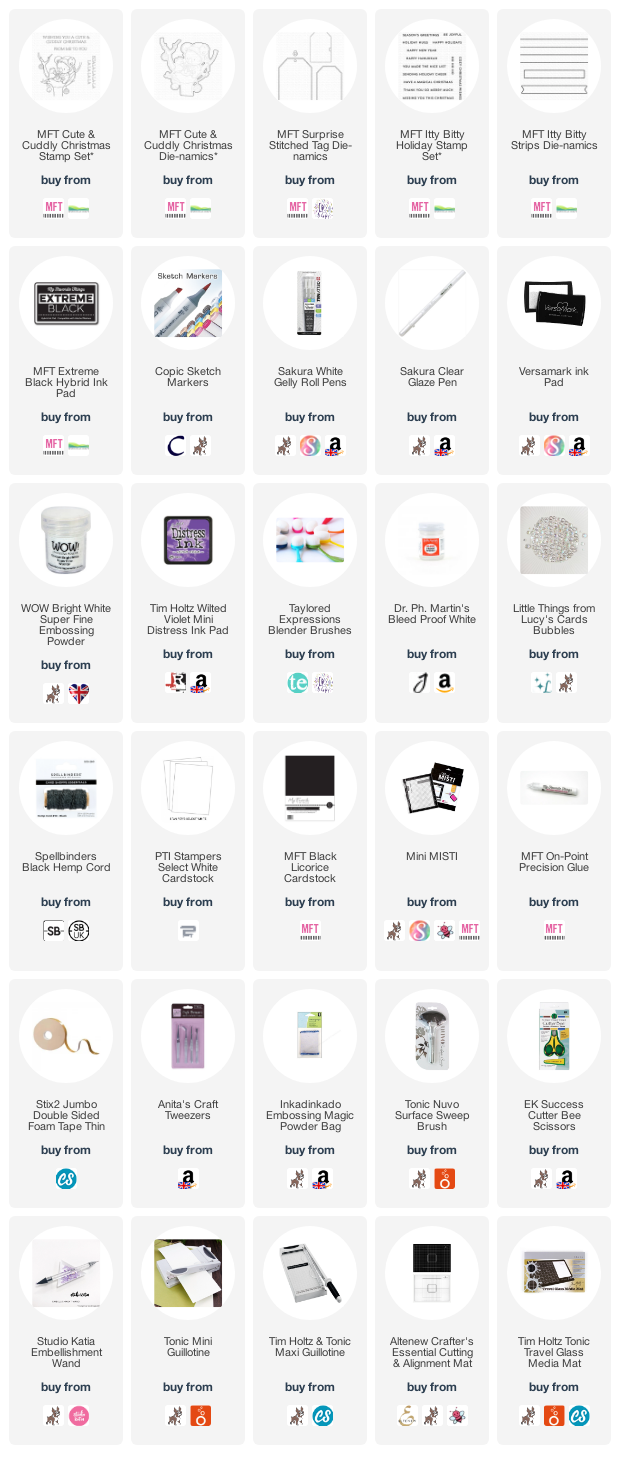
SUPPLIES:


Here are the links to what I have used on the project. Affiliate links are used on some products. This means that if you make a purchase after clicking on my link, I receive a small commission with no extra cost to you. I truly appreciate your support when using these links. Please click on the logo below the product to shop at your favourite store. All products were personally purchased except those from Clearly Besotted, Hero Arts or those marked with an asterisk (*) which were kindly sent to me to use. You can read my full disclosure here.


COPIC MARKERS: Koala - W7, W6, W4, W3, W1, W0, R20, R00, E49, E47, E44. Hat - R89, R39, R37, R35/C5, C3, C1. Bird - R89, R39, R37, R35/C5, C3, C1/YR15, YR12. Tree - E59, E57, E55. Present & ornaments - V09, V17, V15, V12. 

Thank you so much for visiting me today, I really do appreciate it. I hope you have a wonderful day! 

21 November 2022

Spellbinders | Glimmering For You

Hello there, today I have another card to share with you using the Spellbinders Floral Reflection Collection. If you missed them, you can see my first two projects using the collection here. Today I am using the Glimmering Just For You hot foil plate, which is beautiful!

PLEASE NOTE: This post contains affiliate links. Please see below for my full disclosure.


I started off my card by taking the Spellbinders Glimmering Just For You Glimmer Hot Foil Plate & Die Set and foiled the image on to 120lb White Cardstock with Spellbinders Silver Glimmer Hot Foil Roll and the Spellbinders Glimmer Hot Foil System


I coloured the image using Copic Markers (the colours that I used are listed below the supplies area for reference) and then cut it out using the coordinating die. I also die cut another of the dies only and then I foiled the sentiment in the set in the same way and die cut. 


I adhered a panel of white cardstock to a US A2 sized white cardstock with thin foam tape. The image was adhered to the other die cut (so that it was two layers of cardstock high) and then adhered to the card with Bearly Art Glue. The sentiment was added on top with thin foam tape. To finish off, I added a few Spellbinders Silver Mix Color Essentials Gems

SUPPLIES:


Here are the links to what I have used on the project. Affiliate links are used on some products. This means that if you make a purchase after clicking on my link, I receive a small commission with no extra cost to you. I truly appreciate your support when using these links. Please click on the logo below the product to shop at your favourite store. All products were personally purchased except those from Clearly Besotted, Hero Arts or those marked with an asterisk (*) which were kindly sent to me to use. You can read my full disclosure here.


COPIC MARKERS: Purple flower - V09, V17, V15, V12, BV11, BV01. Pink flowers - RV69, RV66, RV55, RV52. Leaves - G29, YG17, YG23, YG01. 

Unfortunately, it is always difficult to photograph foil, but silver foil on white cardstock? So difficult! It is much prettier in real-life! Thank you so much for stopping by today, I really do appreciate it. Wishing you a wonderful week ahead! Take care!

18 November 2022

VIDEO | Can Mixed Media Be Clean & Simple?

Hello there, today I am exploring whether mixed media can be clean and simple. Technically mixed media is combining one or more mediums together, like ink blending and copic marker colouring but for me, it is more of a style and layering up mediums together. For my card today, I am combining mediums on the hexagons but leaving the rest of the card very CAS in style. 

PLEASE NOTE: This post contains affiliate links. Please see below for my full disclosure.


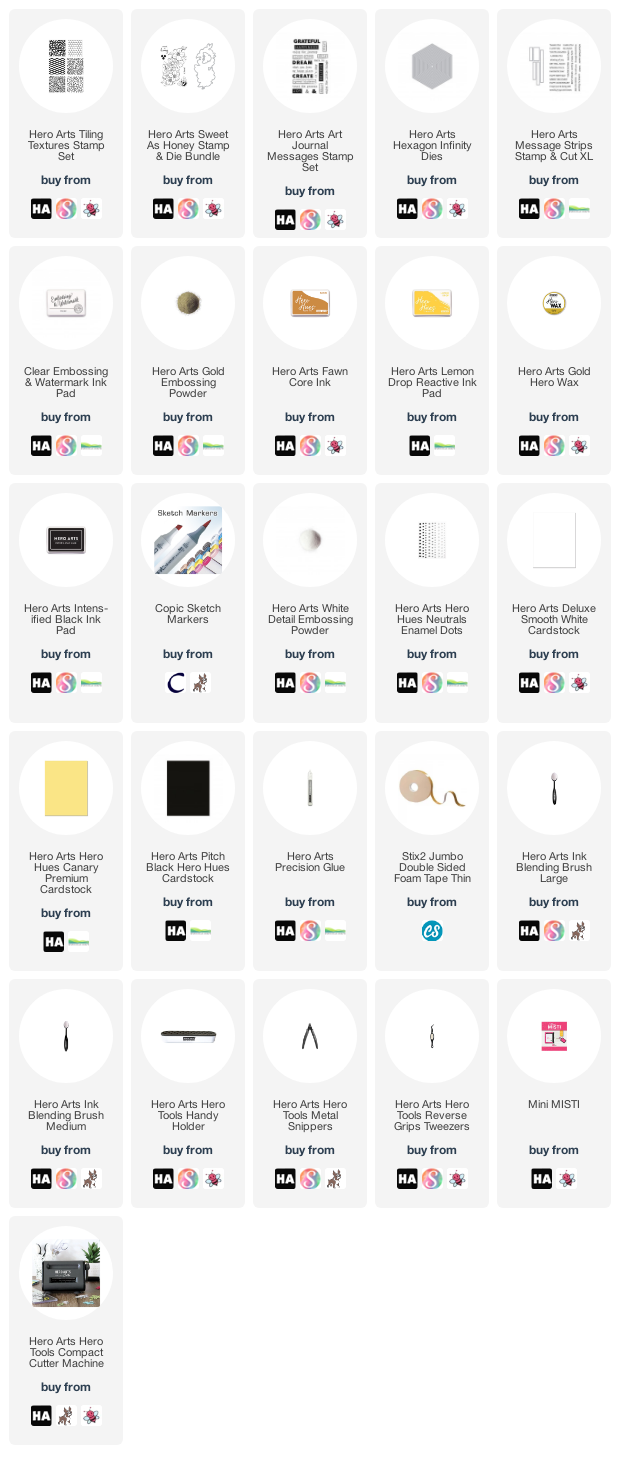
I started off my card by die cutting the Hero Arts Hexagon infinity Dies from Hero Arts Canary Cardstock. Using Hero Arts Clear Embossing & Watermark Ink, I stamped the hexagon/honeycomb pattern from the Hero Arts Tiling Textures Stamp Set on top. I applied Hero Arts Gold Embossing Powder and heat set. To add some extra colour on to the hexagons, I blended inks on top with Hero Arts Lemon Drop Reactive Ink and Hero Arts Fawn Core Ink


To add some more interest and also shine, I blended some Hero Arts Gold Hero Wax on top using my finger. I then mixed some with water and splattered it on top with a brush. The wax gives so much sparkle and shine, it is beautiful! The hexagons were layered up with further hexagons cut from white cardstock to give added dimension, before adhering to a US A2 sized white card base with Hero Arts Precsion Glue


I took the bee from the Hero Arts Sweet as Honey Stamp Set and stamped it on to white cardstock using Hero Arts Intens-ified Black Ink. I coloured it with Copic Markers and die cut it out using the coordinating dies. It was adhered to the card with foam tape. 


The sentiment from the Hero Arts Art Journal Messages set was stamped on to Hero Arts Pitch Black Cardstock using Hero Arts Clear Embossing & Watermark Ink. I applied Hero Arts White Detail Embossing Powder and heat set. It was cut into a strip and added to the card with thin foam tape. To finish off, I added a few (black) Hero Hues Neutrals Enamel Dots

VIDEO:

Here is the video showing how I made the card:


If you are viewing this blog post via email subscription, you can watch the video HERE on YouTube. 

SUPPLIES:


Here are the links to what I have used on the project. Affiliate links are used on some products. This means that if you make a purchase after clicking on my link, I receive a small commission with no extra cost to you. I truly appreciate your support when using these links. Please click on the logo below the product to shop at your favourite store. All products were personally purchased except those from Clearly Besotted, Hero Arts or those marked with an asterisk (*) which were kindly sent to me to use. You can read my full disclosure here.


I made this card for the Hero Arts YouTube channel and blog back in May. I am finally now sharing it here on my own blog. My original Hero Arts blog post can be found HERE. Thank you so much for stopping by today, I really do appreciate it. I hope you have a wonderful day and a great weekend! 

16 November 2022

Altenew | November 2022 Marvelous Monthly Series

Hello there, I am delighted to be joining Altenew today to celebrate the release of the November 2022 Marvelous Monthly Series. The products hit the shops last week, but today we are celebrating with a fun Instagram Hop. 

PLEASE NOTE: This post contains affiliate links. Please see below for my full disclosure.


My card today uses the new Paint-A-Flower: Iceland Poppies set. This set is so pretty and can be used in lots of different ways. For my card today, I kept it really simple with ink blending. 


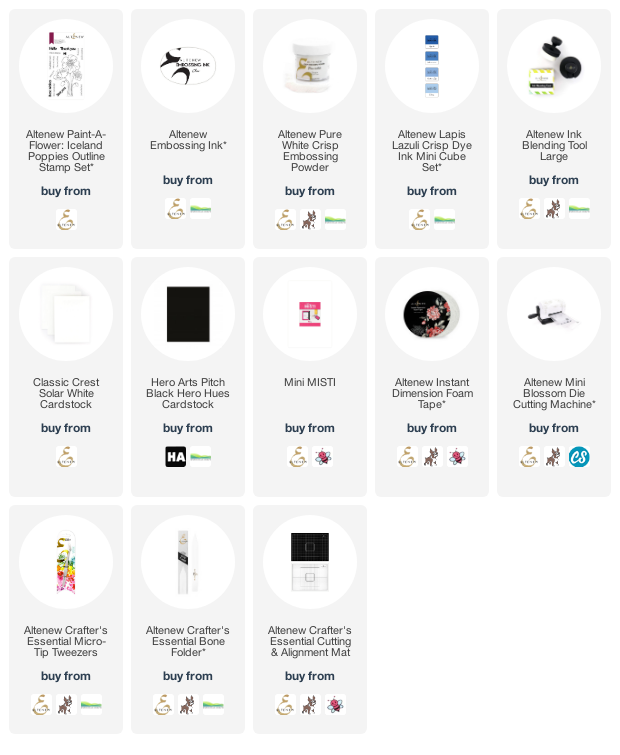
I started off by taking a panel of white cardstock and stamping the poppies image from Altenew Paint-A-Flower: Iceland Poppies Outline Stamp Set on top with Altenew Embossing Ink. I then applied Altenew Pure White Crisp Embossing Powder and heat set. 


Using an Altenew Large Ink Blending Tool, I blended on Altenew Lapis Lazuli Crisp Dye Inks, focusing the darker colour in the bottom right, lightening up in the top left. The panel was adhered to a US A2 sized white card base with Altenew Instant Dimension Foam Tape


I stamped the sentiment from the set on to black cardstock and heat embossed it in white also. It was cut into a strip and added to the card. To finish off, I added a few sequins. 

SUPPLIES:


Here are the links to what I have used on the project. Affiliate links are used on some products. This means that if you make a purchase after clicking on my link, I receive a small commission with no extra cost to you. I truly appreciate your support when using these links. Please click on the logo below the product to shop at your favourite store. All products were personally purchased except those from Clearly Besotted, Hero Arts or those marked with an asterisk (*) which were kindly sent to me to use. You can read my full disclosure here.


INSTAGRAM HOP:

All of the fun is going on over on Instagram with lots of inspiration and prizes. You can see my Instagram feed HERE and Altenew's HERE

Thanks so much for stopping by today, I really do appreciate it. I hope you have a wonderful day! 
End of code