Hello there, I hope you are well. Today I have a card to share using a couple of products from the Spellbinders Cheers to You collection. This is a collection of Press Plates to use in the Betterpress Letterpress System, but they can be hot foiled too!
PLEASE
NOTE: This post contains affiliate links. Please see below for my full
disclosure.
With the mask still in place, I splattered on a little
Tsuekineko Sheer Shimmer Spritz on top, removed the mask and set it aside to dry. Once dry, it was adhered to a US A2 sized white card base with tape runner adhesive. I pressed the
Spellbinders Cheers to You Sentiments Press Plate & Die Set onto more Porcelain cardstock using Teal Topaz Ink. I die cut them out using the coordinating die and adhered the happy birthday one on my card with thin foam tape to finish.
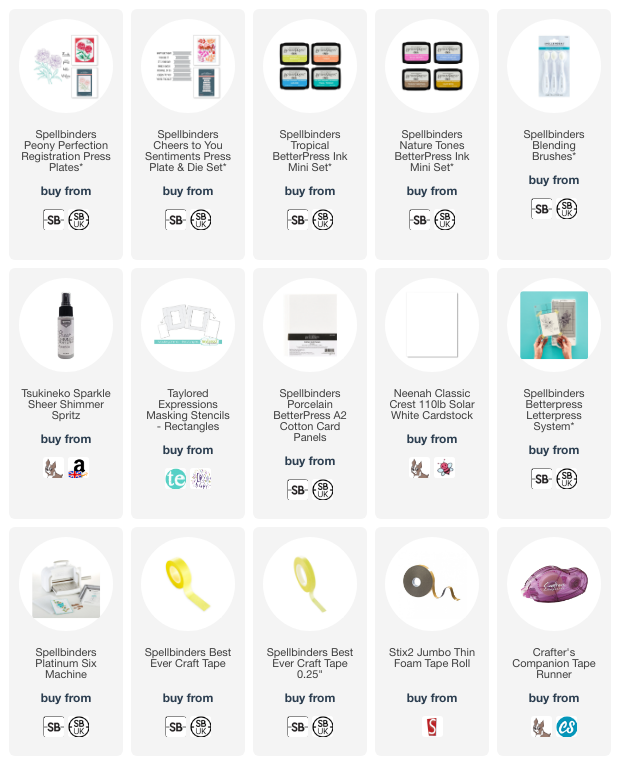
SUPPLIES:
Here are the links to
what I have used on the project. Affiliate
links are used on some products. This means that if you make a purchase after
clicking on my link, I receive a small commission with no extra cost to you. I
truly appreciate your support when using these links. Please click on the logo below
the product to shop at your favourite store. All products were personally
purchased except those from Clearly Besotted, Hero Arts or those marked with an
asterisk (*) which were kindly sent to me to use. You can read my full
disclosure here.
In the photos, the Teal Topaz Ink looks a little more blue in tone than in real-life. It has got a little bit more of a teal tone in person! Thank you so much for stopping by today, I really do appreciate it. I hope you have a wonderful day!


so very pretty
ReplyDeleteIt's so so pretty! These two colours are a match made in heaven and I love how you have blended the inks at an angle too. Beautiful card! Xx
ReplyDelete