Hello there, today I have a tag to share using a technique that I learnt from my amazing Altenew teamie
Erum Tasneem. It is reverse embossing - so using the back or the debossed side of an embossing folder, rather than the front or embossed side.
PLEASE
NOTE: This post contains affiliate links. Please see below for my full
disclosure.
I took the
Altenew Obsidian Pigment Ink and going direct to paper, I swiped the ink onto the tag. Where the areas are raised the black ink covers, where the areas are debossed, the ink blending shows. How much pressure you use on the ink pad does depend on the finished look. Erum shows how to do this with an ink blending tool which is a little less scary than going direct to paper! I like the coverage of direct to paper though.
Here is the video sharing how I made the tag:
If you are viewing this blog post via email subscription, you can watch the video HERE on YouTube.
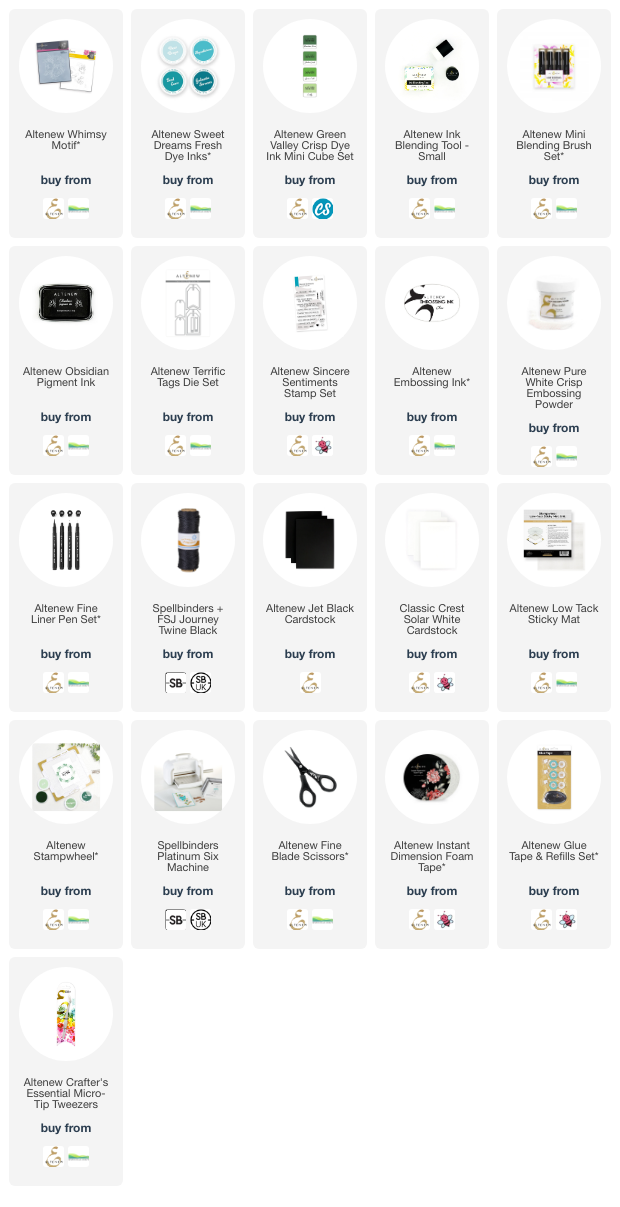
SUPPLIES:
Here are the links to
what I have used on the project. Affiliate
links are used on some products. This means that if you make a purchase after
clicking on my link, I receive a small commission with no extra cost to you. I
truly appreciate your support when using these links. Please click on the logo below
the product to shop at your favourite store. All products were personally
purchased except those from Clearly Besotted, Hero Arts or those marked with an
asterisk (*) which were kindly sent to me to use. You can read my full
disclosure here.
You really do need to see the technique in action to appreciate how cool it is! Thank you so much for stopping by today, I really appreciate it. I hope you have a wonderful day!


Wow, that tag is just so gorgeous! Thank you for the video on this amazing technique, too.
ReplyDeleteThis is an absolutely stunning tag Michelle! Such a great technique which I really must try. It's very striking with the black against those blues and greens. Amazing!
ReplyDelete