Hello there, I am delighted to be over on the Spellbinders YouTube Channel today sharing three cards made using the new Cutting Edge Project Kit. The kit consists of three layering die sets, a sentiment stamp set plus embellishments and cardstock, as well as ideas and supplies for four projects. Every month, designers like myself share other idea for using the kit with you. The kit has been out for a little while but you can now purchase the sets individually too.
I love that all of these dies are layering dies so you can customise them and really create some different looks. My first card uses the Spellbinders Shapeabilities Kaleidoscope Tile Etched Dies.
DIE CUT LAYERING
The colour combinations are endless with this set but I went with peaches for my card today. I die cut the bottom layer from FSJ Orange Creamsicle Cardstock, the middle with FSJ Peaches and Cream Cardstock and the top with FSJ Banana Cream Cardstock. I added Stick It Adhesive to the back of the cardstock before cutting and then layered them up one on top of another.
I took the piercing die from the Spellbinders Nestabilities Scored & Pierced Squares Etched Dies and die cut this on the front of a 4.75" x 4.75" white card base. I then added the Kaleidoscope Tile in the middle. I took the sentiment from the kit stamp set and stamped it on to white cardstock with FSJ Clear Pigment Ink. I applied FSJ Journey Gold Embossing Powder and heat set. It was cut in to a strip and added to the card with foam squares. To finish off, I added a jewel at the top and bottom of the tile.
DIE CUT INLAY
My next card uses the Spellbinders Die D-Lites Kimono Etched Dies. This die lets you create different colour combinations for the kimono plus adding detail if you want to as well. I started off by die cutting the kimono from FSJ Gold Mirror Cardstock, as well as the floral details. I then cut it from FSJ Huckleberry Fusion Cardstock. With the blue pieces, I blended FSJ Huckleberry Fusion Ink to the edges for some added dimension and interest.
The gold outline was adhered to a piece of white cardstock and then I added the blue pieces inside. I also added the gold flowers on top. I cut around the kimono and then added the piece on to a 4" x 5.5" white card base (I did add scoring lines on to it using a score board and bone folder but sadly they do not show up in the video or photos). I then took the sentiment from the Spellbinders Everyday Sentiments II Glimmer Plate Set and foiled it with Gold Foil. It was cut in to strips and added to the card with foam squares. To finish off, I added a few FSJ Fashion Gold Embellishments.
DIE CUT PIECING
My next card uses the Spellbinders Shapeabilities Sunday Drive Etched Dies. This is a really fun set where you can create a car by piecing the dies together. I cut the main car body from FSJ Blue Lagoon Cardstock, followed by the 'metal' parts in Matte Silver Foil from the FSJ Sparkle Trio Speciality Paper Pack. The light pieces and side trim were cut from FSJ Rock Candy Cardstock and then the steering wheel and hood of the car in FSJ Black Licorice Cardstock.
For the card base, I cut two of the largest Spellbinders Nestabilities Standard Circles Etched Dies from white cardstock. I then cut another from FSJ River Stone Cardstock. I cut this piece down further to create a road for the card to drive on. I added small pieces of white cardstock for the lines in the road and then adhered it all together. The car was added on top and then I made two balloons from silver glitter cardstock (also in the Sparkle Trip Speciality Paper Pack) and thin lines of black cardstock for the strings. The sentiment from the FSJ Sweet Birthday Wishes Stamp Set was stamped on to white cardstock with Cave Black Squid Ink. It was cut in to a strip and added to the card with foam squares.
VIDEO:
Here is the video showing how I made the cards:
If you are viewing this blog post via email subscription, you can watch the video HERE on YouTube.
SUPPLIES:
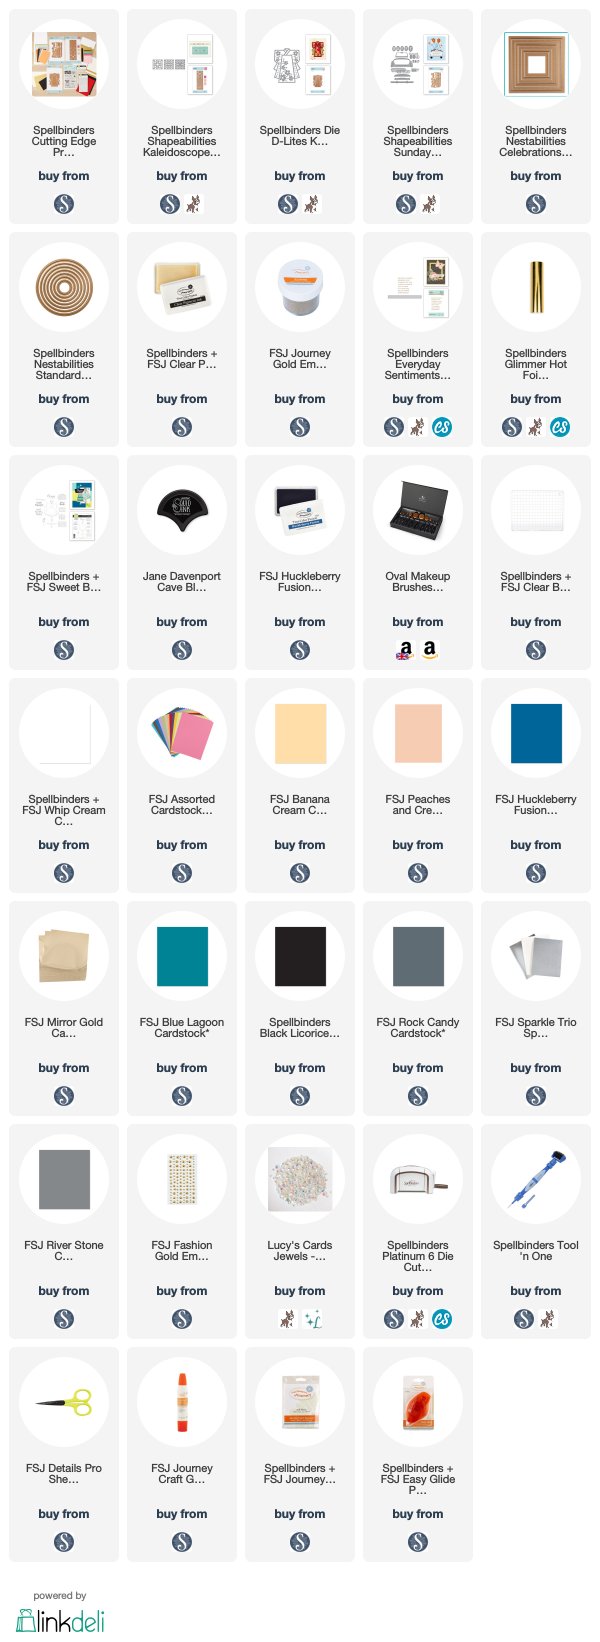
Here are the links to what I have used on the card. Affiliate links are used on some products. This means that if you make a purchase after clicking on my link, I receive a small commission with no extra cost to you. I truly appreciate your support when using these links. Please click on the logo below the product to shop at your favourite store. All products were personally purchased except those from Clearly Besotted, Hero Arts or those marked with an asterisk (*) which were kindly sent to me to use. You can read my full disclosure here.
For more inspiration using the new sets, please head over to the Spellbinders Blog and YouTube channel. Thanks so much for joining me today, I hope you have a wonderful day!


No comments:
Post a Comment
Thank you for visiting my blog today! Please feel free to leave me a comment. I really appreciate receiving them. Please note that if you comment as unknown on a hop, you will not be entered into the prize draw unless you leave your email address in the comment. Please see my Privacy Policy for details on how your data is used when leaving me a comment. Thank you so much :)