Pages

31 January 2019

Clearly Besotted Teasers | Blossoms In Bloom

Hello there and welcome to day four of the teasers for the February 2019 release from Clearly Besotted. The new products release tomorrow. I have one last teaser to share with you today using the new Blossoms In Bloom stamp set.
 

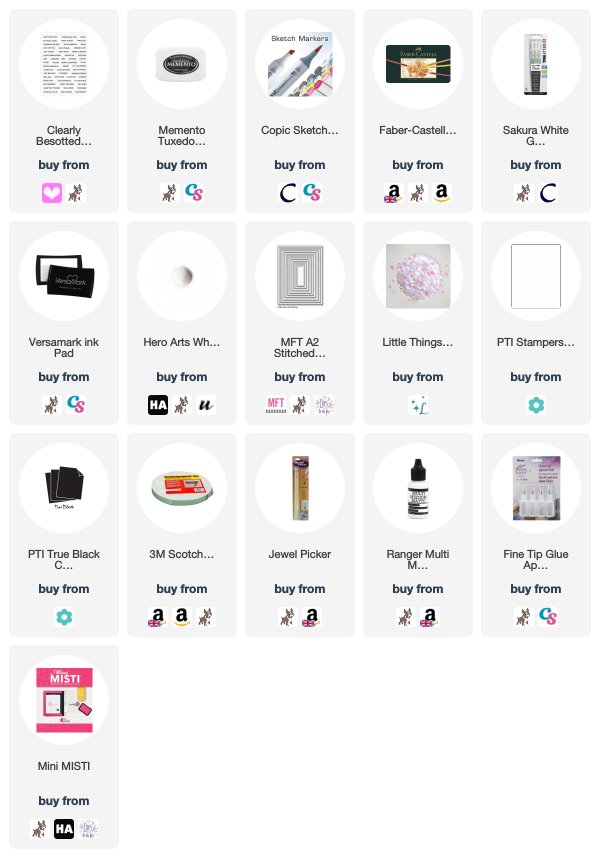
I started off by stamping the larger of the two floral images from the set on to white cardstock with Memento Tuxedo Black Ink. I then coloured the image with Copic Markers (the colours I used are listed below the supplies area), adding some shading around the image with blue. I then went in with a green and pink colour pencil to add some details in. I also added a few dots to the centres of the flowers with a white gel pen.
 
 
The panel was cut down using an MFT Stitched Rectangle die and added to an A2 white card base with foam tape. Although the Blossoms In Bloom stamp set has lovely sentiments in it, I wanted a tiny one for my card, so I used one from the Tiny Type set. I stamped it in Versamark Ink on to black cardstock, applied white embossing powder and heat set. This was cut in to a strip and added to the card with more foam tape. To finish off, I added a few Pink Moonshine Sequins.
 
SUPPLIES:
 
Here are the links to what I have used on the card. Affiliate links are used on some products. This means that if you make a purchase after clicking on my link, I receive a small commission with no extra cost to you. I truly appreciate your support when using these links. Please click on the logo below the product to shop at your favourite store. All products were personally purchased except those from Clearly Besotted, Hero Arts or those marked with an asterisk (*) which were kindly sent to me to use. You can read my full disclosure here.
 
 
COPIC MARKERS: Flower petals - R85, R83, R81 + 142 Polychromos pencil. Leaves and stem - YG17, YG23, YG03, YG01 + 247 Polychromos pencil.
 
With these images, I am so ready for spring! For more inspiration using the new sets, please head over to see what my teamies Stephanie, Keren and Lisa have been up to. There are a few sets that I haven't shared during my teasers, I will be taking a look at them tomorrow in my release video. Thanks so much for stopping by, I really do appreciate it. Have a great day!

30 January 2019

Clearly Besotted Teasers | Spring Plushies

Hello there and welcome to day three of the February Clearly Besotted teasers. Not too long to wait now, the new products release on the 1st February. Today I am using the new Spring Plushies set. This little set is filled with cute spring animals, Easter eggs and a fabulous sentiment.
 

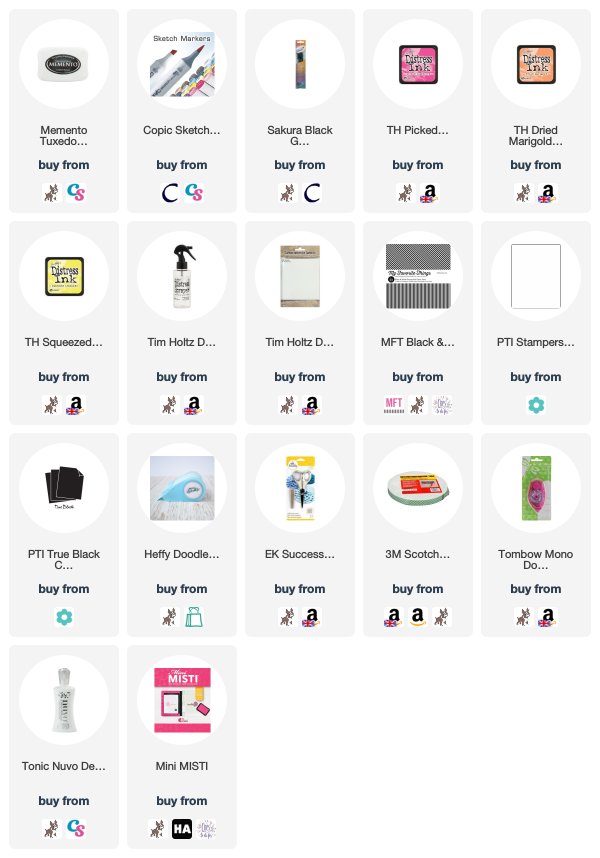
I started off by stamping the bunny, daffodil and tulip from the Spring Plushies set on to white cardstock. I coloured them using Copic Markers (the colours I used are listed below the supplies section) and fussy cut them out with scissors (but there are dies available if you would like them). I set these aside and worked on my background. I took a panel of watercolour cardstock, masked off the bottom portion and blended Distress Inks on to the top.
 
 
I used Picked Raspberry, Dried Marigold and Squeezed Lemonade. I then splattered on water droplets and left to dry. Once dry, I stamped the sentiment from the set on to the top right hand corner with black ink. The panel was added to an A2 white card base with tape runner. I then added a strip of MFT Black & White Stripes patterned paper, as well as a black cardstock strip to ground my images. The images were then added on top with foam tape. To finish off, I added black glaze pen to the bunny's eyes.
 
SUPPLIES:
 
Here are the links to what I have used on the card. Affiliate links are used on some products. This means that if you make a purchase after clicking on my link, I receive a small commission with no extra cost to you. I truly appreciate your support when using these links. Please click on the logo below the product to shop at your favourite store. All products were personally purchased except those from Clearly Besotted, Hero Arts or those marked with an asterisk (*) which were kindly sent to me to use. You can read my full disclosure here.
 
 
COPIC MARKERS: Bunny - C5, C3, C2, C1, C00, R01. Tulip - V17, V15, V12, YG17, YG23, YG01. Daffodil - Y17, Y15, Y13, Y11, YG17, YG23, YG01.
 
A bit of a different design for an Easter card but I love the vibrancy of that background with the black and white paper and images. For more inspiration using the new release, please pop over and see my teamies Stephanie, Keren and Lisa. Thank you so much for stopping by today, see you tomorrow for day four. Have a great day!

29 January 2019

Clearly Besotted Teasers | Spring Bouquet

Hello there and welcome to day two of the February 2019 Clearly Besotted teasers. Today I am using the beautiful new Spring Bouquet set. There are two bouquets in it, along with lots of wonderful sentiments.
 

I started off by stamping the bunch of tulips from the set on to white cardstock with Memento Tuxedo Black Ink. I coloured them with Copic Markers (the colours I used are listed below the supplies section) and then fussy cut them out (but there is a die set available too). I simply adhered the bouquet to a white A2 card base and snipped the bottom off that overlapped the edge. I used tape runner at the bottom and foam tape at the top.
 
 
I took the sentiment from the set and stamped this with Versamark Ink on to black cardstock. I applied detail white embossing powder and heat set. This was then cut in to a strip and added to the card with foam tape. To finish off, I added a few Ice Cube jewels around the image. When stamping and colouring the image, I did an extra one, as I wasn't sure whether to put two on the front of the card or not, so I added this one to the inside of the card.
 
 
SUPPLIES:

Here are the links to what I have used on the card. Affiliate links are used on some products. This means that if you make a purchase after clicking on my link, I receive a small commission with no extra cost to you. I truly appreciate your support when using these links. Please click on the logo below the product to shop at your favourite store. All products were personally purchased except those from Clearly Besotted, Hero Arts or those marked with an asterisk (*) which were kindly sent to me to use. You can read my full disclosure here. 


Memento Tuxedo Black Ink Pad
[ SSS | CST ]

Copic Sketch Markers
[ CLT | CST ]

Versamark ink Pad
[ SSS | CST ]
Hero Arts White Detail Embossing Powder
[ HA | SSS | SVN ]

Little Things from Lucy's Cards Ice...
[ SSS | LCS ]

PTI Stampers Select White Cardstock
[ PPR ]
EK Success Honey Bee Scissors
[ SSS | AMZUK ]

Jewel Picker
[ SSS | AMZUK ]

Ranger Multi Medium Matte Glue
[ SSS | AMZUK ]
Woodware Ultra Fine Glue Tip Applicators
[ CST | SSS ]

Mini MISTI
[ SSS | HA | DST ]

3M Scotch Mounting Tape 19mmx33m
[ AMZUK | AMZUS | SSS ]
Tombow Mono Dot Adhesive
[ SSS | AMZUK ]

COPIC MARKERS: Flowers - V09, V06, V05, V04, V01. Leaves - YG67, YG17, YG23, YG03, YG01. Bow - BG15, BG13, BG11, BG10.
 
I was inspired by the colour of the tulips by some that we planted in our garden a couple of years ago. They are the most gorgeous deep purple colour! For more inspiration using the new release, please head over to see what my teamies Stephanie, Keren and Lisa have been up to. Thank you so much for visiting me today, see you tomorrow for day three. Have a great day!

28 January 2019

Clearly Besotted Teasers | Floral Spray

Hello there and welcome to the start of the Clearly Besotted teasers for the February 2018 release. The new sets will be available to purchase on the 1st February and from now until then, we will be sharing peeks with you. Today I am using the beautiful new Floral Spray stamp set.
 

I started off my card by taking a panel of watercolour paper. I took one of the floral spray images from the set (there are two) and stamped this towards the bottom of the panel in Versafine Onyx Black Ink. I then added colour to the panel with Distress Inks. I took a slick surface (in this case a stamp pocket) and smooshed the Distress Ink on to it, I sprayed it with water and then using the stamp pocket as a tool, pounced this on to the panel. I love the organic look this gives.
 
 
I left the piece to dry and then cut it to size. I took the sentiment from the Scrumptious Birthday Sentiments set and stamped this above the image, also with Versafine Onyx Black Ink. I took a white A2 card base and added a strip of MFT Black & White Dots paper to the bottom. I then added a small strip of black cardstock above. The panel was then added on top with foam tape.
 
SUPPLIES:
 
Here are the links to what I have used on the card. Affiliate links are used on some products. This means that if you make a purchase after clicking on my link, I receive a small commission with no extra cost to you. I truly appreciate your support when using these links. Please click on the logo below the product to shop at your favourite store. All products were personally purchased except those from Clearly Besotted, Hero Arts or those marked with an asterisk (*) which were kindly sent to me to use. You can read my full disclosure here.


Clearly Besotted Scrumptious Birthday...
[ CLR | SSS ]

Versafine Onyx Black Ink
[ SSS | CST ]

TH Festive Berries Mini Distress Ink Pad
[ SSS | AMZUK ]
TH Dried Marigold Mini Distress Ink Cube
[ SSS | AMZUK ]

TH Squeezed Lemonade Mini Distress Ink
[ SSS | AMZUK ]

TH Mini Distress Ink Cube - Twisted...
[ SSS | AMZUK ]
TH Mini Distress Ink Cube - Broken...
[ SSS | AMZUK ]

TH Mini Distress Ink Cube - Wilted...
[ SSS | AMZUK ]

Tim Holtz Distress Sprayer
[ SSS | AMZUK ]
Avery Elle Large Stamp & Die Pockets
[ SSS | SVN ]

MFT Black & White Dots Paper Pack
[ MFT | SSS | SVN ]

Tim Holtz Distress Watercolor Cardstock
[ SSS | AMZUK ]
PTI True Black Cardstock
[ PPR ]

Mini MISTI
[ SSS | HA | DST ]

Tombow Mono Dot Adhesive
[ SSS | AMZUK ]
Tonic Nuvo Deluxe Adhesive
[ SSS | CST ]

3M Scotch Mounting Tape 19mmx33m
[ AMZUK | AMZUS | SSS ]
These images look beautiful coloured in too but I wanted to do something a little different today. For more inspiration using the new release, please check out my teamies Stephanie, Keren and Lisa. Thank you so much for stopping by today, I hope you have a wonderful day!

25 January 2019

Incorporating Foiling Into Simple Scenes

Hello there, today I have a card to share that uses foiling in a subtle way. I love the look of foiling but sometimes, it is a bit much for me. Now I have the Gemini FoilPress machine (you can see my review of it here), I can use dies to foil and combine them as part of a scene.
 

I started off by creating my background. I placed three MFT Puffy Cloud dies on to the Gemini FoilPress plate, heated the machine up and then placed silver foil on top, followed by a panel of white cardstock. This was then run through the Gemini Junior machine to adhere the foil on to the cardstock. The foil was removed and I brushed away any excess foil with a brush.
 
 
I then masked off the bottom of the panel and blended over Distress Inks on to the top portion. I used Wilted Violet and Broken China. The foiling resisted the Distress Ink perfectly. I then spritzed the panel with Shimmer Spray for some added sparkle. The mask paper was removed and then the panel was set aside to dry. Once dry, I stamped the sentiment from the MFT Birdie Brown Greetings Galore set below the inking.
 
 
The panel was adhered flat to an A2 white card base with tape runner. I then adhered a strip of MFT Black & White Stripes paper on to the panel below the ink blending. I took one of the elephants from the MFT Adorable Elephants set and stamped this on to white cardstock with black ink. I coloured the image using Copic Markers and added black glaze pen to his eyes. He was then die cut out with the coordinating die and added to the card with foam tape.
 

SUPPLIES:

Here are the links to what I have used on the card. Affiliate links are used on some products. This means that if you make a purchase after clicking on my link, I receive a small commission with no extra cost to you. I truly appreciate your support when using these links. Please click on the logo below the product to shop at your favourite store. Products marked with an asterisk (*) were kindly sent to me to use.
 
 
COPIC MARKERS: W8, W6, W5, W3, W2, W1, W0, R00, R000.
 
Although the foiled clouds are very subtle, I really like the look, especially with the ink blending. Thank you so much for stopping by to see me today, I really do appreciate it. I hope you have a great day!

23 January 2019

Hello, Mermaid

Hello there, I am so sorry for being MIA this month. My health hasn't been great and that sadly amounts to a lack of mojo. I am finally back with a card to share though, using the super cute Picket Fence Little Coral Girl set.
 

I started off by stamping the mermaid on to white cardstock using Memento Tuxedo Black ink. I coloured the image with Copic Markers (the colours I used are listed below the supplies section) and fussy cut her out with scissors. I then moved on to create the background. I took a sheet of Yupo paper and first added some Alcohol Ink Blending Solution on to it (this helps the inks blend smoothly). I then added drops of Aqua, Patina and Mermaid alcohol ink on top. I picked the Yupo paper up and turned the paper to blend the colours together.
 
 
Once the piece was dry, I die cut it using one of the MFT Scallop Edge Frames dies. I then cut a further three of the frames from white cardstock. I took the inside piece and adhered this flat to an A2 white card base. I took the three white cardstock frame pieces and using liquid glue, stacked these up adding the alcohol ink piece on top. These were added to the card, around the inside piece.
 
 
For the sentiment, I took the MFT Woodland Friends stamp set and stamped the 'hello' on to black cardstock using Versamark Ink. I applied detail white embossing powder and heat set. This was then cut using one of the sentiment strips form the MFT Hearts In A Row Vertical Set and I cut a fishtail end on to it. This was added to the alcohol ink panel with tape runner and then the mermaid added with foam tape. To finish off, I added a few Lucy's Raindrops with liquid glue.
 
SUPPLIES:

Here are the links to what I have used on the card. Affiliate links are used on some products. This means that if you make a purchase after clicking on my link, I receive a small commission with no extra cost to you. I truly appreciate your support when using these links. Please click on the logo below the product to shop at your favourite store. Products marked with an asterisk (*) were kindly sent to me to use.
 
 
COPIC MARKERS: Mermaid skin - E13, E11, E00, E000, E50. Hair - E49, E29, E27, E25, E23, E21. Top/tail/flower - V17, V15, V12.
 
I really like how the background came out. I was going for a smooth, water-like look. You never know how alcohol inks are going to behave, so I am glad it worked out! Thank you so much for visiting me today. I really do appreciate it. I hope you have a great day!

8 January 2019

Hearts Are Not Just For Valentine's

*This is my second post for the day, please see below for the Reverse Confetti January Blog Hop*

Hello there, today I am over on the Hero Arts Blog sharing a card made using the new All My Love Decorative Hearts stamp set that was released as an add-on to the January MMH Kit. It is perfect for Valentine's but as you can see from my card, it can be used for other occasions too.


SUPPLIES:

Here are the links to what I have used on the card. Affiliate links are used on some products. This means that if you make a purchase after clicking on my link, I receive a small commission with no extra cost to you. I truly appreciate your support when using these links. Please click on the logo below the product to shop at your favourite store. Products marked with an asterisk (*) were kindly sent to me to use.
 

I love how the Liquid Watercolors work with the heat embossing on the heart. For details on how I made the card, please pop over to the blog post here. Thank you so much for stopping by today!