Pages

30 November 2018

Concord & 9th | Geometric

*This is my second blog post of the day, please see below for my Clearly Besotted Teaser Post*

Hello there, I am back today with my final post as a guest designer for Concord & 9th. Today we are using the fabulous Geometric stamp set and dies. This is a wonderful set that can be used for so many occasions and I think is particularly great for cards for men.
 

My first card uses scraps of alcohol ink backgrounds that I already had (what a great way to use them up!). I took the background that was made with adding various shades of blue alcohol ink on to Yupo paper and then adding silver foil on top, and cut it using the Geometric Dies. I used the triangle in the set. The great thing is, with two dies you can get multiple different layers of the triangles. I ended up with a triangle frame and a solid one from the alcohol ink background and then I cut a further triangle from white cardstock..
 
 
The triangles were adhered flat on to an A2 white card base with liquid adhesive. I then stamped the sentiment from the stamp set on to black cardstock with Versamark Ink. I applied white embossing powder and heat set. This was cut in to a strip and added to the card with foam tape. To finish off, I added a few Raindrops.
 
 
My next card uses the circle from the stamp set. I took a panel of white cardstock and stamped the circle three times with turquoise ink. I used MFT Sno Cone, Berrylicious and Blu Raspberry. This was added to an A2 white card base with foam sheet and DST.
 
 
I then took the 'hi' word from the die set and cut this three times from black cardstock that had Stick It on the back. The die cuts were layered up and then added to the card. I took the sentiment from the set and stamped this on to black cardstock with Versamark Ink. I applied white embossing powder and heat set. This was cut in to a strip and added to the card with foam tape.
 
SUPPLIES:

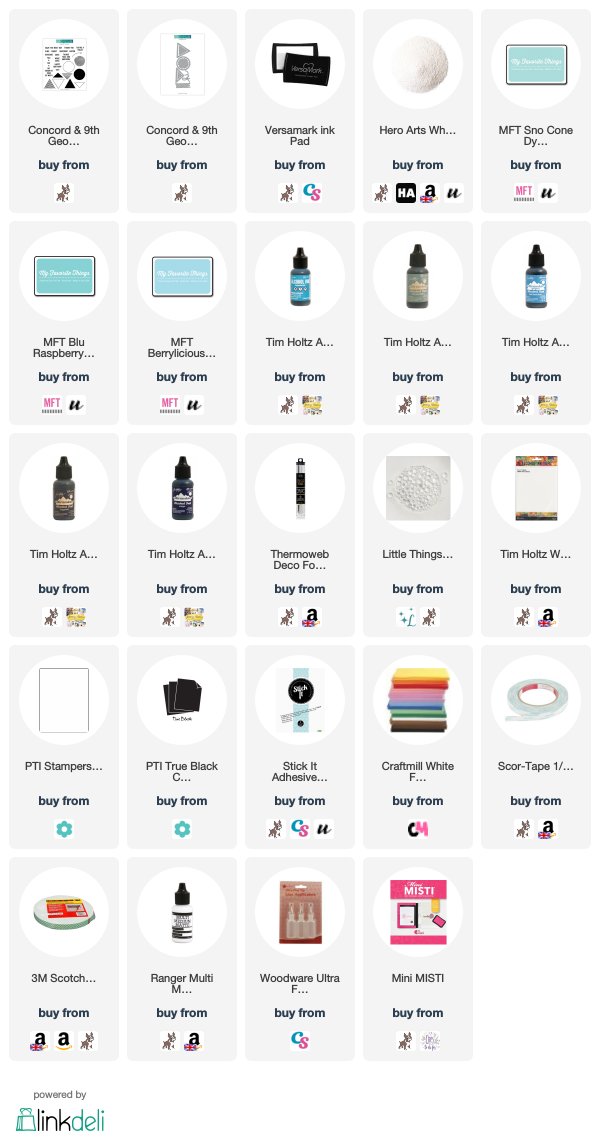
Here are the links to what I have used on the cards. Affiliate links are used on some products. This means that if you make a purchase after clicking on my link, I receive a small commission with no extra cost to you. I truly appreciate your support when using these links. Please click on the logo below the product to shop at your favourite store. Products marked with an asterisk (*) were kindly sent to me to use.
 
 
Two really simple cards but sometimes a few elements is all you need! A big thank you goes to Concord & 9th for having me guest with them this month. For more inspiration using this set, please head over to the Concord & 9th Blog. Thank you so much for visiting me today. Have a great day and a fabulous weekend!

Clearly Besotted Teasers | Birthday Kitty

Hello there and welcome to day four of the Clearly Besotted teasers. The new products release tomorrow at 8pm GMT, so not long to wait now! For my final teaser, I am using the new Cupid Cutie stamp set. This is geared towards Valentine's day but I think it can be used all year round too.
 

I started off by stamping the kitty holding the balloon from the Cupid Cutie set on to a panel of white cardstock with Memento Tuxedo Black Ink. I then made a mask from mask paper for it and placed this on top. I also made a mask by die cutting an MFT Dome Stax die from a panel of mask paper and added this over the cardstock panel. I first blended Broken China Distress Ink on to the sky using the MFT Mini Cloud Edges stencil. I then added some grass with Twisted Citron and Mowed Lawn inks.
 
 
The masks were removed and the kitty coloured with Copic Markers (the colours I used are listed below the supplies area). I then stamped the sentiment from the Just Saying stamp set below (I did have to mask this also as it was part of a longer sentiment) with more black ink. The panel was added to a white card base with foam sheet and DST and then finished I off with Aqua Shimmer Pen and Crystal Glaze on the balloon and collar.
 
SUPPLIES:

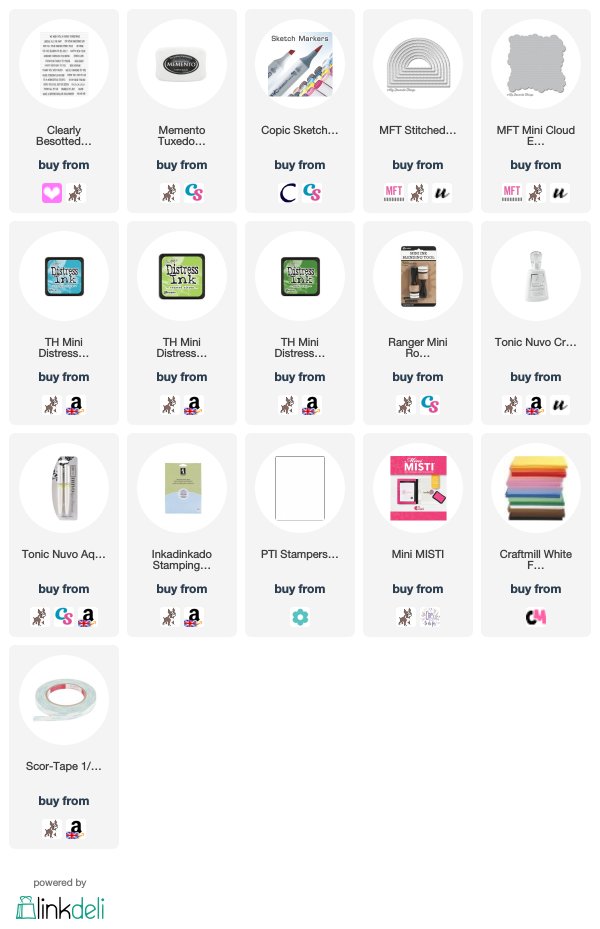
Here are the links to what I have used on the card. Affiliate links are used on some products. This means that if you make a purchase after clicking on my link, I receive a small commission with no extra cost to you. I truly appreciate your support when using these links. Please click on the logo below the product to shop at your favourite store. Products marked with an asterisk (*) were kindly sent to me to use.
 
 
COPIC MARKERS: Cat - N7, N5, N3, N2, N1, R20. Balloon and collar - BG15, BG13, BG11, BG10.
 
Isn't she cute? The rest of the critters in the set as just as cute! Please do pop over and see what my teamies Stephanie, Keren and Lisa have been up to. I will be back tomorrow to share a look at the new release. Have a great day!

29 November 2018

Clearly Besotted Teasers | Yippee!

Hello there and welcome to day three of the December Clearly Besotted Teasers. Today I am using the new super cute Head Over Heels set. Yes, the hippos are back and this time, they are doing summersaults! This set is great for Valentine's but I think you can use it all year round as well.
 

I started off by stamping the three hippos in the Head Over Heels set on to white cardstock with Memento Tuxedo Black ink. I coloured them with Copic Markers (the colours that I used are listed below the supplies section) and then fussy cut them out, but there will be coordinating dies available. I also stamped the 'yippee!' sentiment and die cut this out with one of the speech bubbles from the You Said It Die Collection.
 

I took a panel of white cardstock and die cut this using the MFT Stitched Triple Peek-a-Boo Window Die. I then stamped the 'congratulations' sentiment below from the Occasion Calligraphy set, with Memento Tuxedo Black Ink. I took an A2 white card base and masked off the edges. I blended on Distress Oxide Ink in Peacock Feathers first, concentrating most of the colour at the bottom. I then placed over the Basic Spots II Stencil and blended over more ink.
 
 
The masks were removed and then the panel added on top with foam tape. I added on the hippos and speech bubble with a combination of foam tape and tape runner. To finish off, I added black glaze pen to the hippo's eyes.
 
SUPPLIES:

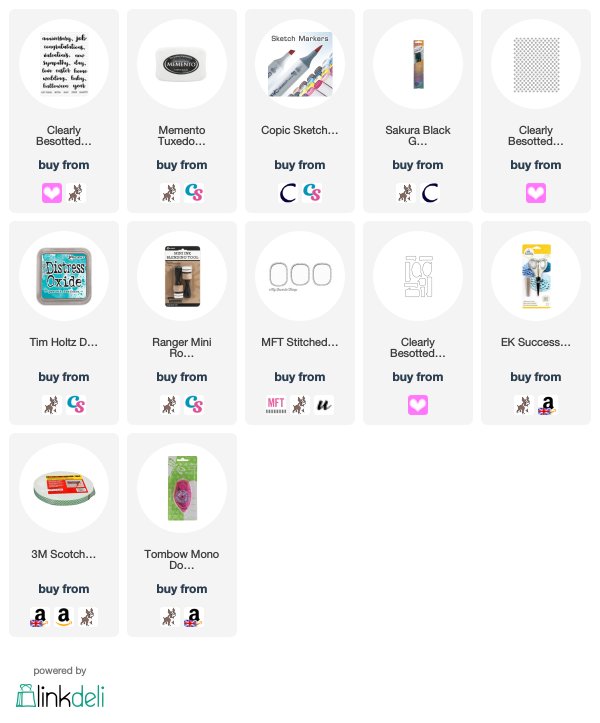
Here are the links to what I have used on the card. Affiliate links are used on some products. This means that if you make a purchase after clicking on my link, I receive a small commission with no extra cost to you. I truly appreciate your support when using these links. Please click on the logo below the product to shop at your favourite store. Products marked with an asterisk (*) were kindly sent to me to use.
 
 
COPIC MARKERS: W7, W5, W3, W2, W1, W0.
 
Aren't these guys just so cute? I love them! I do apologise for the quality of my photos. If you live in the UK, you will understand. We are getting one day of sun a week here and it is proving very difficult to take photos, sadly. Please do check to see what my teamies Stephanie, Keren and Lisa have been up to. See you tomorrow for day four. Thank you so much for visiting me today, I really do appreciate it. Have a great day!

28 November 2018

Clearly Besotted Teasers | Just A Drop

Hello there and welcome to day two of the December Clearly Besotted Teasers. Today I am using the new Just A Drop set. It is so pretty and features snowdrops and fuchsias. I decided to go with the snowdrops for my card and went with a bit more of a mixed media feel to it.

 
I started off by stamping the snowdrops image, from the Just A Drop set, on to a piece of watercolour paper with Fog ink. I then watercoloured the background with Distress Inks. I smooshed the ink on to a slick surface and then picked it up with a paintbrush and water. I used Broken China, Salty Ocean, Chipped Sapphire and Wilted Violet. Once these were dry, I splattered on some water, let it sit for about 30 seconds and then picked it up with a dry cloth. This created some interest and I thought the bright background would go well with the more muted snowdrops.

 
Once the background was dry, I then coloured the snowdrops using Polcychromos colour pencils (the colours I used are listed below the supplies section). The image panel was cut down and added to an A2 white card base with foam tape. I took the 'happy birthday' sentiment from the Happy Birthday All set and stamped this on to black cardstock with Versamark Ink. I applied white embossing powder and heat set. This was then cut down in to a strip and added to the card with more foam tape.


SUPPLIES:

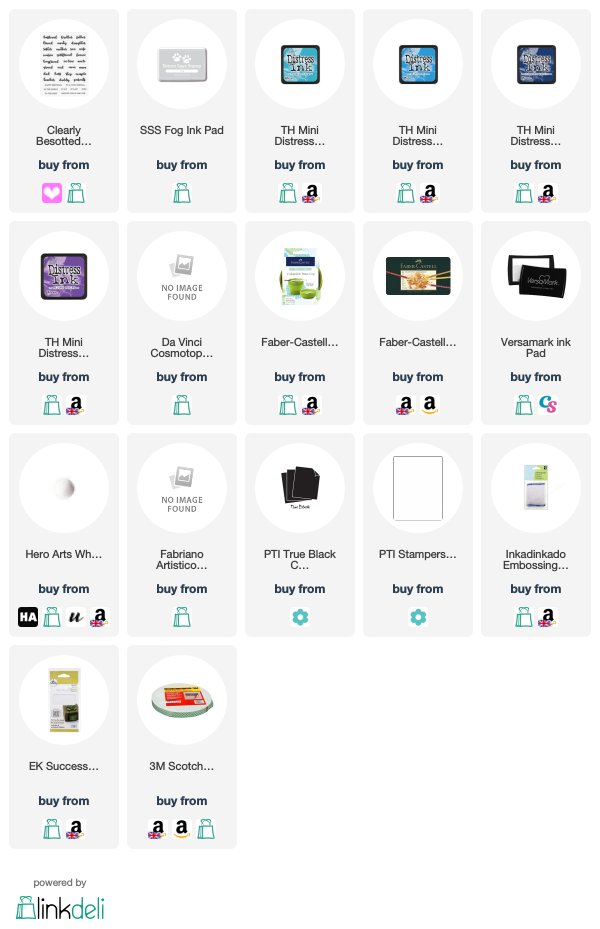
Here are the links to what I have used on the card. Affiliate links are used on some products. This means that if you make a purchase after clicking on my link, I receive a small commission with no extra cost to you. I truly appreciate your support when using these links. Please click on the logo below the product to shop at your favourite store. Products marked with an asterisk (*) were kindly sent to me to use.
 

POLYCHROMOS PENCILS: leaves/stems - 267, 174, 112, 168, 171. Snowdrop heads - 275, 274, 272, 271, 270.

Like I say, this does have a bit of a mixed media feel to it. I love that I can combine media and still keep the CAS look. Please do head over to see what my teamies Stephanie, Keren and Lisa have been up to. See you tomorrow for day three. Have a great day!

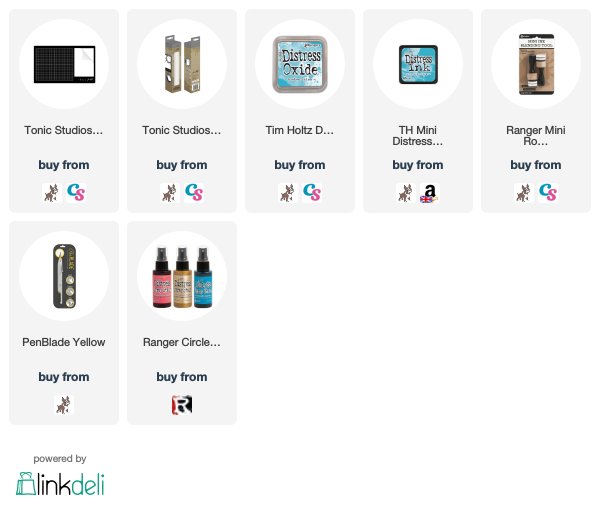
VIDEO | Tim Holtz Media Mat Quick Review

Hello there, today I have a quick review of the Tim Holtz Media Mat to share with you. I wasn't necessarily planning on doing this, hence why it is a quick review as I am rather late to the party, but I have been asked my thoughts on it.
 
 
OK, so first of all, it is a great mat! I find it to be a good size (14" x 23" = 35.5cm x 58.3cms), with it being glass, you can use lots of different mediums on it and it will clean up nicely. You can even use alcohol inks on this and it will not ruin it. I do find that it cleans up well, the only disadvantage for me is that I cannot always see if it is dirty, especially with Distress Inks. I find that they do not show up on the black colour of background. There is, however, a white background piece to the right. This works well as a palette, so that you can see the true colour of the medium. The only thing for me, is that I prefer to work straight ahead of me, rather than to the side, so I often take the non-stock mat that comes with it and pop that at the front and ink blend on that, although I think the results of ink blending are better directly on the glass.

 
I think it looks really nice on my desk and it is very heavy duty. That bad boy will not be moving around on my desk, it has nice non-slip feet to keep it in place! It is a bit of a higher price point compared to a lot of other craft mats but this is solid glass. As I mentioned in the video, I did manage to scratch mine with a craft knife, so I no longer cut directly on the surface now, but ordinarily, glass is a good cutting surface to use with craft knives.
 

VIDEO:


 If you are viewing this post via email subscription, you can watch the video here on YouTube.
 
Jennifer McGuire has done an excellent review of that mat so do check that out if you haven't already.
 
SUPPLIES:

Here are the links to what I have used in the video. Affiliate links are used on some products. This means that if you make a purchase after clicking on my link, I receive a small commission with no extra cost to you. I truly appreciate your support when using these links. Please click on the logo below the product to shop at your favourite store. Products marked with an asterisk (*) were kindly sent to me to use.
 
 
Do you have the mat? Do you like it? I would love to hear your thoughts. Thanks so much for stopping by. Have a great day!

27 November 2018

Clearly Besotted Teasers | Christmas Scene

Hello there, today kicks off the start of the December teasers for Clearly Besotted. For the next few days, the Design Team will be sharing teasers with you using the new sets, up until the 1st December which is release day. My card today uses three new sets.


I started off with a panel of white cardstock and stamped the Santa and reindeer from the new Shake It Up set on to this with Memento Tuxedo Black Ink. I made masks for them and placed these on top. I then stamped the new Picture It Christmas stamp on top. This is a fabulous scene stamp, perfect for all the little Christmas critter stamps but equally beautiful on it's own. I removed the masks and then coloured the image with Copic Markers (the colours I used are listed below the supplies section).
 

I added a strip of black cardstock below the scene to ground it and then stamped the sentiment from the new Christmas Type set below. The panel was adhered flat to an A2 white card base with tape runner. To finish off, I added some snow on to the scene with a white gel pen.

SUPPLIES:

Here are the links to what I have used on the card. Affiliate links are used on some products. This means that if you make a purchase after clicking on my link, I receive a small commission with no extra cost to you. I truly appreciate your support when using these links. Please click on the logo below the product to shop at your favourite store. Products marked with an asterisk (*) were kindly sent to me to use.
 
 
COPIC MARKERS: Sky - B39, B79, B29, B28, B26, B24, B21. Houses - E49, E59, E57, E55, C2, B00. Trees - BG78, BG75, BG71. Big tree - G28, YG67, YG63. Lights & star - Y28, Y26, Y13, Y11. Mountains - B97, B95, B93, B91, B00, B000. Snow - C2, C1, B00, B000, B0000. Rudolf - E59, E57, E55, E53, E51, R89, R27, R24. Santa - E13, E11, E00, E50, W2, W0, C10, C7, C5, C3, C1, C0, R89, R37, R29, R27, R24. Moon - E41, E40.
 
This card took some time to colour but I love how it came together! Please do check out what my teamies Stephanie, Keren and Lisa have been up to. Thank you so much for stopping by today, I really do appreciate it. Have a great day!

26 November 2018

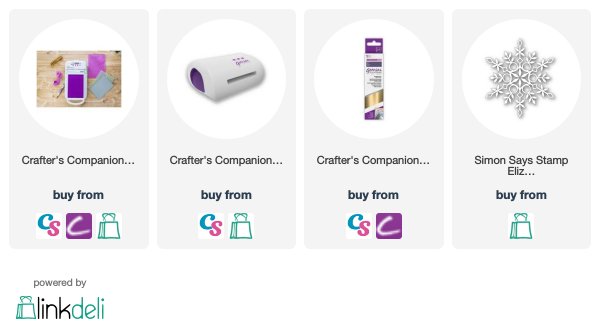
VIDEO | Gemini FoilPress Machine - Review & Play

Hello there, today I have a review of the Gemini FoilPress machine from Crafter's Companion which was kindly sent to me to review. This is a hot foiling system that is made to be used with the Gemini Junior and Gemini Die Cutting Machines. The main idea is that you use the Gemini FoilPress to heat up a die, add foil to it and whatever media you want to add the foil to, and then run it through the die cutting machine to press the foil into the media.
 
 
The Gemini FoilPress retails for approximately £95 here in the UK, so it is definitely an investment piece and will not be for everyone. Let me say now though, that I love it! I especially love that I can use lots of dies that I already have in my stash with it. Crafter's Companion have said that the machine is made to be used with the Gemini Junior and Gemini (with an adapter) die cutting machines only. They have not tested it out with other die cutting machines. I have heard that it may work in a Big Shot, but I do not know as I do not own one. The other hot foil machines that are on the market do not work in the Gemini machines, so that is why they have specifically made it to work in them.
 

The machine itself is light weight and easy to use. In the video, I am using it for the first time and found the instructions easy to understand. You need to pre-heat the machine first and then add the media and set the time based on what media you are using - the size of the die and the material you want to add the foil to. Crafter's Companion have a number of Foil Stamp Dies, as well as Foil Stamp 'N Cut Dies that are specifically made to use with it, but there are lots of other hot foil dies on the market. You can also use any of your thin metal dies that you already have in your stash.
 
VIDEO:
 
Here is the video showing the machine and what is in the box, as well as me playing around with some of the different applications:


If you are viewing this blog post via email subscription, you can watch the video here on YouTube.

Like I say above, it is definitely an investment piece and you do need to have a Gemini or Gemini Junior to use it. I love that you can foil on to a number of surfaces (cardstock, vellum, mirror card, acetate, leather, fabric and ribbon) and there are quite a few different colours of foils available too. You need to use foil specifically for hot foil with this machine, you cannot use Deco Foil or the foil made to be used with the Minc machine. For me, I am going to enjoy foiling with the dies that I already have in my stash. I particularly love the delicate thin lines of foil with this look.


SUPPLIES:

Here are the links to what I have used in the video. Affiliate links are used on some products. This means that if you make a purchase after clicking on my link, I receive a small commission with no extra cost to you. I truly appreciate your support when using these links. Please click on the logo below the product to shop at your favourite store. Products marked with an asterisk (*) were kindly sent to me to use.
 

I am hoping to share some projects with you using this machine soon, but in the mean-time, I hope you have found this review helpful. Thanks so much for visiting me today. I hope you have a wonderful day!

24 November 2018

Glimmer Paste with Stencils

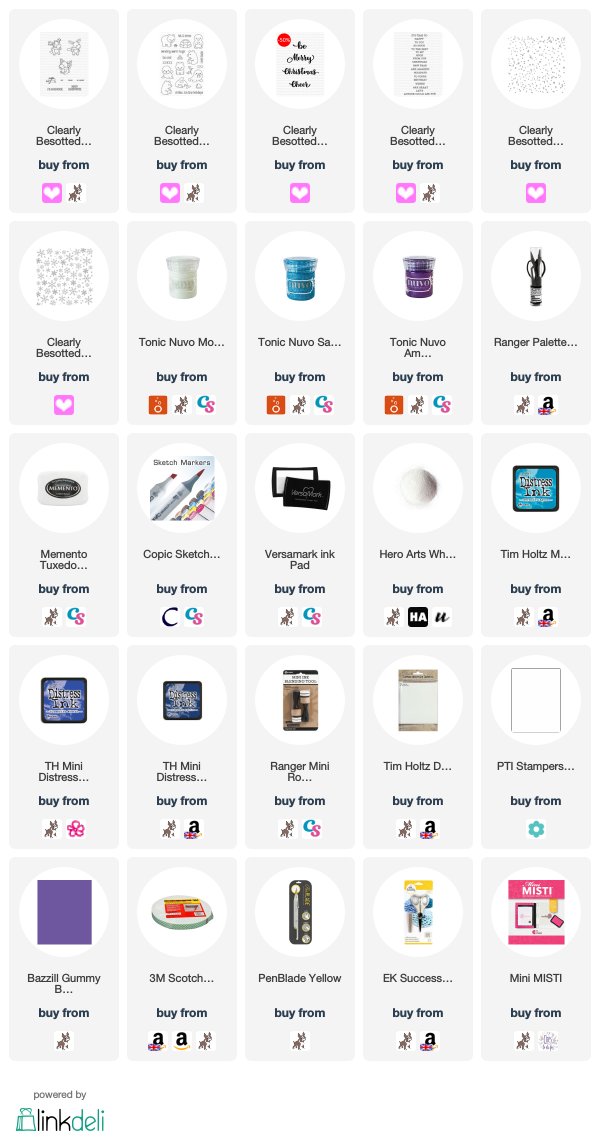
Hello there, today I have three Christmas cards to share with you using the wonderful new stencils from Clearly Besotted, along with the fabulous Tonic Nuvo Glimmer Paste.
 
 
Tonic Studios are celebrating all things Nuvo with their month long event called Nuvember. Every day in November, a talented artist is highlighting a particular product and today is Glimmer Paste day and I am delighted to be showcasing it on my projects today. You can find out more about Nuvember over on Tonic Studio's Instagram.
 
 
Although there are lots of uses for Glimmer paste, I particularly like using it with stencils and I thought the new ones from Clearly Besotted would work perfectly.
 

I started my first card by creating the background. I took a panel of watercolour paper and blended Distress Inks on to it. I used Mermaid Lagoon, Blueprint Sketch and Chipped Sapphire. I then took the Clearly Besotted Snow Day Stencil and placed this over the top. Using a palette knife, I added a coat of Nuvo Moonstone Glimmer Paste over the top. This is such a beautiful shimmer paste that works well with so many different colours. The stencil was removed and the piece was set aside to dry before adhering it to an A2 white card base with tape runner.
 
 
I took a panel of white cardstock and stamped a moose from the Clearly Besotted Merry Christmoose set with Memento Tuxedo Black Ink. I then cut around the top of the image with scissors, a craft knife and a ruler to create the panel. The moose was coloured with Copic Markers (the colours I used are listed below the supplies section) and then the panel added to the card with foam tape. The sentiment was stamped on to black cardstock with Versamark Ink. I applied white embossing powder and heat set. This was cut in to a strip and added to the card with more foam tape.
 

My next card uses a similar design but with a different stencil. I took a panel of purple cardstock and placed the Clearly Besotted Snowflake Flurry Stencil on top. I added a layer of Nuvo Amethyst Purple Glimmer Paste over the top and then removed the stencil. How beautiful are those shimmery purple snowflakes?! The piece was set aside to dry and then cut down and added to the front of an A2 white card base with tape runner.
 
 
I took a panel of white cardstock and stamped the images from the Clearly Besotted Arctic Animals set on to it. I first stamped the hats and then masked these off, adding the animals below, also masking these off as I went to create a little line of them. I took the Clearly Besotted Merry Calligraphy set and stamped the 'Christmas' on to the panel first. I then took the 'wishes' sentiment from the Modern Calligraphy Additions set and stamped this below. The animals were coloured with Copic Markers and then the panel was added to the card with foam tape.
 

My final card uses the Snowflake Flurry stencil again but in a more clean and simple way. I started off by taking a panel of watercolour paper. I placed the Snowflake Flurry Stencil over the top and this time applied Nuvo Sapphire Blue Glimmer Paste. This is such a stunning colour! I then set the panel aside to dry.
 
 
Once dry, the panel was adhered flat to an A2 white card base with tape runner. I took two sentiments from the Clearly Besotted Just Saying stamp set and stamped these on to black cardstock with Versamark Ink. I applied white embossing powder and heat set. these were cut in to strips and added to the card with foam tape.
 
SUPPLIES:

Here are the links to what I have used on the cards. Affiliate links are used on some products. This means that if you make a purchase after clicking on my link, I receive a small commission with no extra cost to you. I truly appreciate your support when using these links. Please click on the logo below the product to shop at your favourite store. Products marked with an asterisk (*) were kindly sent to me to use.
 
 
COPIC MARKERS: Moose - E59, E57, E55, E53, E51, E50. Scarf - B06, B02, B00. Polar Bear - E53, E51, E50, 0, E49. Walrus - W5, W3, W2, W1, E50, W9. Penguin - BV29, BV25, BV23, YR27, YR24, YR23, Y00. Seal - N5, N3, N1. Hats - V17, V15, V12, V000, C1. Ground - BG000, BG0000, BV000, BV0000.
 
Thank you so much for visiting me today. I hope you will be able to check out the rest of Nuvember. Have a great day!

23 November 2018

Concord & 9th | Bundled Up

* This is my second post of the day, please see below for my Purple Onion Design post *

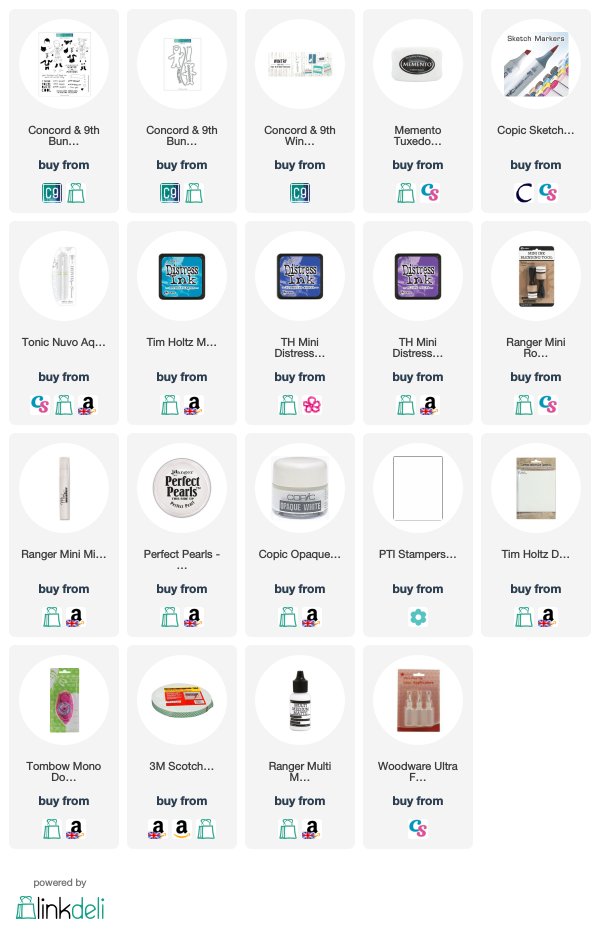
Hello there, today I am back with my third guest design post for Concord & 9th and today we are using the fabulous Bundled Up set. It is so cute! This is a fabulous set that you can either colour in or if you are not keen on colouring, or want a different look, you can stamp the different parts of the image with inks to add in the colour.
 

I started off by stamping the girl outline on to white cardstock with Memento Tuxedo Black Ink. I coloured her with Copic Markers (the colours I used are listed below the supplies section) and added some Aqua Shimmer pen to her scarf. She was cut out using the coordinating dies and set aside.
 
 
Next, I worked on the background. I took a panel of watercolour paper and blended on Distress Inks in Mermaid Lagoon, Blueprint Sketch and Wilted Violet. I then splatted over a solution of water and Perfect Pearls and then Copic Opaque White to create a blizzard type look. Once this piece was dry, it was cut down and added to an A2 white card base with tape runner. I took the snow bank die from the Bundled Up Die collection and cut this from white cardstock. I stamped the sentiment on top with black ink.
 
 
The snow bank was added flat to the card with tape runner and then the girl added on top with foam tape. I took the Wintry Edge Dies (which is a free gift when you spend over $60 in store at C9) and cut the snowflakes from white cardstock. These were then added to the card with liquid glue to finish off the scene.


SUPPLIES:

Here are the links to what I have used on the card. Affiliate links are used on some products. This means that if you make a purchase after clicking on my link, I receive a small commission with no extra cost to you. I truly appreciate your support when using these links. Please click on the logo below the product to shop at your favourite store. Products marked with an asterisk (*) were kindly sent to me to use.
 
 
COPIC MARKERS: Girl's skin - E13, E11, E00, E000, E50, R20. Hair - E29, E27, E25, E23, E21. Coat and shoes - B06, B04, B02, B01. Gloves, scarf and ear muffs - V17, V15, V12. Trousers - C9, C8, C7.
 
For more inspiration using this set, please head over to the Concord & 9th blog to see what my fellow guest designers have been up to.


BLACK FRIDAY SALE NEWS

Concord & 9th are celebrating thanksgiving with a wonderful sale. This runs from today and ends on Tuesday. All products (except the new release) are 20% off and there are lots of other deals in the store which are between 40-70% off, too!

Thank you so much for visiting me today. Have a great day and a wonderful weekend!

It's Christmas Time!

Hello there, today I have a project to share using products from the latest release over at Purple Onion Designs. Did you see it? The Mistletoe Farm collection is so cute and a perfect way for me to tell you about the Purple Onion Designs holiday sale (more on the below).


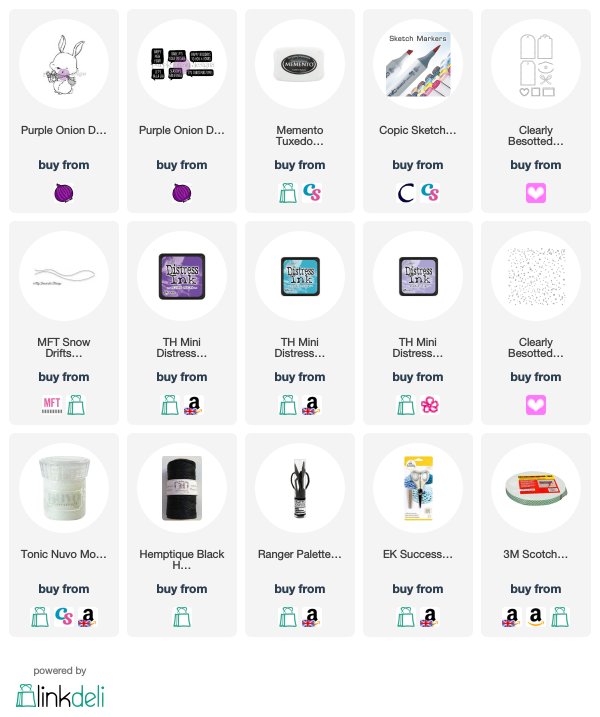
For my project today, I thought I would make a tag. I love creating these at Christmas time. I started off by stamping Pepper (Winter Bunny with Gift) on to white cardstock with Memento Tuxedo Black Ink. I then coloured her with Copic Markers (the colours I used are listed below the supplies section) and fussy cut her out with scissors. I also stamped the sentiment from the Holiday Blurbs 1 set and fussy cut this out too and set aside. I die cut a Clearly Besotted tag three times. Once from watercolour paper and twice from white cardstock. I further die cut one of the tags with the MFT Snow Drifts die to create a snow bank.
 
 
I took the watercolour paper tag and blended Distress Inks on to this. I used Broken China, Shaded Lilac and Wilted Violet. I then placed the Clearly Besotted Snow Day Stencil on top and added on a layer of Nuvo Moonstone Glimmer Paste. I removed the stencil and set aside to dry. The plain white cardstock tag was added to the back and then the snow bank adhered to the front with tape runner. Pepper and the sentiment were added on top with foam tape and then twine added through the top to finish off.
 
SUPPLIES:

Here are the links to what I have used on the tag. Affiliate links are used on some products. This means that if you make a purchase after clicking on my link, I receive a small commission with no extra cost to you. I truly appreciate your support when using these links. Please click on the logo below the product to shop at your favourite store. Products marked with an asterisk (*) were kindly sent to me to use.
 
 
COPIC MARKERS: Bunny - W6, W5, W4, W3, W2, W1, W0, R12, R00. Scarf - V17, V15, V12. Present - V25, V22, B02, B00, B000.
 
 
SALE NEWS
 
 
The Purple Onion Holiday Sale runs from today through till Friday, 7th December. All stamps are 25% off. So if you have been putting off ordering, now is the time to order!
 
Thank you so much for stopping by to see me today, I really do appreciate it. See you later for my Concord & 9th post.

20 November 2018

Fa La Llama!

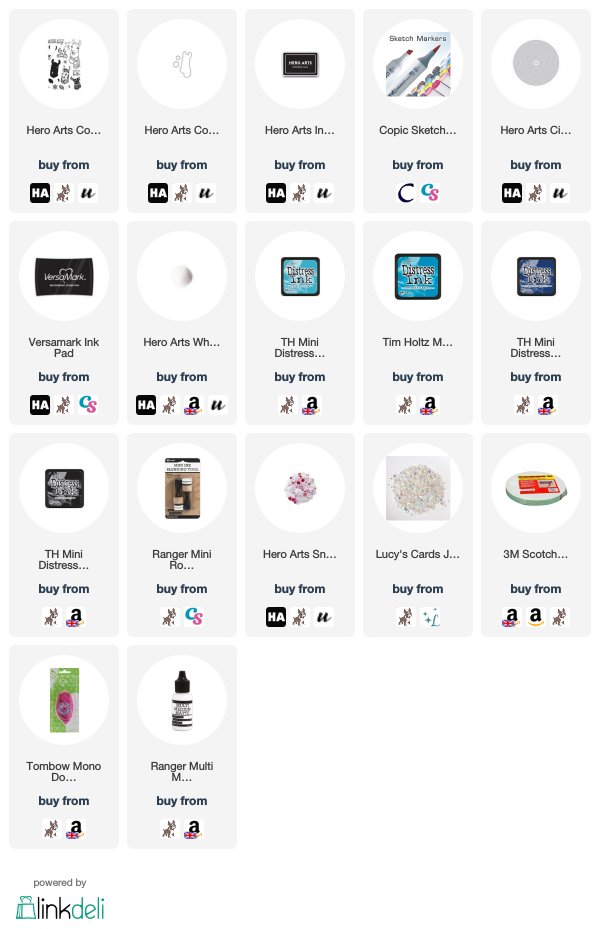
Hello there, I am over on the Hero Arts Blog today sharing a card using the Color Layering Fa La Llama stamp set and coordinating Frame Cuts. It is such a fun set!
 
SUPPLIES:

Here are the links to what I have used on the card. Affiliate links are used on some products. This means that if you make a purchase after clicking on my link, I receive a small commission with no extra cost to you. I truly appreciate your support when using these links. Please click on the logo below the product to shop at your favourite store. Products marked with an asterisk (*) were kindly sent to me to use.
 
 
COPIC MARKERS: Llama - E47, E44, E43, E42, E41, E40, R20. Scarf - R89, R35, R29, R27, R24.
 
For the details on how I made the card, please head over to the blog post. Thank you so much for stopping by today. I hope you are having a great week so far.

19 November 2018

Birthday Wishes

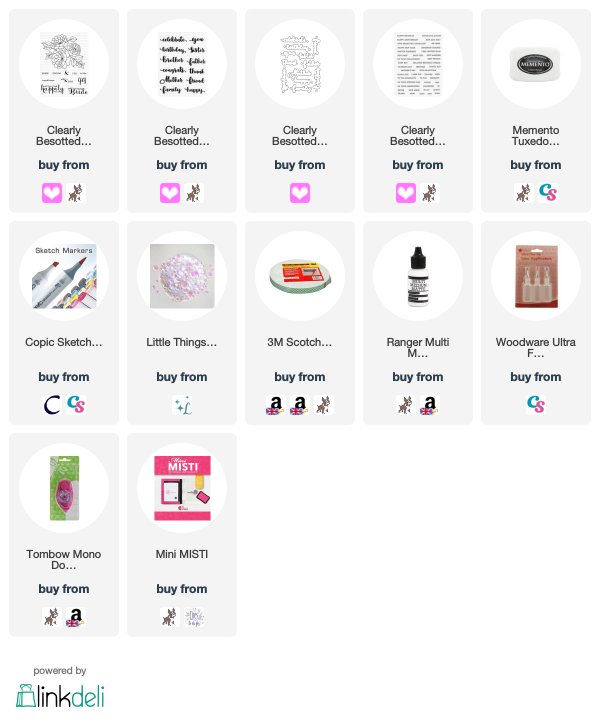
Hello there, today I have a card to share that uses two of the new sentiment stamp sets from Clearly Besotted that were released in November. I thought they would work beautifully with the flowers from the Happily Ever After set.
 

I started off by stamping the flowers from the Happily Ever After set on to white cardstock with Memento Tuxedo Black Ink. I then coloured them with Copic Markers (the colours I used are listed below the supplies area). I took the 'wishes' sentiment from the Miniature Type set (I had to mask off part of the sentiment to just get the wishes word) and stamped this with Memento Tuxedo Black Ink.
 
 
I took the 'birthday' from the Modern Calligraphy stamp set and stamped this on to white cardstock with the same black ink. I then die cut this with the coordinating die. The image panel was added to an A2 white card base with tape runner and then the birthday sentiment was added on with foam tape. To finish off, I added a few Lucy's Pink Moonstone Sequins.
 
SUPPLIES:

Here are the links to what I have used on the card. Affiliate links are used on some products. This means that if you make a purchase after clicking on my link, I receive a small commission with no extra cost to you. I truly appreciate your support when using these links. Please click on the logo below the product to shop at your favourite store. Products marked with an asterisk (*) were kindly sent to me to use.
 
 
COPIC MARKERS: Left flower - R85, RV34, RV32. Top flower - RV66, RV58, RV52. Bottom flower - R85, R83, RV452. Leaves - YG17, YG23, YG03, YG01.
 
I absolutely adore the font on the new calligraphy sets. It is so pretty. Thank you so much for stopping by to see me today. I really do appreciate it. I hope you have a fantastic week.

16 November 2018

Concord & 9th | Darling Petals

Hello there, I am back today with my next guest design post for Concord & 9th. Today we are using the beautiful new Darling Petals Turnabout set. This is slightly different than the other turnabout stamps from C9, as you use multiple colours on one turn of it. I did, however, use it a little different on my cards today.
 

My first card uses the main turnabout in the set. You would usually ink up one side of it with one colour and the other side with another colour (so that you can keep the foliage one colour and the flowers another). You can then change the colours on the next turn for a maximum of eight colours used. I decided to keep it with the two colours but I also didn't complete all of the turns, this gave me a more simple look with more white space.
 
 
I used MFT Blue Yonder ink for the flowers and Sno Cone for the foliage. As I mentioned above, I didn't complete all the rotations of the turnabout, so my flowers are just one layer but if you completed them all, they would be two. Once the stamping was complete, I simply cut the piece down and adhered it to an A2 white card base with foam sheet and DST. I took the sentiment from the set and stamped it on to black cardstock with Versamark ink. I applied white embossing powder and heat set. This was cut into two strips and added to the card with thin foam tape.
 

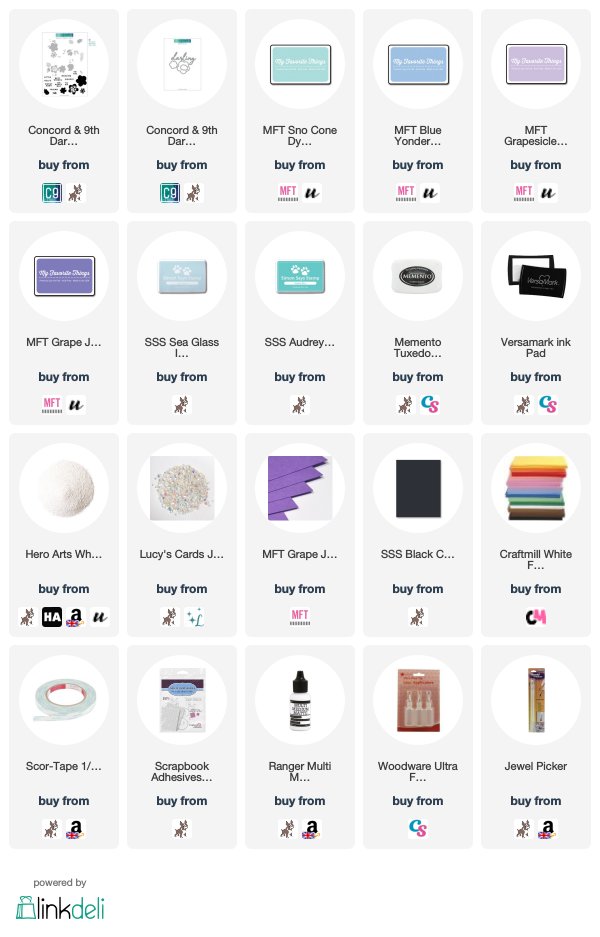
My next card uses the individual stamps that accompany the turnabout in the set. I first stamped the solid part of the flowers in MFT Grapesicle Ink and then the top layer with Grape Jelly. For the leaves, I used SSS Sea Glass for the solid layer and Audrey Blue for the top layer. I then stamped the friend word from the set using black ink.
 
 
I die cut the darling word from the Darling Petals Dies set from black cardstock three times. These were layered up with liquid glue and added to the card to finish off the sentiment. The panel was adhered to an A2 Grape Jelly card base with foam tape and DST. To finish off, I added a few Iridescent Jewels.
 
SUPPLIES:

Here are the links to what I have used on the cards. Affiliate links are used on some products. This means that if you make a purchase after clicking on my link, I receive a small commission with no extra cost to you. I truly appreciate your support when using these links. Please click on the logo below the product to shop at your favourite store. Products marked with an asterisk (*) were kindly sent to me to use.
 
 
For more inspiration using this set, please head over to the Concord & 9th blog to check out what my fellow guest designers have created. There is also a fabulous video here showing how the turnabout stamp works. Thank you so much for stopping by to see me today, I really do appreciate it. I hope you have a great day and a wonderful weekend.