Pages

20 September 2025

Hero Arts | Apple Branch

Hello there, I'm delighted to be joining Hero Arts today to celebrate the new September 2025 collections. The fun is happening over on Instagram but I wanted to share my card here too. There are two new collections releasing today - I Pick You and Yule Fuel. I am using the Apple Branch set from I Pick You today. 

PLEASE NOTE: This post contains affiliate links. Please see below for my full disclosure.


I started off my card by taking the image from the Hero Arts Apple Branch Stamp Set and stamped it onto a panel of Hero Arts Pitch Black Cardstock using Hero Arts Dove White Core Ink. I then coloured the image using Faber Castell Polychromos Pencils, adding in a little Caran d-Ache Luminance White Pencil in places (the colours that I used are listed below the supplies area). 


The panel was adhered to a black A2 sized card base. I then stamped the sentiment from the set onto more black cardstock using Hero Arts Clear Embossing & Watermark Ink. I applied White Detail Embossing Powder and heat set. It was die cut out using the coordinating dies and I cut another of the die twice to layer up behind the stamped one for dimension. It was adhered to the card with liquid glue. To finish, I added white gel pen dots. 

SUPPLIES:


Here are the links to what I have used on the project. Affiliate links are used on some products. This means that if you make a purchase after clicking on my link, I receive a small commission with no extra cost to you. I truly appreciate your support when using these links. Please click on the logo below the product to shop at your favourite store. All products were personally purchased except marked with an asterisk (*) which were kindly sent to me to use. You can read my full disclosure here.


PENCILS: Apples - Black, Dark Red, Permanent Carmine, Rose Carmine, White. Leaves - Black, Pine Green, Leaf Green, Light Green, White. Branches - Walnut Brown, Raw Umber. 

As mentioned, this is part of an Instagram hop. You can see my Instagram profile here and Hero Arts' here

Before this, I hadn't done any pencil colouring on black cardstock for a while, but I recently rediscovered Jennifer Rustioni on Instagram and was inspired by her feed to give it another go! Thank you so much for stopping by today, as always, I really do appreciate it. I hope you have a great weekend! 

Concord & 9th | Winter Bouquet

Hello there, today I have another card to share using the Concord & 9th September 2025 holiday release as a guest designer. Today's card uses the beautiful Winter Bouquet bundle. There is a stamp set, as well as coordinating dies. 

PLEASE NOTE: This post contains affiliate links. Please see below for my full disclosure.


I used the packaging as a guide for where to stamp the elements for the bouquet. I first stamped the large background leaves from the Concord & 9th Winter Bouquet Stamp Set onto a panel of white cardstock using Concord & 9th Peacock Ink. I stamped the stems for the flowers and berries in the same colour. 


I stamped the small leaves using Concord & 9th Sprout Ink and the berries with Concord & 9th Aqua Sky Ink. The panel was adhered to a white A2 sized card base. I then stamped the poinsettia flowers on a separate panel of cardstock using Concord & 9th Ballet Slipper Ink for the petals, and Concord & 9th Sunflower Ink for the centres. 


They were die cut out using the Concord & 9th Winter Bouquet Dies and adhered to the card with thin foam tape. I stamped the vase onto more white cardstock using Concord & 9th Black Ink. It was die cut out also and adhered to the card with thin foam tape. To finish, I embellished with Concord & 9th Dew Drops

SUPPLIES:


Here are the links to what I have used on the project. Affiliate links are used on some products. This means that if you make a purchase after clicking on my link, I receive a small commission with no extra cost to you. I truly appreciate your support when using these links. Please click on the logo below the product to shop at your favourite store. All products were personally purchased except marked with an asterisk (*) which were kindly sent to me to use. You can read my full disclosure here.


I really love this set! Although I kept to the design on the packaging for this card, I can't wait to try out different arrangements for future cards! Thank you so much for stopping by today, I really do appreciate it. I do have another post going up later but in the mean-time, I hope you have a great Saturday! Take care!

18 September 2025

Altenew | September 2025 Release Blog Hop + Giveaway

Hello there, I am delighted to be joining Altenew today to celebrate the September 2025 release with a fun and inspirational blog hop. There are lots of new products in the release and I have a few cards to share using some of them today. 

PLEASE NOTE: This post contains affiliate links. Please see below for my full disclosure.


FRESH PEARS


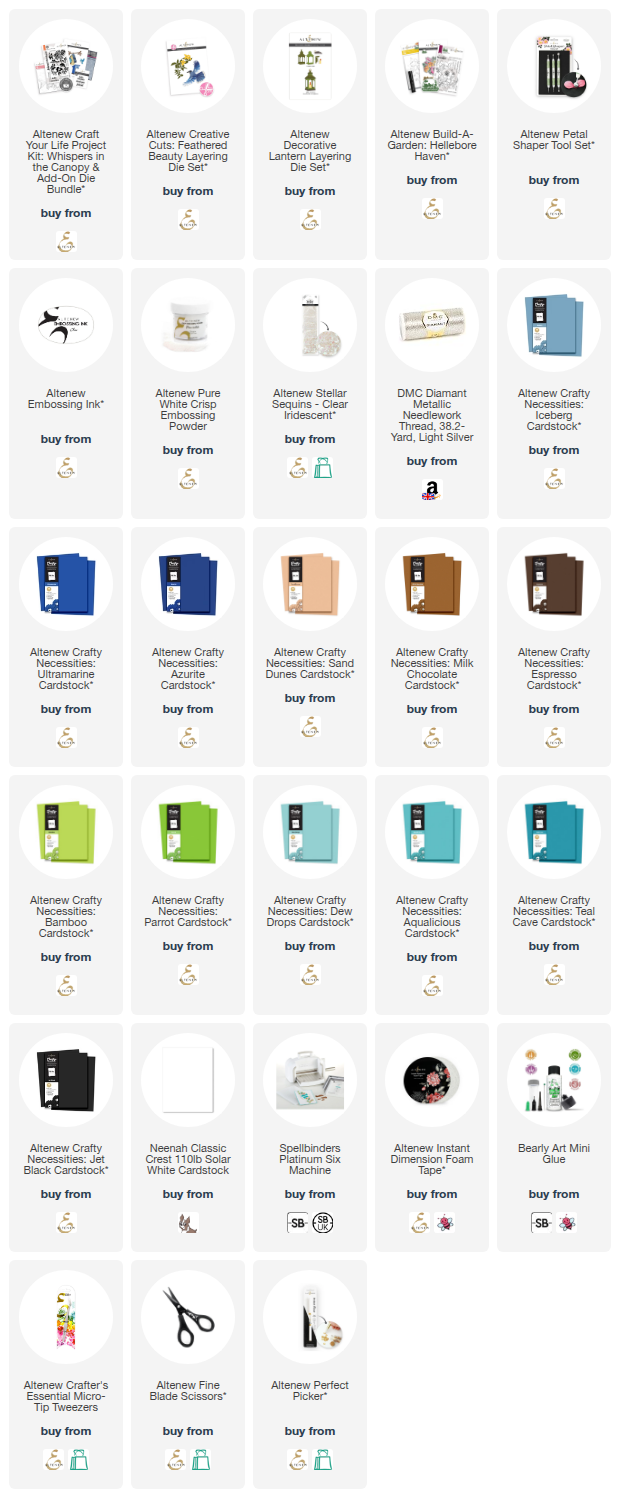
My first card uses the new Altenew Creative Cuts: Fresh Pears Layering Die Set. I started off by die cutting the pears from Altenew Crafty Necessities Cardstock in Limeade, Bamboo and Parrot. The leaves were cut from Hunter Green, the branch from Espresso and the flowers from Buttercream and white. 


I added ink blending to the base layers of the pears with Altenew Green Valley Fresh Dye Inks (Grass Field and Shadow Creek) using an Altenew Mini Blending Brush. I also added ink blending to the leaves with the same inks but this time using the darker Mountain Pine. The pears were then assembled and adhered using liquid glue. 


They were adhered to a US A2 sized white card base with Altenew Instant Dimension Foam Tape. The flowers were then adhered on top, adding Altenew Ivory Pearl Dots to the centres. I took the Altenew One Go: Solid Sentiment Strips 3 Press/Foil Plate and pressed it onto white cardstock using Altenew Obsidian Pigment Ink. It was die cut out using the coordinating die and the 'forever grateful' one adhered to the card with more foam tape. 

CRISPY LEAVES + WOODGRAIN TEXTURES


My next card uses a few new products combined with an older product for an autumn themed card. I started off by die cutting the Altenew Crispy Leaves Die Set from Altenew Crafty Necessities Cardstock and added ink blending on top with Altenew Fresh Dye Inks. They were then splattered with Altenew Enchanted Gold Metallic Watercolor


The top leaf was cut from Coral Berry Cardstock with Raspberry Sunset, Blush Rose, Cosmic Berry & Midnight Violet inks blended on top. 

The leaf on the right was cut from Pastel Sunrise Cardstock with Cosmic Berry & Midnight Violet inks blended on top. 

The leaf on the bottom was cut from Buttercream Cardstock with Cosmic Berry & Caramel Toffee inks blended on top. 


I ran the new Altenew Essential Textures: Fine Woodgrain Press/Foil Plate through my die cutting machine inside the Spellbinders BetterPress Letterpress System but without any ink. This gave a lovely texture to the cardstock! It was adhered to a white A2 sized card base and the leaves then adhered on top. 


I die cut and assembled two envelopes from the Altenew Fun Little Envelopes Die Set from white cardstock. They were adhered to the card and then I added another sentiment from the Altenew One Go: Solid Sentiment Strips 3 Press/Foil Plate on top. To finish, I embellished with Altenew Champagne Stellar Sequins

WOODLAND PATH


My next card uses the beautiful Altenew Woodland Path Embossing Folder and Stencils. I first die cut a circle of white cardstock using the new Altenew Nesting Circles Die Set. I then placed it inside the Altenew Woodland Path 3D Embossing Folder and ran it through my die cutting machine. 


I placed the stencils on top, one by one, to add ink blending to the image using Altenew Mini Blending Brushes. I used Altenew Warm Gray and Red Cosmos Fresh Dye Inks for the mushrooms. For the foliage, I used Altenew Frosted Foliage and Green Valley Fresh Dye Inks. 


The panel was adhered onto a white circle card base and another of the sentiments from Altenew One Go: Solid Sentiment Strips 3 Press/Foil Plate adhered on top with Altenew Instant Dimension Foam Tape. To finish, I embellished with Altenew Ivory Pearl Dots

ASTERS


My last card uses the beautiful new Altenew Craft-A-Flower: Asters Layering Die Set. I die cut the leaves and flowers from white cardstock and added ink blending on top. I used Altenew Enchanted Garden Fresh Dye Inks for the petals, Altenew Golden Sunset Fresh Dye Inks for the centres and Altenew Green Valley Fresh Dye Inks for the leaves. 


The flowers were assembled using the fabulous keyhole system and then adhered onto a black A2 sized card base, popping the leaves behind. The card was then simply finished with another sentiment from the Altenew One Go: Solid Sentiment Strips 3 Press/Foil Plate, adhered on top with foam tape. 

The sentiments do look a little splotchy in the photos, in real-life, they look much better!

BLOG HOP:


As mentioned, this post is part of a fun, inspirational blog hop. Please click on the participants below to visit their blogs. 

You are invited to the Inlinkz link party!

Click here to enter

GIVEAWAY:


$300 in total prizes! To celebrate this release, Altenew is giving away a $100 gift certificate to 1 lucky winner and a $50 gift certificate to 4 winners! Please leave a comment on the Altenew Blog and/or each designer’s blog post on the blog hop list below by September 24th for a chance to win. Altenew will draw 5 random winners from the comments left on each stop of this blog hop and announce the winners on the Altenew's Blog Hop Post on September 26th, 2025. The winner of the $100 gift certificate will be chosen from comments left on the Altenew blog. 


SUPPLIES:


Here are the links to what I have used on the project. Affiliate links are used on some products. This means that if you make a purchase after clicking on my link, I receive a small commission with no extra cost to you. I truly appreciate your support when using these links. Please click on the logo below the product to shop at your favourite store. All products were personally purchased except marked with an asterisk (*) which were kindly sent to me to use. You can read my full disclosure here.


Thank you so much for stopping by today, I really do appreciate it. I hope you have a lovely time on the rest of the hop and a wonderful rest of the day too! Take care! 

Concord & 9th | Sleigh Full of Cheer

Hello there, I am back with another card that I made as a guest designer for the latest Concord & 9th release. Today I am using the Sligh Full of Cheer Bundle. I absolutely love this set as you can decorate presents/gifts in paper form. I love decorating presents in real-life, so had a lot of fun with this set!

PLEASE NOTE: This post contains affiliate links. Please see below for my full disclosure.


I started off by die cutting the sleigh from the Concord & 9th Sleigh Full of Cheer Dies. I cut it from Concord & 9th Wheat Cardstock three times and adhered them one on top of another for added dimension. I stamped the sentiment from the Concord & 9th Sleigh Full of Cheer Stamp Set onto a white A2 sized card base using Versafine Clair Nocturne Ink. The sleigh was then adhered above it. 


For the bottom aqua present, I die cut the box from Concord & 9th Aqua Sky Cardstock, I then took decorative stamp from the Concord & 9th Sleigh Full of Cheer Stamp Set and stamped it on top of the bottom part using Concord & 9th Oceanside Ink. The top was adhered and then the bow and ribbon cut from Concord & 9th Oceanside Cardstock and adhered on top. 


The pink present on the left was cut from Concord & 9th Ballet Slipper Cardstock. I cut the ribbon at the top from Concord & 9th Dragonfruit Cardstock and the tag from White Cardstock. I stamped the heart on the tag using Concord & 9th Dragonfruit Ink. It was adhered to the present with a thin foam square. I cut the darker pink present from Concord & 9th Sweet Pea Cardstock and the bow from Concord & 9th Dragonfruit Cardstock

The aqua present on the top was cut from Concord & 9th Oceanside Cardstock. I stamped the line stamp twice (once horizontal, once vertical) on top using Concord & 9th Oceanside Ink. The holly and berries were die cut from the Concord & 9th Holiday Charm Die from Concord & 9th Sprout and Dragonfruit Cardstock and adhered on top. 


I cut the wreath from the Concord & 9th Accordion Tree Farm Dies from Conocrd & 9th Sprout cardstock for the wreath and Dragonfruit for the bow. The presents were all adhered on top of the sleigh using thin foam squares and the wreath adhered on top. To finish, I added Concord & 9th Dew Drops to the centres of the bows. 

SUPPLIES:


Here are the links to what I have used on the project. Affiliate links are used on some products. This means that if you make a purchase after clicking on my link, I receive a small commission with no extra cost to you. I truly appreciate your support when using these links. Please click on the logo below the product to shop at your favourite store. All products were personally purchased except marked with an asterisk (*) which were kindly sent to me to use. You can read my full disclosure here.


I am really hoping to make a few more cards with this set before Christmas. It was so fun to decorate the presents! Thank you so much for stopping by today, I really do appreciate it. I hope you have a great day! 

17 September 2025

Hero Arts | Thankful for You

Hello there, today I have a card to share combining a few of the Hero Arts Hero Studio September 2025 Kits. My main focus is the bonus item that you get when you purchase The Whole Studio. It is an adorable cat and mouse die this month! 

PLEASE NOTE: This post contains affiliate links. Please see below for my full disclosure.


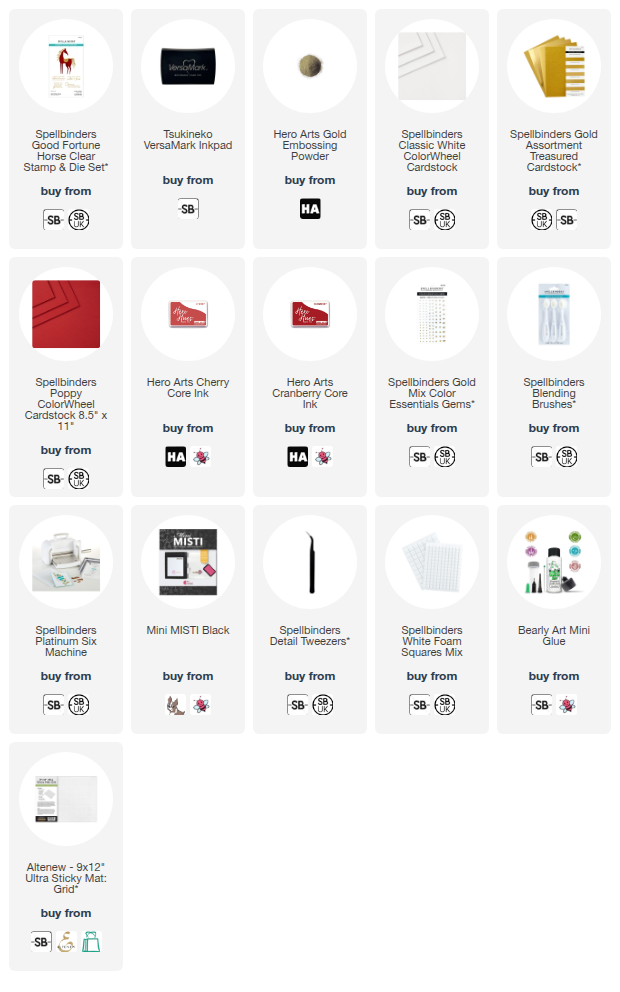
I started off my card by die cutting the cat and mouse from the Hero Arts Hero Studio September 2025 The Whole Studio. I cut the cat from Spellbinders Fog and Anchor ColorWheel Cardstock, cutting the nose part from white and the eyes and nose from Raven. The mouse was cut from Spellbinders ColorWheel Cardstock in Fawn and Truffle, with the ears being Chiffon and the eyes and nose being Raven


The pieces were assembled and adhered together with liquid glue, adding a thin foam square behind the mouses head. I then took the Hero Arts Hero Studio September 2025 Cling of the Month and stamped it onto a panel of Spellbinders Lilac ColorWheel Cardstock using Hero Arts Clear Embossing & Watermark Ink


I used watermark ink to so that there were some lighter areas and some slightly darker, rather than it be solid. I wanted it to kind of look like a quilt (I am not sure how successful I was with that though!). I then cut the panel using the Hero Arts Hexagon Infinity Dies. The hexagons were adhered to a white US A2 sized card base. The cat and mouse were then adhered on top with thin foam tape.


I stamped a sentiment from the Hero Arts Hero Studio September 2025 Card Kit of the Month onto Spellbinders Raven ColorWheel Cardstock using Hero Arts Clear Embossing & Watermark Ink. I applied White Detail Embossing Powder and heat set. It was cut into a strip and adhered to the card with foam tape. To finish, I embellished with Hero Arts Purples Enamel Dots

SUPPLIES:


Here are the links to what I have used on the project. Affiliate links are used on some products. This means that if you make a purchase after clicking on my link, I receive a small commission with no extra cost to you. I truly appreciate your support when using these links. Please click on the logo below the product to shop at your favourite store. All products were personally purchased except marked with an asterisk (*) which were kindly sent to me to use. You can read my full disclosure here.


Thank you so much for stopping by today, I really do appreciate it. I hope you have a wonderful day! 

16 September 2025

Concord & 9th | Holiday Charm

Hello there, I am back to share another two cards with you that I made using the latest Concord & 9th release that I have the pleasure of guest designing with. This time, I am using the wonderful Holiday Charm Inlay Die. As the name suggests, this is made to be an inlay die but you can absolutely use it in different ways too. I went with the traditional inlay for my cards though. 

PLEASE NOTE: This post contains affiliate links. Please see below for my full disclosure.


I started off my cards by die cutting the Concord & 9th Holiday Charm Inlay Die 8 times from Concord & 9th Cardstock in Aqua Sky, Oceanside, Peacock, Ballet Slipper, Sweet Pea, Dragonfruit, Silver and White. If you just mixed and matched with what you had, this would give you 8 cards! 


For my first card, I started off with the Aqua Sky base. I adhered it to a white A2 sized card base using liquid glue and then started inlaying all the pieces. I used Silver for the bells and the ornament/bauble toppers, and used Oceanside and Peacock for the foliage. 


I used White for the berries, doves and sentiment, and the ornaments/baubles are Ballet Slipper. The holly berries and ribbon from the doves are Dragonfruit. I messed up here, I should have used the same colour as I what I used on the bow (and candy canes) which was Sweet Pea but I have only just noticed that! Oops! 


For the second card I used White as the base and again used Aqua Sky, Oceanside and Peacock for the foliage. I used Ballet Slipper for the foliage berries and doves and silver for the bells and ornament toppers (I did have to cut these a second time). The ornaments and holly berries are using the Sweet Pea cardstock. 


I used Dragonfruit for the candy canes, sentiment and bow at the top (again I messed up with the lower ribbon parts! I will have to see if I can correct that before I send these out!). 

I used Bearly Art Glue to adhere all the pieces and an embellishment tool came in handy to place all the pieces down! 

SUPPLIES:


Here are the links to what I have used on the project. Affiliate links are used on some products. This means that if you make a purchase after clicking on my link, I receive a small commission with no extra cost to you. I truly appreciate your support when using these links. Please click on the logo below the product to shop at your favourite store. All products were personally purchased except marked with an asterisk (*) which were kindly sent to me to use. You can read my full disclosure here.


The first card took me a little while but the second went a lot quicker! I have kept all the pieces from the other cardstock colours and so will make the others at some point! Whilst a little time consuming, these would be great to mass produce as once the die cutting is done, it's just a case of popping the pieces in like a puzzle. Also they are completely flat so perfect for posting/mailing! 


Thank you so much for stopping by, I really do appreciate it. I hope you have a wonderful day! 

15 September 2025

Spellbinders | Gingerbread Train

Hello there and happy Monday to you! I'm was over on Spellbinders Blog yesterday sharing three cards using the Candy Christmas Collection by Stamperia. This fun collections features all things gingerbread - a plane, train, house and even gingerbread parachuting! 

PLEASE NOTE: This post contains affiliate links. Please see below for my full disclosure.


The peek above shows the card I made using the Spellbinders Gingerbread Train Etched Dies. I used the main train plus one of the carriages but there is another carriage if you wanted to make a full slimline card. I made somewhat of a mini slimline - 3.5" x 6.5" and I thought the size worked well for this collection. The train is adorned with candy and sweets and it's fun to mix and match all the different elements. I didn't even add them all on to my train! 

SUPPLIES:


Here are the links to what I have used on the project. Affiliate links are used on some products. This means that if you make a purchase after clicking on my link, I receive a small commission with no extra cost to you. I truly appreciate your support when using these links. Please click on the logo below the product to shop at your favourite store. All products were personally purchased except marked with an asterisk (*) which were kindly sent to me to use. You can read my full disclosure here.


For more details on how I made the cards, please head over to the Spellbinders Blog. Thank you so much for stopping by today, I really do appreciate it. I hope you have a wonderful day and a great week ahead! 

14 September 2025

Concord & 9th | Accordion Tree Farm

Hello there, I am both delighted and honoured to be guest designing with Concord & 9th this month for their amazing holiday/Christmas release! I have loads to share with you but first up is the Accordion Tree Farm Bundle. This set is made to be used with the Accordion Card Base Dies but you can use it on it's own too! 

PLEASE NOTE: This post contains affiliate links. Please see below for my full disclosure.


For my first card, I die cut the base layer of the trees in the Concord & 9th Accordion Tree Farm Die Set from Concord & 9th Wheat Cardstock. I then cut the top layers from Concord & 9th Sprout, Oceanside and Peacock Cardstock. I adhered the tops onto the bases with liquid glue. 


I took the adorable little fox from the Concord & 9th Accordion Woodland Dies and die cut him from Concord & 9th Spiced Cider, White and Ballet Slipper Cardstock. He was assembled and adhered using liquid glue. I then die cut the slope/landscape from the Concord & 9th Sleigh Full of Cheer Dies from white cardstock. 


I die cut a panel of white cardstock and stamped the sentiment from the Concord & 9th Accordion Tree Farm Stamp Set on top using Versafine Clair Nocturne Ink. I then adhered the trees below using liquid glue, as well as thin foam squares. 


The snowbank was adhered on top, followed by the fox. I adhered a panel of Concord & 9th Aqua Sky Cardstock to a white A2 sized card base and then adhered the tree panel on top using thin foam tape. 


For my second card, I die cut the base layer of the trees, as well as the layer with the tree farm stand on, from Concord & 9th Wheat Cardstock. The top layer of trees were cut from Concord & 9th Sprout, Oceanside and Peacock Cardstock. I adhered the trees down first to an A2 sized white card base, followed by the tree farm stand on top. I cut the wreath from Concord & 9th Sprout Cardstock and the bow from Concord & 9th Dragonfruit Cardstock. The wreath was adhered to the stand. 


I took a panel of white cardstock and die cut it using the front oval panel die from the Concord & 9th Accordion Card Base Dies. I cut the string of lights from Concord & 9th White Cardstock and the lights themselves from Concord & 9th Aqua Sky Cardstock. They were adhered together and then adhered so that either side is adhered to the back of the oval panel. 


I added foam tape onto the back of the oval panel and then adhered it on to the card. I cut the car from the Concord & 9th Accordion Tree Farm Die Set from Concord & 9th Ballet Slipper, Buttercup, Black, White and Matte Silver Cardstock. The pieces were adhered together and then I added vellum on the back for the windows. I cut the tree for the top from Concord & 9th Sprout Cardstock and the stump and ties from Concord & 9th Wheat Cardstock


It was adhered on top of the car and then the car adhered to the card with liquid glue. I stamped the sentiment from the Concord & 9th Accordion Tree Farm Stamp Set onto Concord & 9th Black Cardstock using Versamark Ink. I applied white embossing powder and heat set. It was cut into a strip and adhered to the card with foam tape. To finish, I embellished with Concord & 9th Dew Drops

SUPPLIES:


Here are the links to what I have used on the projects. Affiliate links are used on some products. This means that if you make a purchase after clicking on my link, I receive a small commission with no extra cost to you. I truly appreciate your support when using these links. Please click on the logo below the product to shop at your favourite store. All products were personally purchased except marked with an asterisk (*) which were kindly sent to me to use. You can read my full disclosure here.


I absolutely love the cut line detail on those tree dies! They make perfect Christmas trees but trees for all year round too, I think! Thank you so much for visiting me today, I really do appreciate it. I hope you have a wonderful day! 

13 September 2025

Spellbinders | Autumn Cheer

Hello there, today I have two cards to share using products from the Spellbinders Autumn Archives Collection by Kelly Bangs. This collection, as the name suggests, is all about autumn. I have two clean and simple cards to share using some of the products from the collection. 

PLEASE NOTE: This post contains affiliate links. Please see below for my full disclosure.


For both cards, I used the Spellbinders Falling Leaves Etched Dies. You cut the base of the leaves and the veining separately, so you can cut the veins from a darker or lighter colour of cardstock, or something like gold would be nice too. For my cards, I went tone-on-tone! 


I started off my first card by die cutting the acorns from the Spellbinders Falling Leaves Etched Dies from Fawn ColorWheel Cardstock for the base layers and Spellbinders Truffle ColorWheel Cardstock for the top pieces. They were adhered together using Bearly Art Glue. 


I cut the leaves from Spellbinders Beeswax and Terra Cotta ColorWheel Cardstock and adhered the veins on top with Bearly Art Glue. I took a white US A2 sized white cardstock and arranged them on top. Once I was happy with the placement, I adhered the leaves down first with Bearly Art Glue, followed by the acorns with thin foam squares. 


I hot foiled the Spellbinders Autumn Sentiments BetterPress Plate & Die Set onto white cardstock using Spellbinders Opaque Black Foil and the Glimmer Hot Foil System. They were then die cut out with the coordinating die. I cut the dies again from white cardstock and adhered the die cut behind the foiled sentiment. It was then adhered on top of the acorns and leaves. 


For the second card, I started off by die cutting the tag from the Spellbinders Documenting Labels Etched Dies from white cardstock with the hole reinforcer from Spellbinders Raven ColorWheel Cardstock. I adhered the hole reinforcer on top and then threaded black twine through and tied in a bow. 


When die cutting the acorns and leaves from the Spellbinders Falling Leaves Etched Dies for the first card, I die cut extras to use on the second card. The leaves were adhered flat to the tag with Bearly Art Glue and the acorns with thin foam tape on top. The tag was then adhered to a US A2 sized white card base with more thin foam tape. 


I adhered the sentiment on top, from the Spellbinders Autumn Sentiments BetterPress Plate & Die Set, that was foiled with the first card's sentiment. To finish both cards, I added black dots using Altenew Finer Line Pens

SUPPLIES:


Here are the links to what I have used on the projects. Affiliate links are used on some products. This means that if you make a purchase after clicking on my link, I receive a small commission with no extra cost to you. I truly appreciate your support when using these links. Please click on the logo below the product to shop at your favourite store. All products were personally purchased except marked with an asterisk (*) which were kindly sent to me to use. You can read my full disclosure here.


Whilst spring is my favourite season, autumn comes a close second! I am so ready for some cosy/cozy days! Thank you so much for stopping by today, as always, I really do appreciate you taking the time to visit. Wishing you a wonderful weekend!