Hello there, I was over on the Spellbinders Blog last week sharing a step-by-step tutorial on how to create a shaped card using Bibi's Musical Notes collection. I used the Majestic Guitar to create a shaped card but there are side panels that can be purchased to make it into a 3D box too, or it can go on a normal card but you would need an A7 card for that as it is tall!
PLEASE
NOTE: This post contains affiliate links. Please see below for my full
disclosure.

I created the main guitar using Spellbinders Majestic Guitar Etched Dies from Spellbinders and Hero Arts purple cardstock. I cut the strings from cardstock too but you can actually string the guitar with thread as well! I decorated the guitar with flowers from the Spellbinders Mini Guitar Etched Dies and finished with a sentiment from the Spellbinders Family Musical Mix Greetings Clear Stamp Set.
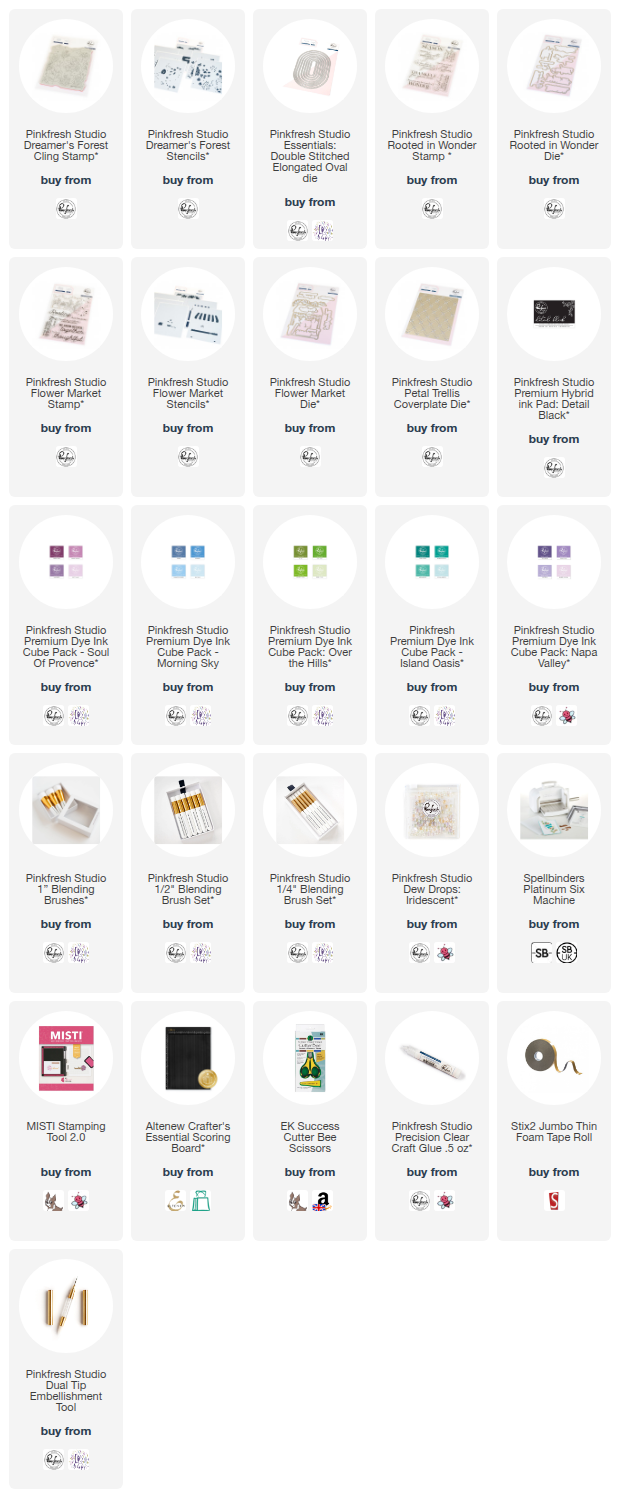
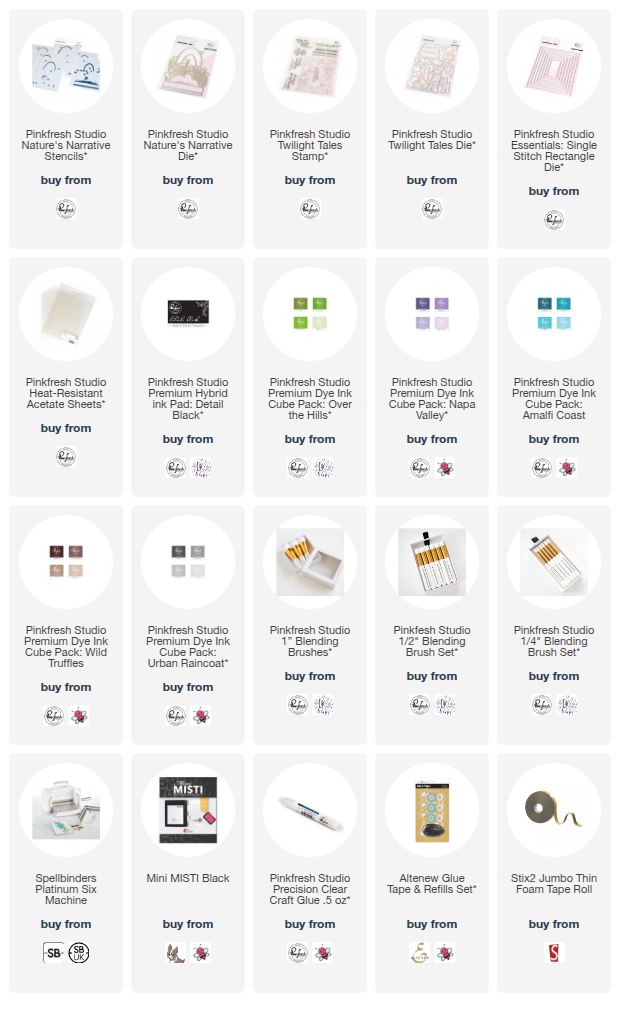
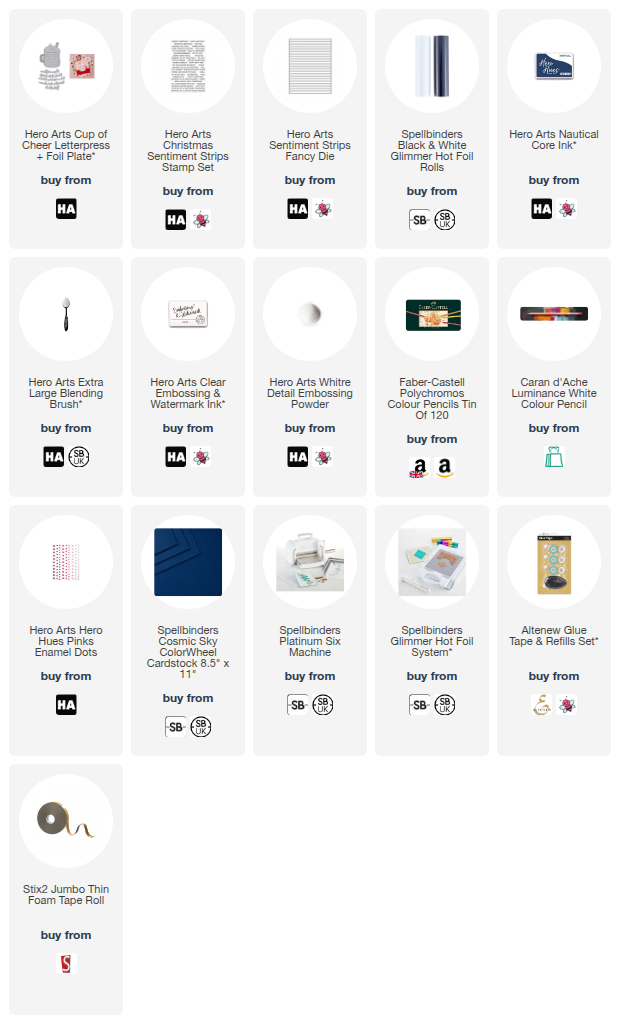
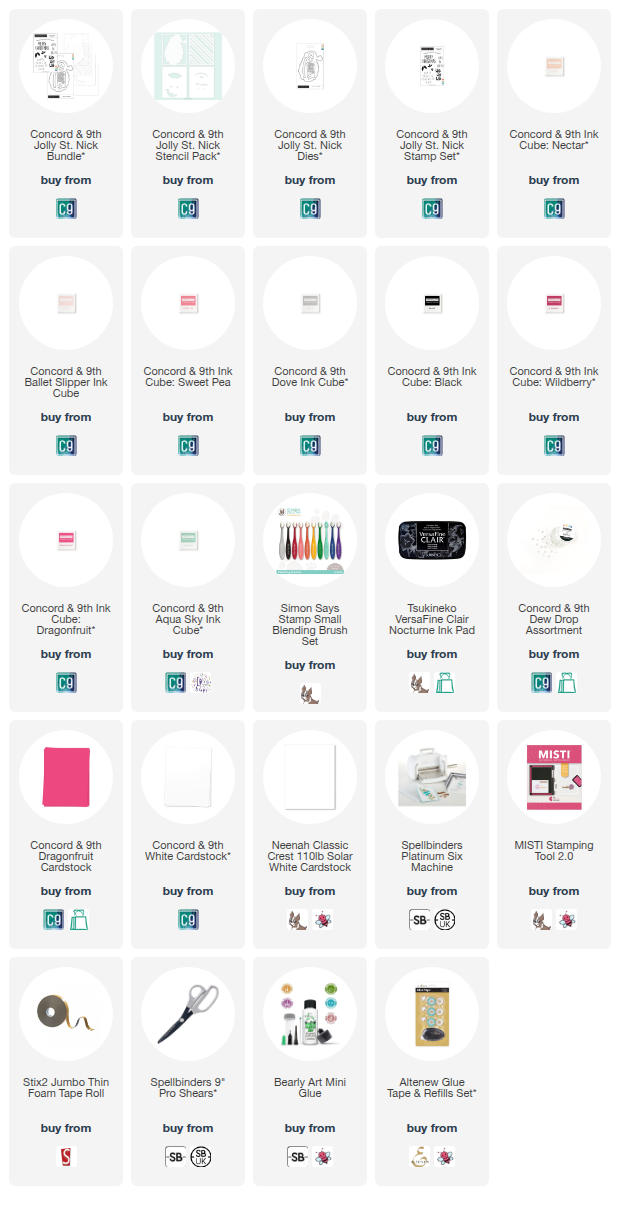
SUPPLIES:
Here are the links to what I have used on the project. Affiliate links are used on some products. This means that if you make a purchase after clicking on my link, I receive a small commission with no extra cost to you. I truly appreciate your support when using these links. Please click on the logo below the product to shop at your favourite store. All products were personally purchased except marked with an asterisk (*) which were kindly sent to me to use. You can read my full disclosure here.


.jpg)
.jpg)