Pages

31 October 2020

Clearly Besotted Teasers | Ho Ho Ho!

Hello there and welcome to day four of the Clearly Besotted November 2020 Teasers. Release day is tomorrow and I have one last teaser to share with you today. Today I am using the super cute Balloon Bunch Christmas set which consists of different people and critters that can be flying in the air attached to balloons. I thought it would be fun to have Santa delivering presents this way! 


I started off by taking a panel of white cardstock and stamping the houses image from the Clearly Besotted Balloon Bunch Christmas Stamp Set towards the bottom. I then stamped the little Santa above and then the balloons above him. I masked off his hand while stamping the balloons so that it looks like he is holding them. I then made masks for all of the images and placed them over the panel. 


I took the Clearly Besotted Cloudy Day Stencil and placed this over the panel. Using a blending brush, I then blended on Tim Holtz Chipped Sapphire Ink Distress Ink, moving the stencil down the panel as I went. Before removing the masks, I splattered on Arteza Titanium White Gouache. I then coloured the images using Copic Markers (the colours that I used are listed below the supplies area). The panel was adhered flat to an A2 white card base. 


I took the Clearly Besotted Tiled It Stencil and placed this on to a panel of white cardstock. I took a pencil and lightly traced around it. Using a craft knife and ruler I then cut out the windows and then adhered it on top of the card using foam tape. The sentiment, from the new Clearly Besotted Christmas Characters Stamp Set was stamped on to black cardstock using Versamark Ink. I applied white embossing powder and heat set. It was then cut out using a Simon Says Stamp Stitched Circle Die and adhered to the card using a combination of foam tape and tape runner. 

SUPPLIES:


Here are the links to what I have used on the card.
Affiliate links are used on some products. This means that if you make a purchase after clicking on my link, I receive a small commission with no extra cost to you. I truly appreciate your support when using these links. Please click on the logo below the product to shop at your favourite store. All products were personally purchased except those from Clearly Besotted, Hero Arts or those marked with an asterisk (*) which were kindly sent to me to use. You can read my full disclosure here.


COPIC MARKERS: Santa skin - E13, E11, E00. Beard - W5, W3, W1. Hat and coat - R89, R37, R27, R24, C3, C1, C00. Trousers - C8, C6, C5. Boots - W7, W5. Yellow balloon - Y17, Y15, Y13, Y11. Green balloon - G29, YG17, YG25, YG03, YG01. Blue balloon - B39, B18, B16, B12. Red balloon - R89, R37, R27, R24. Houses - E13, E11, E30, B00, B0000, Y00. 

I thought that the scene looked like you were looking out of the windows at Santa floating along in the sky! For more inspiration using the new sets, please head over to the Clearly Besotted Blog, Keren and Lisa. Thank you so much for stopping by today. See you tomorrow for the reveal! I hope you have a lovely day! 

30 October 2020

Tonic Studios Stamp Club Party Animals Blog Hop

Hello there and welcome to the Tonic Studios Stamp Club Party Animals Blog Hop! The amazing Maria Willis has collaborated with Tonic Studios to bring you new releases every month called Stamp Club. The Stamp Club release this month features the super cute Party Animals Stamp & Die Bundle, along with the Banners & Strips Die Set that works well with the sentiments in the set, as well as lots of other sentiments that you might have. 

This is not a subscription but more like a kit and exclusive to Tonic Studios. You can purchase a stamp and die bundle along with add-on products on the last Friday of every month. The bundle is limited edition so once it is sold out, it is sold out for good, so grab it while you can! More details on the hop below :)

For my first card, I am using the adorable elephants from the Tonic Studios Party Animals Stamp & Die Bundle. I started off by stamping the two elephants and the birthday cake on to white cardstock with black ink. I then coloured them using a combination of Tonic Nuvo Alcohol Markers and Copic Markers. They were cut out using the coordinating dies (what is great about these dies is that they are not connected together, so no annoying metal to cut between them!). 

I then took a panel of white cardstock and masked off the edges. Using a blending brush, I blended Tonic Studios Nuvo Laguna Bay Hybrid Ink from the top down. I then splattered on some of the ink, followed by Arteza Titanium White Gouache. While the panel was drying, I took a piece of vellum and die cut it using the grass die in the set. I then blended on Tim Holtz Twisted Citron and Mowed Lawn Distress Inks. 

The grass was adhered to the panel using vellum adhesive and the baby elephant popped behind with tape runner. The bigger elephant and cake were adhered on top with foam tape. I took the sentiments from the set and stamped them on to black cardstock with Tonic Studios Nuvo Clear Mark Embossing Pad. I applied white embossing powder and heat set. They were cut in to strips using the Tonic Studios Banners & Strips Die Set and added to the card with foam tape. 

My next card uses the wonderful hippo from the set. I started off by stamping the hippo, balloon and hat from the Tonic Studios Party Animals Stamp & Die Bundle on to white cardstock with black ink. I coloured them using markers and then die cut them out with the coordinating dies. I took a Hero Arts Nesting Tag Infinity Die and cut it from MFT Summertime Polka Dots Paper Pad. It was added to a white card base with tape runner. 

I then took the sentiment from the set and stamped it on to black cardstock with Tonic Studios Nuvo Clear Mark Embossing Pad before applying white embossing powder. It was die-cut using one of the stitched dies from the Tonic Studios Banners & Strips Die Set and added to the card with foam tape. The hippo, balloon and tag were then added with foam tape also. To finish off, I added Tonic Studios Nuvo Crystal Glaze to the balloon. 

My final card for today uses the adorable turtle from the set. I started off my stamping the turtle, cake, hat and candle from the Tonic Studios Party Animals Stamp & Die Bundle on to white cardstock with black ink. They were coloured using markers and die cut out using the coordinating dies. They were then set aside while I worked on the background scene. I took an A2 white card base and masked of the edges. I die cut the cloud die from the set with Mylar sheet to create a stencil.

I did the same with the grass die as well. I first took the cloud stencil and placed this on to the panel. Using an ink blending brush, I blended on Tonic Studios Polar Ice Hybrid Ink, moving the stencil down as I went. For the grass, I used the negative piece of the stencil, placed this above and blended ink below. I used Tim Holtz Twisted Citron and Mowed Lawn Distress Inks. The masks were removed and the sentiment from the set stamped at the top. I then adhered the turtle, hat, cake and candle with foam tape. To finish off, I added Tonic Studios Nuvo Crystal Glaze to the turtle's shell. 


SUPPLIES:

Here are the links to what I have used on the card. Affiliate links are used on some products. This means that if you make a purchase after clicking on my link, I receive a small commission with no extra cost to you. I truly appreciate your support when using these links. Please click on the logo below the product to shop at your favourite store. All products were personally purchased except those from Clearly Besotted, Hero Arts or those marked with an asterisk (*) which were kindly sent to me to use. You can read my full disclosure here.


BLOG HOP:

Here is the full list of participants taking part in the hop today:

GIVEAWAY:

Tonic Studios are giving away one £100/$100 gift card to the Tonic Studios Store (either UK or USA) to one lucky blog hop reader. All you need to do to enter is to leave a comment on every stop in the hop by 4th November 2020 at 11.59pm PST/5th November 2020 at 7am GMT. Tonic will announce the winner shortly afterwards. 

Next on the hop is the fabulous Mindy. Thank you so much for stopping by today,  I hope you will check out the bundle, it is so cute and packed full of images and dies! I hope you have a wonderful rest of the day! 

Clearly Besotted Teasers | Chillin' With My Gnomies

Hello there and welcome to day three of the Clearly Besotted November 2020 Teasers. Not long to wait now until the release, the new sets release on the 1st November 2020. For my card today I am using the super cute Gnome For Christmas set. Although this set is geared towards Christmas, I do think it is a set that can be used for other occasions too. 


I started off by stamping three of the gnomes from the Clearly Besotted Gnome For Christmas Stamp Set on to white cardstock with Memento Tuxedo Black Ink. I then coloured them using Copic Markers (the colours that I used are listed below the supplies area for reference). I also stamped and coloured the tree from the Clearly Besotted Trimming The Tree Stamp Set. They were then all fussy cut out using scissors. 


I took a panel of white cardstock and placed the Clearly Besotted Freshly Cut Stencil on top to mask off the bottom. Using ink blending brushes, I then blended on Tim Holtz Distress Inks above. I used Mermaid Lagoon, Blueprint Sketch and Chipped Sapphire. I then splattered on some Chipped Sapphire ink, as well as my trusty Arteza White Titanium Gouache and set it aside to dry. 


Once the panel was dry, I stamped the sentiment from the Clearly Besotted Gnome For Christmas Stamp Set towards the bottom of the panel using more Memento Tuxedo Black Ink. The panel was then adhered to an A2 white card base with tape runner and the gnomes and tree added on top with foam tape. To finish off, I added Tonic Nuvo Crystal Glaze to the bell on the gnome's hat. 

SUPPLIES:


Here are the links to what I have used on the card. Affiliate links are used on some products. This means that if you make a purchase after clicking on my link, I receive a small commission with no extra cost to you. I truly appreciate your support when using these links. Please click on the logo below the product to shop at your favourite store. All products were personally purchased except those from Clearly Besotted, Hero Arts or those marked with an asterisk (*) which were kindly sent to me to use. You can read my full disclosure here.


COPIC MARKERS: Tree - G29, YG17, YG25, YG03, YG01. Gnomes Skin - E13, E11, E00, E000. Beards - W5, W3, W1, W0. Hats - B39, B18, B16, B12, R89, R37, R27, R24. Bell - Y28, Y26, YR31. Candy Cane - R89, R37, R24, C3, C1, C0. Light/lamp - C8, C6, C5, Y11, Y00. 

Aren't they adorable?! For more inspiration using the new release, please head over to the Clearly Besotted Blog, Keren and Lisa. Thank you so much for stopping by today. Please pop back layer for my Tonic Studios post. In the mean time, I hope you have a great day! 

29 October 2020

Clearly Besotted Teasers | Beary Christmas

Hello there and welcome to day two of the Clearly Besotted November 2020 Teasers. Today I am using the new Ring Around Christmas set. This set consists of a beautiful wreath, along with different critters that you can add to it (or you can use it on it's own) and wonderful sentiments too. 

I started off my card by first stamping the bear from the Clearly Besotted Ring Around Christmas Stamp Set on to white cardstock with Memento Tuxedo Black Ink. I then made a mask for him and stamped the wreath over to the top. Once I removed the mask, it looks like he is sitting on top of the present/gift. They were then coloured using Copic Markers (the colours that I used are listed below the supplies section for reference). 

It was fussy cut out using scissors before adhering to the background with foam tape. The background is a panel of Hero Arts Cherry Cardstock with the edges ink blended using Tim Holtz Candied Apple, Aged Mahogany and Black Soot Distress Inks. I then splattered on Arteza Titanium White Gouache (yes, I am obsessed!). The panel was then simply adhered to an A2 white card base with tape runner. 

I took the sentiment from the Clearly Besotted Winter Plushies Stamp Set and stamped it on to black cardstock using Versamark Ink. I applied white embossing powder and heat set. It was cut in to strips and adhered to the card using thin foam tape. To finish off, I added white gel pen highlights to the baubles/ornaments. 

SUPPLIES:

Here are the links to what I have used on the card. Affiliate links are used on some products. This means that if you make a purchase after clicking on my link, I receive a small commission with no extra cost to you. I truly appreciate your support when using these links. Please click on the logo below the product to shop at your favourite store. All products were personally purchased except those from Clearly Besotted, Hero Arts or those marked with an asterisk (*) which were kindly sent to me to use. You can read my full disclosure here.


COPIC MARKERS: Bear - E59, E57, E55, E53, E50. Leaves - G46, YG17, YG25. Holly - G29, G46, G43, G40. Blue ornaments, bow & present - B39, B18, B16, B12. Red ornaments and present - R89, R37, R35, R14. Poinsettia flowers - R89, R37, R35, R14, YR24, YR31. Aqua ornaments - BG09, BG57, BG53. Ornament toppers - C3, C1, C00. 

It is quite unlike me to have no white cardstock showing on a card but I do really like how this card came out, even if it is a lot bolder in colour than I usually go! For more inspiration using the new release, please head over to the Clearly Besotted Blog, Keren and Lisa. Thanks so much for visiting me today. I hope you have a wonderful day!  

28 October 2020

Clearly Besotted Teasers | Prancing Through The Snow

Hello there and welcome to day one of the Clearly Besotted November 2020 Teasers. This month is all about winter, Christmas and the holidays and I am kicking things off with the most adorable reindeer ever! The Prancing Plushies set has lots of adorable reindeer, some great scene building images and lots of wonderful sentiments. 

I started off by taking a panel of white cardstock and stamping the house and trees image from the Clearly Besotted Prancing Plushies Stamp Set on top using Memento Tuxedo Black Ink. I then made a mask for this and placed it over the top. Using blending brushes, I then blended on Tim Holtz Distress Oxide Inks for the sky. I used Dried Marigold, Picked Raspberry, Seedless Preserves and Black Soot. I then splattered on Arteza Titanium White Gouache, removed the mask and let it sit to dry. 

In the mean time, I took another piece of white cardstock and stamped two of the reindeer from the set on to it using more Memento Tuxedo Black Ink. They were coloured using Copic Markers (the colours that I used are listed below the supplies area) and then fussy cut out with scissors. Once the background piece was dry, I coloured it using Copic Markers as well. 

It was added to an A2 white card base with tape runner and then the reindeer added on top with foam tape. I took the sentiment from the set and stamped it on to black cardstock using Versamark Ink. I applied white embossing powder and heat set. It was then cut in to two strips using the Simon Says Stamp Sentiment Labels Dies and added to the card with more foam tape. I added white gel pen highlights to the reindeer, as well as Tonic Nuvo Crystal Glaze to their noses. To finish off, I added a few Lucy's Bubbles around the sentiment. 

SUPPLIES:

Here are the links to what I have used on the card. Affiliate links are used on some products. This means that if you make a purchase after clicking on my link, I receive a small commission with no extra cost to you. I truly appreciate your support when using these links. Please click on the logo below the product to shop at your favourite store. All products were personally purchased except those from Clearly Besotted, Hero Arts or those marked with an asterisk (*) which were kindly sent to me to use. You can read my full disclosure here.


COPIC MARKERS: Reindeer - E59, E57, E55, E53, E51, E50 (+E49 for the noses). Snow - B00, B000. Trees - G46, G43, G40. Houses - E13, E11, E30, Y11, Y00. 

I love these little guys! For more inspiration using the new release, please head over to the Clearly Besotted Blog as well as KerenLisa and our guest Keeway. Thank you so much for stopping by today, I really do appreciate it. See you tomorrow for day two! 

26 October 2020

VIDEO | Easy Mass-Producible Holiday Card

Hello there, I am over on the Hero Arts Blog and YouTube channel today, creating an easy mass-producible Christmas/holiday card. I am not usually a big fan of mass producing cards, I really admire those who do it, I just do not think it is for me! Where this changes, however, is at Christmas time when I have loads of cards to make all of a sudden! I like to create a few designs and then mass-produce each design say 30 times. For my card today, I thought that the Hero Arts Christmas Lights Border Fancy Die would be perfect for this. Even cutting it with one layer makes a big impact! 

For the background, I started off with a panel of Hero Arts Lapis Cardstock and stamped the sentiment from the Hero Arts Comfort & Joy Messages Set on top and heat embossed in white. I then blended on Blue Hawaii and Navy Inks before splattering with Hero Arts White Glimmer Metallic Ink. I then cut the Hero Arts Christmas Lights Border Fancy Die from white cardstock and added it on top.

VIDEO:

Here is the video showing how I made the card:

If you are viewing this post via email subscription, you can watch the video HERE on YouTube. 


SUPPLIES:

Here are the links to what I have used on the card. Affiliate links are used on some products. This means that if you make a purchase after clicking on my link, I receive a small commission with no extra cost to you. I truly appreciate your support when using these links. Please click on the logo below the product to shop at your favourite store. All products were personally purchased except those from Clearly Besotted, Hero Arts or those marked with an asterisk (*) which were kindly sent to me to use. You can read my full disclosure here.


For more information on how I made the card, please head over to the Hero Arts Blog. Thanks so much for stopping by today, I really do appreciate it. I hope you have a great week! 

19 October 2020

VIDEO | MFT Holiday Penguin Fold Up Tags

Hello there, I am over on the MFTv YouTube Channel today, sharing two tags that I made using the new Holiday Penguins set, plus lots of other yummy gooodies from the latest release. I thought these images would work perfectly on tags, so I grabbed the Fold Up Tags Die-namics to create them.

I started off by stamping two of the penguins from the MFT Holiday Penguins Stamp Set on to white cardstock with MFT Extreme Black Ink. I then coloured them using Copic Markers (the colours that I used are listed below the supplies area) and then die cut them out with the MFT Holiday Penguins Die-namics

I then set about creating the tags. I cut the most solid (back) layer from the MFT Fold Up Tags Die-namics set using white cardstock, twice. I then cut two of the different top layers from the MFT Christmas Cheer Paper Pad, plus the top tabs from MFT Black Licorice Cardstock

Before assembling the tags, I stamped the sentiments on the inside from the MFT Mini Merry Messages Stamp Set using more MFT Extreme Black Ink. I then adhered the top of the tags to the bottom using tape runner and MFT On-Point Precision Glue. The top tab was added on top with more glue. I then added twine through the tabs and tied in a bow. 

I thought the tags might be missing something, so I grabbed the MFT Sweet Snowflakes Die-namics (free gift when you spend $60) and cut the two smallest from MFT Silver Sparkle Cardstock. They were added to the tags first using On-Point Precision Glue and then the penguins added on top with foam tape (being careful to only add foam tape to the top part of the penguins). To finish off, I added Tiny Iridescent Bubbles to the centres of the larger snowflakes. 

VIDEO:

Here is the video showing how I made the tags:

If you are viewing this blog post via email subscription, you can watch the video directly on the MFT YouTube channel here

SUPPLIES:

Here are the links to what I have used on the card. Affiliate links are used on some products. This means that if you make a purchase after clicking on my link, I receive a small commission with no extra cost to you. I truly appreciate your support when using these links. Please click on the logo below the product to shop at your favourite store. All products were personally purchased except those from Clearly Besotted, Hero Arts or those marked with an asterisk (*) which were kindly sent to me to use. You can read my full disclosure here.


COPIC MARKERS: Penguins - BV29, BV25, BV23, BV20, Y11, Y000, Y0000, YR24, YR31. Hats - C3, C1, C00, R85, R83, R81/BG15, BG13, BG11, BG10. 

I really love making tags! I do often end up adding them to cards but I think these will be attached to gifts I send at Christmas :) Thank you so much for stopping by to see me today, I really do appreciate it. I hope you have a lovely rest of the day! 

15 October 2020

Birthday Cupcakes

Hello there, if you have followed me for a while, you will know that I make a lot of cards for design/guest design work. For this, I mainly need to stick to that companies products (makes sense!) but when I make cards for myself, I love combining products from different companies. Especially ones where I can personalise the card for the recipient. My niece turned 12 last month and this is the card that I made for her.

I started off by die cutting the MFT Frosted Cupcakes Die-namics. I cut the wrapper from cream cardstock and blended the bottom part with Tim Holtz Antique Linen Distress Ink. For the frosting, I used MFT Sno Cone and Berrylicious (sadly now discontinued) cardstock for one and MFT Grapescicle and Grape Jelly Cardstock for the other. The candles were cut with the same colours but I used a lemon cardstock for the flame and went over it with Copic Markers (Y17, Y11) for some added dimension. I also coloured the wick black. 

For the cupcake faces, I used the smile and cheeks from the MFT Hey Ghoul Die-namics and cut them from pink and black cardstocks. Once the cupcakes were assembled (using liquid glue), I then added googly eyes for some added fun. They were then set aside while I worked on the background. I first placed the Taylored Expressions Rectangle Masking Stencil on to the front of an A2 white card base. On top of that, I placed the Simon Says Stamp Extra Large Dots Stencil. Using blended brushes, I then blended on Tim Holtz Wilted Violet and Broken China Distress Inks. The stencils were then removed. 

I took the numbers from the Concord & 9th Tall Type Numbers Dies and die cut the 1, 2 and 'th' three times each from MFT Grape Jelly Cardstock. They were layered up one on top of another and added to the card with liquid glue. I then took the sentiments from the Concord & 9th Tiny Tagalongs Stamp Set and stamped the happy and birthday on to MFT Black Licorice Cardstock with Versamark Ink. I applied white embossing powder and heat set. They were cut in to strips and added to the card with foam tape. The cupcakes were then also added with foam tape below. To finish off, I added Tonic Nuvo Aqua Shimmer Pen to the 12th and the darker frosting on the cupcakes. 

SUPPLIES:

Here are the links to what I have used on the card. Affiliate links are used on some products. This means that if you make a purchase after clicking on my link, I receive a small commission with no extra cost to you. I truly appreciate your support when using these links. Please click on the logo below the product to shop at your favourite store. All products were personally purchased except those from Clearly Besotted, Hero Arts or those marked with an asterisk (*) which were kindly sent to me to use. You can read my full disclosure here.


How about you? When making a card do you stick to one company or do you love to combine different ones depending on the products? I would love to hear your thoughts. Thank you so much for stopping by to see me today. I really do appreciate it. I hope that you are well and staying safe. Take care! 

13 October 2020

Spellbinders | Small Die of the Month Fall Leaves Card Creator

Hello there, today I have a card to share with you using the Spellbinders Small Die of the Month Kit for October 2020. This month it is called Fall Leaves Card Creator and there is definitely an autumnal feel to it. Although I do love the autumn colours, I love winter ones even more so I thought that I would go in that direction for my card today. 

I started off by die cutting the leaves from the Spellbinders October 2020 Small Die of the Month Kit from FSJ Denim Days Cardstock, as well as the white glitter cardstock from the FSJ Sparkle Trio Cardstock Set. With the blue leaves, I blended FSJ Huckleberry Fusion and Black Licorice True Color Fusion Inks towards the bottom of the leaves for some added interest (you cannot see it that well, but it makes the leaves not look so flat). I then splattered on some FSJ Sparkle Silk for some added sparkle. 

I took an A2 card base made from FSJ Tin Pail Cardstock and scored lines on the front for some added interest (apologies that it is always difficult to see in photos). Using a circle die and a pencil, I drew a faint circle on to the card to give me a guide on where to place the leaves to create the wreath. I then adhered the leaves, one by one, using FSJ Craft Glue

There are three word dies in the kit and I decided to use the 'thankful' one. I cut it twice from Whip Cream Cardstock and then again from the Denim Days cardstock. They were adhered one on top of another and then added to the card with more craft glue. To finish off, I added some Lucy's Glossy Pearls. 

SUPPLIES:

Here are the links to what I have used on the card. Affiliate links are used on some products. This means that if you make a purchase after clicking on my link, I receive a small commission with no extra cost to you. I truly appreciate your support when using these links. Please click on the logo below the product to shop at your favourite store. All products were personally purchased except those from Clearly Besotted, Hero Arts or those marked with an asterisk (*) which were kindly sent to me to use. You can read my full disclosure here.


I hope you will check out the Spellbinders Small Die of the Month Kit. It is a monthly subscription where you receive the kit each month. If you do become a member, you will also receive other Spellbinders benefits too. For more information, please see here. You can also purchase previous kits separately but the price is increased for those. You can see them here.

Thank you so much for stopping by to see me today, I really do appreciate it. I hope you have a wonderful day! Take care!

8 October 2020

Reverse Confetti October 2020 Release Blog Hop

Hello there, today we are celebrating the release of the Reverse Confetti October 2020 Mini Release with a fun blog hop. My projects today use the new Gift Card Holder Cover Panel die, as well as the Seasonal Says It All (love those bubble words!) set. I hadn't had a chance to use the Holiday Bough set from last month and thought that that set would work well with my projects today too. 

For the blog hop, you should have arrived here from TaeEun but I have the full list of participants below, in case you get lost along the way!

First up, I thought I would create a gift card tag pocket using the new Reverse Confetti Gift Card Holder Cover Panel Confetti Cuts. This die can be used in lots of different ways, on the front of a card, in the inside of a card, can be used alone fitting in an A2 envelope or folded in half, or how I have done and used it as a big tag, making my own vellum envelope for it to fit in to. 

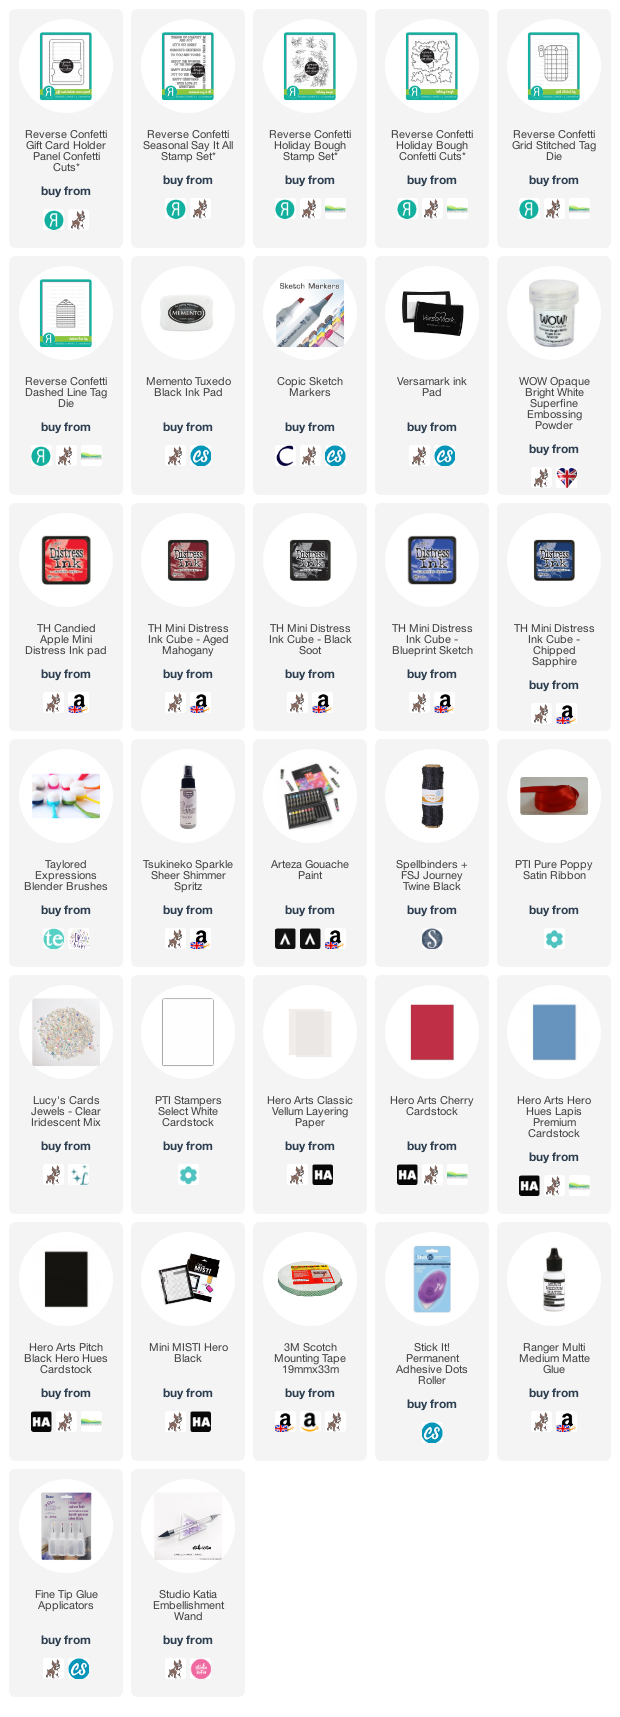
I started off by die cutting the die using red cardstock. I then repeatedly stamped images from the Reverse Confetti Holiday Bough Stamp Set on top, using Versamark Ink. I applied white embossing powder and heat set. I then added some interest to the panel by first going around the edges using Tim Holtz Distress Inks. I used Candied AppleAged Mahogany and Black Soot. I then splattered on some Tseukineko Sparkle Sheer Shimmer Spritz and white gouache. Once dry, I removed any excess paint/distress Ink from the embossing powder with a cloth. 

So that you can easily remove it from the envelope, I cut the topper piece from the Reverse Confetti Stitched Grid Tag Die twice from black cardstock and sandwiched the panel between them both. I then added some ribbon through the top and tied it with twine. 

For the envelope, I cut a piece of vellum and scored it, leaving two small flaps to add double sided tape to secure it together. The Reverse Confetti Gift Card Holder Cover Panel Confetti Cuts comes with an extra die that is the same size as a gift card. You can use this to create your own gift cards, or can be used as a panel/embellishment. I thought that I would use it to embellish the front of the envelope but that it would also cover up the gift card inside so that the recipient will not see it through the vellum when properly inside the pocket/envelope. 

I cut the die from blue cardstock and then blended Distress Inks around the edges. I used Blueprint Sketch and Chipped Sapphire. I then stamped the sentiment from the new Reverse Confetti Seasonal Says It All Stamp Set using Versamark Ink. I applied white embossing powder and heat set. I then splattered on the same white gouache and sparkle spray and let it sit to dry. 

Whilst it was drying, I stamped another of the images from the Reverse Confetti Holiday Bough Stamp Set, this time using black ink. I coloured it using Copic Markers (the colours that I used are listed below the supplies area) and cut it out using the Reverse Confetti Holiday Bough Confetti Cuts. It was added to the panel with foam tape and then the panel added to the envelope with more foam tape. To finish off, I added a few Lucy's Iridescent Jewels around the image. 

For my other project, I wanted to create some little tags. I die cut the Reverse Confetti Dashed Line Tag Die from the same red and blue cardstocks. I then used the same Distress Inks as above for the coordinating tags, as well as the sparkle spray and the white gouache and let them sit to dry. 

I took the poinsettias from the Reverse Confetti Holiday Bough Stamp Set, along with the branches and stamped them on to white cardstock with black ink. They were coloured using Copic Markers and then die cut out with the coordinating dies. I took two more sentiments from the Reverse Confetti Seasonal Says It All Stamp Set and stamped them on to black cardstock with Versamark Ink. I applied white embossing powder and heat set. They were cut in to strips and then added to the tags with foam tape, along with the poinsettias. To finish off, I added on more jewels. 
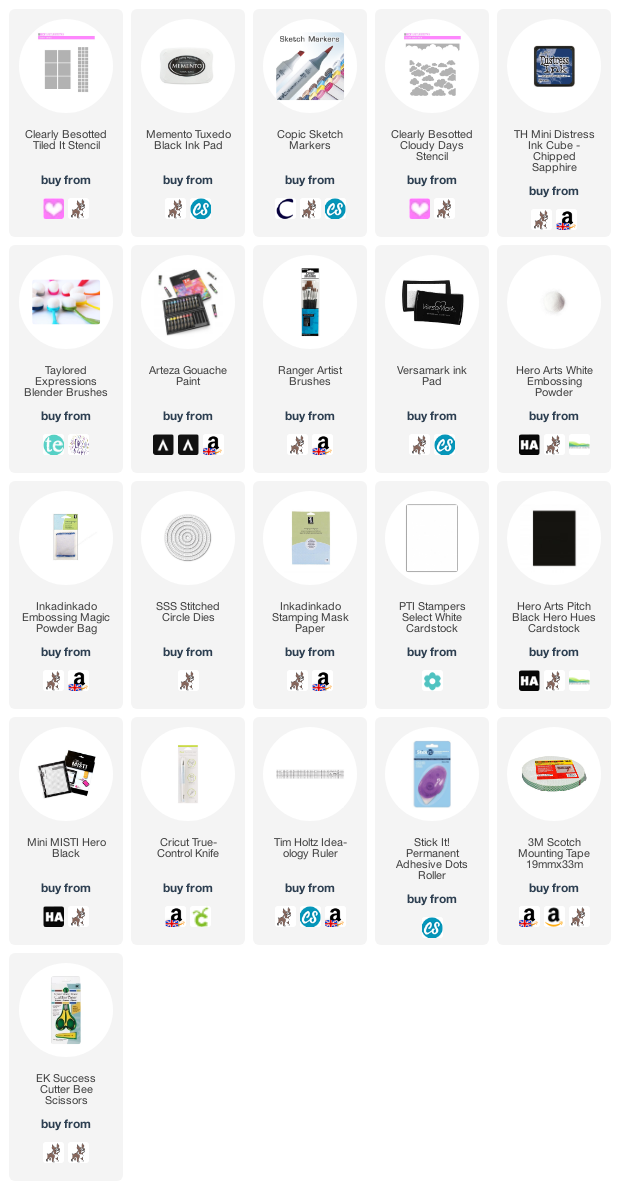
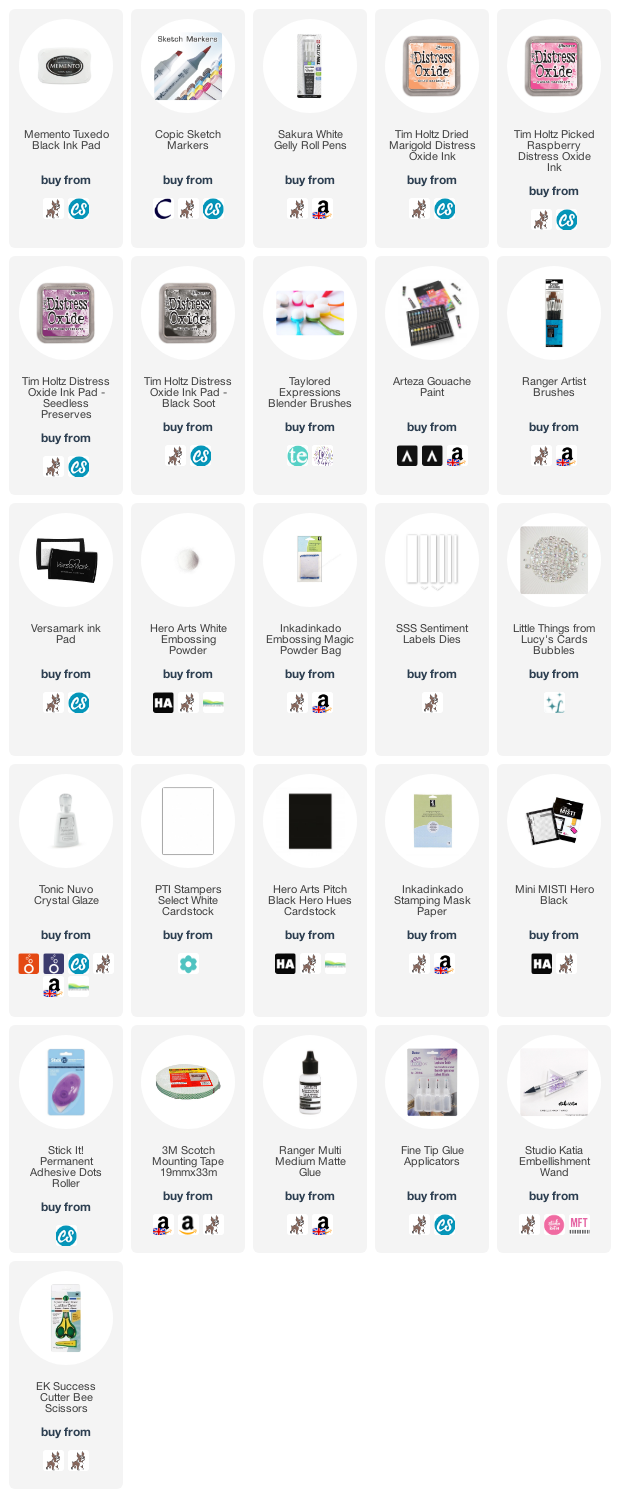

SUPPLIES:

Here are the links to what I have used on the card. Affiliate links are used on some products. This means that if you make a purchase after clicking on my link, I receive a small commission with no extra cost to you. I truly appreciate your support when using these links. Please click on the logo below the product to shop at your favourite store. All products were personally purchased except those from Clearly Besotted, Hero Arts or those marked with an asterisk (*) which were kindly sent to me to use. You can read my full disclosure here.


COPIC MARKERS: Poinsettias - R89, R37, R27, R24, R14, YR24, YR31. Leaves - G29, G46, G43. Berries - B18, B16, B12. 

BLOG HOP:

Here is the full list of participants taking part in the hop today:


As you can see, I am the last on the hop but if you would like to start at the beginning, please head over to the Reverse Confetti Blog. Thank you so much for stopping by to see me today. I really do appreciate it. I hope that you will check out the rest of the fabulous release. Have a great day! 

6 October 2020

MFT October 2020 Release | I'm Here For You

Hello there, today I have a card to share with you using the new October 2020 release from My Favorite Things. I fell in love with the adorable critters in the Partners In Adventure set, so I thought that I would use those for my card today. 


I started off by stamping the seal, bear and penguin, icebergs, clouds and sun images from the MFT Partners In Adventure Stamp Set on to white cardstock with MFT Extreme Black Ink. I then coloured them using Copic Markers (the cololurs that I used are listed below the supplies area) and  die cut them out using the MFT Partners In Adventure Die-namics. I took the MFT A2 Circle Stax Dies and cut two circles for the card base and then three for the panels/layers. For the card base, I cut a small slither off of one piece (to help the card stand up), scored the other end and adhered it to the other piece (to create a hinge at the top of the card).


For the first smaller circle, I placed the MFT Mini Cloud Edges Stencil on top and blended on Tim Holtz Mermaid Lagoon Distress Ink for the sky. The other circles were cut down using the MFT Ocean Waves Die-namics and blended with Mermaid Lagoon, Blueprint Sketch and Chipped Sapphire Distress Inks. I splattered on some water and white gouache and set them aside to dry. The background cloud piece was adhered on to the card base with tape runner. I then cut another circle from MFT Translucent Vellum to place over the top, adhering it down below the waves.


The waves, icebergs, clouds and sun were then added on top with tape runner and/or MFT On-Point Precision Glue. The seal, bear and penguin were added on with foam tape. The sentiment, from the MFT Bitty Bears Stamp Set was stamped on to black cardstock with Versamark Ink. I applied white embossing powder and heat set. It was die cut in to a strip using an MFT Skinny Strips Die-namics and then added to the card with more foam tape.  

SUPPLIES:

Here are the links to what I have used on the card. Affiliate links are used on some products. This means that if you make a purchase after clicking on my link, I receive a small commission with no extra cost to you. I truly appreciate your support when using these links. Please click on the logo below the product to shop at your favourite store. All products were personally purchased except those from Clearly Besotted, Hero Arts or those marked with an asterisk (*) which were kindly sent to me to use. You can read my full disclosure here.


COPIC MARKERS: Bear - E47, E44, E43, E42, E41, R01, R00. Penguin - BV29, BV25, BV23, BV20, YR21. Seal - W5, W3, W1, W00, R01, R00. Icebergs - B02, BG02, BG01, BG000. Clouds - BG11, BG10, BG0000. Sun - Y17, Y15, Y13, Y11. 

Aren't they adorable? And this set is huge, there are loads of other critters in the set plus some fabulous sentiments too. I hope that you will check out the rest of the release. I will be back later in the month using more sets from the release. Thank you so much for stopping by today, have a wonderful rest of the day!