Pages

31 March 2020

Clearly Besotted Teasers | Bookmarks are for Quitters

Hello there and welcome to day four of the Clearly Besotted April 2020 Release Teasers. I have one last teaser to share with you before the release tomorrow at 8pm BST. Today I am using the new All Booked Up set, along with the Bedtime Story set for the sentiment.
 

I started off by taking a panel of white cardstock and stamping one of the images from the Clearly Besotted All Booked Up Stamp Set on to it using Memento Tuxedo Black Ink. The images are already made up for you into scenes, so no need for masking :)
 
 
I then took the Clearly Besotted Bedtime Story Stamp Set and stamped one of the sentiments below the image. There are tons of book related sentiments in this set but I thought this one was quite funny! I then coloured the image in with Copic Markers, adding in dots for the ground and background. The colours that I used are listed below the supplies list for your reference. The panel was then simply added to a white A2 card base with foam tape.


SUPPLIES:

Here are the links to what I have used on the card. Affiliate links are used on some products. This means that if you make a purchase after clicking on my link, I receive a small commission with no extra cost to you. I truly appreciate your support when using these links. Please click on the logo below the product to shop at your favourite store. All products were personally purchased except those from Clearly Besotted, Hero Arts or those marked with an asterisk (*) which were kindly sent to me to use. You can read my full disclosure here.
 

COPIC MARKERS: Frogs - G29, G46, YG17, YG25, YG03, YG01. Book pages - C5, C3, C1. Blue book - B39, B28, B26, B24. Aqua book - BG49, B15, B13, B11. Indigo book - B79, B69, B66, B63. Pencil - V09, V17, V15, V12, E55, E53, E50, C7, C5. Ground - W7, W5, W3, W1. Background - B02, B01, B00, B000, B0000.

There is one other stamp set that I haven't used for the teasers but I will be sharing that in my release video tomorrow and then sharing the card here on my blog during April. For more inspiration using the new release, please head over to the Clearly Besotted Blog, Keren, Lisa and out guest designer this month Rina. Thanks so much for stopping by, I very much appreciate it. See you tomorrow for release day. I hope you have a lovely day!

30 March 2020

Clearly Besotted Teasers | Jumping for Joy

Hello there and welcome to day three of the Clearly Besotted April 2020 Teasers. Release day is Wednesday 1st April and we are continuing to share inspiration with you over the next couple of days using the new sets. Today I am using the super cute Parachuting Plushies set.
 

I started off by stamping the bunny from the Clearly Besotted Parachuting Plushies Stamp Set on to white cardstock with Memento Tuxedo Black Ink. I then stamped it on to mask paper, fussy cut it out and placed it on top of the original. I then stamped the parachute from the set on top. I removed the mask and then coloured them using Copic Markers (the colours that I used are listed below the supplies list for reference).
 
 
I fussy cut the image out using scissors and then set it aside while I worked on my background. I took a panel of white cardstock and placed the Clearly Besotted Cloudy Day Stencil on top. Using an ink blending brush, I applied a combination of Blueprint Sketch and Mermaid Lagoon Distress Ink. The stencil was then removed and the sentiment from the Clearly Besotted Parachuting Plushies Stamp Set stamped below with black ink.
 
 
The panel was adhered to a 4" x 5.25" card base with tape runner. I then added the parachuting bunny on top with foam tape. To finish off, I added black glaze pen to the bunny's eyes. I have to confess, I stamped the images, coloured them in and then messed up on the fussy cutting. Instead of wasting the images, I stamped them again and fussy cut them out. I then cut around the original coloured bunny and parachute and adhered them flat over the top. I don't think you can really tell in the finished card!
 
SUPPLIES:

Here are the links to what I have used on the card. Affiliate links are used on some products. This means that if you make a purchase after clicking on my link, I receive a small commission with no extra cost to you. I truly appreciate your support when using these links. Please click on the logo below the product to shop at your favourite store. All products were personally purchased except those from Clearly Besotted, Hero Arts or those marked with an asterisk (*) which were kindly sent to me to use. You can read my full disclosure here.
 
 
Bunny - W7, W5, W3, W2, W1, R0, R000. Parachute - C10, C7, C5, Y19, Y17, Y15, Y13, Y11, YR18, YR16, YR15, YR12, R85, R83, R81.
 
There are lots of different bunnies in the set, as well as another parachute design. It is a great set for creating scenes with! For more inspiration using the new release, please head over to the Clearly Besotted Blog, Keren and Lisa, as well as our wonderful guest designer Rina. Thanks so much for stopping by today, I really do appreciate it. See you tomorrow for day four! Take care.

29 March 2020

Clearly Besotted Teasers | Birthday Wishes

Hello there and welcome to day two of the Clearly Besotted April 2020 Release Teasers. Today I am using the new An Open Book set. This set consists of lots of characters from books, along with different images to create some magical scenes. Although I love the concept of the set, I decided to go a little different and create a birthday card using the fairy kitty, because let's face it, she is adorable!


I started off by stamping the fairy kitty from the Clearly Besotted An Open Book Stamp Set on to white cardstock. I coloured her with Copic Markers (the colours that I used are listed below the supplies section for reference) and fussy cut her out with scissors and set her aside. I then die cut a tag from the Clearly Besotted Tag Along Die Collection from white cardstock. I took the star like stamp from the set and stamped this repeatedly over the top of the tag with Versamark Ink. I applied detail white embossing powder and then heat set it.

 
Using a blending brush, I then applied Distress Ink to the tag. I used Picked Raspberry at the bottom, followed by Spun Sugar, finishing off with Dried Marigold at the top. I then wiped off any excess ink from the embossing with a dry cloth and spritzed it with Sparkle Sheer Shimmer Spritz and set it aside to dry. I took the sentiment from the Clearly Besotted Laugh Out Loud Belated Stamp Set and stamped it on to black cardstock with Versamark Ink. I applied detail white embossing powder, heat set and cut in to a strip.

 
I added a small strip of MFT Black & White Striped Paper to the tag, followed by the sentiment on top with foam tape. The kitty was then added with foam tape also. I die cut the hole reinforcer for the tag from black cardstock and adhered that on. I then tied twine through the top and adhered it to an A2 white card base with tape runner (that has been scored with a bone folder and score board but difficult to see in the photos!). To finish off, I added Lucy's Pink Moonstone Sequins around the sentiment and Nuvo Crystal Glaze to the kitty's wand.

SUPPLIES:

Here are the links to what I have used on the card. Affiliate links are used on some products. This means that if you make a purchase after clicking on my link, I receive a small commission with no extra cost to you. I truly appreciate your support when using these links. Please click on the logo below the product to shop at your favourite store. All products were personally purchased except those from Clearly Besotted, Hero Arts or those marked with an asterisk (*) which were kindly sent to me to use. You can read my full disclosure here.
 

COPIC MARKERS: Kitty - W7, W5, W3, W1. Wings - RV55, RV52, YR61, YR00. Wand - RV55, RV52.
 
If you love books, you will love this set but as I have shown, you can use the images in different ways too! For more inspiration using the new sets, please head over to the Clearly Besotted Blog, Keren and Lisa, as well as our guest designer Rina. Thanks so much for stopping by today, see you tomorrow for day three. Have a great day!

28 March 2020

Clearly Besotted Teasers | Sea You Soon

Hello there and welcome to day one of the Clearly Besotted Teasers for the April 2020 release. We are releasing six new stamps sets and one stencil this month. They will be available to purchase on April 1st 2020 at 8pm BST. For my card today, I am using the super cute Sea You Plushies and the Sea You Soon Stencil.
 

I started off my card by stamping the two dolphins and one of the narwhals from the Clearly Besotted Sea You Plushies Stamp Set on to white cardstock with Memento Tuxedo Black Ink. I then coloured them with Copic Markers (the colours that I used are below the supplies area for reference) and fussy cut them out with scissors.
 
 
I then took an A2 white card base and placed the waves part of the Clearly Besotted Sea You Soon Stencil over the top. I started at the bottom and blended on Tim Holtz Chipped Sapphire Distress Ink, I moving the stencil upwards as I went. After a few waves, I changed to Blueprint Sketch Distress Ink, followed by Mermaid Lagoon and finished with Peacock Feathers at the top.
 
 
I took two panels of white cardstock and placed them either side of the waves, adhering them with tape runner. I then adhered the dolphins and narwhal on top with foam tape. I took the sentiment from the set and stamped it on to black cardstock with Versamark Ink. I applied white detail embossing powder and heat set. It was cut in to a strip and added to the card with more foam tape. To finish off, I added a few Lucy's Raindrops with liquid glue.
 
SUPPLIES:

Here are the links to what I have used on the card. Affiliate links are used on some products. This means that if you make a purchase after clicking on my link, I receive a small commission with no extra cost to you. I truly appreciate your support when using these links. Please click on the logo below the product to shop at your favourite store. All products were personally purchased except those from Clearly Besotted, Hero Arts or those marked with an asterisk (*) which were kindly sent to me to use. You can read my full disclosure here.
 
 
COPIC MARKERS: Dolphins - B16, B12, B00, N3, N1. Narwhal - W7, W5, W4, W2, W1, E53, E51.
 
There are lots of other sea creatures in the set - all as equally as cute! For more inspiration using the new sets, please head over to the Clearly Besotted Blog, Keren and Lisa, as well as our guest designer this month Rina Galit. Thanks so much for stopping by today, see you tomorrow for day two!

27 March 2020

VIDEO | Card Making Haul - February & March 2020

Hello there, I am just popping in with an impromptu post and video. I wasn't sure whether to share my haul video this month. I in no way want to encourage people to spend when they don't need to in these circumstances we find ourselves in, however, I think also now more than ever we need to just have things to watch to relax to.
 
 
The products that I have purchased the last couple of months have been really random! No stamps or dies but stencils, embellishments, adhesive and some fun foiling items too. I hope you enjoy watching!


 If you are viewing this post via email subscription, you can watch the video HERE on YouTube.
 
 
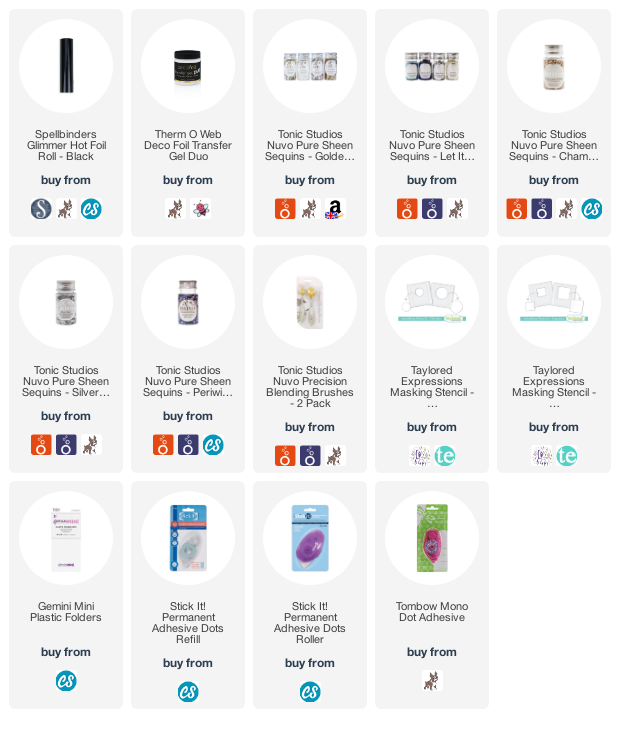
SUPPLIES:

Here are the links to what I have used on the card. Affiliate links are used on some products. This means that if you make a purchase after clicking on my link, I receive a small commission with no extra cost to you. I truly appreciate your support when using these links. Please click on the logo below the product to shop at your favourite store. All products were personally purchased except those from Clearly Besotted, Hero Arts or those marked with an asterisk (*) which were kindly sent to me to use. You can read my full disclosure here.


Thanks so much for stopping by this afternoon. I do really appreciate it. I hope you have a lovely weekend and take care of yourselves :)

Reverse Confetti | Chalk It Up

Hello there, did you see the latest release from Reverse Confetti? Sadly, I was unable to take part in the release as my parcel got delayed in the mail, but now I have received it, I couldn't wait to ink up these cuties from the Chalk It Up set!
 

I started off by stamping the different elements from the Reverse Confetti Chalk It Up Stamp Set on to white cardstock with Memento Tuxedo Black Ink. I also stamped the sun image from the Reverse Confetti Rainy Day Fun Stamp Set too. There are lots of different sentiments that you can add in to the boards that the critters are holding. The idea is that they are chalk boards but I decided to make them as simple boards with messages on for these tags today.
 

The images were coloured with Copic Markers (the colours that I used are listed below for your reference) and then cut out with the coordinating dies. For the bear tag, I first cut the Reverse Confetti Grid Stitched Tag Die from white cardstock and then placed the MFT Mini Cloud Edges stencil on top. Using an ink blending brush, I blended on Tim Holtz Mermaid Lagoon Distress Ink, moving the stencil down as I went.
 

I then used the MFT Drifts & Hills Stencil to create some grass for my critters to stand on. I used Mowed Lawn and Twisted Citron Distress Ink for that. The cloud images were added to the tag with tape runner and the edges cut off with scissors. I then added the bird and bear with foam tape. To finish off, I added twine through the top of the tag and tied in a bow.
 

I kept the bunny tag similar, also using the Reverse Confetti Grid Stitched Tag Die. I added clouds to the top portion but this time for the grass, I simply blended the colour on without the stencil and just used the Mowed Lawn ink for that.
 

The bush image was added on top with tape runner. I then added the snail and bunny on top with foam tape. The sun image was also added with foam tape. To finish off, I added more twine through the top and tied in a bow.
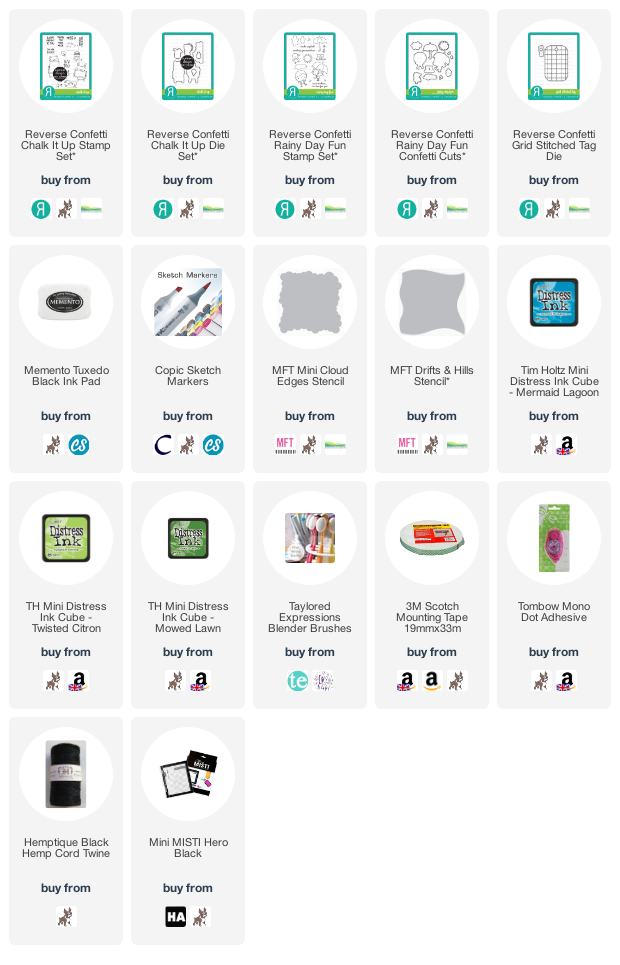
SUPPLIES:

Here are the links to what I have used on the tags. Affiliate links are used on some products. This means that if you make a purchase after clicking on my link, I receive a small commission with no extra cost to you. I truly appreciate your support when using these links. Please click on the logo below the product to shop at your favourite store. All products were personally purchased except those from Clearly Besotted, Hero Arts or those marked with an asterisk (*) which were kindly sent to me to use. You can read my full disclosure here.
 

COPIC MARKERS: Bear - E59, E57, E55, E53, E51, R00, R000. Bunny - W7, W5, W3, W2, W1, R00, R000. Bird - B04, B02, B00, B000, Y11. Snail - E57, E55, E53, V17, V15, V12. Bush - G46, G29, YG17, YG25, YG03, YG01, V15, R83. Sun - Y17, Y15, Y13, Y11. Clouds - BG11, BG10, BG0000.

For more inspiration using the release, please head over to the Reverse Confetti Blog. Thank you so much for stopping by today, I hope you are bale to stay safe and well. Sending big hugs!

25 March 2020

Hero Arts | Sending You Hugs

Hello there, have you seen the new challenge over at Hero Arts? Stay Crafty With Hero is a fun weekly challenge to keep some positivity while most of us are stuck indoors during this difficult time. This week we are asking you to make encouragement cards - perfect for letting your friends and family know that you are thinking of them.
 
 
For my card today, I am using the Hero Arts Watering Can and Flowers Fancy Dies. I have cut them from white cardstock and coloured them using Copic Markers (the colours that I used are listed below the supplies section). The flowers were arranged inside the watering can and adhered at the back. I created a simple background with ink blending and the sentiment is from the Hero Arts Hello Stamp & Cut.
 
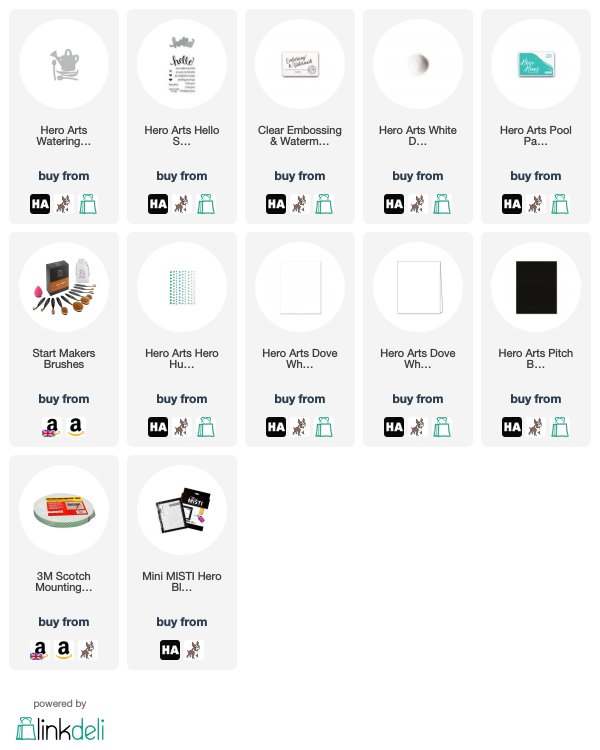
SUPPLIES:

Here are the links to what I have used on the card. Affiliate links are used on some products. This means that if you make a purchase after clicking on my link, I receive a small commission with no extra cost to you. I truly appreciate your support when using these links. Please click on the logo below the product to shop at your favourite store. All products were personally purchased except those from Clearly Besotted, Hero Arts or those marked with an asterisk (*) which were kindly sent to me to use. You can read my full disclosure here.
 
 
COPIC MARKERS: Watering can - BG49, BG15, BG13, BG11, C3, C1. Tulip stems and leaves - YG17, YG23, YG03, YG01. Tulips - Y17, Y15, Y13, Y11 | R85, R83, R81 | V09, V17, V15, V12.
 
For more details on how I made the card, please head over to the blog post here and for more information on the challenge and how you can enter to win a gift certificate to the Hero store, please see here.  Thanks so much for stopping by today, I very much appreciate it. I hope you have a lovely day!

23 March 2020

Spellbinders March 2020 Clubs Blog Hop Winner

Hello there, I am back this afternoon to share the winner of my Spellbinders March 2020 Clubs Blog Hop winner. Thank you to all those that left lovely comments on my card. I have picked a comment at random and that is:
 
 
Congratulations, Barbie.W! Please can you contact me via the email me button in my sidebar (or leave me comment on this post if you are unable to, with your email address and I will contact you). If I haven't heard from you by 25th March 2020 at 23.59hrs GMT I will pick another winner. Thanks so much! :)

Mother's Day Wreath

Hello there, I hope you are all well and staying safe and healthy in these difficult times. It was Mother's Day here in the UK yesterday, so today, I thought I would share the card that I made for her. I used the beautiful Gina K Kindness Wreath set, Gina does make some beautiful floral sets!
 

I started off by taking a panel of 5.25" x 5.25" white cardstock and stamped the wreath image from the Gina K Kindness Wreath Stamp Set in the middle, using Memento Tuxedo Black Ink. I then stamped the sentiment from the Clearly Besotted Feeling Sentimental Stamp Set inside the circle.
 
 
The flowers and leaves were then coloured using Polychromos Pencils. The colours that I used are listed below the supplies list, in case you are interested. The panel was then simply adhered to a 5.5" x 5.5" square card base made from Hero Arts Amethyst Cardstock, with foam tape. To finish off, I added Lucy's Blackberry Jewels around the wreath, adhering with liquid glue.
 
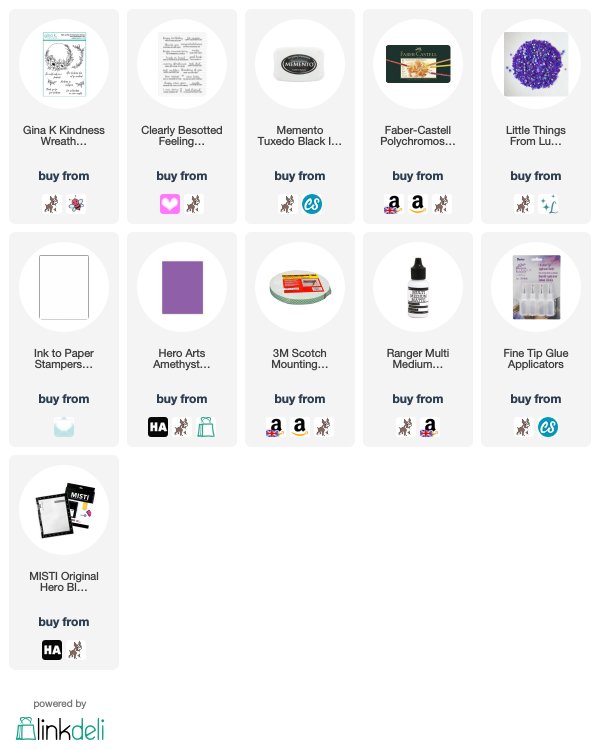
SUPPLIES:

Here are the links to what I have used on the card. Affiliate links are used on some products. This means that if you make a purchase after clicking on my link, I receive a small commission with no extra cost to you. I truly appreciate your support when using these links. Please click on the logo below the product to shop at your favourite store. All products were personally purchased except those from Clearly Besotted, Hero Arts or those marked with an asterisk (*) which were kindly sent to me to use. You can read my full disclosure here.
 
 
POLYCHROMOS: Flowers - 249, 136, 160, 140, 187, 184. Leaves - 199, 267, 112, 171. Sprigs - 188, 153.
 
I think this wreath can be used in lots of different ways for lots of different occasions and I am looking forward to using it again! Thank you so much for visiting me today. I really do appreciate it. I hope you a lovely day. Take care!

18 March 2020

Craft Room Labelling with the Cricut Joy

Hello here, today I have something a little different to share with you, I thought I would share how I have labelled some storage boxes in my craft room using the Cricut Joy. If you haven't seen my video on using the Cricut Joy for cardmaking, you may want to check that out here.


The Cricut Joy can be used with new smart labels but I do not have any of those just yet. I thought instead I would create labels from removable vinyl and simply stick them to the boxes. These boxes I use for assignments and for putting new products in when they arrive. So let's get into how to make them …
 
 
The first to do is grab the products that you want to use - The Cricut Joy, the mat (if using one), the material being cut - Cricut Black Removable Vinyl and the storage boxes.
 
 
The next thing is to create the labels in Cricut Design Space. I simply typed them using the font tool and changed the size. I then clicked on attach, so that the labels/words would cut out on the mat one below the other. This is helpful when cutting the pieces out later on.
 
 
I then clicked on Make It and picked whether I was using a mat or no mat (the Cricut Joy can cut mat-less using smart materials). In this instance I was using a mat as I wanted to use a full-size roll of removable vinyl.
 
 
I removed the clear protective sheet from the mat and stuck down the vinyl. Top tip - add a sticker to the front of the protective sheet so that you know which way to put it back on to try and avoid dirt and dust getting on the mat.
 
 
I then picked the material from the list. Removable vinyl is not listed, so I just picked the Premium Vinyl setting. I then pressed to feed the mat into the Cricut Joy and then it started cutting.
 
 
These did take some time to cut as they are very intricate but it was great just to leave them cutting while I got on with something else.
 
 
Once cut, you need to remove the vinyl from the mat. Because vinyl has quite a tough backing, you could probably just remove the vinyl from the front of the mat, but it is good to get into a habit of removing the mat from the material, rather than the other way around. This helps to prevent warping and bending.
 
 
I then grabbed my Cricut BrightPad. Not only is this light pad perfect for lots of different things around the craft room, it is great for using with weeding. As you can see, the light shines through the cut lines so it is easy to see where you are weeding (removing the excess vinyl). In this case, the letters are fairly straight forward but it helps massively with more intricate designs.
 
 
Using the weeding tool from the Cricut Joy Basic Tool Set, I removed the inside pieces from the letters. The words/labels were then cut in to strips.
 
 
Next you need to add the letters/words on to Cricut Transfer Tape. This is so that you can pick up the transfer tape (which is clear) and place the vinyl on to whatever you are adding it to, and you can clearly see where to place it down.
 
 
The only thing left to do is to place the labels on to the boxes. I did eye-ball these, if you wanted them to be more precise, you can definitely measure them. I placed the vinyl (attached to the transfer tape) on to the front of the box and then using the scraper tool (from the Cricut Joy Basic Tool Set), I burnished the vinyl on to the box and then peeled away the transfer tape.

 
This is the before - some of the boxes had labels made with a label maker but I had not got round to adding labels to them all. There is absolutely nothing wrong with how these look but I do really like how the new labels turned out:
 
 
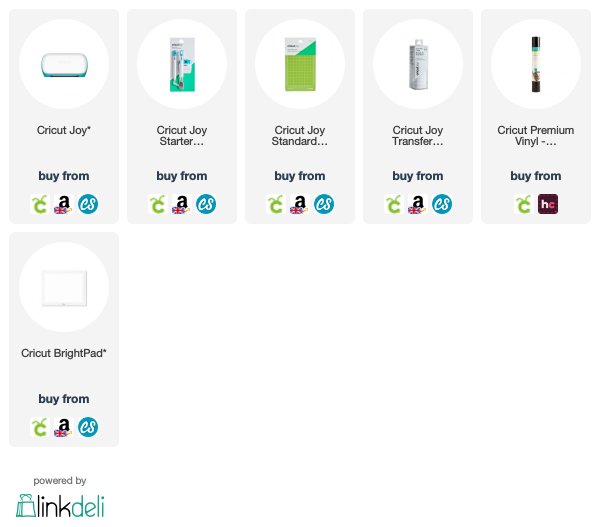
SUPPLIES:

Here are the links to what I have used for this project. Affiliate links are used on some products. This means that if you make a purchase after clicking on my link, I receive a small commission with no extra cost to you. I truly appreciate your support when using these links. Please click on the logo below the product to shop at your favourite store. All products were personally purchased except those from Clearly Besotted, Hero Arts or those marked with an asterisk (*) which were kindly sent to me to use. You can read my full disclosure here.
 
 
As mentioned, they are not perfect and I may have to adjust one or two but overall, I really like how they look and they were really easy to make using the Cricut Joy. Thanks so much for stopping by to see me today, I really do appreciate it. I hope you have a great day and stay safe!

16 March 2020

Spellbinders March 2020 Clubs Inspiration Blog Hop

Hello there, today we are celebrating Spellbinders Club Kits with a fun blog hop. If you didn't already know, Spellbinders have a number of different monthly subscription kits - Large Die of the Month, Small Die of the Month, Glimmer Hot Foil Kit of the Month, Card Kit of the Month, Stamp of the Month … so much variety! Today I am sharing a look at the March 2020 Small Die of the Month Club Kit. More on the hop below!
 

For my card today, I started off by die cutting the bunnies from the Spellbinders March 2020 Small Die of the Month Kit from FSJ Whip Cream Cardstock. I then cut the ear pieces from Hero Arts Peony Cardstock. I cut small pieces of the pink cardstock and added them behind the bunnies heads for the noses. I did the same with FSJ Black Licorice Cardstock for their eyes. I then die cut the flowers from FSJ Banana Cream Cardstock and the centres from FSJ Orange Creamsicle Cardstock.
 
 
One of the flowers was added to the sitting bunny's head and the other I cut one of the leaf dies in the kit from FSJ Limeade Splash Cardstock and cut it down. I then added the flower head on top and popped it under the standing bunny's hand. I took the carrot die in the kit and cut this twice - once from FSJ Orange Creamsicle Cardstock and another from one of the papers in the FSJ Journey Basics Brights Paper Pad.
 
 
The patterned paper carrot was adhered on top of the cardstock one for stability. I then die cut the carrot tops from more FSJ Limeade Splash Cardstock. The carrot tops were adhered behind the carrot and then the carrot added to a white 4" x 5.5" white card base that has been scored. The bunnies were then added on top with foam squares. I took the sentiment from the Hero Arts Blessings Stamp & Cut and stamped it on to black cardstock with FSJ Clear Pigment Ink, applied white embossing powder and heat set. It was cut in to a strip and added to the card with more foam squares. To finish off, I added Nuvo Orange Marmalade Jewel Drops to the centres of the flowers.
 
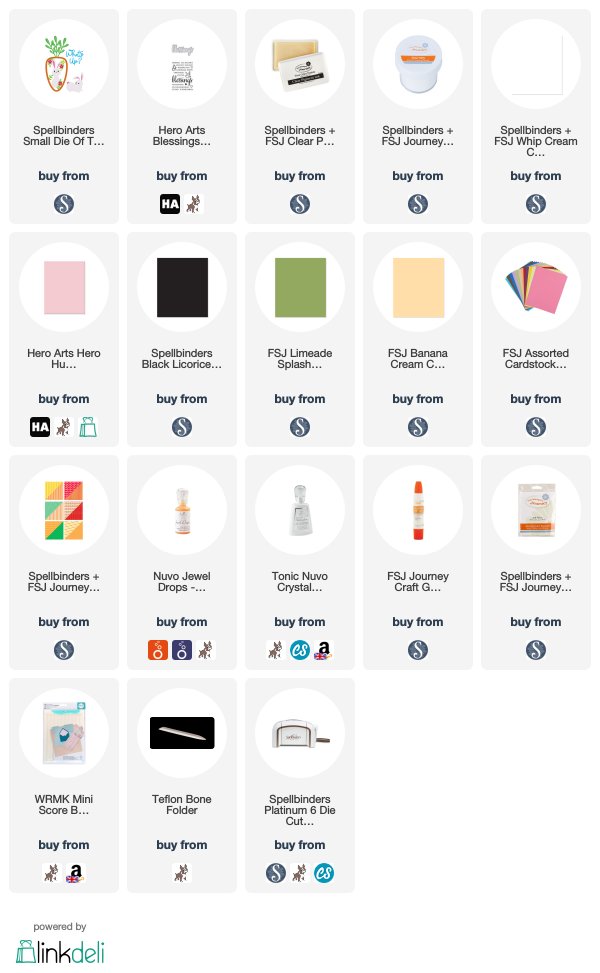
SUPPLIES:

Here are the links to what I have used on the card. Affiliate links are used on some products. This means that if you make a purchase after clicking on my link, I receive a small commission with no extra cost to you. I truly appreciate your support when using these links. Please click on the logo below the product to shop at your favourite store. All products were personally purchased except those from Clearly Besotted, Hero Arts or those marked with an asterisk (*) which were kindly sent to me to use. You can read my full disclosure here.
 
 
BLOG HOP:
 
 
As mentioned, this post is part of a fun blog hop celebrating the Spellbinders Club Kits. For the hop you should have arrived here from Jeanne Jachna. The next stop on the hop is Yasmin Diaz. If you get lost along the way, please visit the Spellbinders Blog.
 
GIVEAWAY:
 
To celebrate the club kits release, Spellbinders are giving away a $50 gift certificate to five lucky blog hop readers that comment on the Spellbinders blog post. Giveaway closes March 22nd at 11.59pm EDT. The winners will be announced on the Spellbinders Blog the following Tuesday.
 
I also have a $25 gift certificate to give away to one lucky reader. Please leave a comment on this post by 20th March 2020 at 11.59pm GMT. The winner will chosen at random and announced here on my blog on the 23rd March 2020. The winner will be responsible for any shipping costs, duties and taxes. Store credit/gift certificates cannot be applied to Club Subscriptions.
 
Thank you so much for stopping by today, I really appreciate it. I hope you have a wonderful rest of the day!

VIDEO | Soy Awesome

Hello there, today I am over on the Hero Arts Blog sharing a card and video using the new Soy Awesome set. It is a fun set filled with lots of yummy food. For my card today, I thought I would create a clean and simple scene with the sushi items.
 
 
The images from the Hero Arts Soy Awesome Stamp set were simply stamped in black and coloured with Copic Markers (the colours that I used are listed below the supplies list) and cut out. For the background, I created a backdrop for my sushi to be on by ink blending Hero Arts Blue Hawaii and Pool Party Reactive Inks. The sentiment was stamped below and then the images simply adhered on top with thin foam tape.
 
VIDEO:

Here is the video showing how I made the card:


If you are viewing this blog post via email subscription, you can watch the video HERE on YouTube.
 
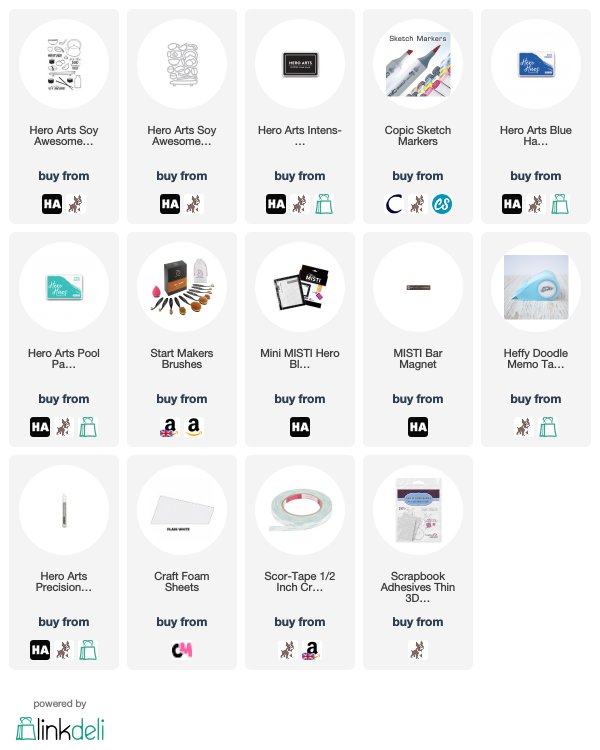
SUPPLIES:

Here are the links to what I have used on the card. Affiliate links are used on some products. This means that if you make a purchase after clicking on my link, I receive a small commission with no extra cost to you. I truly appreciate your support when using these links. Please click on the logo below the product to shop at your favourite store. All products were personally purchased except those from Clearly Besotted, Hero Arts or those marked with an asterisk (*) which were kindly sent to me to use. You can read my full disclosure here.
 
 
COPIC MARKERS: Platter - E57, E55, E53, E51. Prawn Sushi - R22, R21, R20, C3, E51, E50. Salmon Sushi - RV42, R12, R02, R01, C3, E51, E50. Nori Sushi - C3, E51, E50, YG25, R12.
 
Thank you so much for popping by today, I really do appreciate it. I will have another blog post coming up in a coupe of hours. In the mean time, I hope you have a great day!